Managing The GRUB Bootloader With QGRUBEditor On Ubuntu 7.10
Version 1.0
Author: Falko Timme
QGRUBEditor is a graphical frontend for managing the GRUB bootloader. By using QGRUBEditor, you do not have to mess around with the GRUB configuration in /boot/grub/menu.lst anymore. This article shows how to install and use QGRUBEditor on Ubuntu 7.10.
I do not issue any guarantee that this will work for you!
1 Installing QGRUBEditor
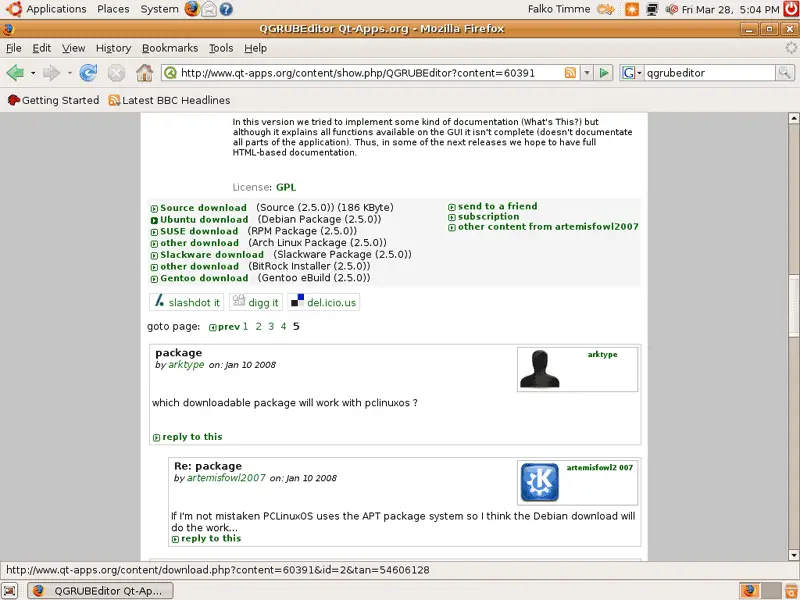
Go to http://www.qt-apps.org/content/show.php/QGRUBEditor?content=60391 and click on the Ubuntu download link (starting with Ubuntu 8.04 there's a qgrubeditor package in the Ubuntu repositories that you can install using Synaptic, but prior to Ubuntu 8.04 you should use the approach described here):
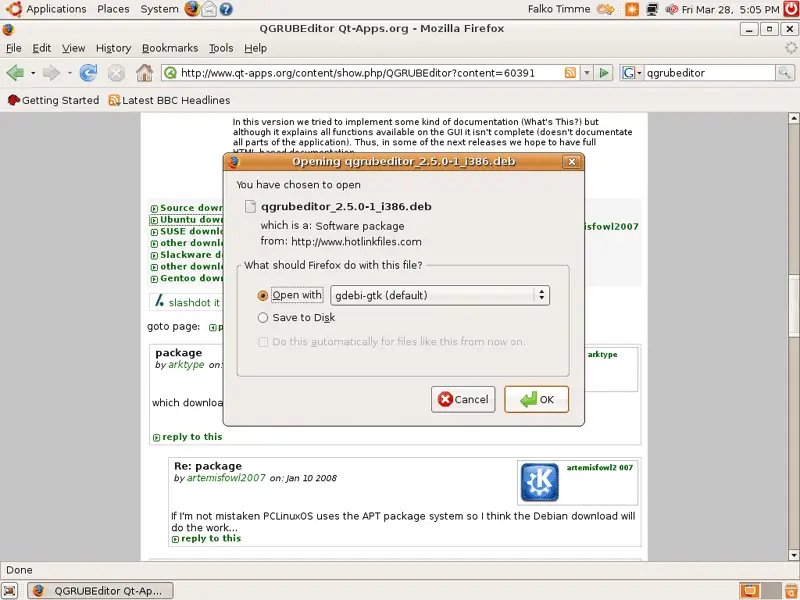
In the Firefox download dialogue, select Open with gdebi-gtk (default):
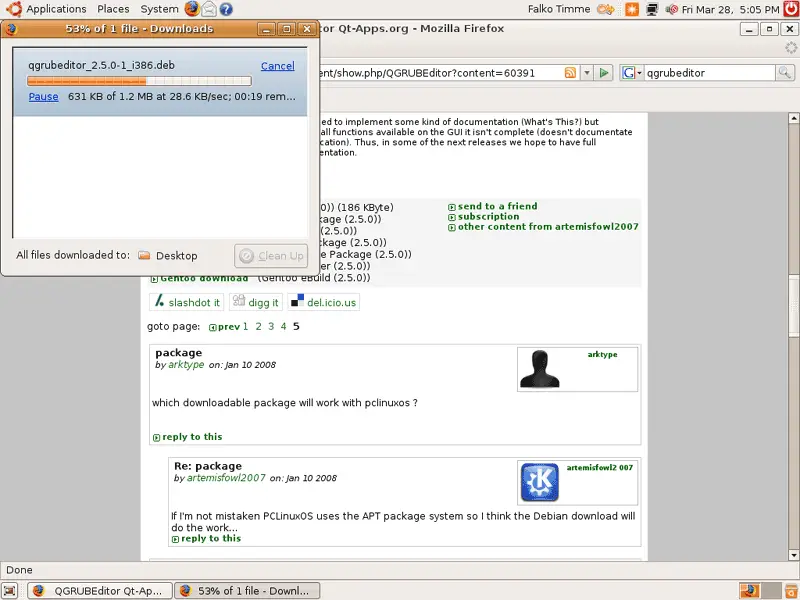
The QGRUBEditor package is being downloaded:
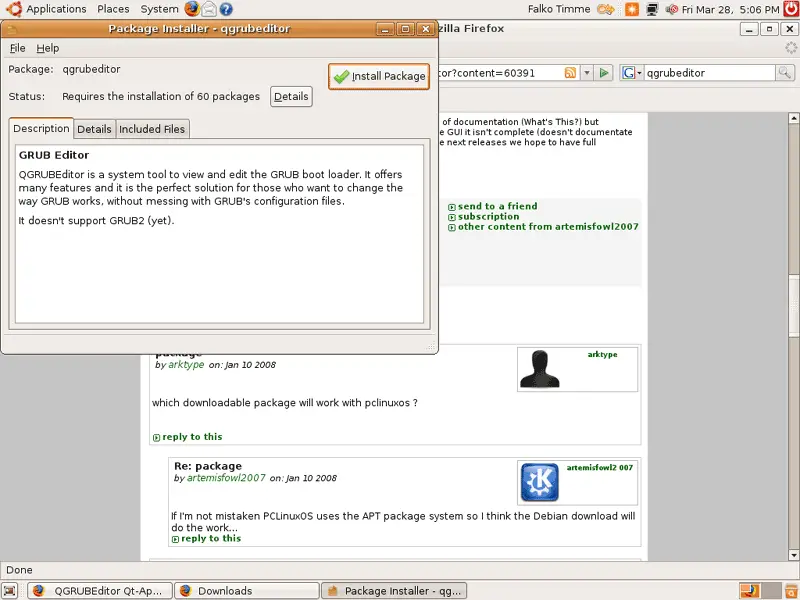
After the download has finished, the Package Installer starts. Click on the Install Package button:
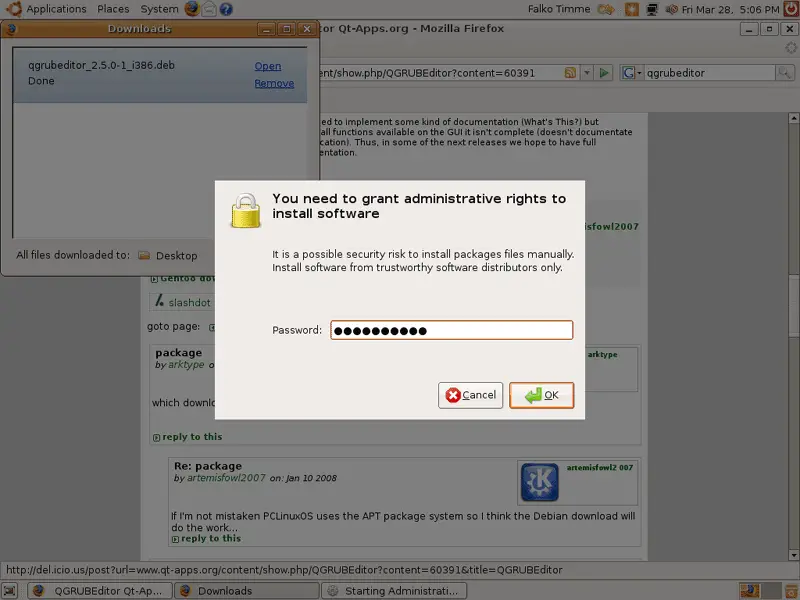
Type in your password:
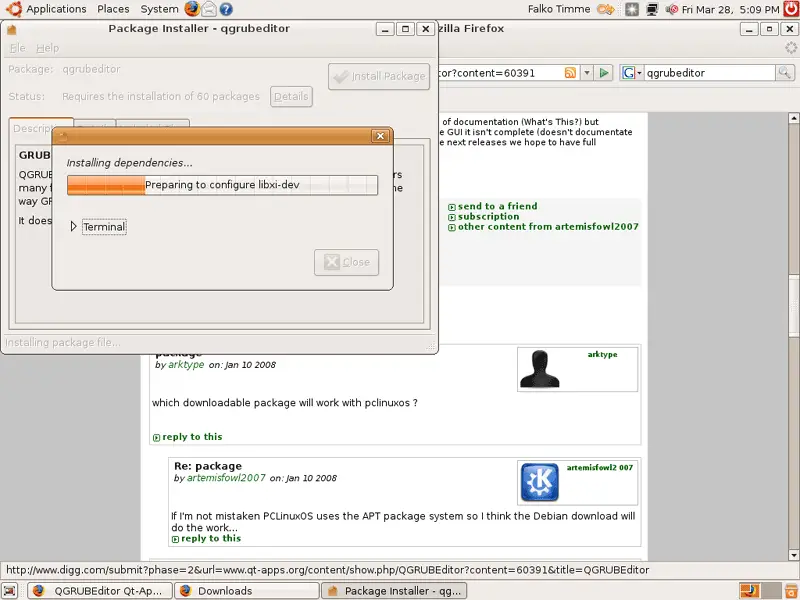
Next the dependencies for QGRUBEditor are being downloaded...

... and installed:
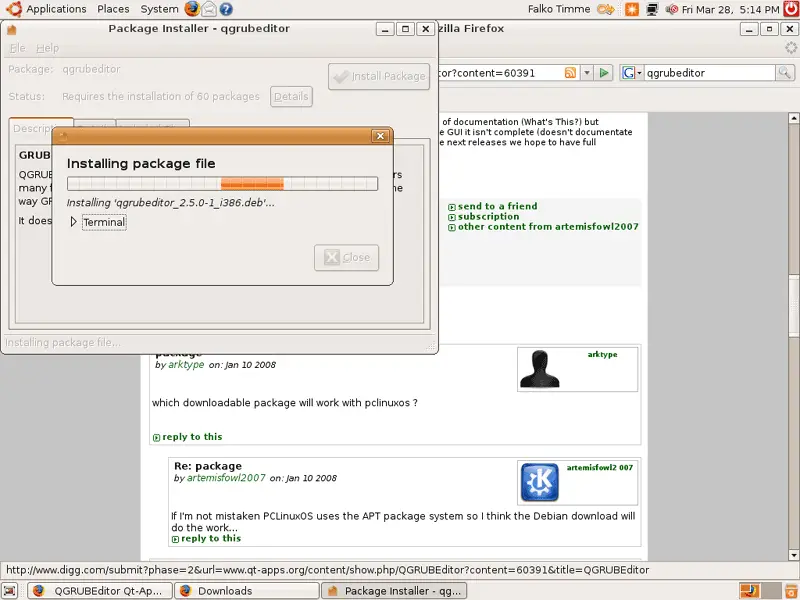
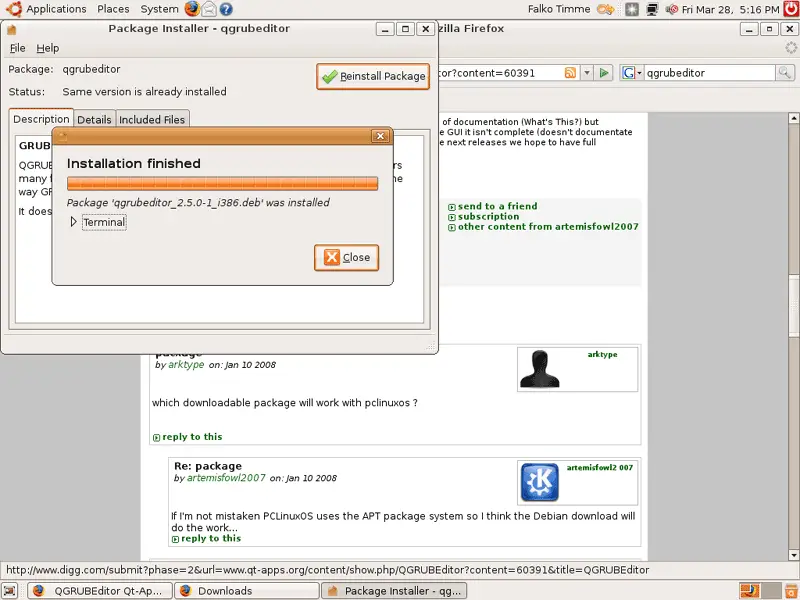
Afterwards QGRUBEditor is being installed:
Click on Close after the installation and leave the Package Installer:
That's it! QGRUBEditor is now installed and ready to be used.
2 Using QGRUBEditor
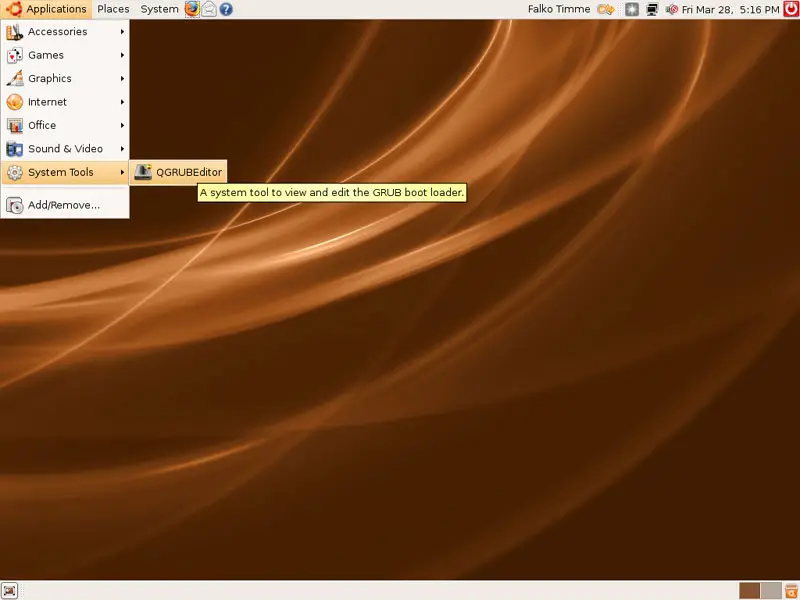
To start QGRUBEditor, go to Applications > System Tools > QGRUBEditor:
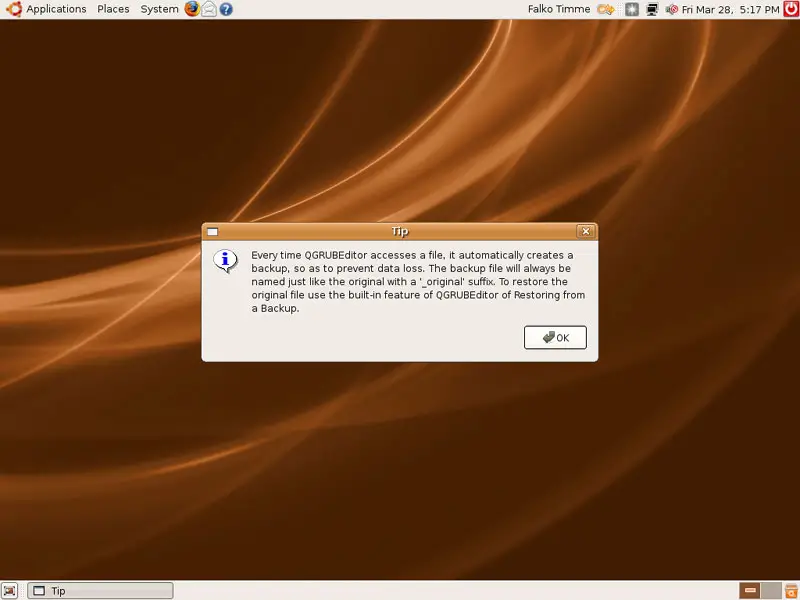
When QGRUBEditor starts, it makes a backup of the current /boot/grub/menu.lst named /boot/grub/menu.lst_original (from which we can restore the original GRUB configuration) and tells us about it:
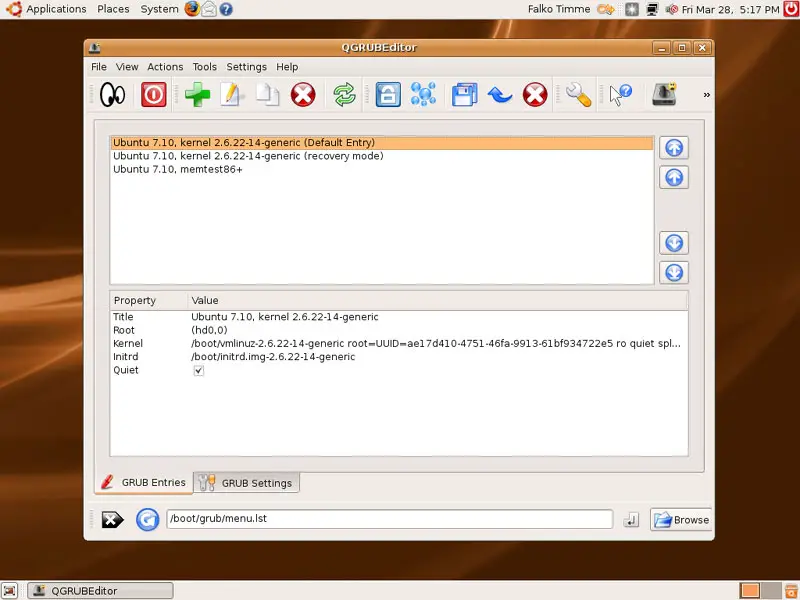
This is how QGRUBEditor looks. On the GRUB Entries tab, we see a list of all currently configured kernels. You can change their order by using the arrow buttons. It is important to note that all your changes are written to /boot/grub/menu.lst immediately - without pressing a Save button!