Using Zivios Identity Management
About Zivios
Zivios is an open source web based identity management application featuring single sign on, certificate authority, user, group and computer provisioning with remote management of services. Zivios is an n-tiered PHP-5 application and uses MySQL and OpenLDAP as it's data store, with OpenLdap being the primary back end for identity management and application integration and MySQL being used for panel specific data.
How to Configure Zivios and its Plug-ins
Once you have Zivios installed, you are redirected to the login page. This is where we use our administrative login ID "zadmin" to get into the system. You should remember the password you had specified for zadmin here as currently there is no way to recover it. You can however reset the zadmin user password directly from Kerberos.
First Steps
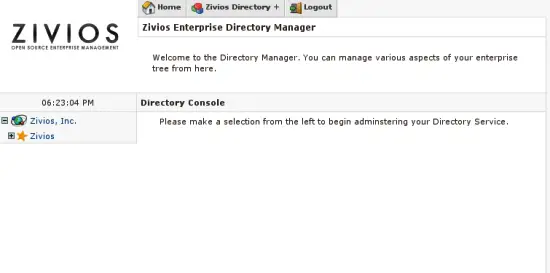
When you login, you are presented with the Zivios dashboard. At the time of this writing, there is no data displayed -- it simply says "Dashboard".
From the top menu, use the drop down list and click on "Browse Directory". You will notice a screen very similar to what is shown in the graphic below.
Click on the "+" next to "Zivios" to expand the tree. Continue to expand "Core Control" and "Master Services". The services you see listed under Master Services are labeled as Zivios Core modules. These include Zivios CA (certificate authority), Zivios Directory (OpenLDAP Management), Zivios DNS (Domain Name Service), Zivios Kerberos and Zivios Time.
As a small test, click on Zivios DNS. A screen similar to what we see below should open up:
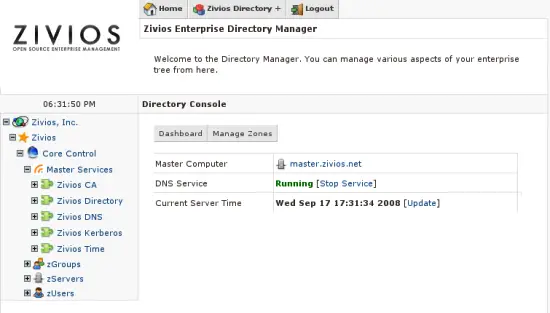
During installation, Zivios had requested the primary domain name of your system. Let's see what it did with it. Click on "Manage Zones" from the top menu of the service view. This time you are presented with a domain name you can manage. Click on the "Manage" link as it appears next to the domain name.
You will notice two host name entries are present. One is "ns1", signifying the primary name service, and the other is the virtual host name that you had specified. Let's add a host name. In the "Add New Host" text box, type in "demo" (or something more creative) and click on Apply. Click on "Manage" next to the host name and you'll be able to add an A record for the host. Now let's test our change out. Open a terminal/shell to your master zivios server and edit the file: /etc/resolv.conf
Replace it's contents with:
domain yourdomain.com
nameserver 127.0.0.1
Save the file and quit your editor. From the terminal, type in: host demo.yourdomain.com
The system should be able to resolve it to the IP address that you specified. Unless you open outgoing ports for your DNS service, it will not be able to resolve domain names; this is not a show stopper however as generally you would want to forward DNS queries to your ISP and have them resolve it. Simply setup DNS forwarding for your service.
Let's get back to our control panel.
Adding Users, Groups and Servers
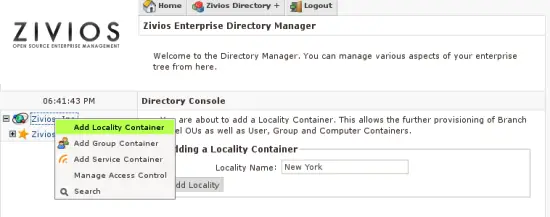
One should not add servers, users or groups inside Zivios Core Control. Let's create some entries in our tree where it makes more sense. Start by right clicking on your company name as it appears in tree. In our example, it's Zivios, Inc. Click on: "Add Locality Container". Enter a name for your Locality and click on "Add Locality".
Right click on the locality you have just added and click on "Add Branch Office". Enter a name for your branch office (ex: HeadOffice). Once you have a branch office, right click on it and add containers for Servers, Users and Groups. Your tree should look something like this now:
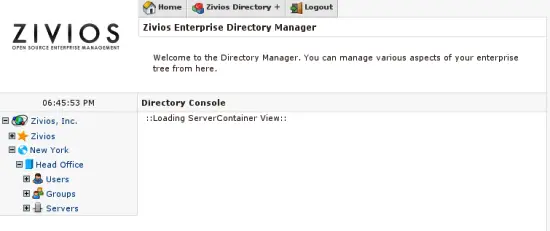
Right click on the Groups container and click on "Add Group". Proceed to add a User in the User's container once you have a group added to the system.
Adding a Server to Zivios
There are a few prerequisites to adding a server to the system. Currently support exists only for Debian Etch and Ubuntu Hardy, which means the servers you add and manage via Zivios must be running either one of these two distributions. We will of course add support for additional distributions in coming versions. At this point we are assuming you have a server on your network running Debian or Ubuntu which has the Zivios agent installed on it. If not, please refer to the document "Preparing a Server for Zivios".
Right click on your "Server Container" and click on "Add a Server".
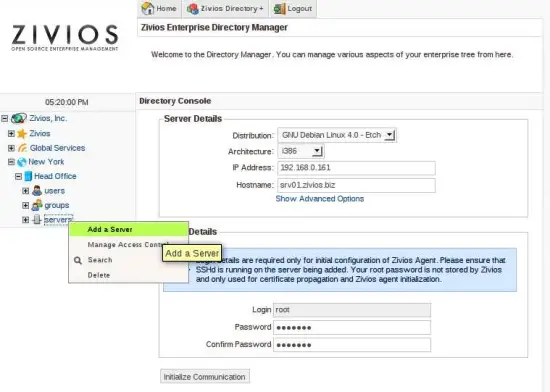
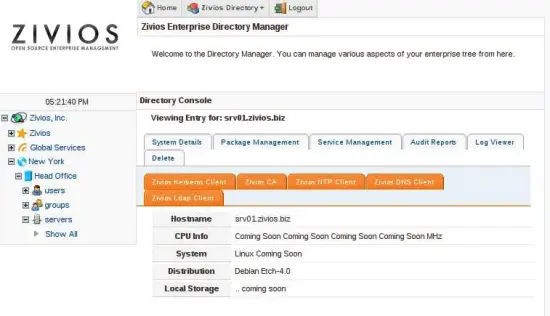
Upon successfully adding the server, your view would change. Notice the Orange "Computer Plugins" tab. More on this in the next section.
Primer on IDM Concepts: Users, Groups and Service
Everything inside Zivios revolves around the concept of a Service. A service is something that provides functionality to the User or a Computer. Even core Zivios systems follow this methodology.
A Service resides on one or more Computers. This is why we needed to define a Server first, since the service needs a physical space to execute itself. Core objects such as DNS, NTP, Ldap and Kerberos all reside on the same physical system.
The Service object itself provides SERVICE wide configuration details. In Zivios the view of a service is a LOGICAL one. If you change parameters in a Mail service, you do not need to worry about changing every single mail server - Zivios would do that for you (in the future).

