This tutorial exists for these OS versions
On this page
Installing Apache2 With PHP5 And MySQL Support On Fedora 11 (LAMP)
Version 1.0
Author: Falko Timme  Follow me on Twitter
LAMP is short for Linux, Apache, MySQL, PHP. This tutorial shows how you can install an Apache2 webserver on a Fedora 11 server with PHP5 support (mod_php) and MySQL support.
I do not issue any guarantee that this will work for you!
1 Preliminary Note
In this tutorial I use the hostname server1.example.com with the IP address 192.168.0.100. These settings might differ for you, so you have to replace them where appropriate.
2 Installing MySQL 5
To install MySQL, we do this:
yum install mysql mysql-server
Then we create the system startup links for MySQL (so that MySQL starts automatically whenever the system boots) and start the MySQL server:
chkconfig --levels 235 mysqld on
/etc/init.d/mysqld start
Run
mysqladmin -u root password yourrootsqlpassword
mysqladmin -h server1.example.com -u root password yourrootsqlpassword
to set a password for the user root (otherwise anybody can access your MySQL database!).
3 Installing Apache2
Apache2 is available as a Fedora package, therefore we can install it like this:
yum install httpd
Now configure your system to start Apache at boot time...
chkconfig --levels 235 httpd on
... and start Apache:
/etc/init.d/httpd start
Now direct your browser to http://192.168.0.100, and you should see the Apache2 placeholder page:
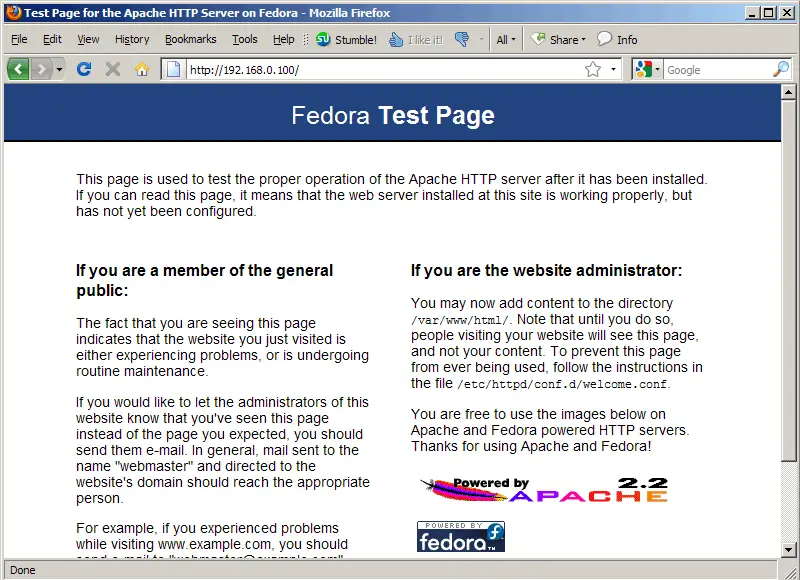
Apache's default document root is /var/www/html on Fedora, and the configuration file is /etc/httpd/conf/httpd.conf. Additional configurations are stored in the /etc/httpd/conf.d/ directory.
4 Installing PHP5
We can install PHP5 and the Apache PHP5 module as follows:
yum install php
We must restart Apache afterwards:
/etc/init.d/httpd restart
5 Testing PHP5 / Getting Details About Your PHP5 Installation
The document root of the default web site is /var/www/html. We will now create a small PHP file (info.php) in that directory and call it in a browser. The file will display lots of useful details about our PHP installation, such as the installed PHP version.
vi /var/www/html/info.php
<?php phpinfo(); ?> |
Now we call that file in a browser (e.g. http://192.168.0.100/info.php):
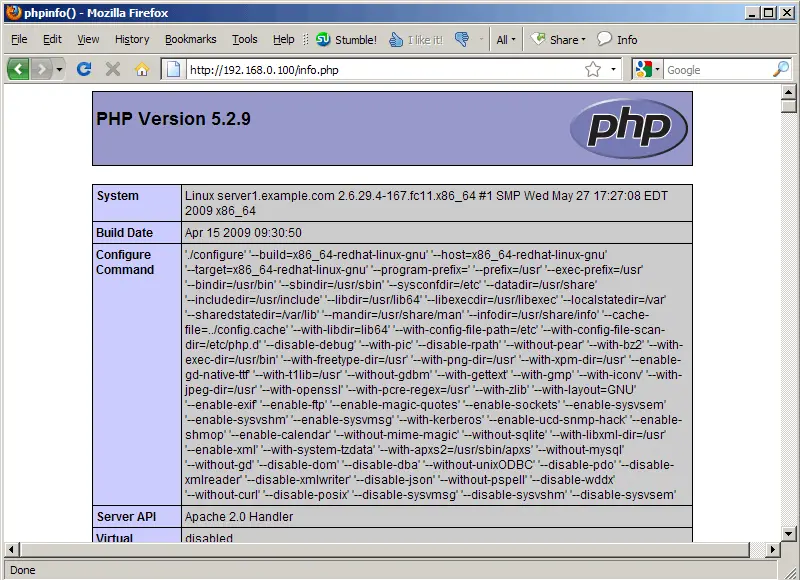
As you see, PHP5 is working, and it's working through the Apache 2.0 Handler, as shown in the Server API line. If you scroll further down, you will see all modules that are already enabled in PHP5. MySQL is not listed there which means we don't have MySQL support in PHP5 yet.
6 Getting MySQL Support In PHP5
To get MySQL support in PHP, we can install the php-mysql package. It's a good idea to install some other PHP5 modules as well as you might need them for your applications. You can search for available PHP5 modules like this:
yum search php
Pick the ones you need and install them like this:
yum install php-mysql php-gd php-imap php-ldap php-odbc php-pear php-xml php-xmlrpc php-eaccelerator php-magickwand php-magpierss php-mapserver php-mbstring php-mcrypt php-mhash php-mssql php-shout php-snmp php-soap php-tidy
Now restart Apache2:
/etc/init.d/httpd restart
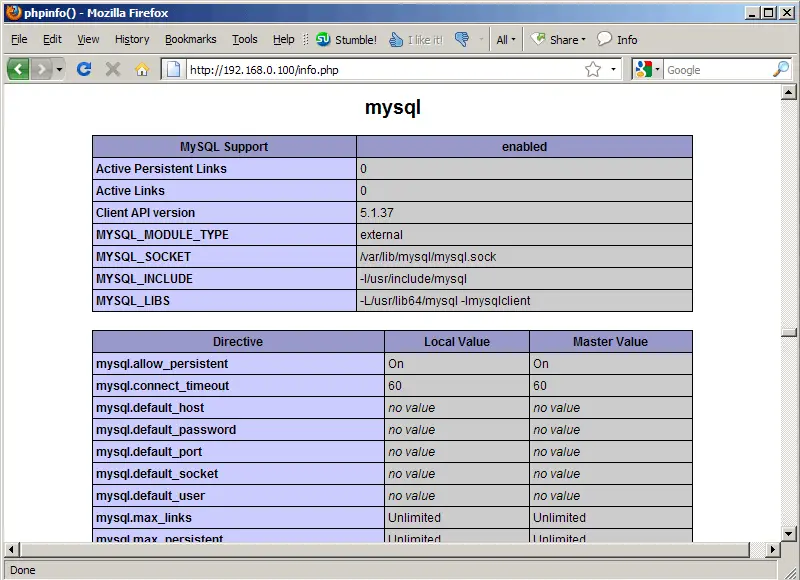
Now reload http://192.168.0.100/info.php in your browser and scroll down to the modules section again. You should now find lots of new modules there, including the MySQL module:
7 phpMyAdmin
phpMyAdmin is a web interface through which you can manage your MySQL databases.
phpMyAdmin can be installed as follows:
yum install phpmyadmin
Now we configure phpMyAdmin. We change the Apache configuration so that phpMyAdmin allows connections not just from localhost (by commenting out the <Directory /usr/share/phpMyAdmin/> stanza):
vi /etc/httpd/conf.d/phpMyAdmin.conf
# phpMyAdmin - Web based MySQL browser written in php
#
# Allows only localhost by default
#
# But allowing phpMyAdmin to anyone other than localhost should be considered
# dangerous unless properly secured by SSL

Alias /phpMyAdmin /usr/share/phpMyAdmin
Alias /phpmyadmin /usr/share/phpMyAdmin
#<Directory /usr/share/phpMyAdmin/>
#   order deny,allow
#   deny from all
#   allow from 127.0.0.1
#   allow from ::1
#</Directory>

# This directory does not require access over HTTP - taken from the original
# phpMyAdmin upstream tarball
#
<Directory /usr/share/phpMyAdmin/libraries>
    Order Deny,Allow
    Deny from All
    Allow from None
</Directory>

# This configuration prevents mod_security at phpMyAdmin directories from
# filtering SQL etc.  This may break your mod_security implementation.
#
#<IfModule mod_security.c>
#    <Directory /usr/share/phpMyAdmin>
#        SecRuleInheritance Off
#    </Directory>
#</IfModule>
|
Restart Apache:
/etc/init.d/httpd restart
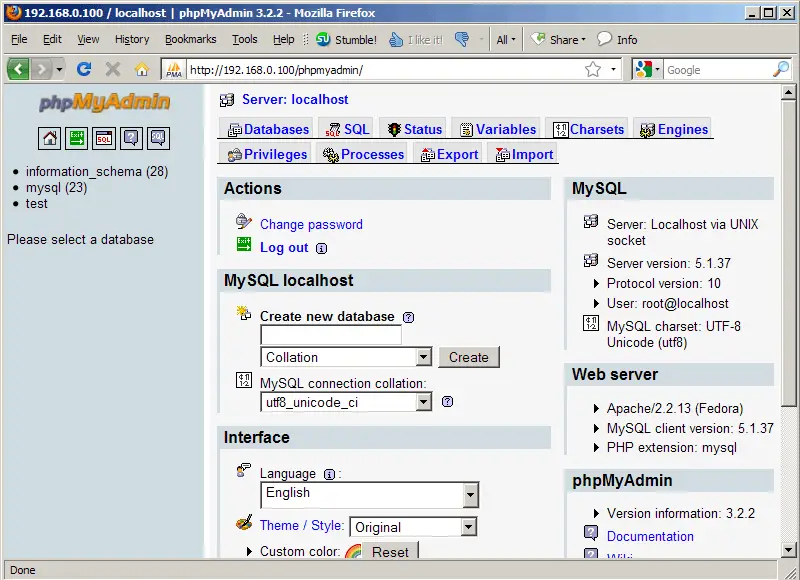
Afterwards, you can access phpMyAdmin under http://192.168.0.100/phpmyadmin/:
8 Links
- Apache: http://httpd.apache.org/
- PHP: http://www.php.net/
- MySQL: http://www.mysql.com/
- Fedora: http://fedoraproject.org/
- phpMyAdmin: http://www.phpmyadmin.net/

