Integrating XCache Into PHP5 And Lighttpd (OpenSUSE 11.2)
Version 1.0
Author: Falko Timme  Follow me on Twitter
This guide explains how to integrate XCache into PHP5 and lighttpd on an OpenSUSE 11.2 system. From the XCache project page: "XCache is a fast, stable PHP opcode cacher that has been tested and is now running on production servers under high load." It's similar to other PHP opcode cachers, such as eAccelerator and APC.
I do not issue any guarantee that this will work for you!
1 Preliminary Note
I have tested this on an OpenSUSE 11.2 server with the IP address 192.168.0.100 where lighttpd and PHP5 are already installed and working (e.g. as shown in this tutorial: Installing Lighttpd With PHP5 And MySQL Support On OpenSUSE 11.2). I'll use lighttpd's default document root /srv/www/htdocs in this tutorial for demonstration purposes. Of course, you can use any other vhost as well, but you might have to adjust the path to the info.php file that I'm using in this tutorial.
2 Checking PHP5's Current State
First, before we install XCache, let's find out about our PHP5 installation. To do this, we create the file info.php in our document root /srv/www/htdocs:
vi /srv/www/htdocs/info.php
<?php phpinfo(); ?> |
Afterwards, we call that file in a browser: http://192.168.0.100/info.php
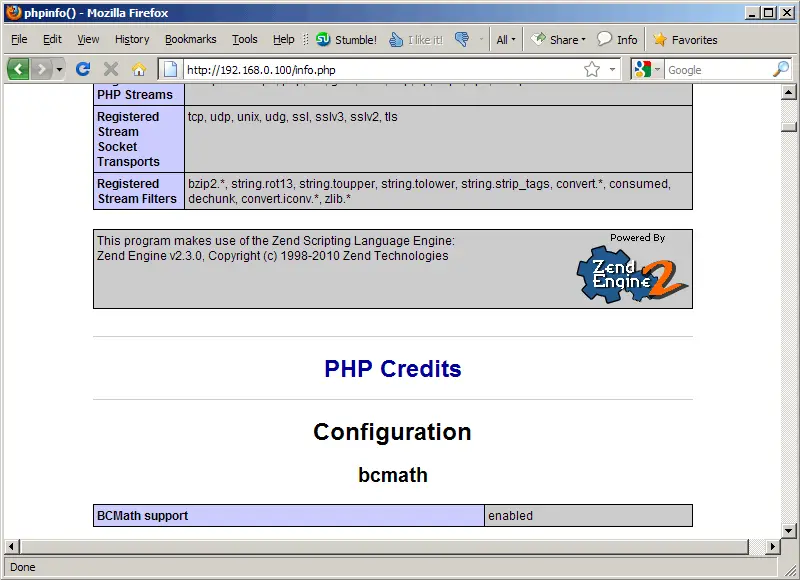
As you see, we have PHP 5.3.2 installed...
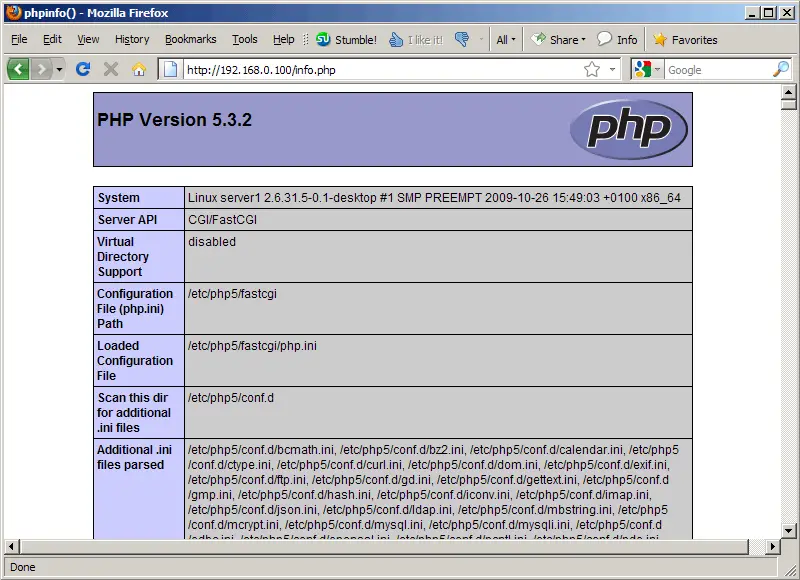
... but XCache isn't mentioned anywhere on the page:
3 Installing XCache
Unfortunately XCache isn't available as an rpm package for OpenSUSE 11.2, therefore we have to build it from the sources. First we install all packages that we need to build XCache:
yast2 -i gcc flex wget gcc-c++ make php5-devel
Next we download and uncompress the latest XCache version:
cd /tmp
wget http://xcache.lighttpd.net/pub/Releases/1.3.0/xcache-1.3.0.tar.gz
tar xvfz xcache-1.3.0.tar.gz
Then we go to the new XCache source directory...
cd xcache-1.3.0
... and build XCache as follows:
phpize
./configure --enable-xcache
make
make install
Next we copy xcache.ini to the /etc/php5/conf.d directory:
cp xcache.ini /etc/php5/conf.d
Now we must configure XCache. The configuration options are explained here: http://xcache.lighttpd.net/wiki/XcacheIni. The least you should do is enable extension = xcache.so and disable all zend_extension lines; furthermore, set xcache.size to a size (in MB) > 0 to enable XCache:
vi /etc/php5/conf.d/xcache.ini
[xcache-common] ;; install as zend extension (recommended), normally "$extension_dir/xcache.so" ;zend_extension = /usr/local/lib/php/extensions/non-debug-non-zts-xxx/xcache.so ; zend_extension_ts = /usr/local/lib/php/extensions/non-debug-zts-xxx/xcache.so ;; For windows users, replace xcache.so with php_xcache.dll ;zend_extension_ts = c:/php/extensions/php_xcache.dll ;; or install as extension, make sure your extension_dir setting is correct extension = xcache.so ;; or win32: ; extension = php_xcache.dll [...] xcache.size = 60M [...] |
That's it. Restart lighttpd, and you're done:
/etc/init.d/lighttpd restart
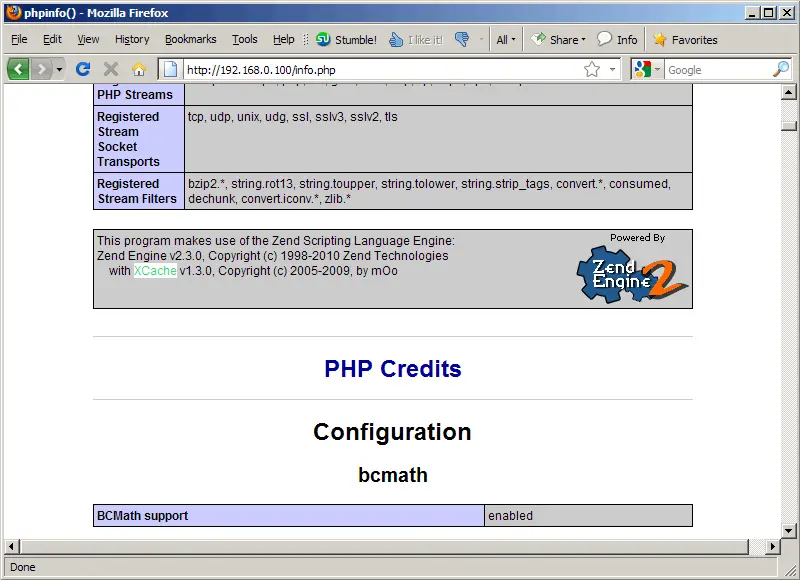
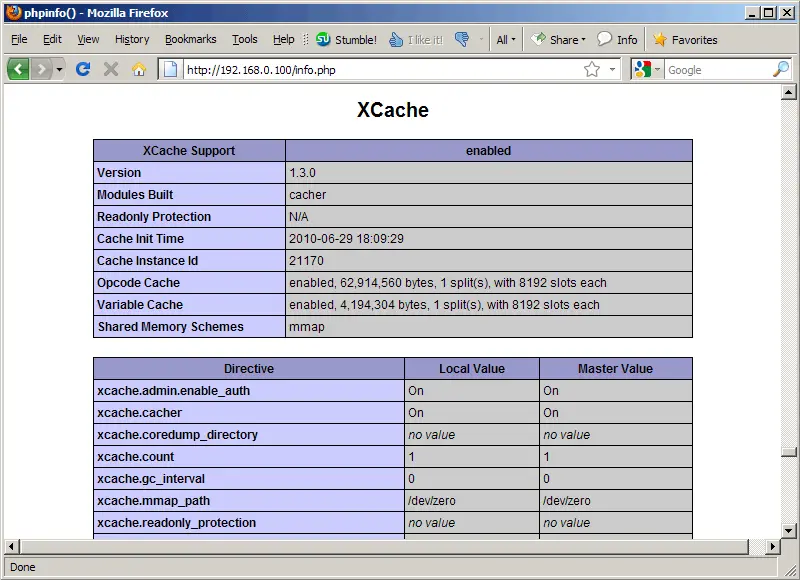
Afterwards, open info.php again in a browser: http://192.168.0.100/info.php
You should now see XCache mentioned on the page which means it has successfully been integrated and is working as expected:
4 Links
- XCache: http://xcache.lighttpd.net/
- PHP: http://www.php.net/
- lighttpd: http://www.lighttpd.net/
- OpenSUSE: http://www.opensuse.org/

