On this page
Stronghenge Application Firewall

Stronghenge is an Out-of-Band Application Firewall that can inspect both HTTP and HTTPS traffic for attacks against your web applications. Since Stronghenge's detection engine is based off of the most widely deployed IDS/IPS technology worldwide, Snort, it's easy to start using. Additionally, since it's an Out- of-Band solution it requires little to no modification to your existing network. With Snort's powerful regular expression support, you can implement a positive or negative security model.
With it's standalone decryption engine for RSA algorithms and custom Snort additions, it can be deployed as a single or multiple appliance configuration where one device can do decryption where the other can do detection and blocking. However, this tutorial will just cover how to deploy as a single appliance configuration.
Requirements:
- Stronghenge Appliance Software
- Server or VM with 64bit Architecture
(if on VM make sure to have appropriate resources) - 1 Management interface.
- 1 Injection interface.
- 1 Promiscuous interface.
(Management, Injection, and Promiscuous interfaces can be on the same physical interface if your network is configured in the appropriate way.) - Web server private keys
- Web servers should be configured to use only use RSA for SSL negotiation.
- Snort or Mod Security signature experience would be good too, but not necessary.
Installation:
Download Stronghenge Appliance Software ISO from: https://susestudio.com/a/za3sVm/stronghenge-firewall
Boot hardware off of Install CD.
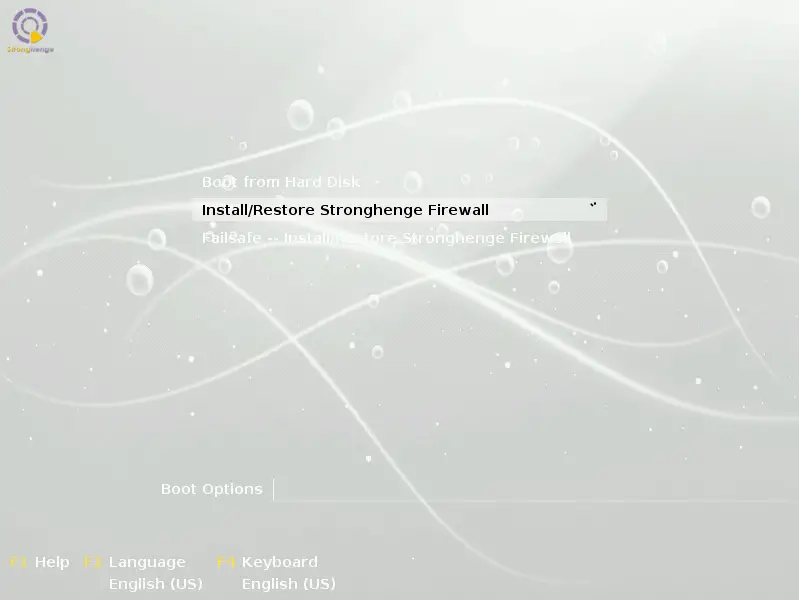
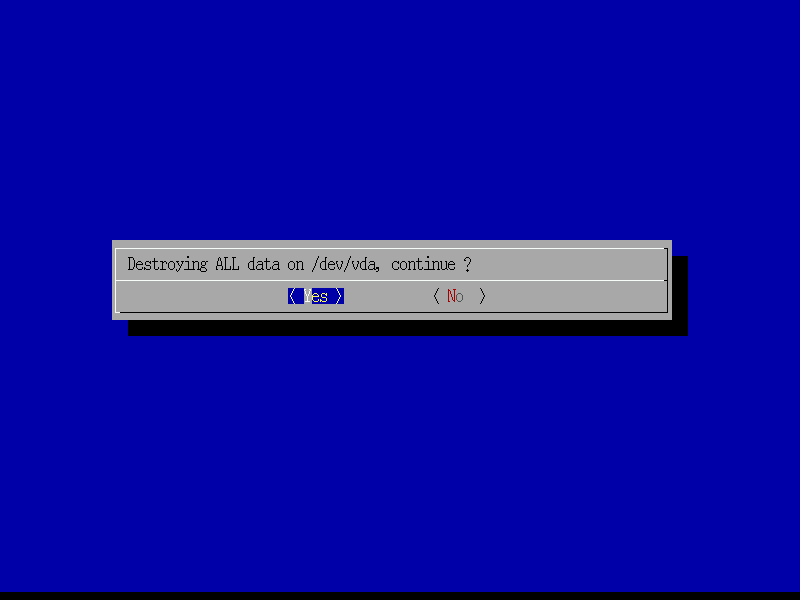
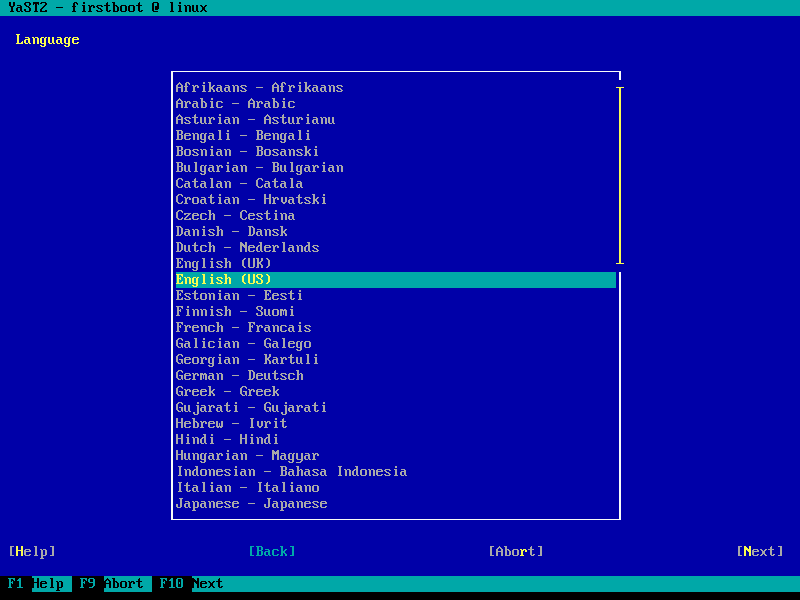
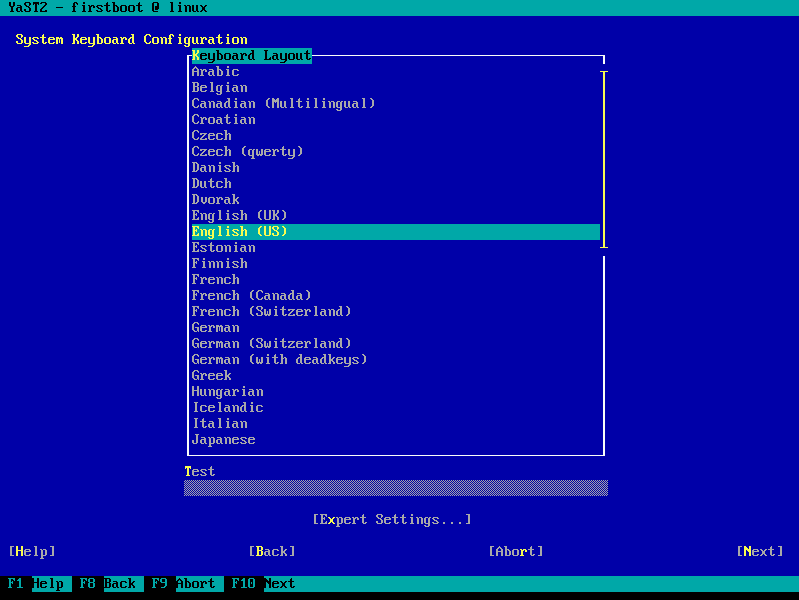
Install appliance:
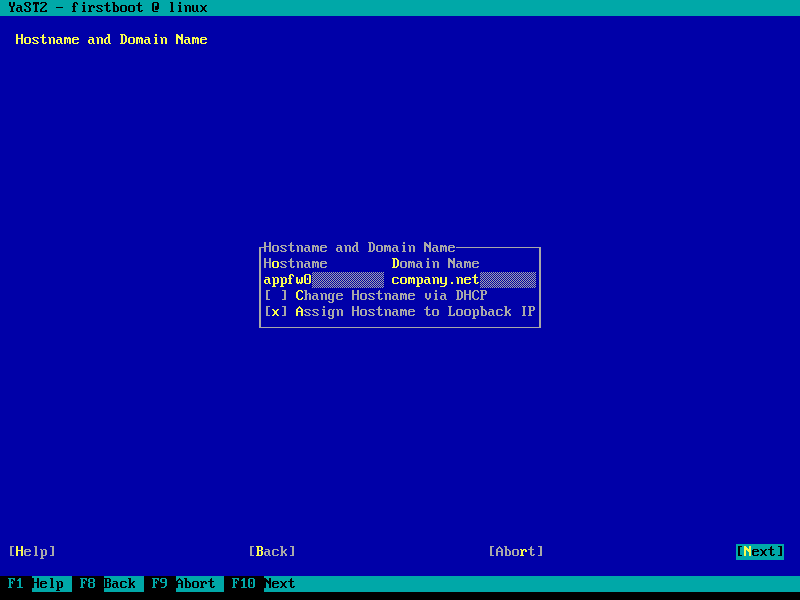
Configure network interfaces:
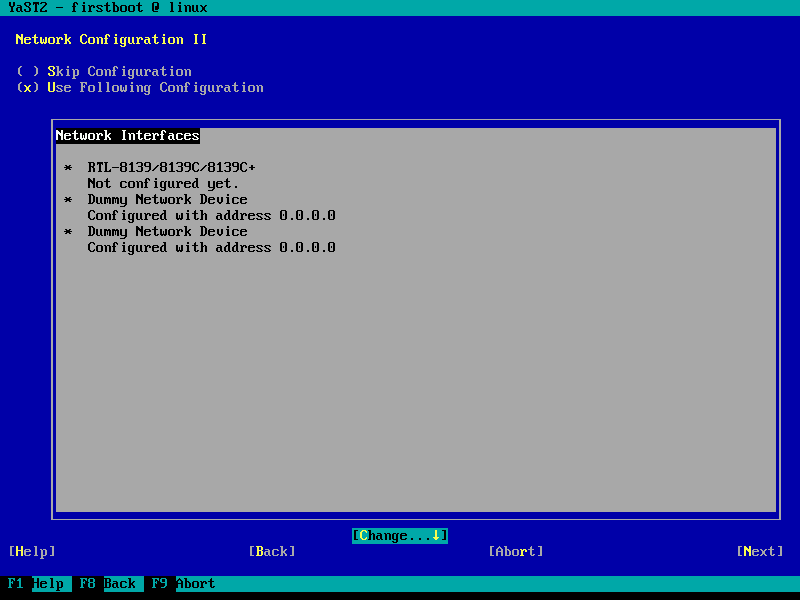
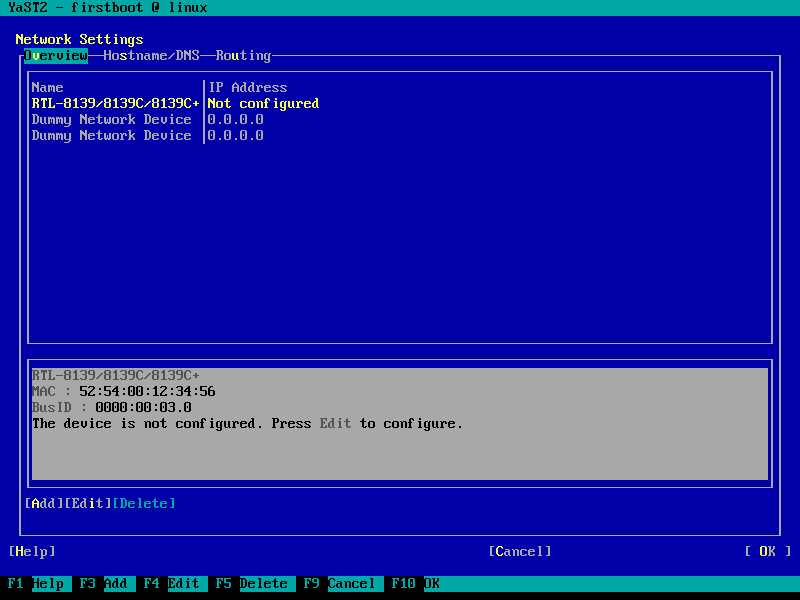
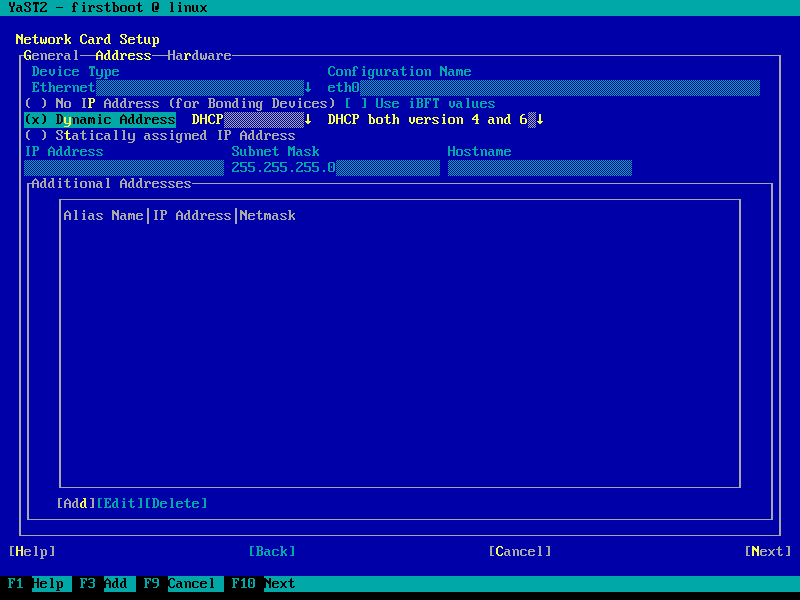
In this scenario eth0 is the interface that will be in promiscuous mode and it will also be the management interface. Leave dummy0 and dummy1 interfaces unconfigured, these will be used to send decrypted traffic to.
Configure time zone:
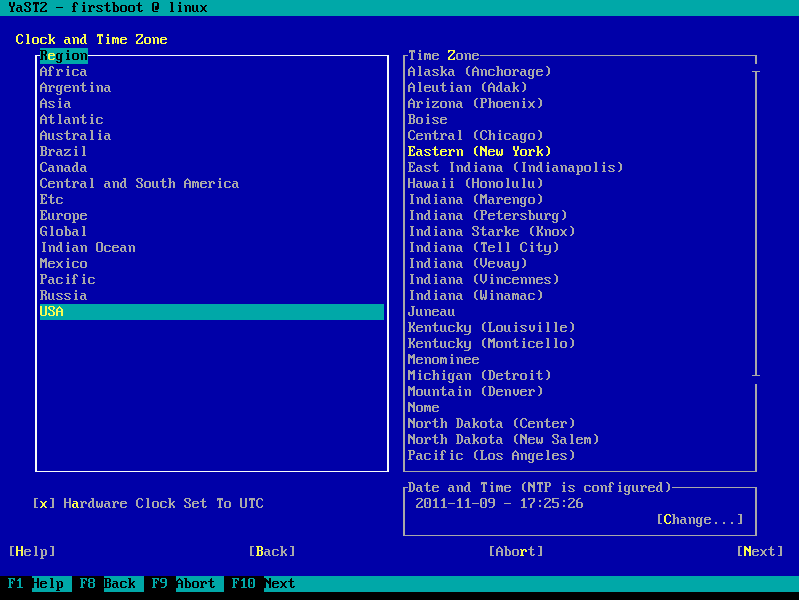

Configuring NTP is a good idea since this is a firewall.
Log-in as root. The password is: stronghenge
Change root password:
passwd
Configure Snort:
nano /etc/snort/snort.conf
config response: device ethX attempts 10
Make sure to put the appropriate interface.
Edit INTERFACE setting to monitor appropriate interfaces. Note: dummy0 and dummy1 interfaces are where decrypted traffic should be sent. If unsure interfaces to monitor set to:
INTERFACE=all
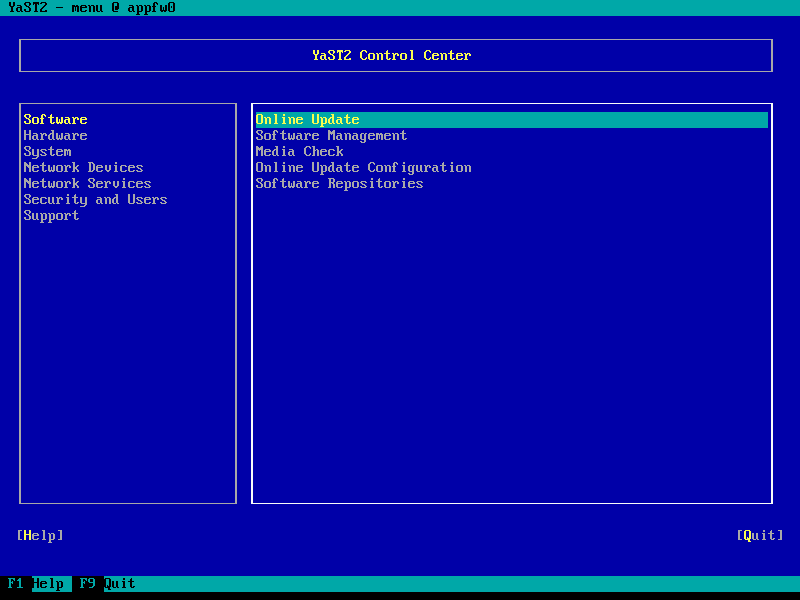
Update System with YaST:
yast
Configure the reset interface:
nano /etc/snort/snort.conf
config response: device ethX attempts 10
Put the correct interface for ethX.

