How To Install XFCE On Linux Mint 14
Version 1.0
Author: Falko Timme  Follow me on Twitter
XFCE is a lightweight desktop environment. For Linux Mint 13, the was an XFCE edition in addition to the Cinnamon and Mate editions, but for Linux Mint 14, there isn't. This short guide explains how to install XFCE on your Linux Mint 14 desktop.
I do not issue any guarantee that this will work for you!
1 Preliminary Note
In addition to the method described here, it's also possible to install the xubuntu-desktop package which will give you the Xubuntu desktop (which also uses XFCE), but I found that this desktop, although it seems to work fine, reports various crashes concerning Ubuntu Software Center and update-apt-xapian-index. That's why I don't describe the Xubuntu method, but only the "pure" XFCE way.
2 Installing XFCE
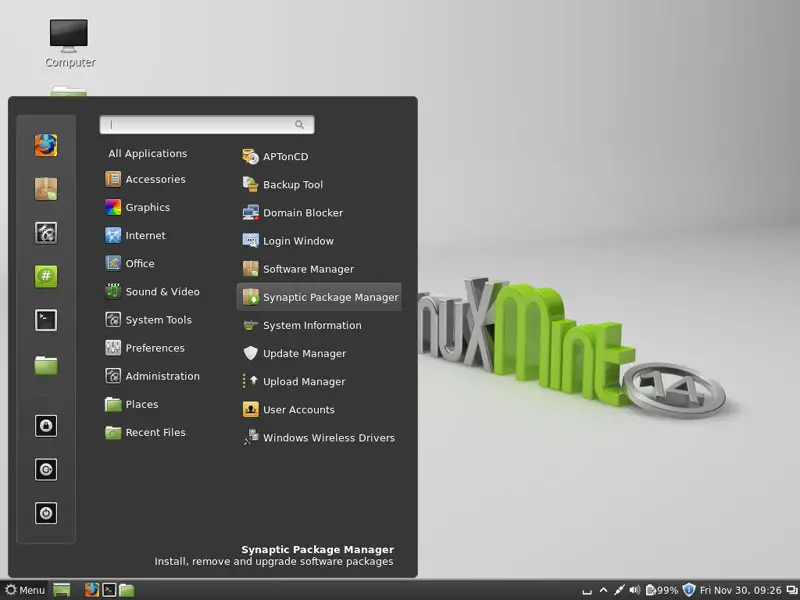
Open the Synaptic Package Manager (Administration > Synaptic Package Manager):
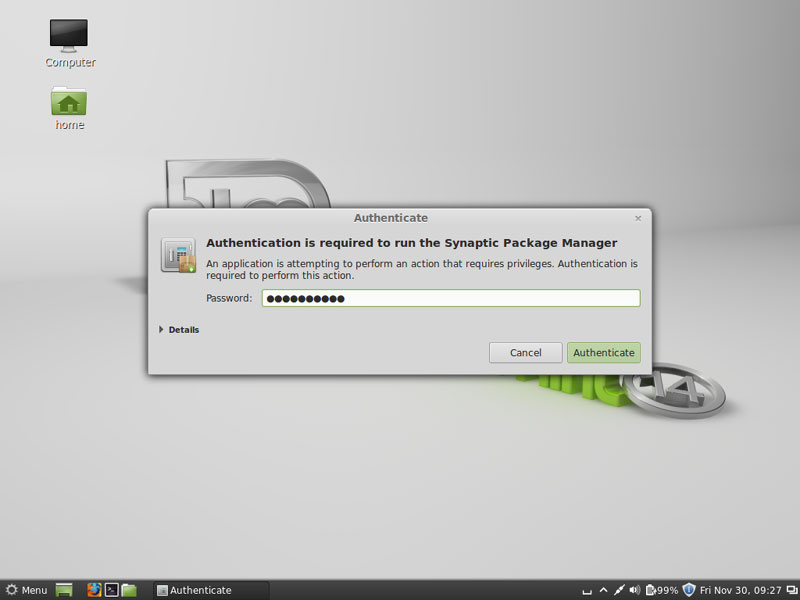
Type in your password:
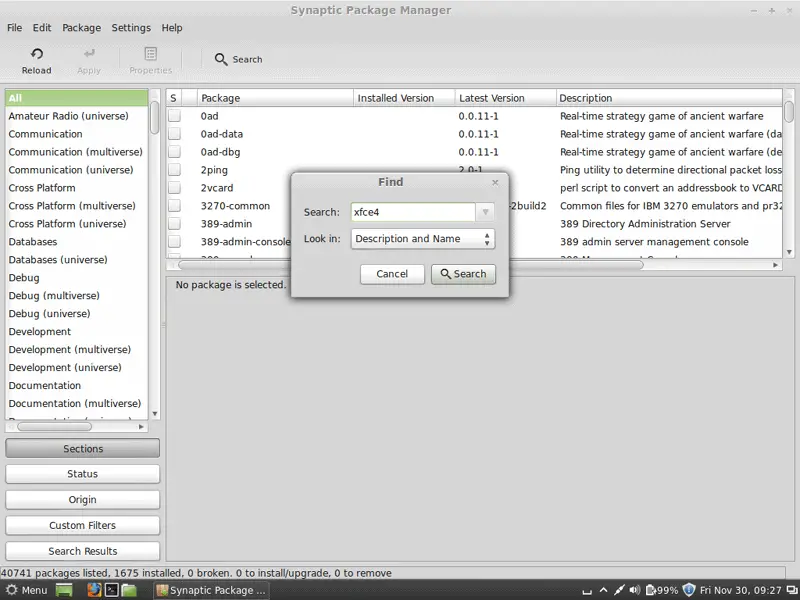
Click on the search button. In the search dialogue, search for xfce4:
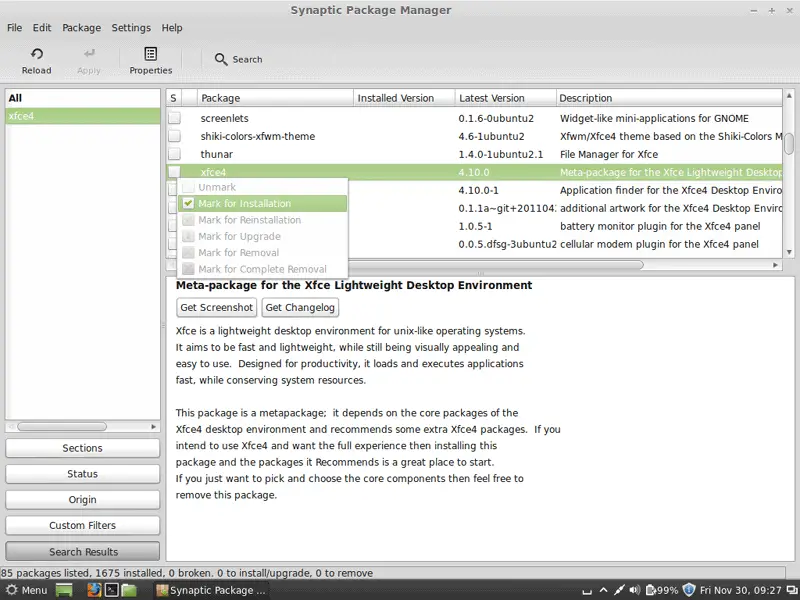
Click on the xfce4 package and select Mark for Installation from the context menu:
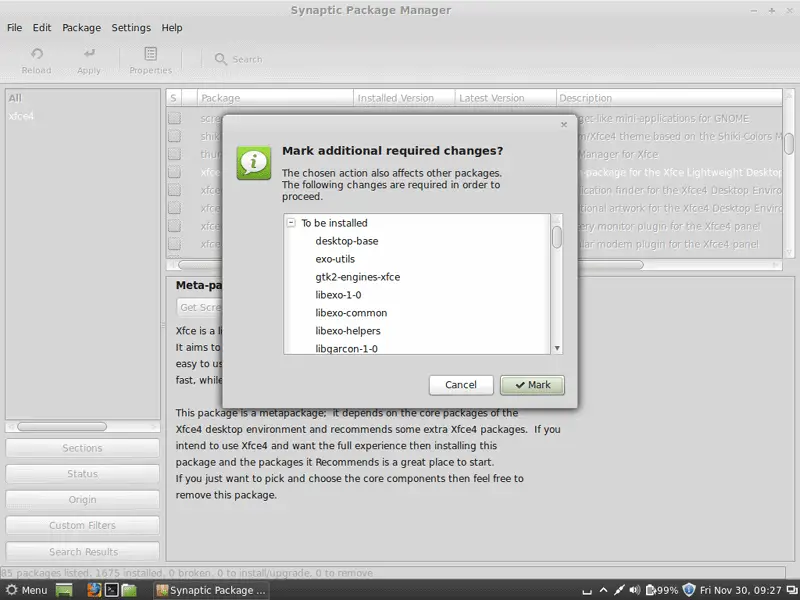
Accept XFCE's dependencies by clicking on Mark:
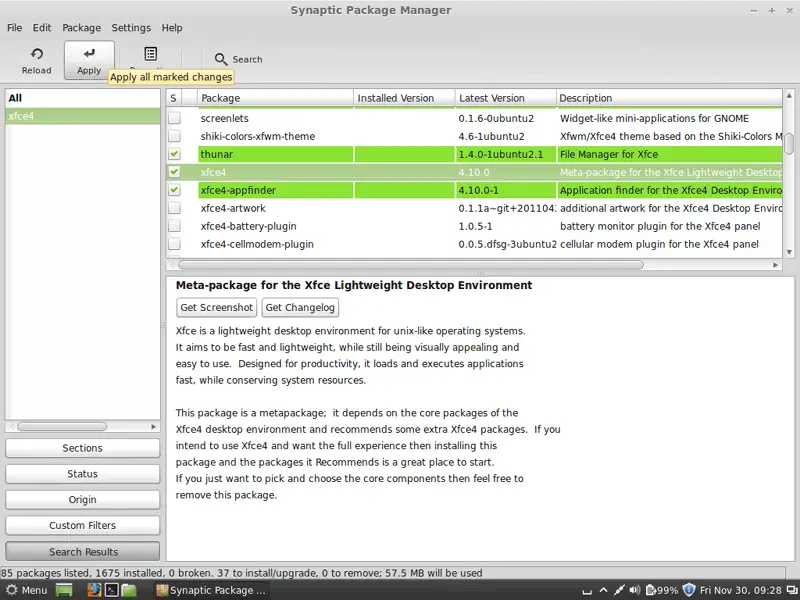
Then click on the Apply button:
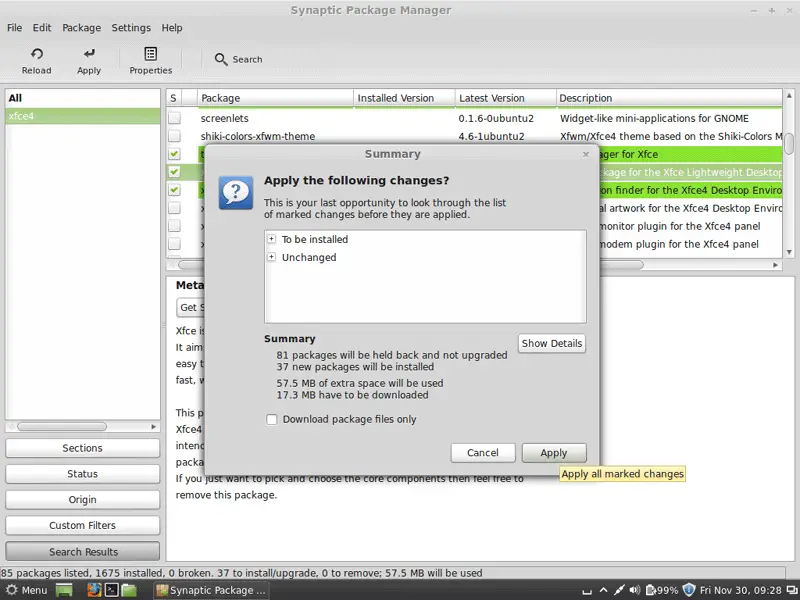
Confirm your selection by clicking on Apply again:
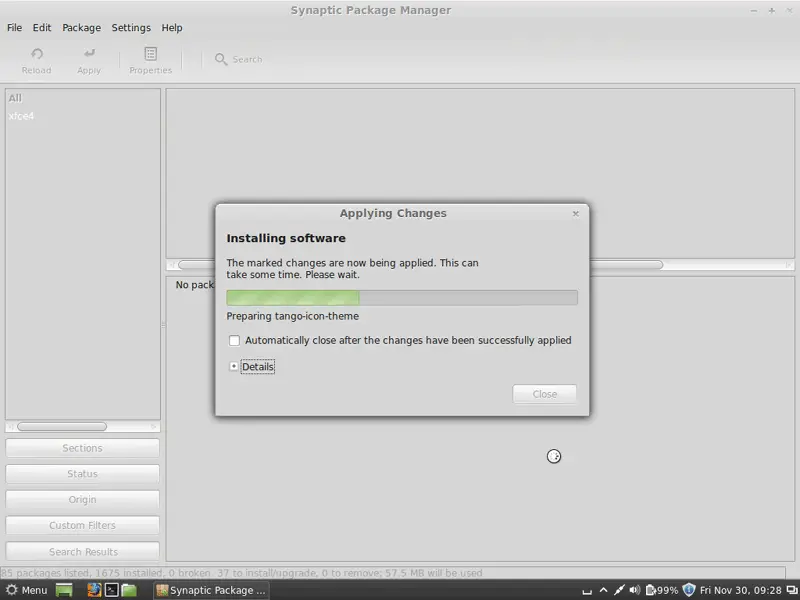
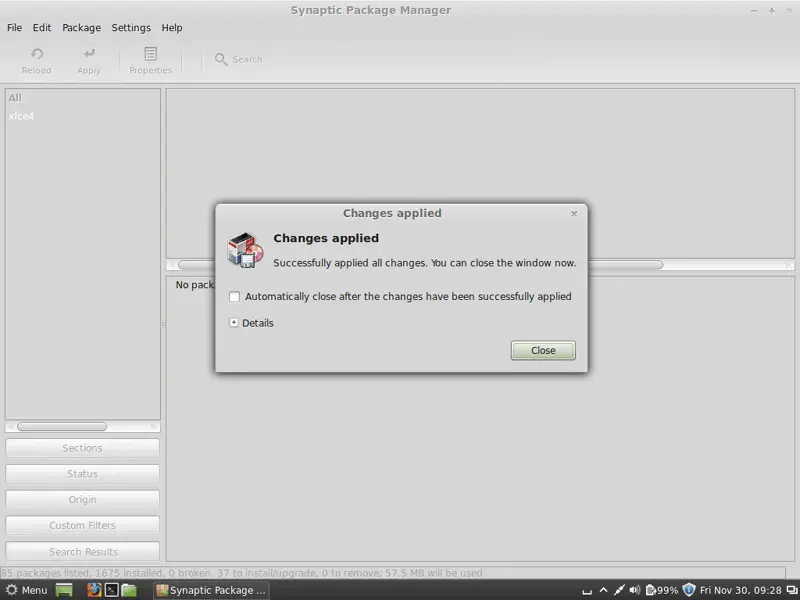
The packages are now being downloaded and installed:
Afterwards click on Close and leave Synaptic:
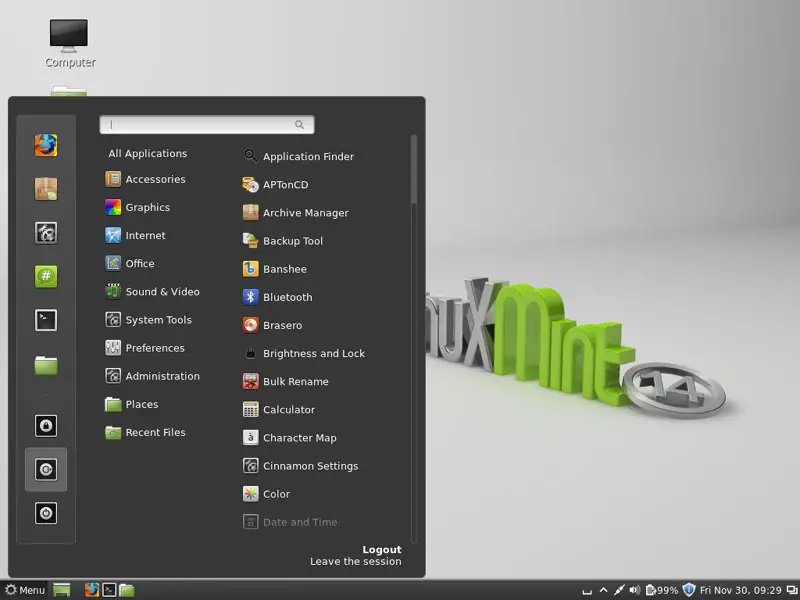
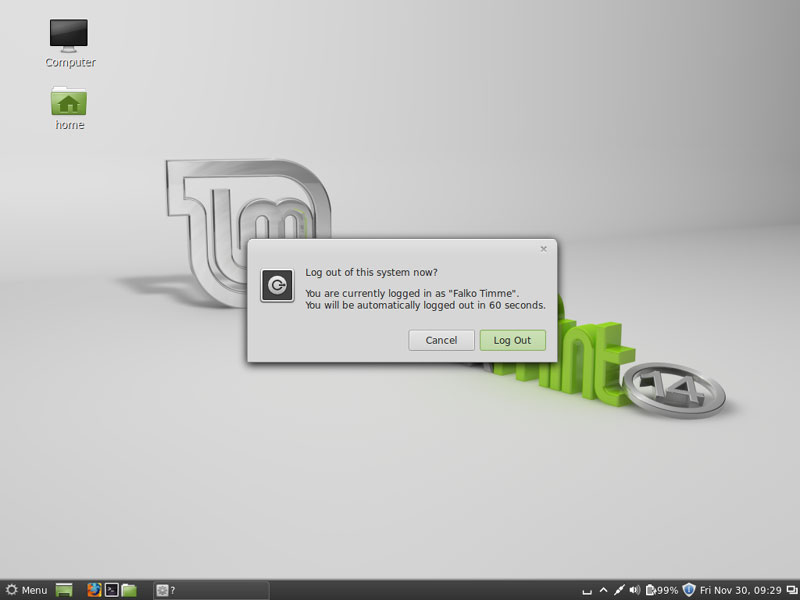
Then log out of your current desktop session:
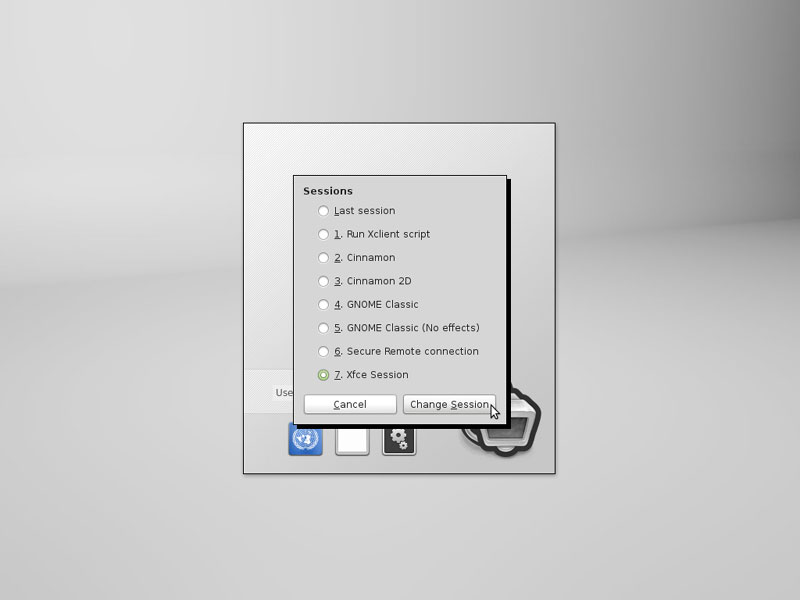
On the Linux Mint login screen, click on the Session icon...

... and select Xfce Session from the list of available desktop environments, then click on Change Session:
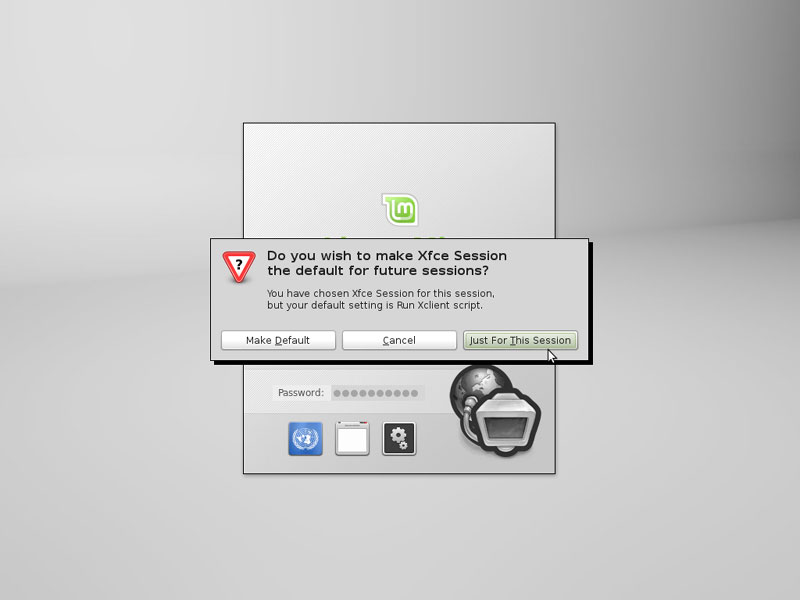
After you've typed in your username and password, you will be asked if you want to use XFCE just for this session, or if you want to make it your default desktop environment (in the first case, you'd have to make the desktop selection again when you reboot the system).
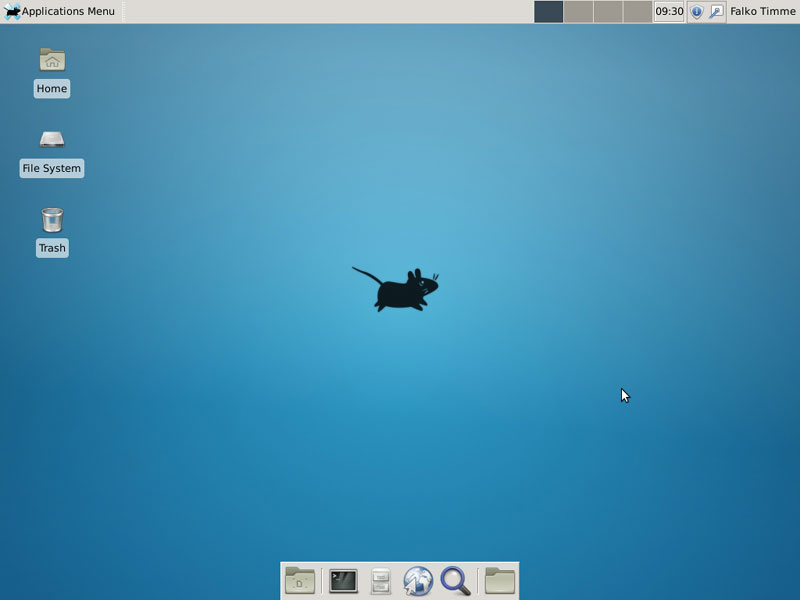
This is how the default XFCE desktop looks:
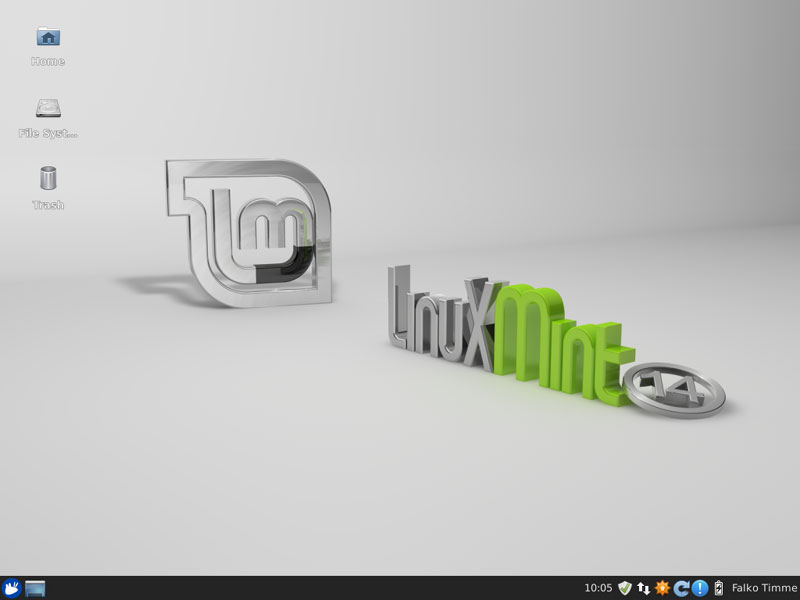
Here's how it looks after I changed a few simple settings:
3 Links
- Linux Mint: http://www.linuxmint.com/

