How To Configure PureFTPd To Accept TLS Sessions On Fedora 18
FTP is a very insecure protocol because all passwords and all data are transferred in clear text. By using TLS, the whole communication can be encrypted, thus making FTP much more secure. This article explains how to configure PureFTPd to accept TLS sessions on a Fedora 18 server.
1 Preliminary Note
You should have a working PureFTPd setup on your Fedora 18 server, e.g. as shown in this tutorial: Virtual Hosting With PureFTPd And MySQL (Incl. Quota And Bandwidth Management) On Fedora 18.
2 Installing OpenSSL
OpenSSL is needed by TLS; to install OpenSSL, we simply run:
yum install openssl
3 Configuring PureFTPd
Open /etc/pure-ftpd/pure-ftpd.conf...
vi /etc/pure-ftpd/pure-ftpd.conf
If you want to allow FTP and TLS sessions, set TLS to 1:
[...] # This option can accept three values : # 0 : disable SSL/TLS encryption layer (default). # 1 : accept both traditional and encrypted sessions. # 2 : refuse connections that don't use SSL/TLS security mechanisms, # including anonymous sessions. # Do _not_ uncomment this blindly. Be sure that : # 1) Your server has been compiled with SSL/TLS support (--with-tls), # 2) A valid certificate is in place, # 3) Only compatible clients will log in. TLS 1 [...] |
If you want to accept TLS sessions only (no FTP), set TLS to 2:
[...] # This option can accept three values : # 0 : disable SSL/TLS encryption layer (default). # 1 : accept both traditional and encrypted sessions. # 2 : refuse connections that don't use SSL/TLS security mechanisms, # including anonymous sessions. # Do _not_ uncomment this blindly. Be sure that : # 1) Your server has been compiled with SSL/TLS support (--with-tls), # 2) A valid certificate is in place, # 3) Only compatible clients will log in. TLS 2 [...] |
To not allow TLS at all (only FTP), set TLS to 0:
[...] # This option can accept three values : # 0 : disable SSL/TLS encryption layer (default). # 1 : accept both traditional and encrypted sessions. # 2 : refuse connections that don't use SSL/TLS security mechanisms, # including anonymous sessions. # Do _not_ uncomment this blindly. Be sure that : # 1) Your server has been compiled with SSL/TLS support (--with-tls), # 2) A valid certificate is in place, # 3) Only compatible clients will log in. TLS 0 [...] |
4 Creating The SSL Certificate For TLS
In order to use TLS, we must create an SSL certificate. I create it in /etc/ssl/private/, therefore I create that directory first:
mkdir -p /etc/ssl/private/
Afterwards, we can generate the SSL certificate as follows:
openssl req -x509 -nodes -days 7300 -newkey rsa:2048 -keyout /etc/ssl/private/pure-ftpd.pem -out /etc/ssl/private/pure-ftpd.pem
Country Name (2 letter code) [XX]: <-- Enter your Country Name (e.g., "DE").
State or Province Name (full name) []:<-- Enter your State or Province Name.
Locality Name (eg, city) [Default City]:<-- Enter your City.
Organization Name (eg, company) [Default Company Ltd]:<-- Enter your Organization Name (e.g., the name of your company).
Organizational Unit Name (eg, section) []:<-- Enter your Organizational Unit Name (e.g. "IT Department").
Common Name (eg, your name or your server's hostname) []:<-- Enter the Fully Qualified Domain Name of the system (e.g. "server1.example.com").
Email Address []:<-- Enter your Email Address.
Change the permissions of the SSL certificate:
chmod 600 /etc/ssl/private/pure-ftpd.pem
Finally restart PureFTPd:
systemctl restart pure-ftpd.service
That's it. You can now try to connect using your FTP client; however, you should configure your FTP client to use TLS - see the next chapter how to do this with FileZilla.
5 Configuring FileZilla For TLS
In order to use FTP with TLS, you need an FTP client that supports TLS, such as FileZilla.
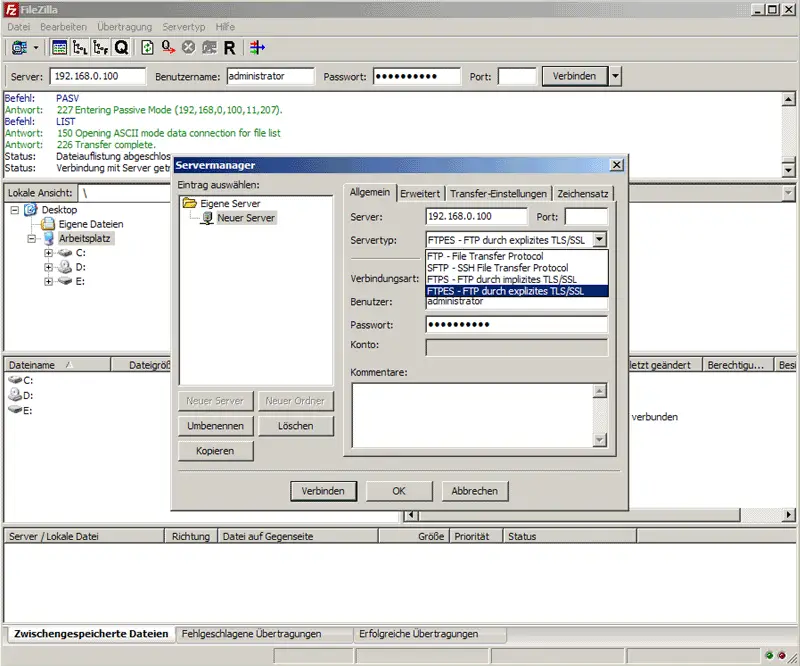
In FileZilla, open the Server Manager:

Select the server that uses PureFTPd with TLS; in the Server Type drop-down menu, select FTPES instead of normal FTP:
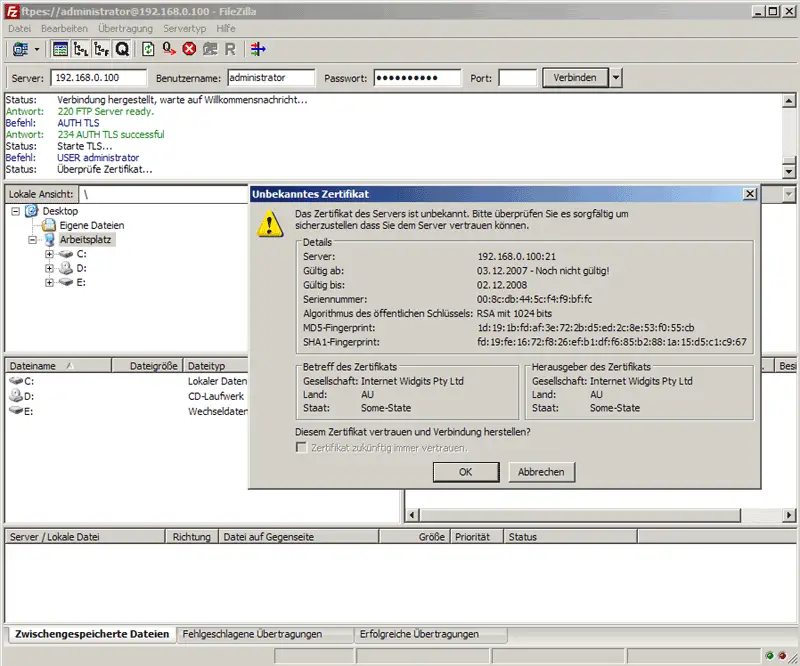
Now you can connect to the server. If you do this for the first time, you must accept the server's new SSL certificate:
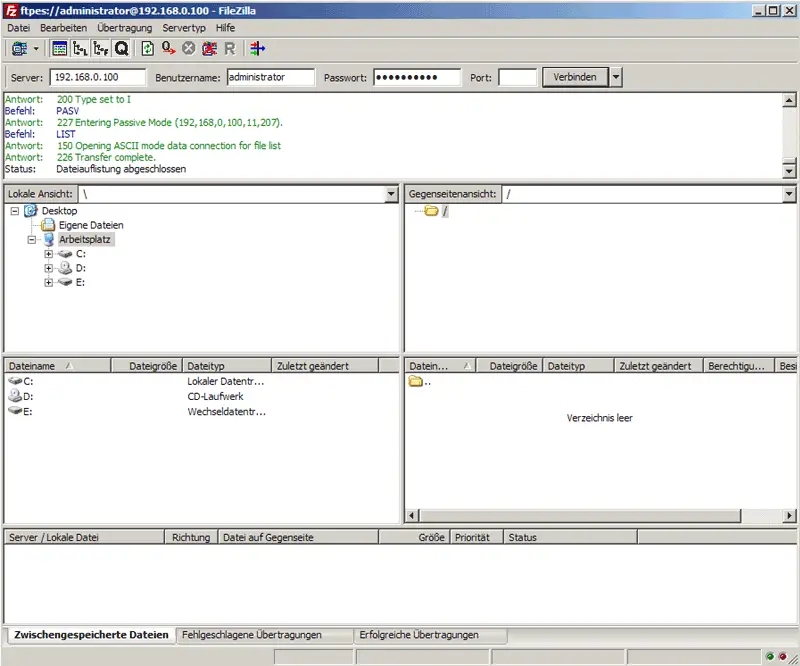
If everything goes well, you should now be logged in on the server:
6 Links
- PureFTPd: http://www.pureftpd.org/
- FileZilla: http://filezilla-project.org/
- Fedora: http://fedoraproject.org/

