How To Install Contao CMS On Ubuntu 14.04
Version 1.0
Author: Srijan Kishore
Last edited 26/Aug/2014
This document describes how to how you can install and run a Contao in Ubuntu 14.04. Contao is a highly flexible and scalable open source Content Management System (CMS) that works for websites of varying capacities. It is a top notch system that ensures implementation of ace accessibility and security, and high SEO standards. Contao remains a modular model and enables usage of loads of additional extensions for enhanced website functionality. Built using contemporary PHP object-oriented programming and the MooTools JavaScript framework, Contao promises a highly intuitive user interface thanks to the use of Ajax.
I do not issue any guarantee that this will work for you!
1 Preliminary Note
This tutorial is based on Ubuntu 14.04 server, so you should set up a basic Ubuntu 14.04 server installation before you continue with this tutorial. The system should have a static IP address. I use 192.168.0.100 as my IP address in this tutorial and server1.example.com as the hostname. You must have LAMP server installed as explained in this tutorial before continuing further. We need to make ensure that Apache server allows it to use the .htaccess file for rewriting its URLs. This is needed for creating great search engine friendly URLs.
2 Installation and configuration
Contao can be installed as follows:
cd /var/www/html/
curl -L http://download.contao.org | sudo tar -xzp
We need to give appropriate permissions, which will be done as follows:
chown -R  www-data:www-data contao-3.3.4/
chmod -R 755 contao-3.3.4/
chmod -R 775 contao-3.3.4/assets/images/
chmod -R 775 contao-3.3.4/system/logs/
chmod -R 775 contao-3.3.4/system/tmp
mv /var/www/html/contao-3.3.4/.htaccess.default /var/www/html/contao-3.3.4/.htaccess
3 Creating a New Database
Now we need to add the database to be used in Contao:
mysql -u root -p
Enter your mysql password while installation of the mysql-server at the time of LAMP installation. You can use any value for the Contao database and the username, in my case I used:
CREATE DATABASE contaodb;
CREATE USER contaoadmin@localhost IDENTIFIED BY 'contaopassword';
GRANT ALL PRIVILEGES ON contaodb.* TO contaoadmin@localhost;
FLUSH PRIVILEGES;
exit
Now will install vsftpd to make ftp-connections with the CMS. Proceed as:
apt-get install vsftpd
vi /etc/vsftpd.conf
Do the settings like this:
[...]

local_enable=YES
[...]

write_enable=YES
[...]
4 Web installation
Now we are ready for the web-installation part. Goto URL http://192.168.0.100/contao-3.3.4/contao/install.php
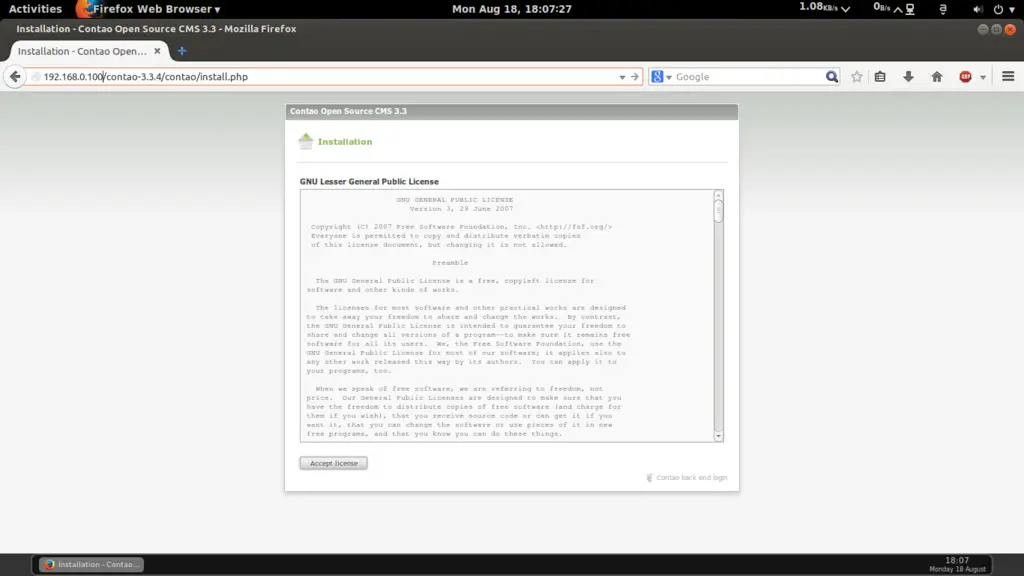
Here press Accept license:
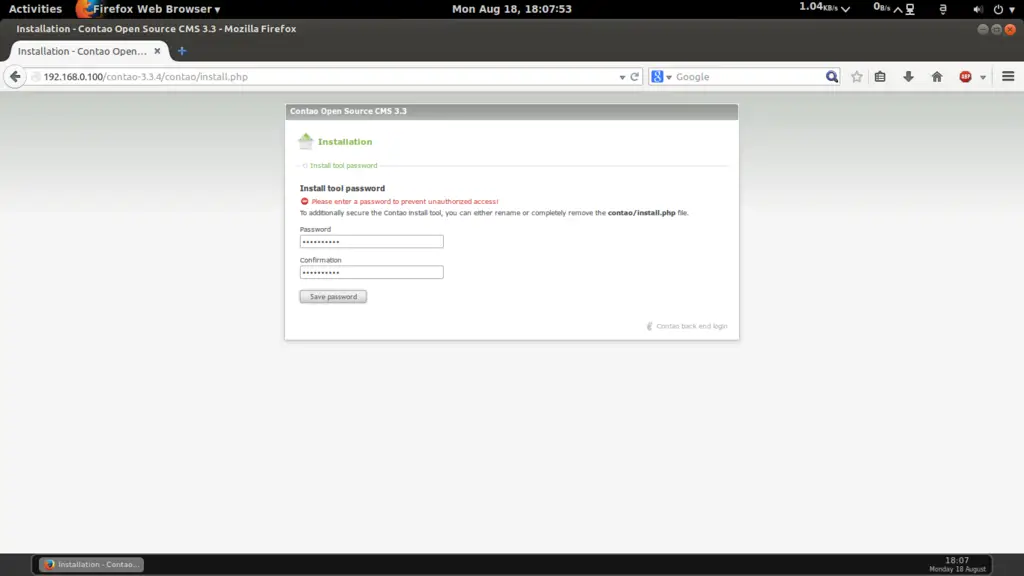
Please enter any password for the tool as in my case I used howtoforge and press Save password.
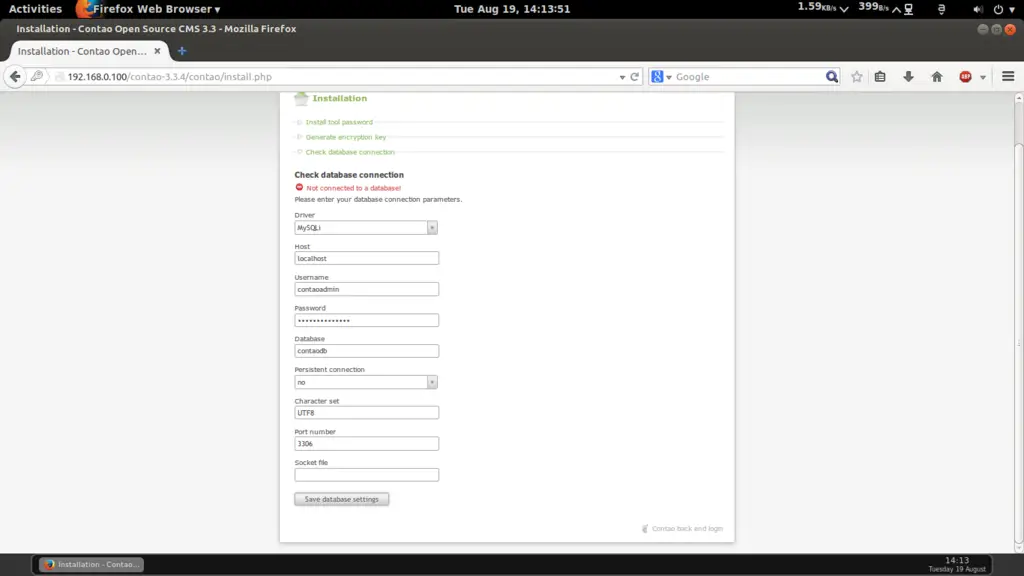
Now make the connections with the Mysql/Mariadb as done before. In my case it was
Driver = MySQLi
Host = locahost
Username = contaoadmin
Password = contaopassword
Database = contaodb
Persistent connection = no
Character set = UTF8
Port number = 3306
and then press Save database settings.
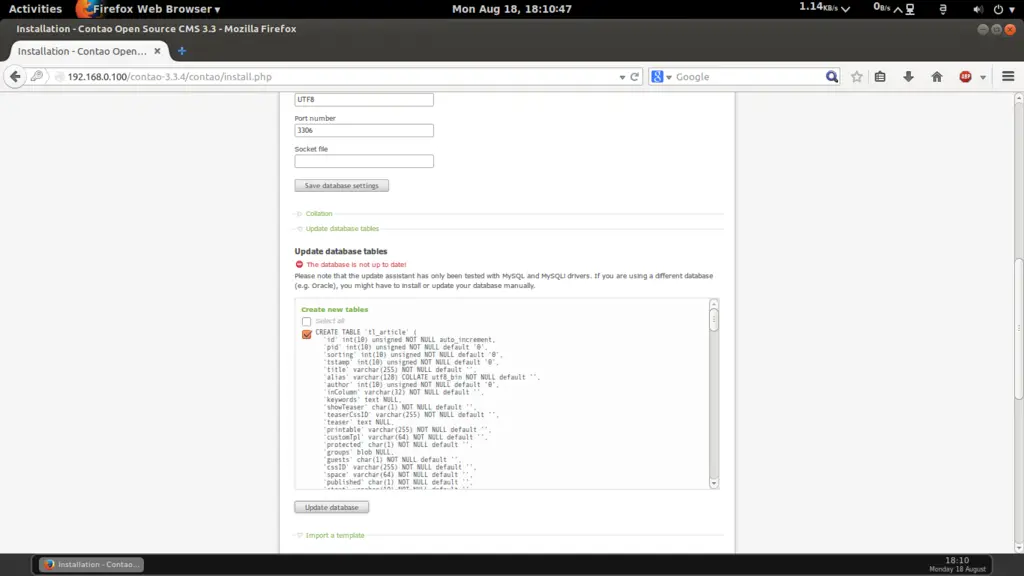
Press Update database
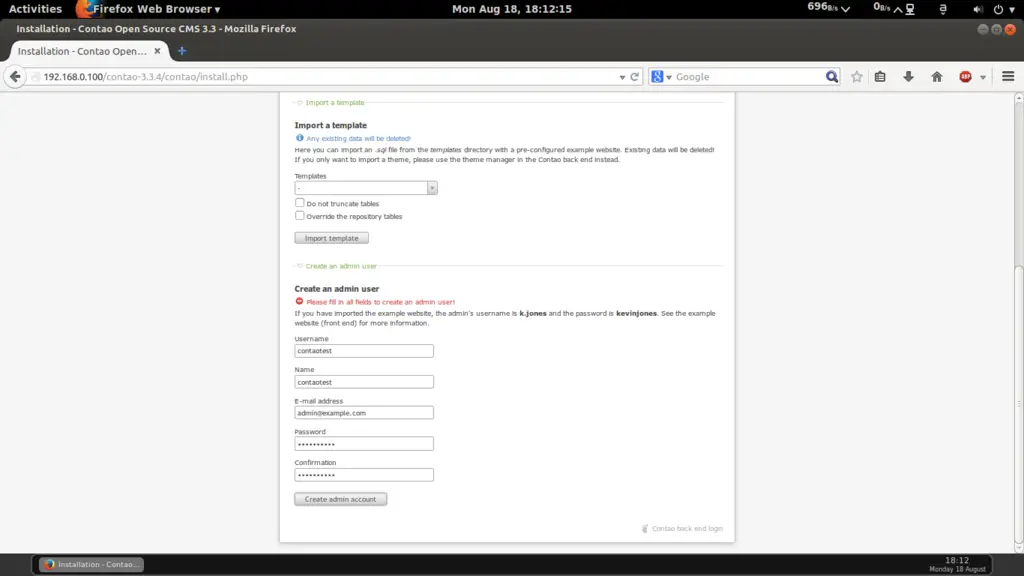
We can import the Temples later. Moving further we need to create an admin account, you can choose any value. In my case I used:
Username = contaotest
Name = contaotest
Email address = [email protected]
Password = howtoforge
Now press the button Create admin account
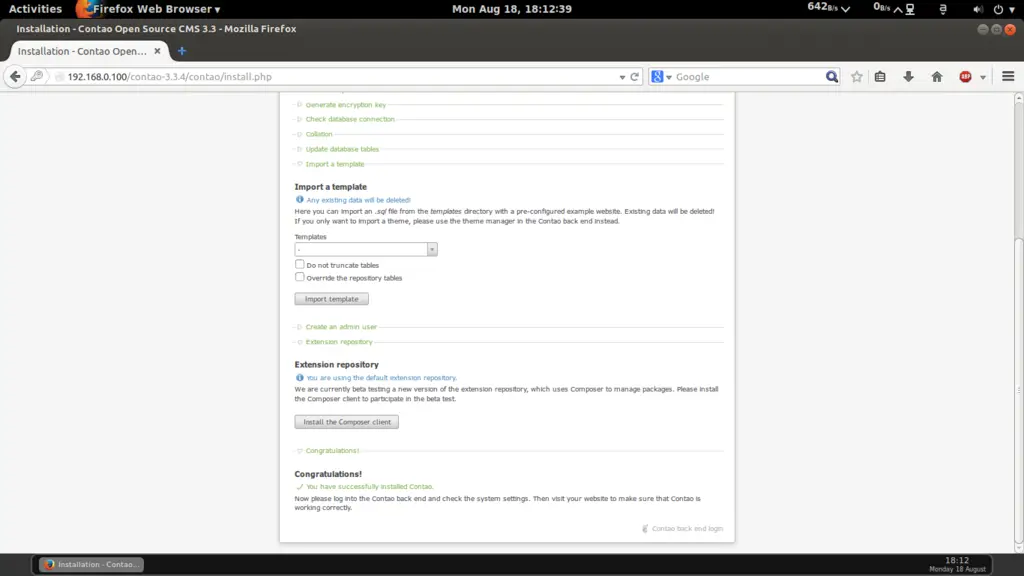
The above screenshot shows the successful installation of Contao.
Then we will further do login to the URL http://contao-3.3.4/contao with the Username=contaotest and Password=howtoforge
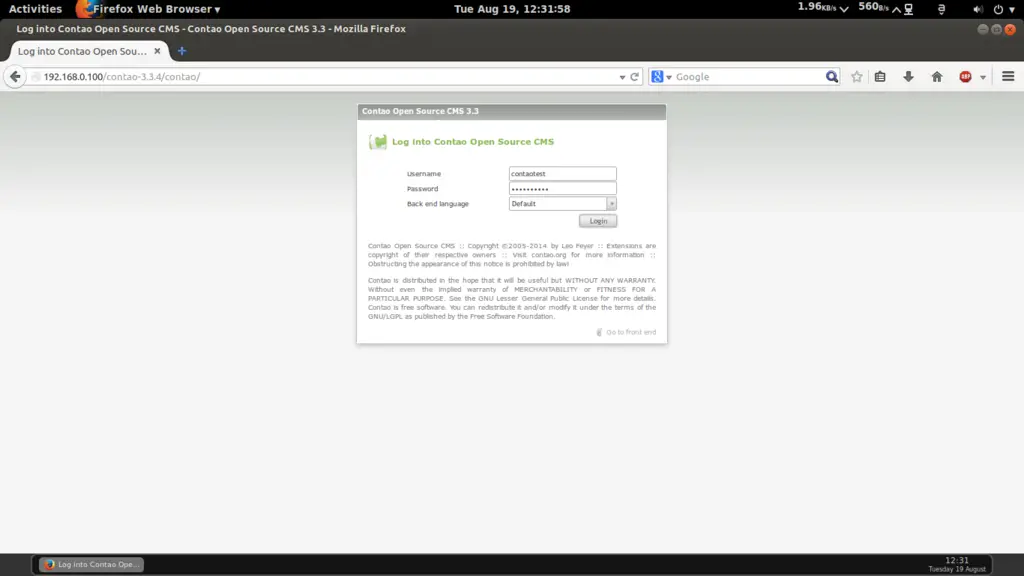
It will prompt you to the login screen as:
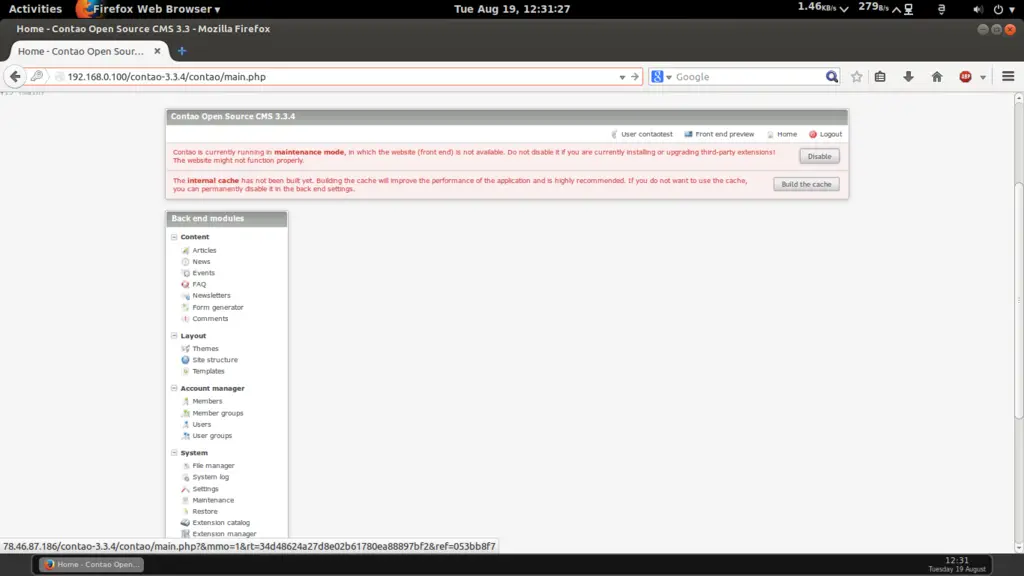
It will show two warnings for maintenance mode and cache error. As the installation is raw so we can ignore the warnings, just build the cache and disable the warning. Then logout the session and login again.

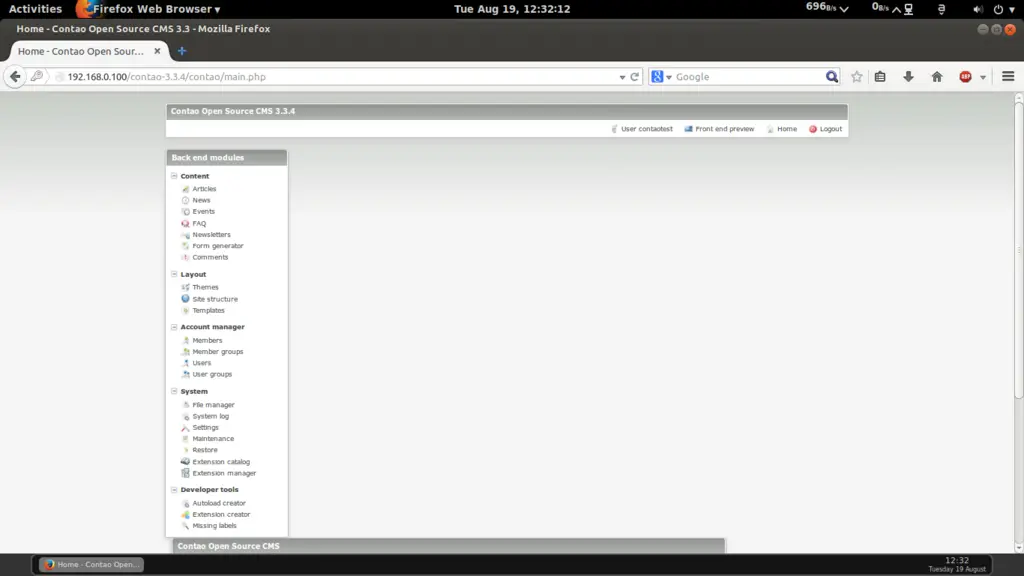
Congratulations! You have have fully functional Contao CMS installed with LTS version of Ubuntu 14.04 :)
5 Links
- Ubuntu : http://www.ubuntu.com/
- Contao : https://contao.org/en/

