Installation and configuration of RainLoop on Debian 7 (Wheezy)
Version 1.0
Author: Srijan Kishore
This document describes how to install and configure Rainloop on Debian 7. Rainloop is a popular free Open Source Web Application primarily written in PHP. It offers users a swift and contemporary web interface for accessing emails on a majority of commonly used domain mail providers such as Outlook, Yahoo, and Gmail, in addition to local mail servers. Rainloop also doubles up as a Mail User Agent (MUA) by accessing domain mail via IMAP/ SMTP protocols. This tutorial explains the process of installing Rainloop Webmail on Debian 7 and customizations for Rainloop.
1 Preliminary Note
This tutorial is based on Debian 7 server, so you should set up a basic Debian 7 server installation before you continue with this tutorial. The system should have a static IP address. I use 192.168.0.100 as my IP address in this tutorial and server1.example.com as the hostname.
2 Installation of RainLoop
As we all know, the RainLoop Webmail is essentially developed in PHP for Linux (with Apache). Hence, it is imperative to have a running Web server with PHP installed on the system, in addition to key PHP modules like cURL, dom, ibxml, openssl, DateTime, and PCRE. In order to install the requisite packages, users have the option to use any of the Package Manager Tools like yum/ apt-get based on the Linux distribution in use. Given below is a step-by-step guide on the process of installing Rainloop Webmail on Debian 7.
2.1 Installation of Apache, PHP and MySQL
As mentioned above, to install the requsite packets on a Debian-based system, you must use the apt-get command (as shown below):
apt-get install apache2
apt-get install mysql-server mysql-client
New password for the Mysql "root" user: <--mysqlpassword
Repeat password for the Mysql "root" user: <--mysqlpassword
apt-get install php5 libapache2-mod-auth-mysql libmysqlclient15-dev php5-mysql curl libcurl3 libcurl3-dev php5-curl php5-json
service apache2 start
service mysql start
2.2 Downloading and Installing RainLoop Webmail
We can install Rainloop as follows:
mkdir -p /var/www/rainloop
cd /var/www/rainloop
Further:
curl -s http://repository.rainloop.net/installer.php | php
root@server1:/var/www/rainloop# curl -s http://repository.rainloop.net/installer.php | php
#!/usr/bin/env php
[RainLoop Webmail Installer]
* Connecting to repository ...
* Downloading package ...
* Complete downloading!
* Installing package ...
* Complete installing!
* [Success] Installation is finished!
root@server1:/var/www/rainloop#
2.3 Permissions :
The folder must have appropriate permissions:
chown -R www-data:www-data .
find . -type d -exec chmod 755 {} \;
find . -type f -exec chmod 644 {} \;
2.4 Configure RainLoop via Admin Interface
Users may configure the RainLoop Application in two ways as follows:
1. By using the Admin Panel
2. By modifying the application.ini file manually from the terminal.
However, a majority of the basic options are configured via web interface, hence that should suffix in most cases. To access the admin panel, we can use the following default login credentials:
Now we can access the administrator panel at http://192.168.0.100/?admin, user=admin and Password=12345
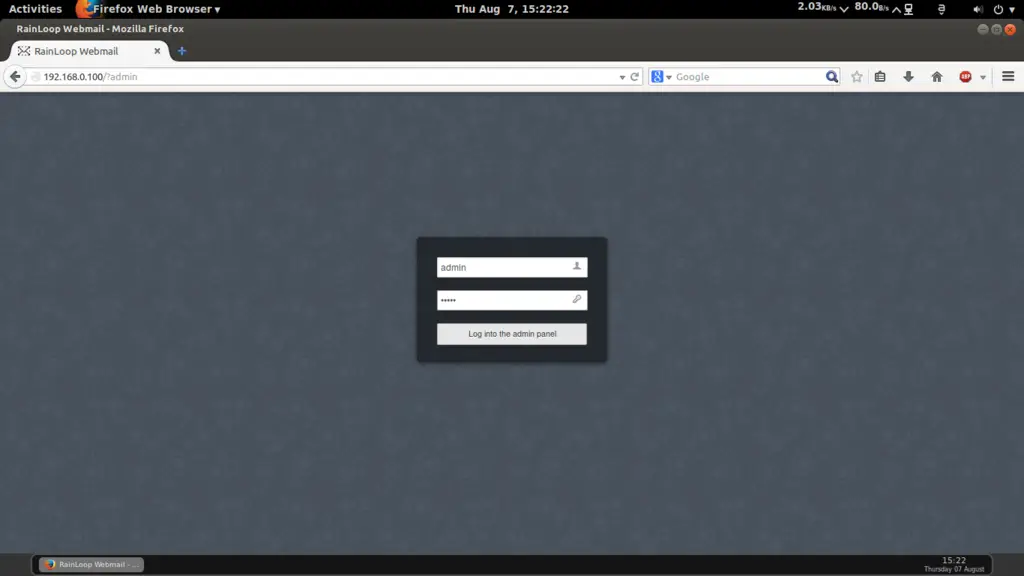
This will be the default welcome screen.
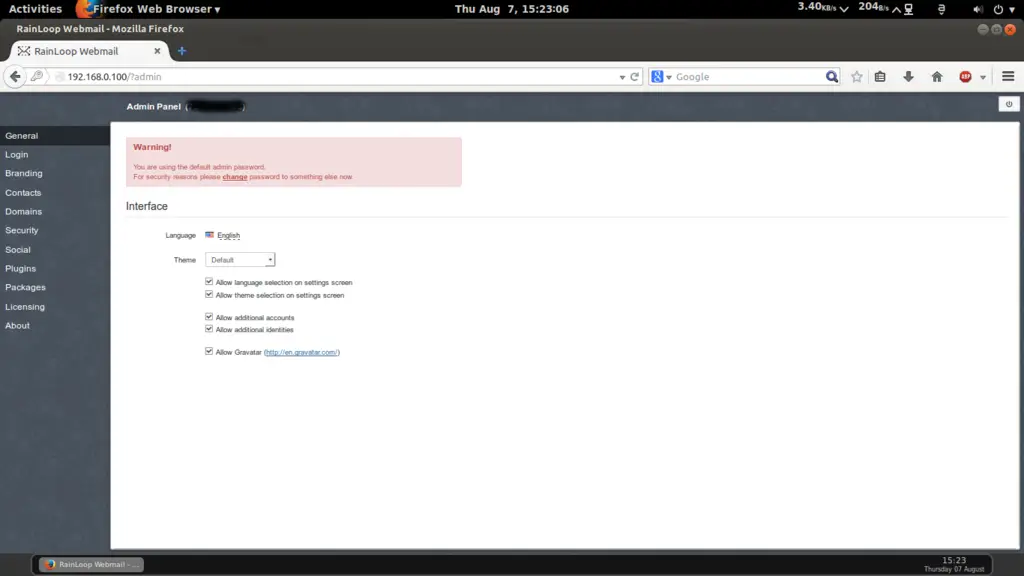
3 Rainloop customizations
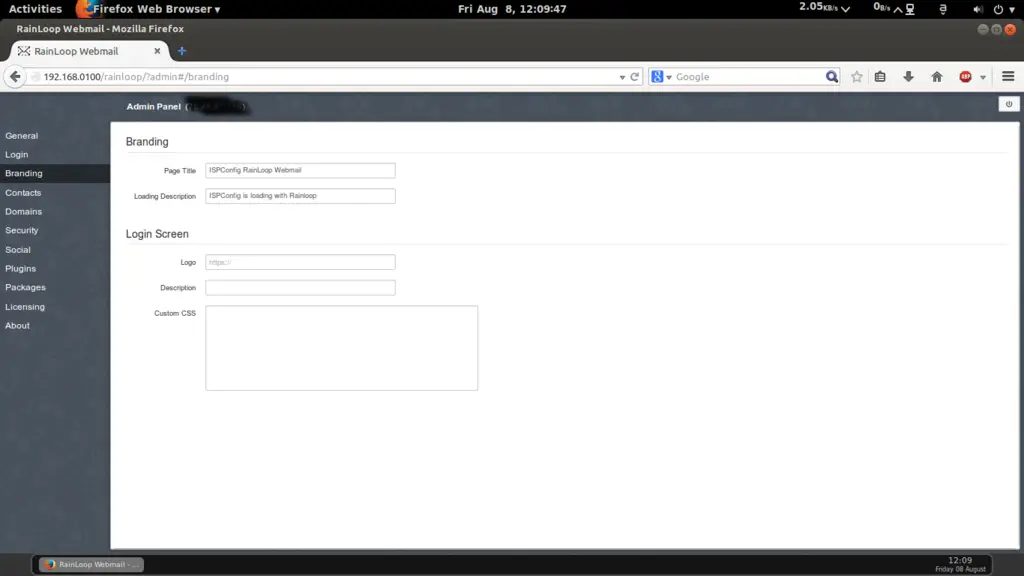
We can customize Rainloop as per our need and uses. I have categorized them below.3.1 Branding
We can customize your login screen by adding Custom Titles, Descriptions and Path to the Logo.
3.2 Enabling Contacts
To enable the Contacts feature, we need supported database. For the purpose of this guide, we would be using MySQL as a database for enabling contacts. Hence, we must create the database manually using the following commands on the terminal. We will create the database required for the Rainloop:mysql -uroot -p
In Mysql prompt we will enter Rainloop details as database=rainloopdb, user=rainloopuser and password=rainlooppassword;
create database rainloopdb;
GRANT ALL PRIVILEGES ON rainloopdb.* TO 'rainloopuser'@'localhost' IDENTIFIED BY 'rainlooppassword';
flush privileges;
quit
Next, we will enable the contacts feature as per the following path Admin Panel --> Contacts Here you need to select Storage Type=MySql as Mysqlite is not supported here:
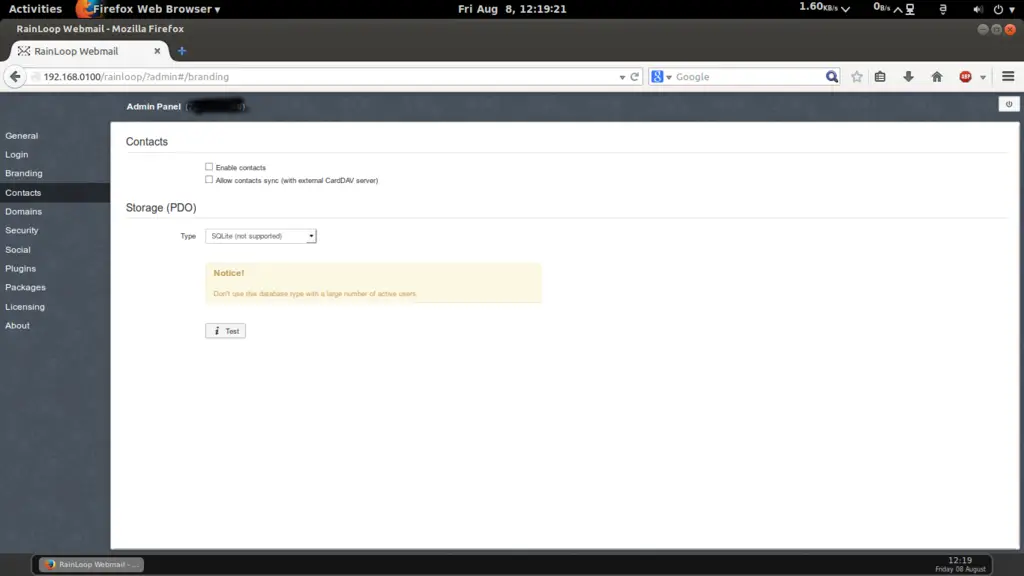
Here select the checkbox for Enable Contacts, Allow Contact Sync. Give the values of Mysql database as configured before at the time of database creation:

As in my case it was
dsn=mysql:host=127.0.0.1;port=3306;dbname=rainloopdb
User=root
and
Password=mariadbpassword
Or you can also use
dsn=mysql:host=127.0.0.1;port=3306;dbname=rainloopdb
User=rainloopuser
and
Password=rainlooppassword
Further press the button i Test, you will notice that if the entries are correct the tab will change from gray colour to green color tab.

3.3 Adding Domians
Rainloop users have option to add/configure their domains, just proceed to Admin panel --> Domains --> Add Domain :
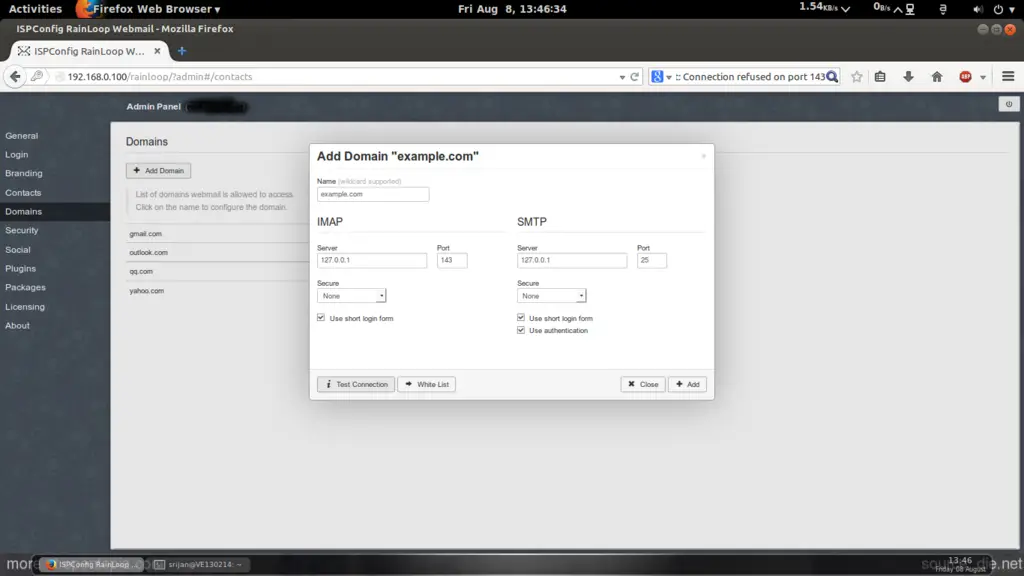
Note: The above values may differ as per your mail-server configuration, please ensure that to check the Use short login form checkbox
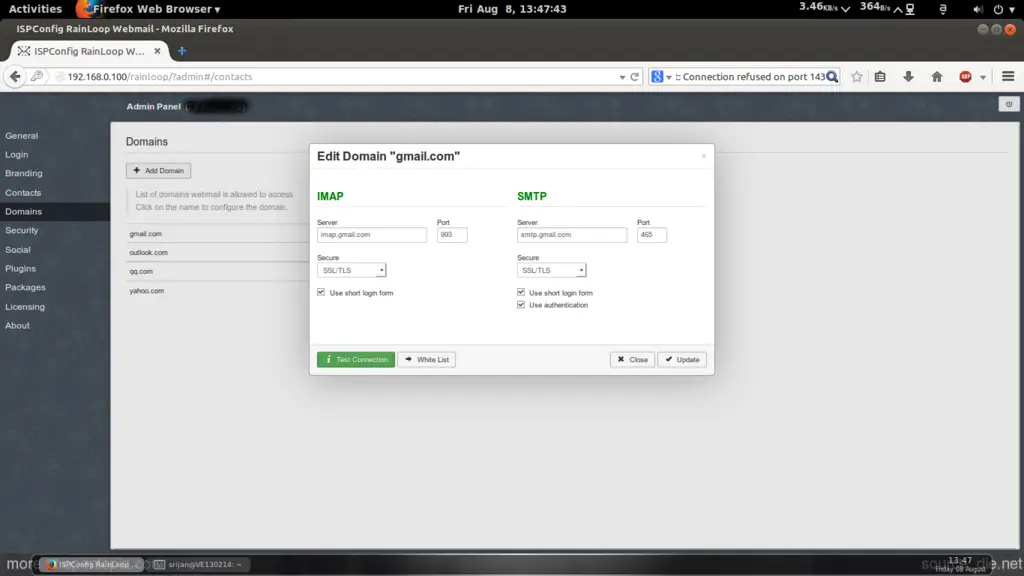
You will find pre-configured settings for the gmail.com, yahoo.com, outlook.com and qq.com You can add your mail domain also. The entries must fulfill your mailserver configurations:
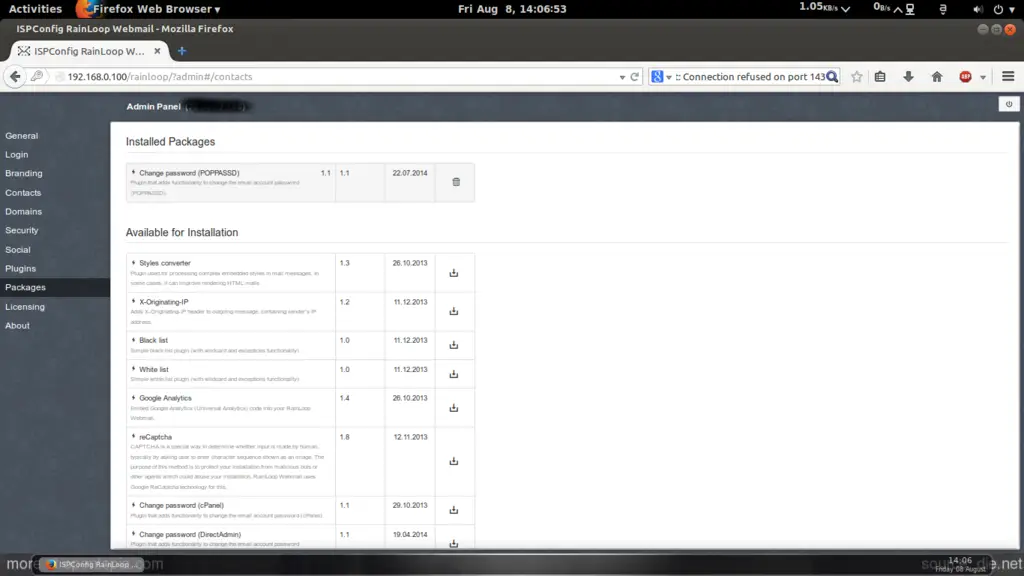
3.4 Plugins-enabling and password change
The plugins add enhanced functionality for changing the email account password. To enable this plugin, we will have to install poppasswd here:
apt-get install poppassd
Further we need to install it in the Rainloop from Admin Panel--> Packages :

Download the plugin as shown and it will appear in the Installed packages section as follows:
Now to allow the plugin goto Admin Panel --> Plugins and select the checkbox for that:

3.5 Social Integration
We can integrate rainloop with social networking platforms like Facebook, Twitter and Google. Additionally Dropbox can also be integrated to allow the users to send attachments for big and small files. it can be done as follows. Goto Admin Panel --> Social:You may also look for comprehensive instructions on the social integration task by visiting http://rainloop.net/docs/social/
4 Links
- rainloop : http://rainloop.net/
- Debian : https://www.debian.org/

