Ubuntu 14.10 (Utopic Unicorn) minimal server installation tutorial
This tutorial exists for these OS versions
- Ubuntu 22.04 (Jammy Jellyfish)
- Ubuntu 20.04 (Focal Fossa)
- Ubuntu 18.04 (Bionic Beaver)
- Ubuntu 17.10 (Artful Aardvark)
- Ubuntu 17.04 (Zesty Zapus)
- Ubuntu 16.10 (Yakkety Yak)
On this page
This tutorial shows how to install an Ubuntu 14.10 minimal server. The purpose of the guide is to show a basic installation of Ubuntu 14.10 that can be used as basis for the other Ubuntu 14.10 tutorials here at howtoforge like the perfect server tutorials.
1. Requirements
To install such a system you will need the following:
- the Ubuntu 14.10 server CD, available here: http://releases.ubuntu.com/releases/14.10/ubuntu-14.10-server-i386.iso (i386) or http://releases.ubuntu.com/releases/14.10/ubuntu-14.10-server-amd64.iso (x86_64).
2. Preliminary Note
In this tutorial I use the hostname server1.example.com with the IP address 192.168.0.100 and the gateway 192.168.0.1 These settings might differ for you, so you have to replace them where appropriate.
3. The Base System
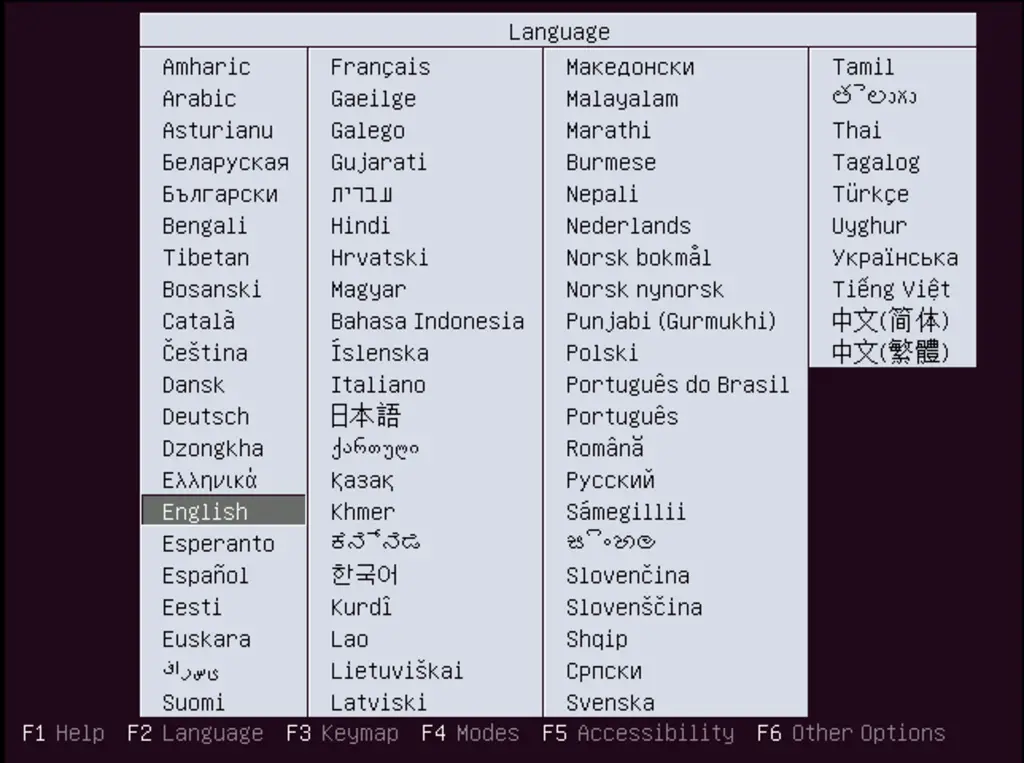
Insert your Ubuntu install CD into your system and boot from it. Select your language:
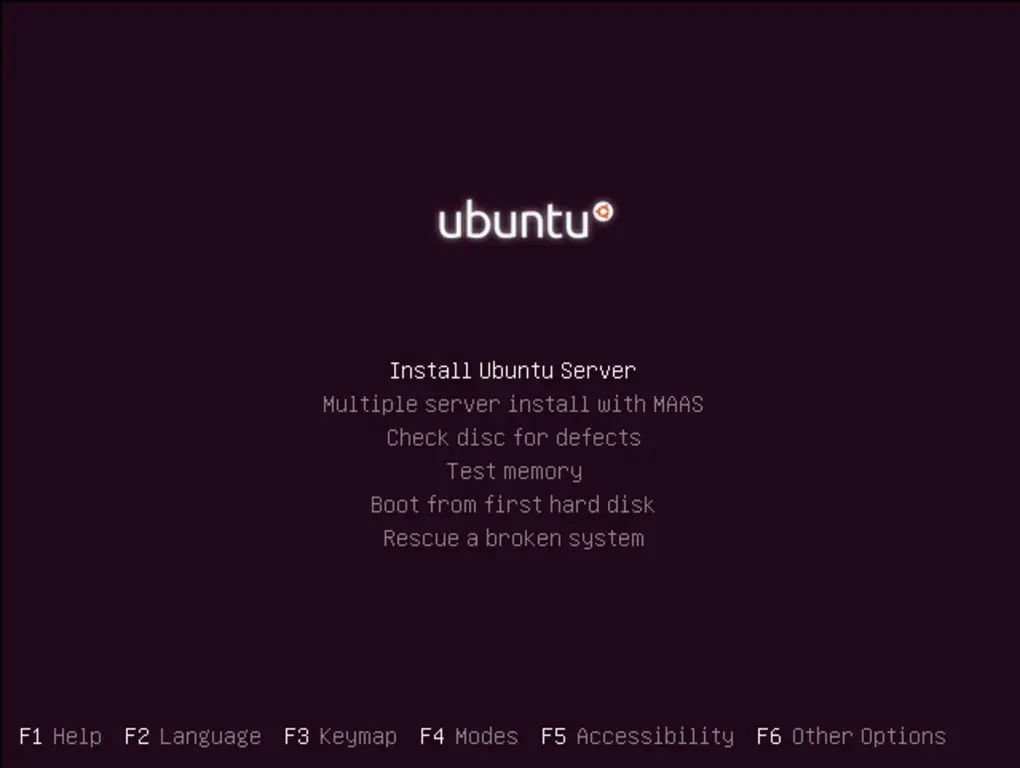
Then select Install Ubuntu Server:
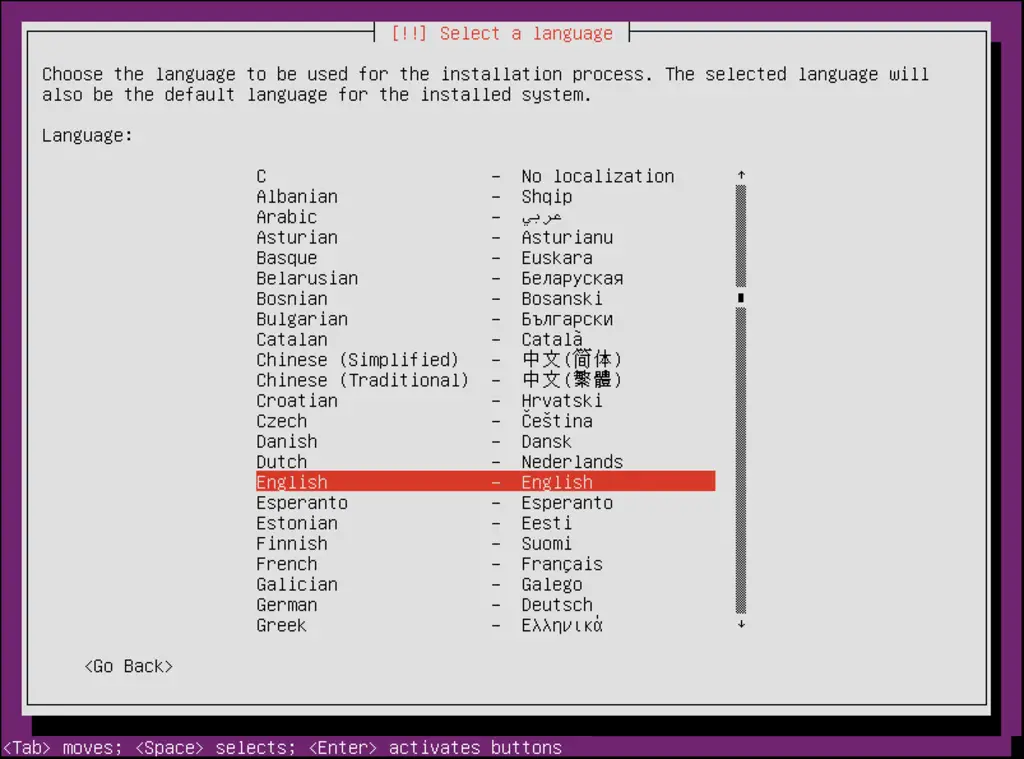
Choose your language again (?):
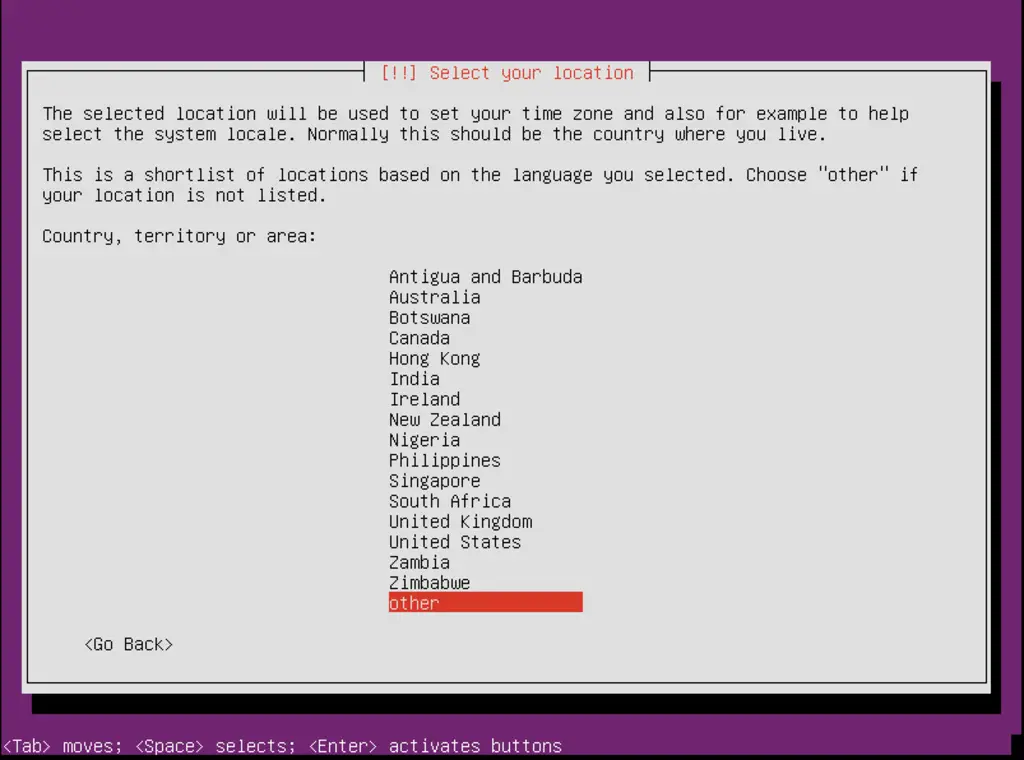
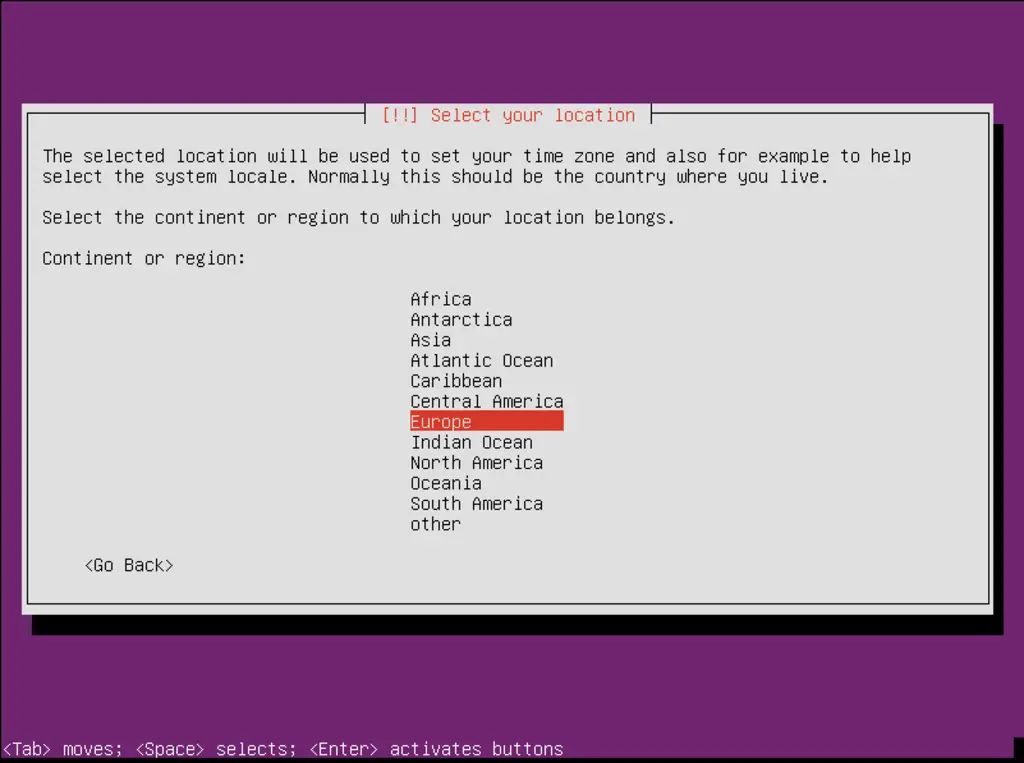
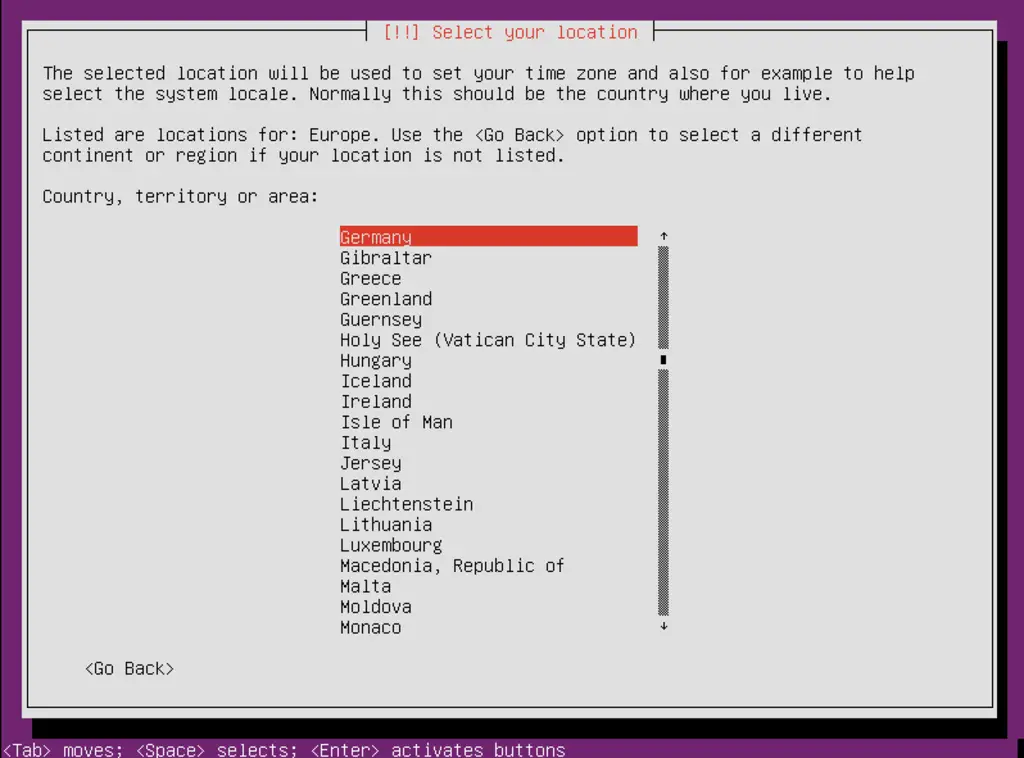
Then select your location:
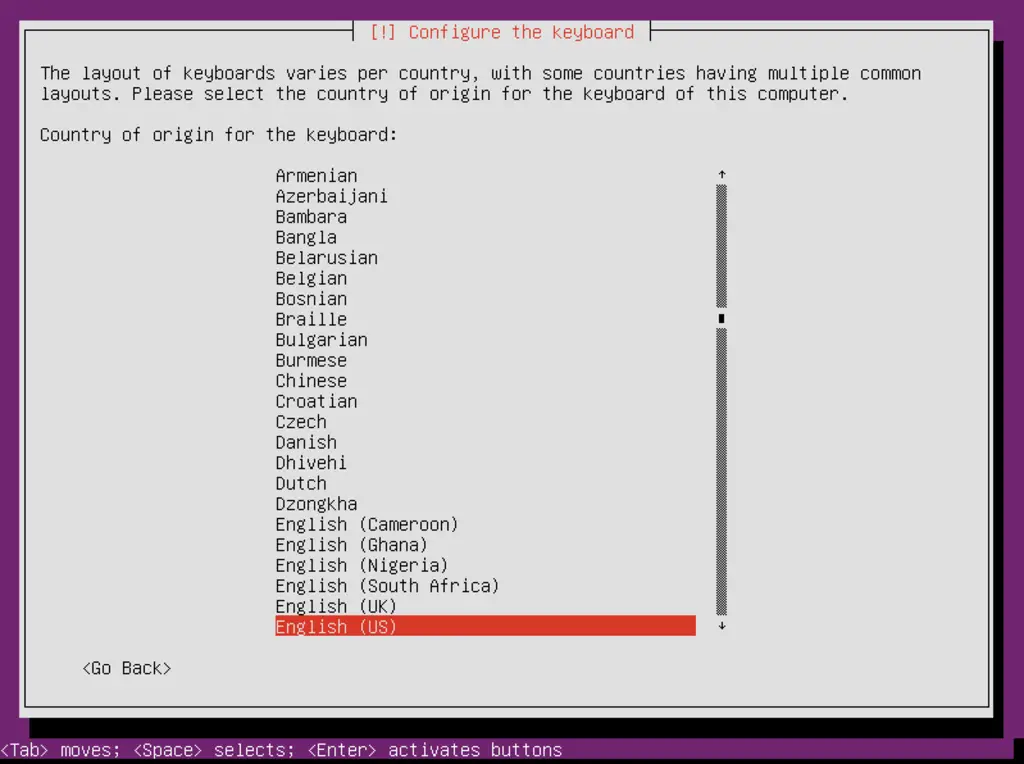
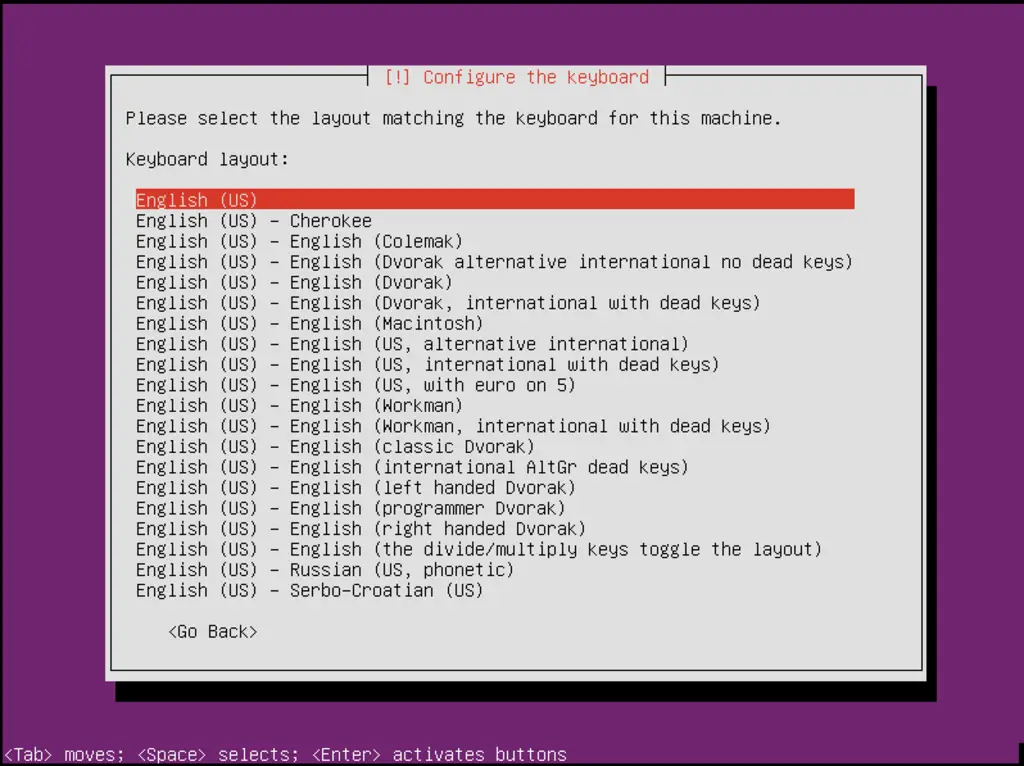
Choose a keyboard layout (you will be asked to press a few keys, and the installer will try to detect your keyboard layout based on the keys you pressed) In my case I prefer No & keyboard layout as English US: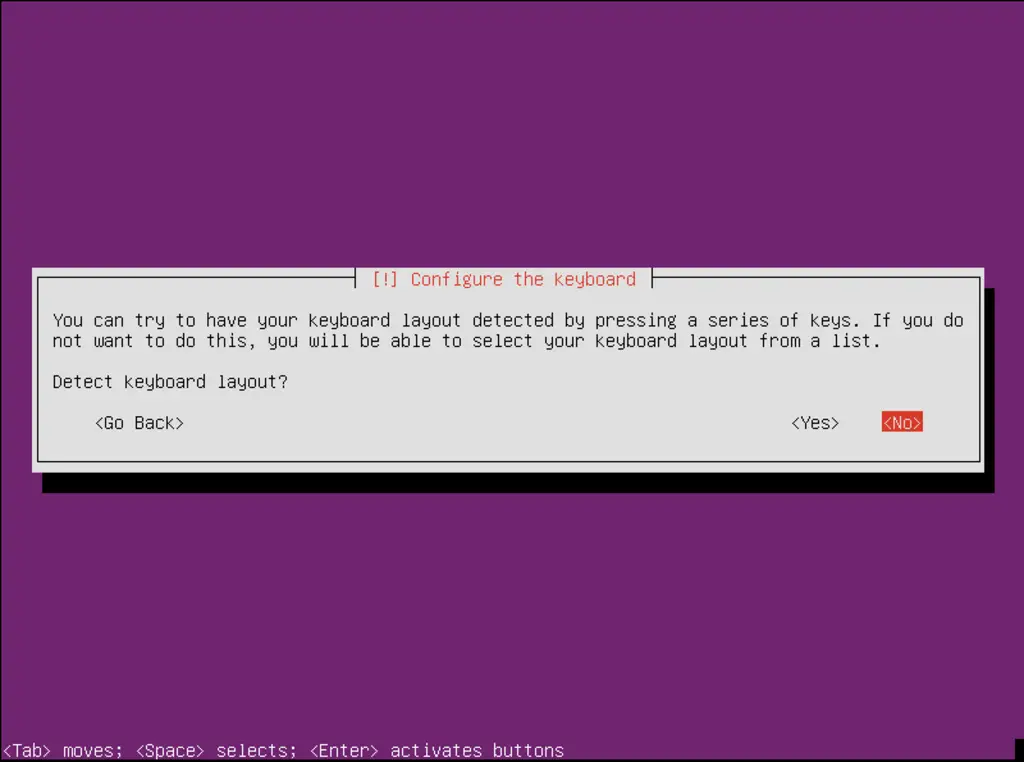
The installer checks the installation CD, your hardware, and configures the network with DHCP if there is a DHCP server in the network: 
Enter the hostname. In this example, my system is called server1.example.com, so I enter server1.example.com: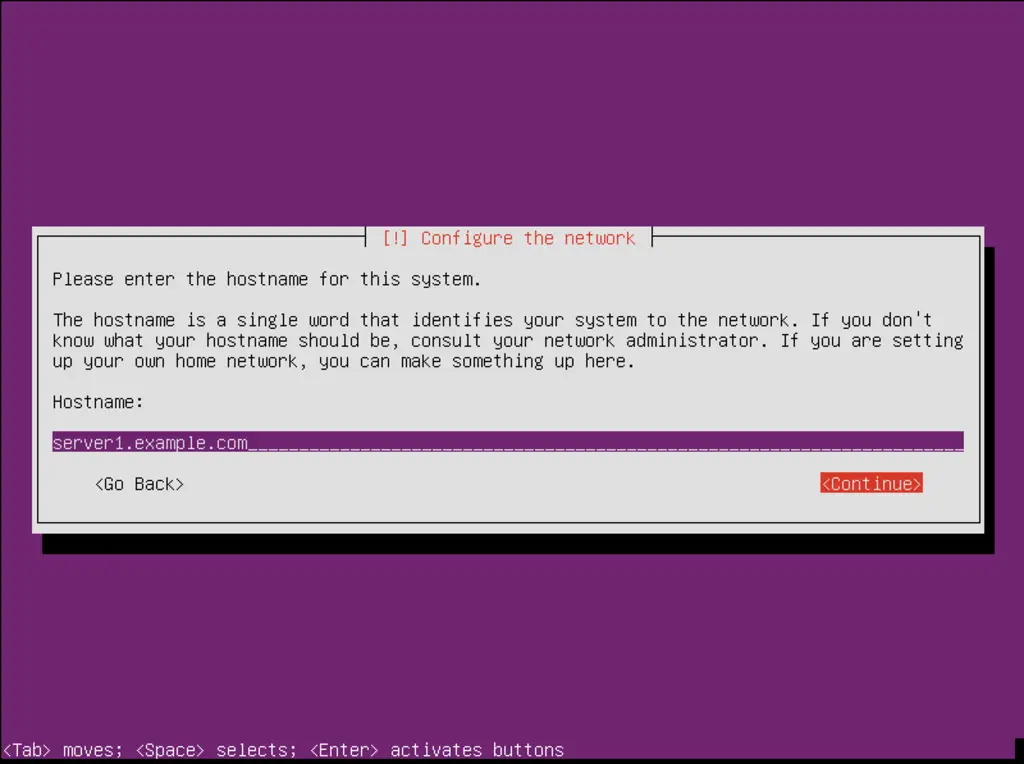
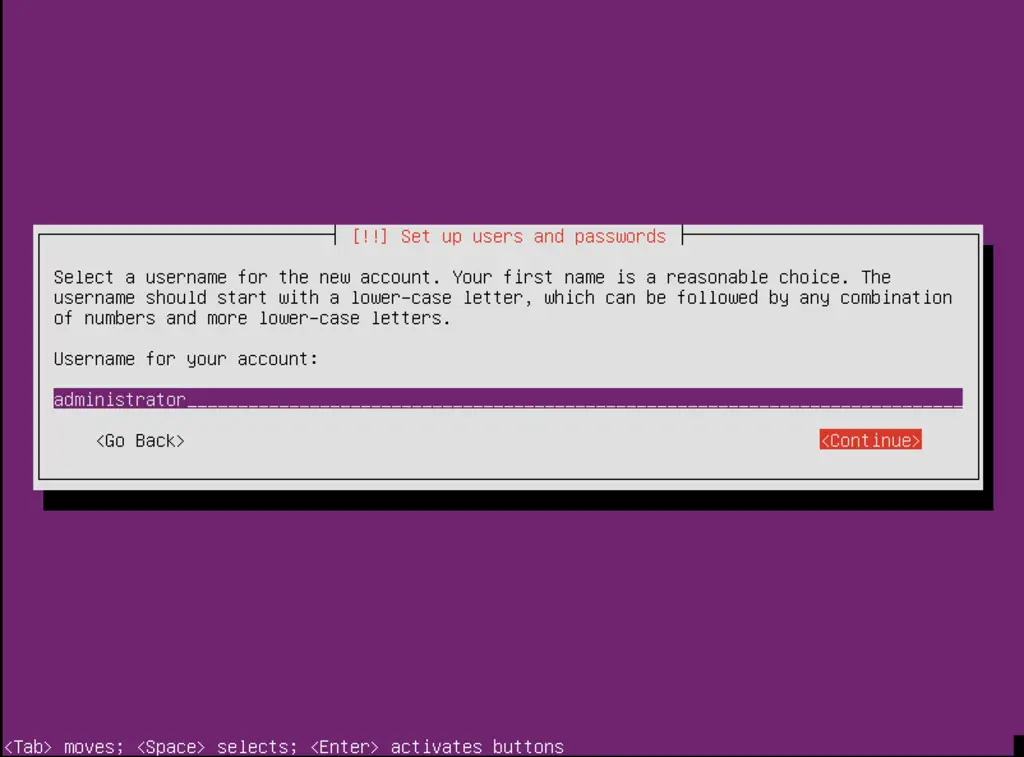
Create a user, for example the user Administrator with the user name administrator (don't use the user name admin as it is a reserved name on Ubuntu 14.10): 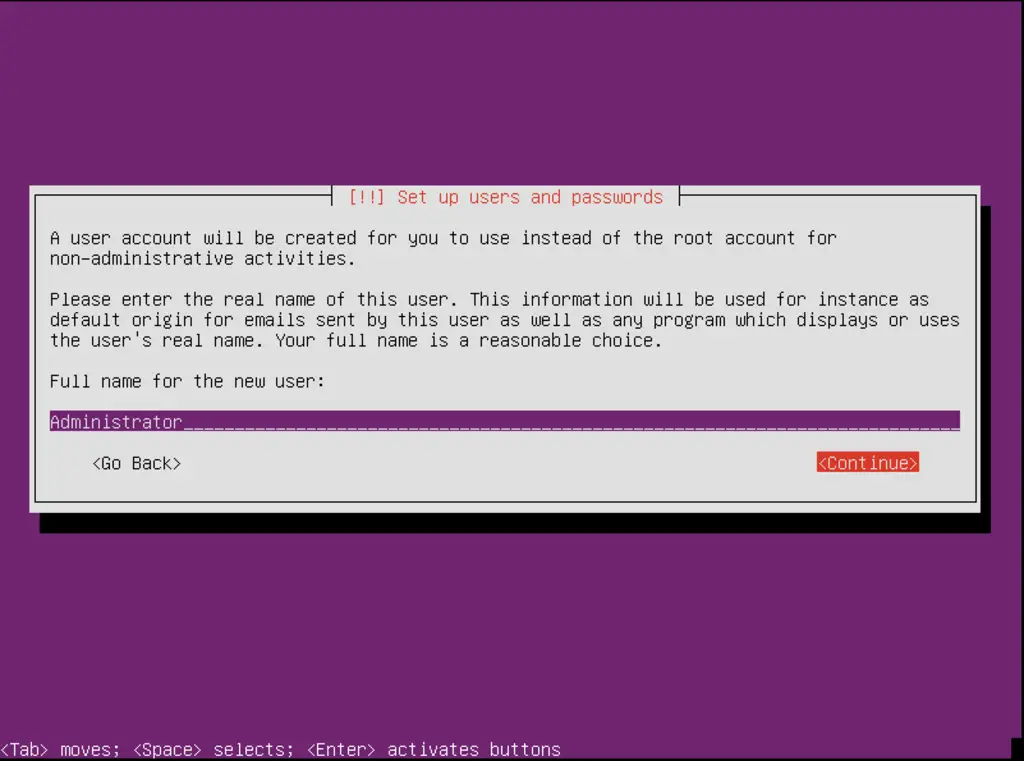
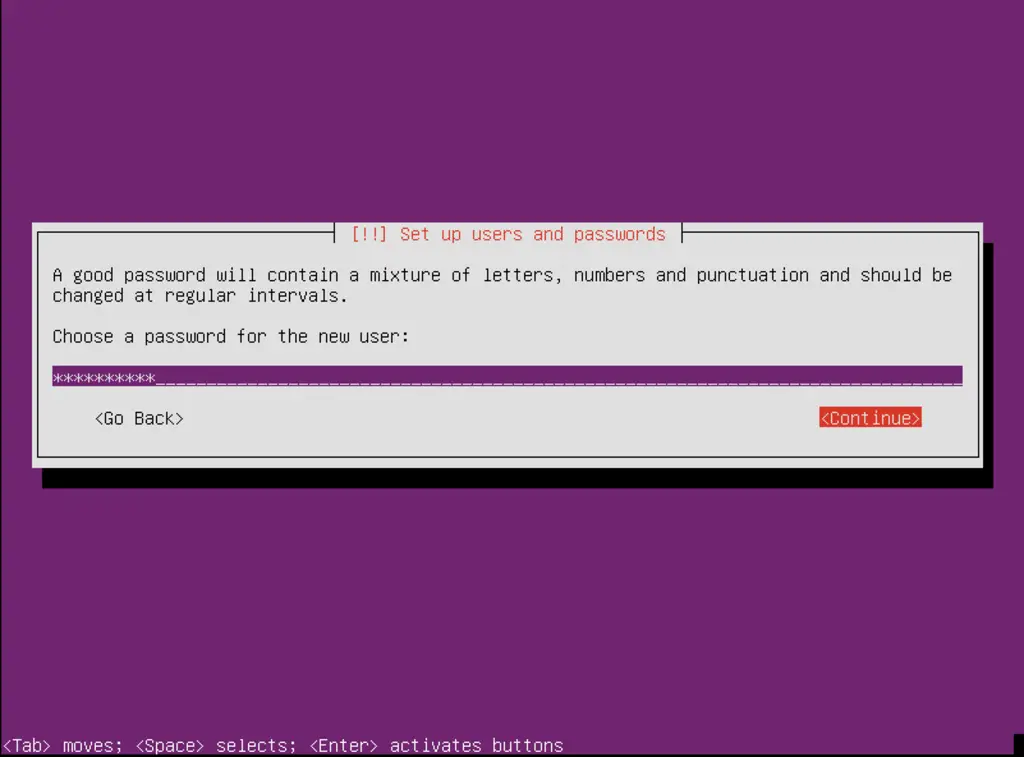
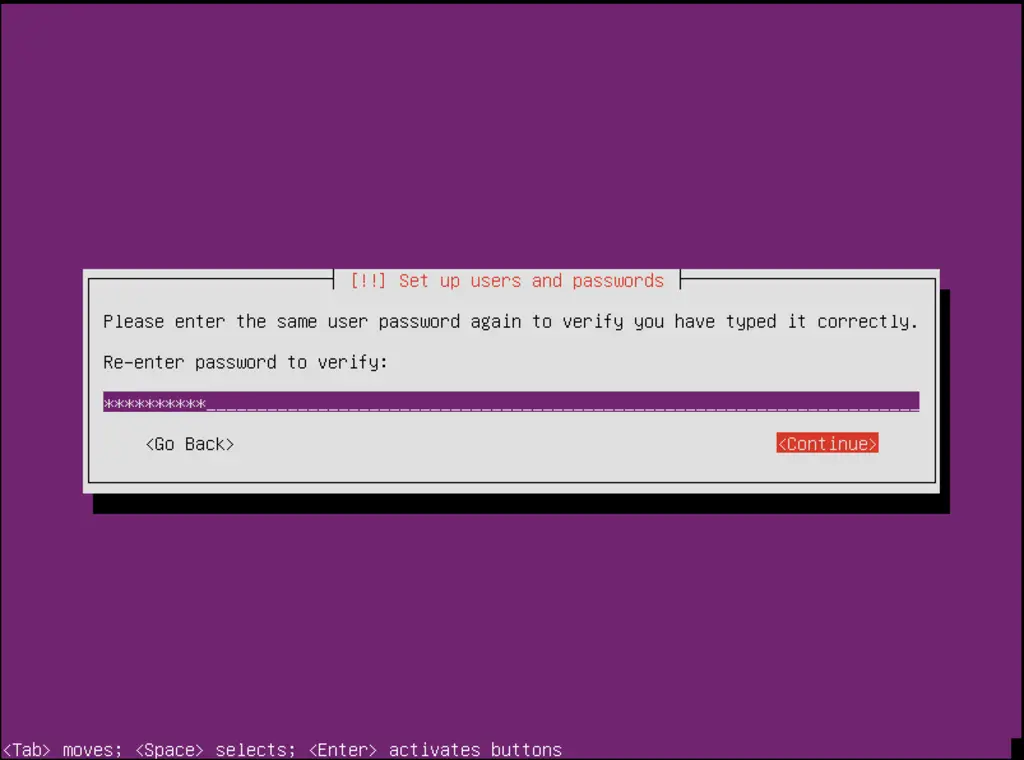
Choose a password
I don't need an encrypted private directory, so I choose No here:

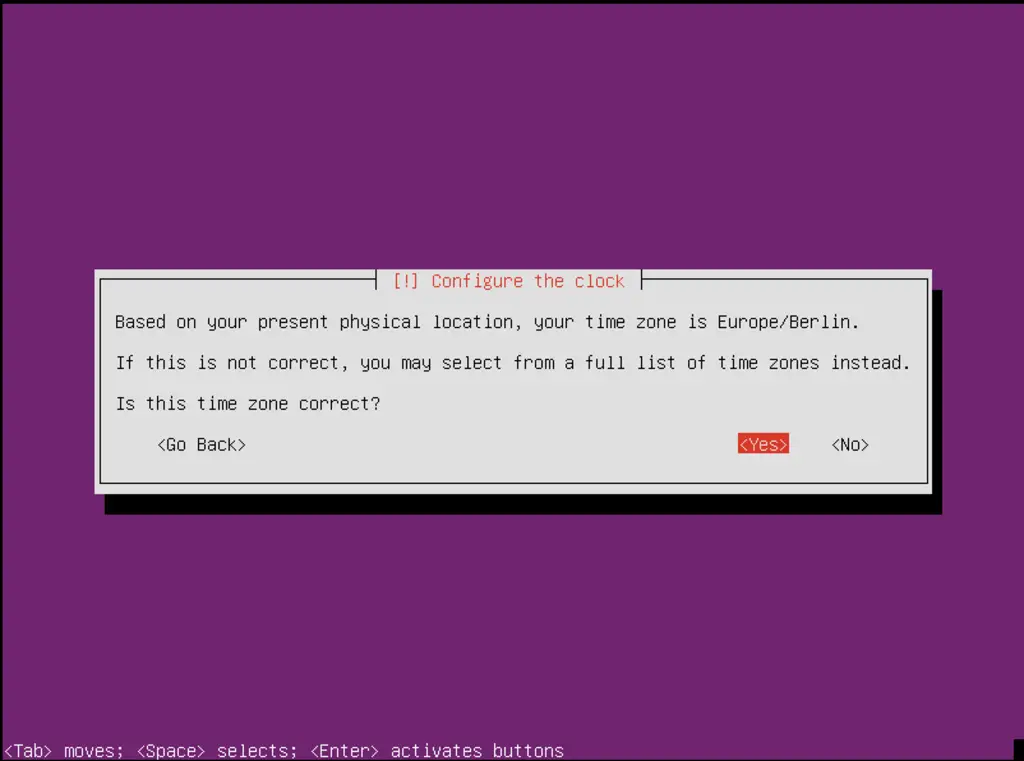
Please check if the installer detected your time zone correctly. If so, select Yes, otherwise No:
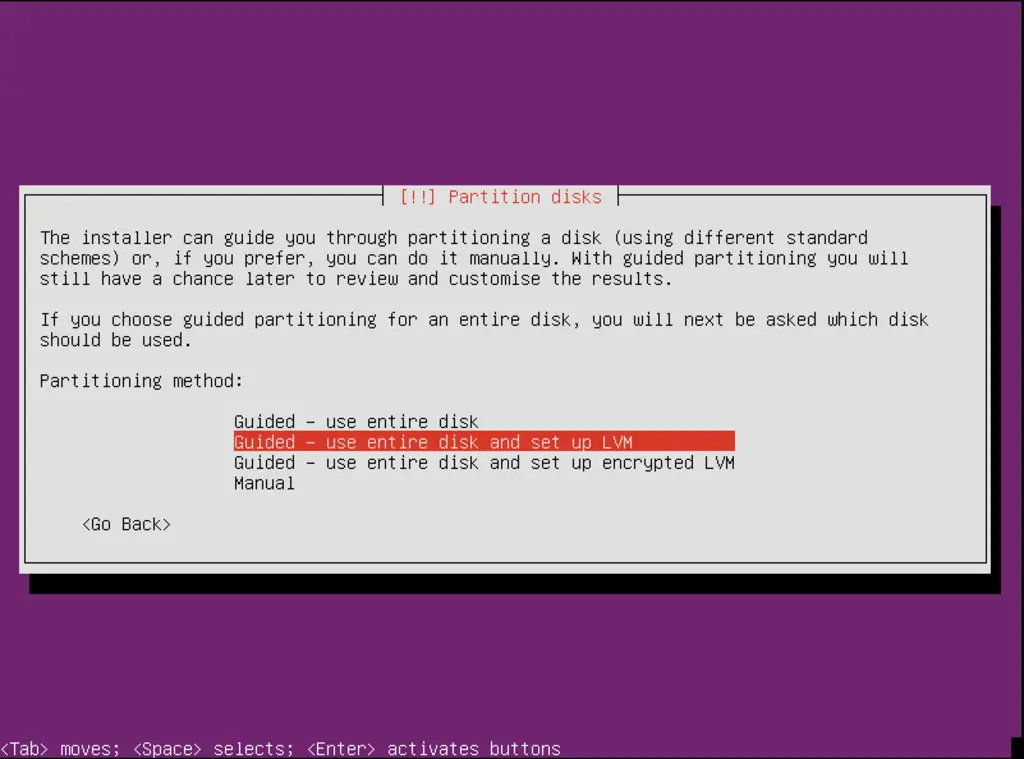
Now you have to partition your hard disk. For simplicity's sake I select Guided - use entire disk and set up LVM - this will create one volume group with two logical volumes, one for the / file system and another one for swap (of course, the partitioning is totally up to you - if you know what you're doing, you can also set up your partitions manually).
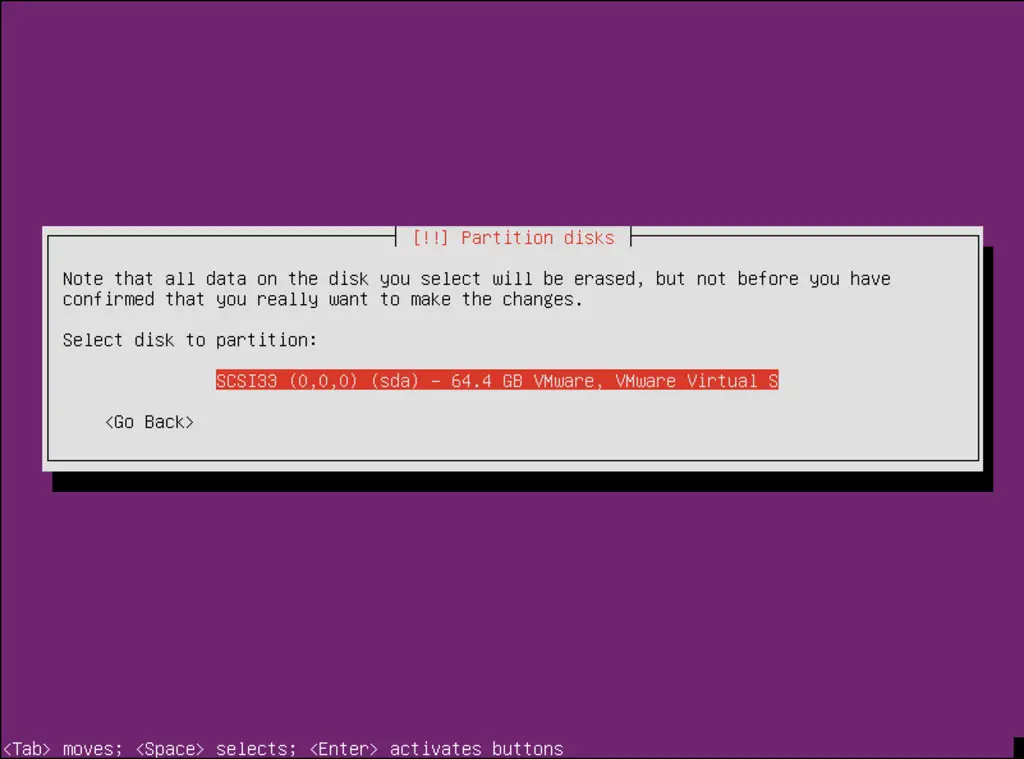
Select the disk that you want to partition:
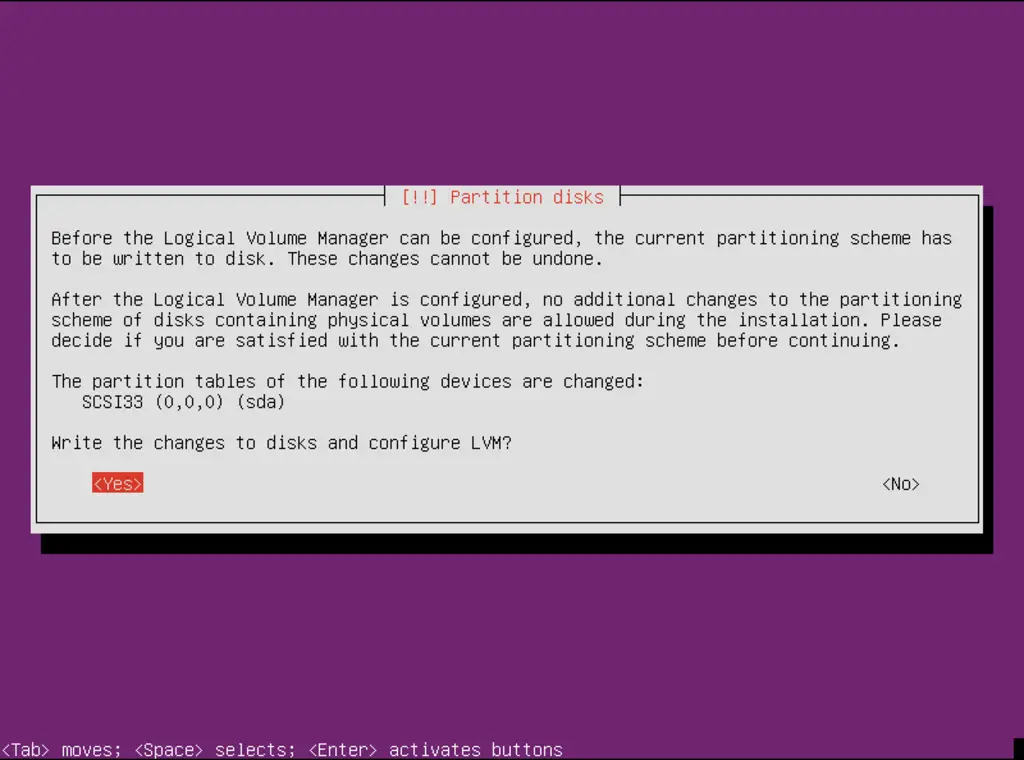
When you're asked Write the changes to disks and configure LVM?, select Yes:
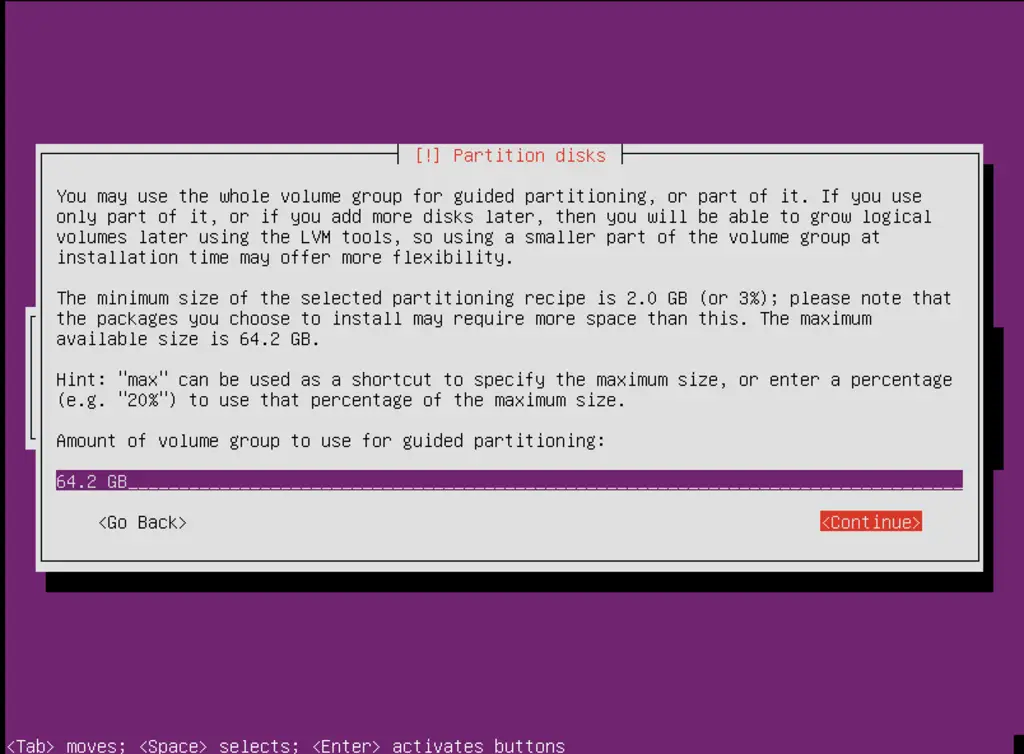
If you have selected Guided - use entire disk and set up LVM, the partitioner will create one big volume group that uses all the disk space. You can now specify how much of that disk space should be used by the logical volumes for / and swap. It makes sense to leave some space unused so that you can later on expand your existing logical volumes or create new ones - this gives you more flexibility.
When you're finished, hit Yes when you're asked Write the changes to disks?:
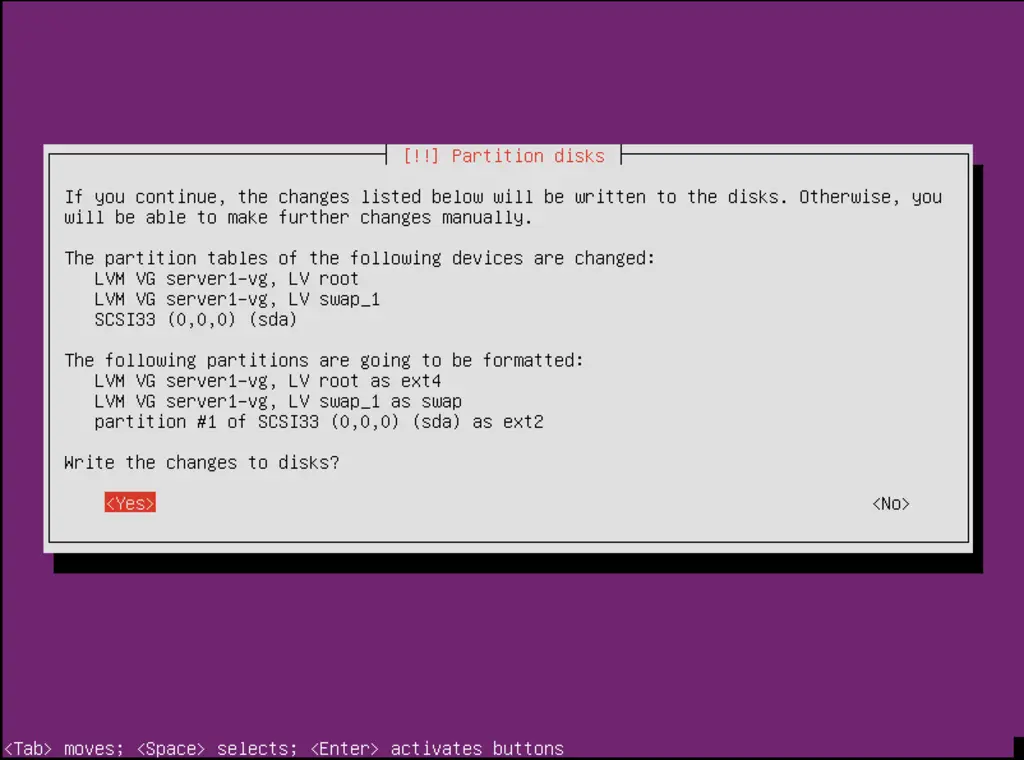
Afterwards, your new partitions are being created and formatted.
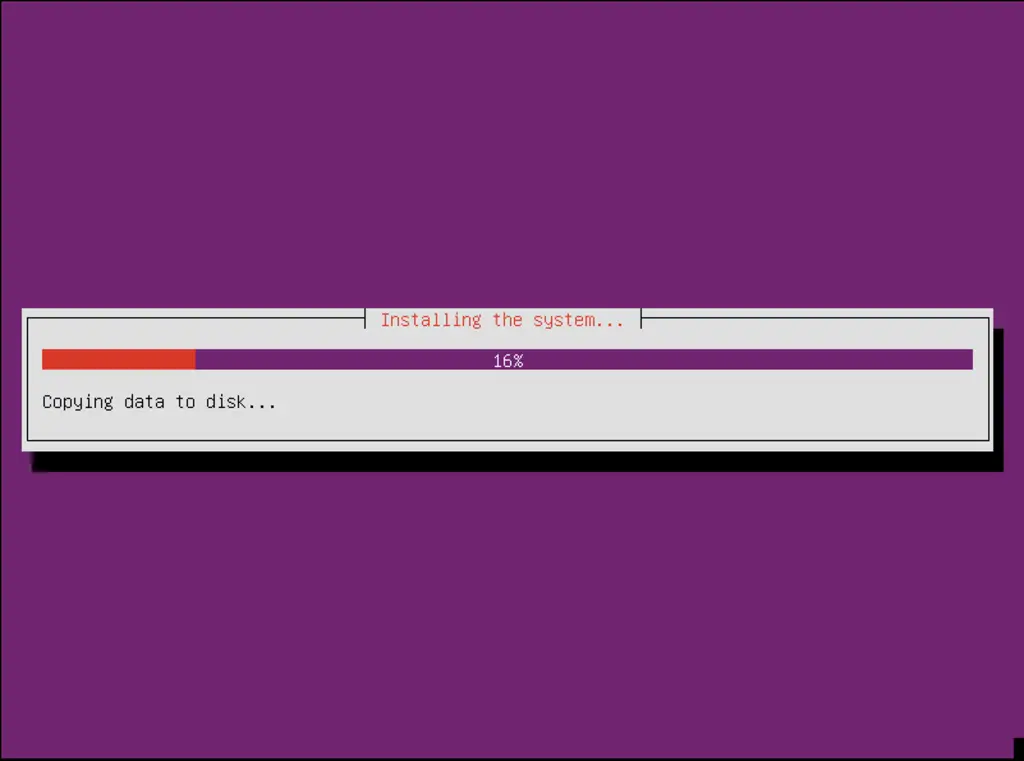
Now the base system is being installed:
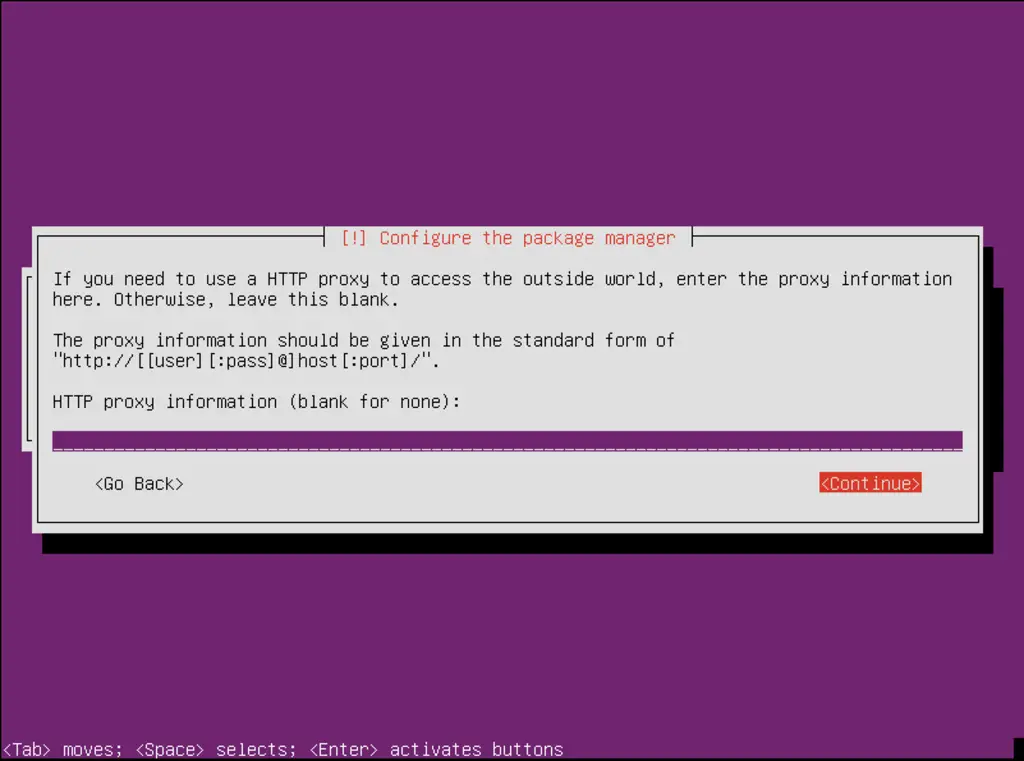
Next the package manager apt gets configured. Leave the HTTP proxy line empty unless you're using a proxy server to connect to the Internet:
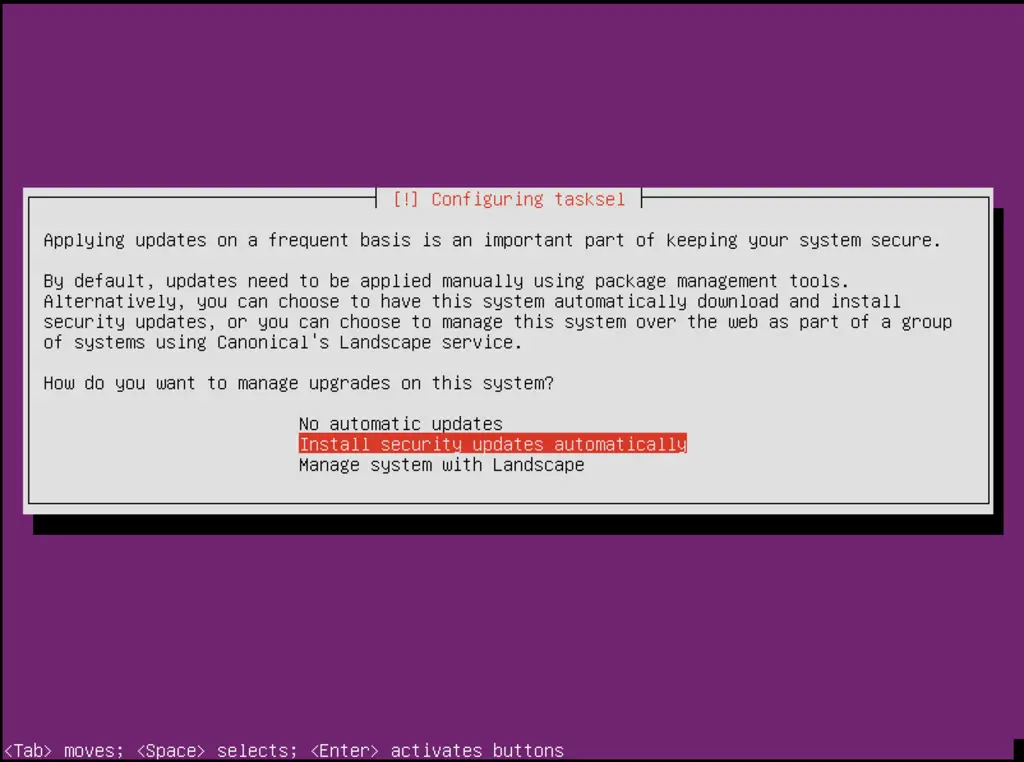
I like to update my servers automatically, therefore I select Install Security Updates automatically. Of course, it's up to you what you select here:
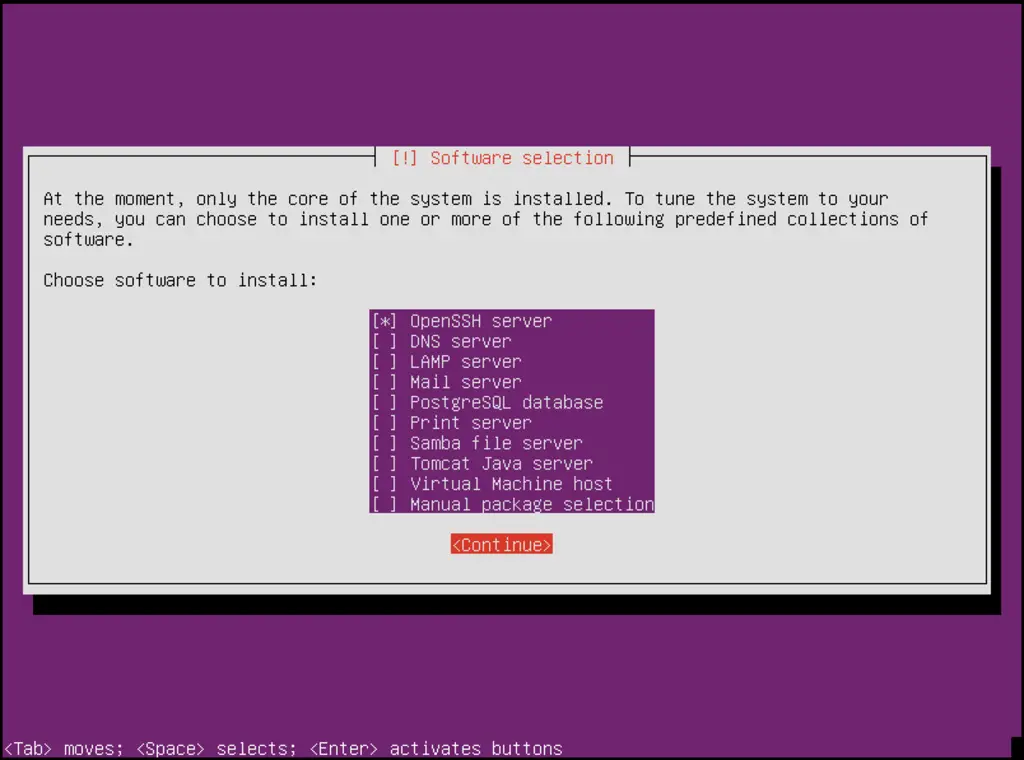
The only item I select here is OpenSSH server so that I can immediately connect to the system with an SSH client such as PuTTY after the installation has finished:
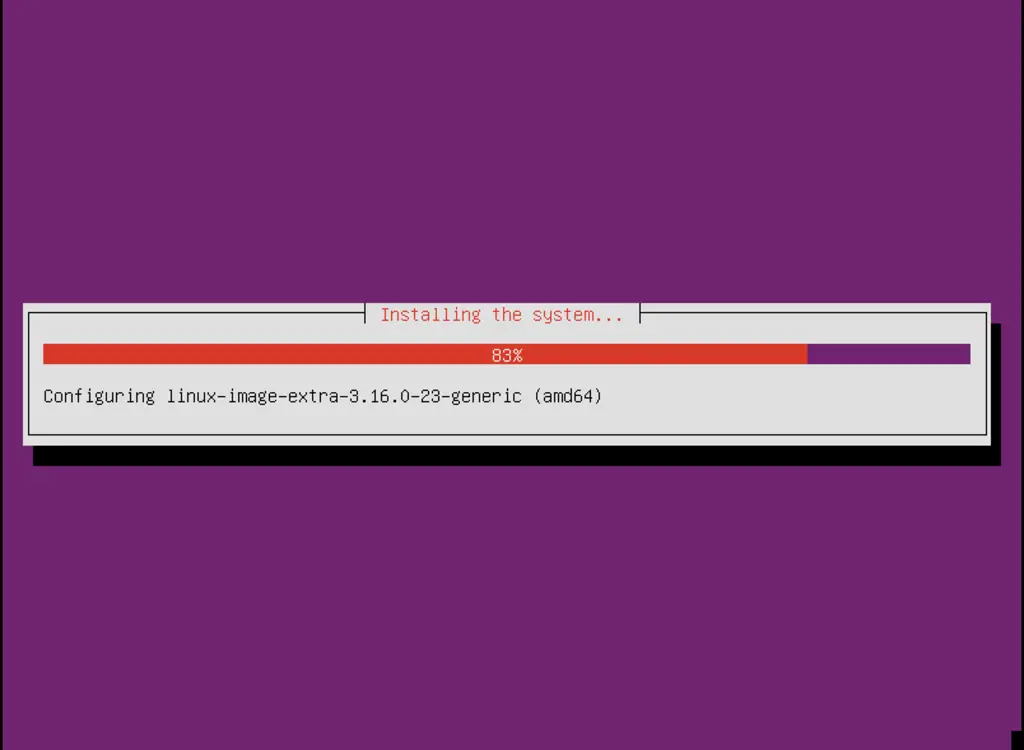
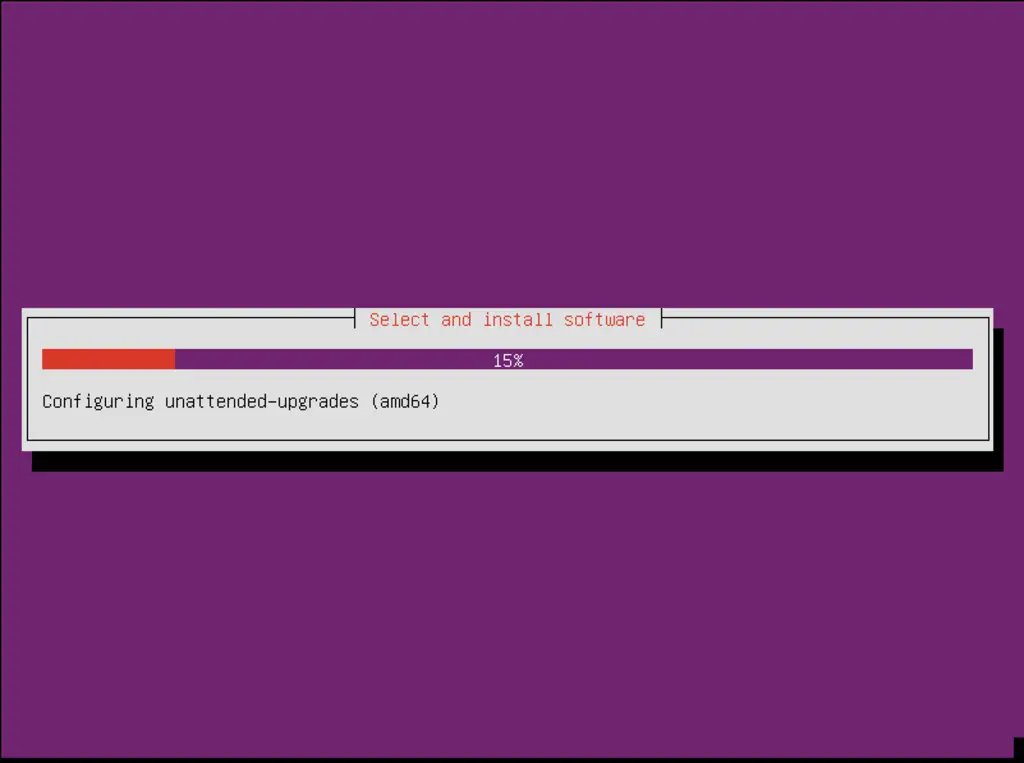
The installation continues:
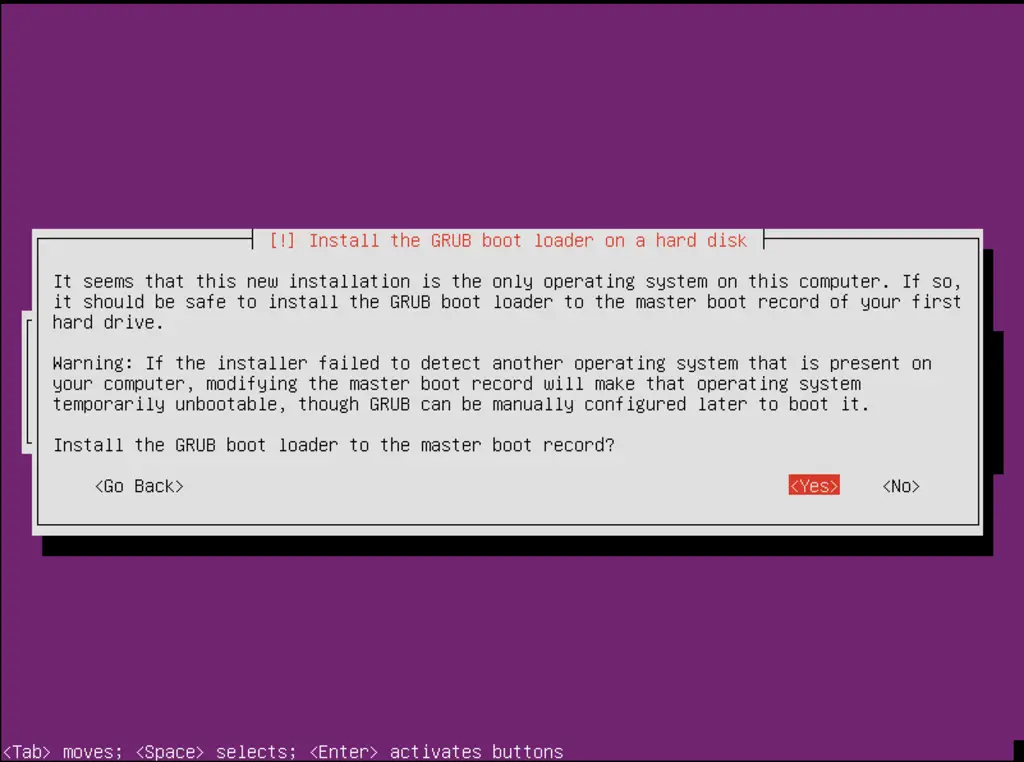
Select Yes when you are asked Install the GRUB boot loader to the master boot record?:
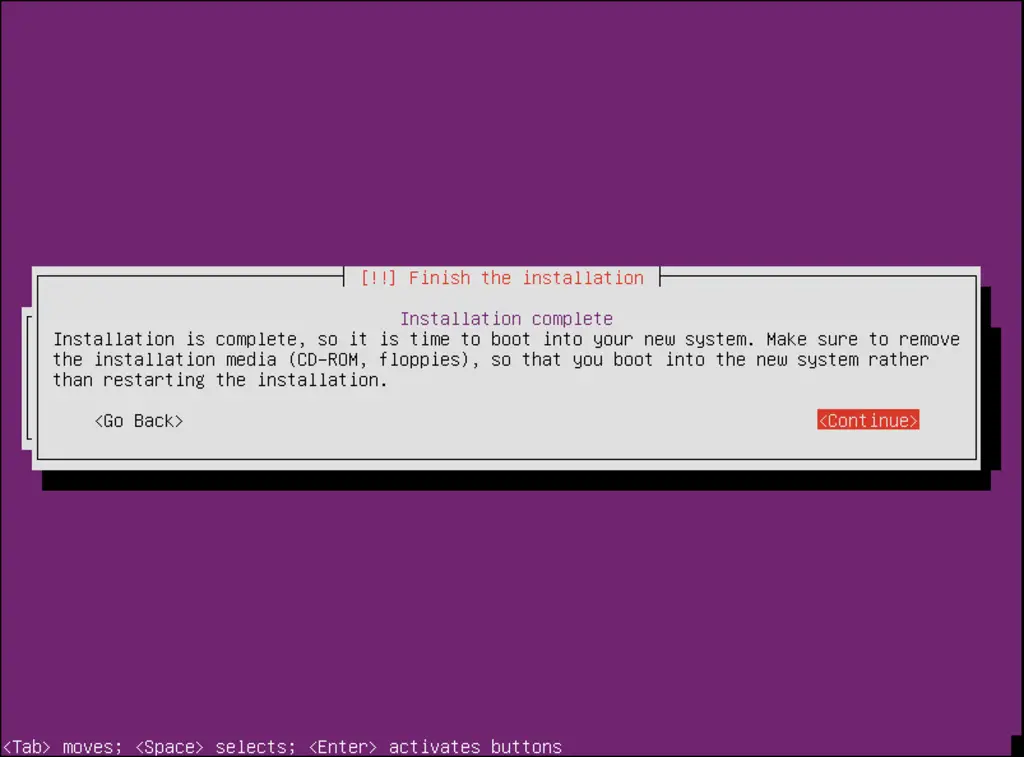
The base system installation is now finished. Remove the installation CD from the CD drive and hit Continue to reboot the system:
Notice: If you get an error like "failed to start unit [email protected]" on the shell after login, then you hit this bug in the current Ubuntu version. This message is uncritical and your server will work normally, so dont worry, you can proceed with your server setup.
On to the next step...
4. Get root Privileges
After the reboot you can login with your previously created username (e.g. administrator). Because we must run all the steps from this tutorial with root privileges, we can either prepend all commands in this tutorial with the string sudo, or we become root right now by typing
sudo -s
(You can as well enable the root login by running
sudo passwd root
and giving root a password. You can then directly log in as root, but this is frowned upon by the Ubuntu developers and community for various reasons. See https://help.ubuntu.com/community/RootSudo.)
5. Install The SSH Server (Optional)
If you did not select to install the OpenSSH server during the system installation above, you can do it now:
apt-get install ssh openssh-server
From now on you can use an SSH client such as PuTTY and connect from your workstation to your Ubuntu 14.10 server.
6. Install an shell based editor (Optional)
Personally I'll use vi as my text editor buts most users that are not familar with the oldfashioned vi syntax might prefer nano. Therefor I will install both editors. The default vi program has some strange behavior on Ubuntu and Debian; to fix this, we install vim-nox:
apt-get install nano vim-nox
7. Configure The Network
Because the Ubuntu installer has configured our system to get its network settings via DHCP, we have to change that now because a server should have a static IP address. Edit /etc/network/interfaces and adjust it to your needs (in this example setup I will use the IP address 192.168.0.100 and the DNS servers 8.8.4.4, 8.8.8.8 starting with Ubuntu 12.04, you cannot edit /etc/resolv.conf directly anymore, but have to specify your nameservers in your network configuration - see
man resolvconf
for more details):
nano /etc/network/interfaces
# This file describes the network interfaces available on your system
# and how to activate them. For more information, see interfaces(5).

# The loopback network interface
auto lo
iface lo inet loopback

# The primary network interface
auto eth0
iface eth0 inet static
        address 192.168.0.100
        netmask 255.255.255.0
        network 192.168.0.0
        broadcast 192.168.0.255
        gateway 192.168.0.1
        dns-nameservers 8.8.8.8 8.8.8.4.4
Then restart your network:
service networking restart
Then edit /etc/hosts. Make it look like this:
vi /etc/hosts
127.0.0.1       localhost
192.168.0.100   server1.example.com     server1

# The following lines are desirable for IPv6 capable hosts
::1     ip6-localhost ip6-loopback
fe00::0 ip6-localnet
ff00::0 ip6-mcastprefix
ff02::1 ip6-allnodes
ff02::2 ip6-allrouters
Now we will change the hostname of our machine as follows:
echo server1.example.com > /etc/hostname
service hostname start
Afterwards, run
hostname
hostname -f
Both should show server1.example.com now.
Congratulations! Now we have basic Ubuntu 14.10 server setup which provides a solid basis for our other tutorials.
8 Links
Ubuntu : http://www.ubuntu.com/

