The Perfect Business Desktop - CentOS 7
On this page
This tutorial shows how you can set up CentOS 7 desktop. The CentOS 7 have
high
quality of desktop environment which is fully suited for day to day business needs of a corporate culture. I will also show some of the specific features from Thunderbird which makes the day to day business use easier.
The software I propose as default is the one I found easiest to use and best in their functionality - this won't necessarily be true for your needs, thus you are welcome to try out the applications listed as alternatives.
1 Preliminary Note
This tutorial is based on CentOS 7.0 desktop. I will first install the CentOS 7.0 Desktop. For the CentOS installation, you need the iso files from the following link:
32-bit NA (It is available only in 64-bit architecture)
64-bit http://isoredirect.centos.org/centos/7/isos/x86_64/
In my case system have a static IP address. I use 192.168.0.100 as my IP address in this tutorial and desktop1.example.com as the hostname. You can either use static or dynamic IP address depending upon your requirements.
2 Installation
Now we will install the CentOS 7.0 with Gnome desktop. Insert the CD burnt with the iso downloaded above and proceed as:
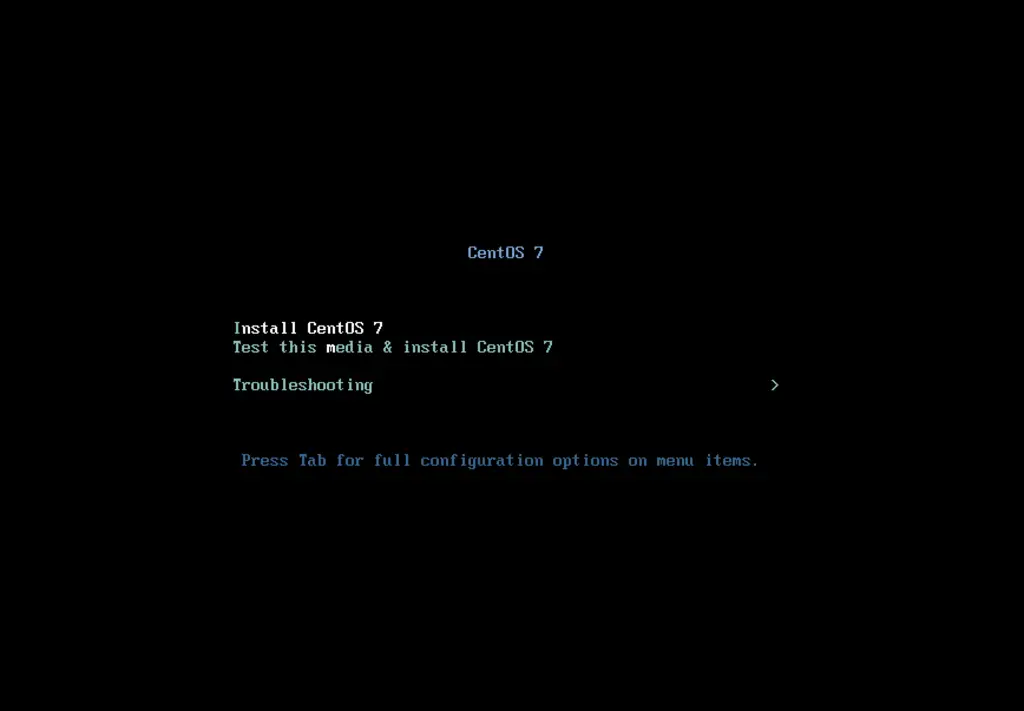
Just Install the CentOS 7:
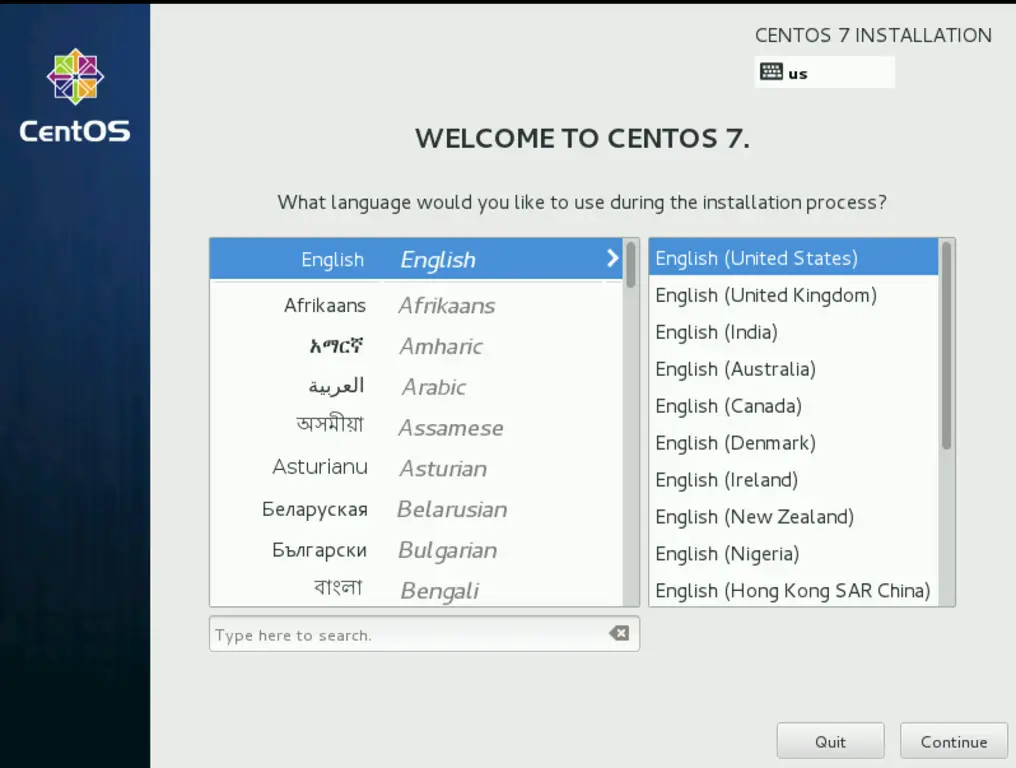
Select Language as per you preference, I am using here English the press Continue:
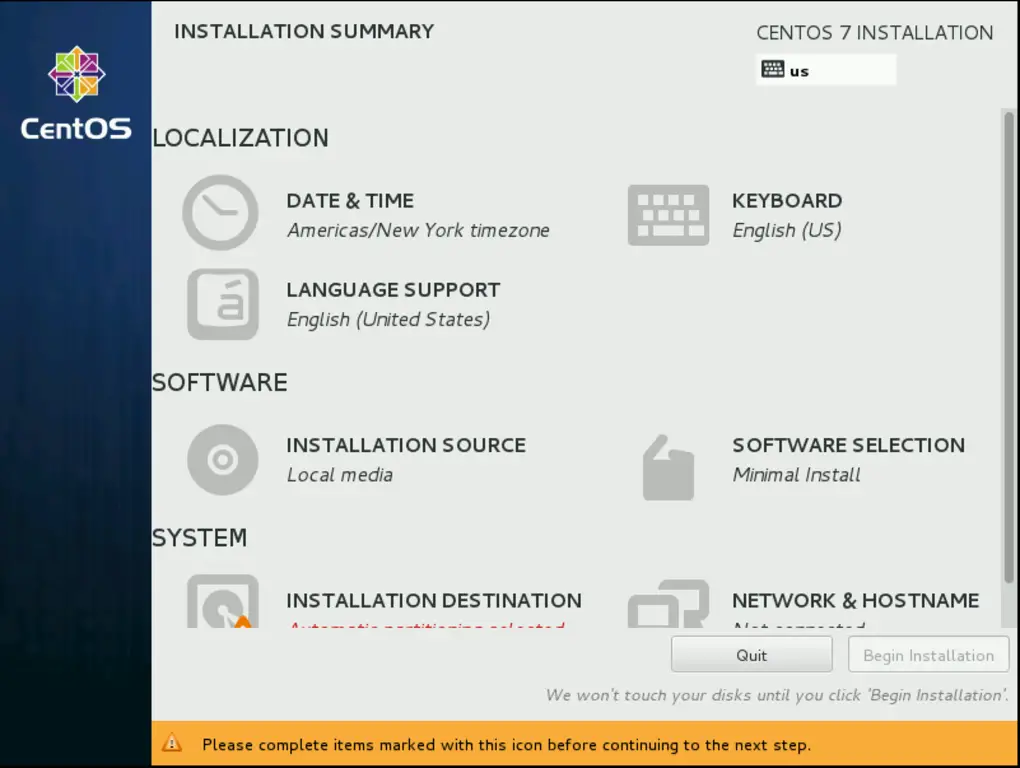
Now we need to select some more options before the installation. Select your prefered Date and time, in my case I am using Europe/Berlin:
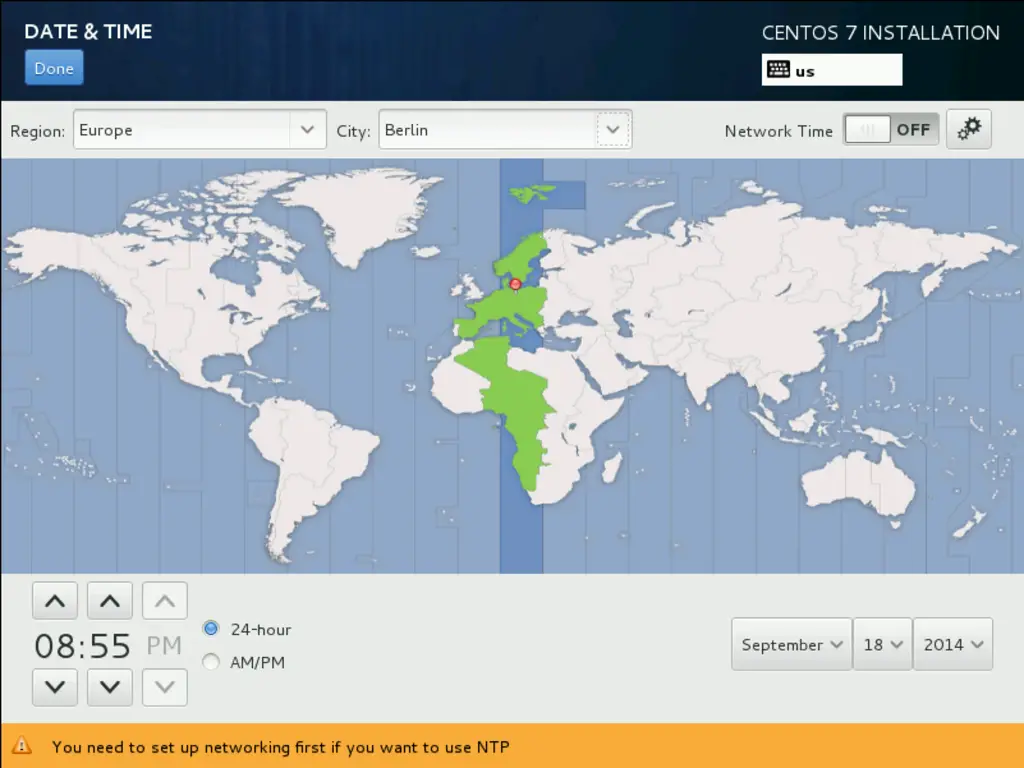
After selecting your timezone press Done.
Next we need to select the Keyboard and Language Support. If you wish to add more languages then you can add it here, I will be using English for that:
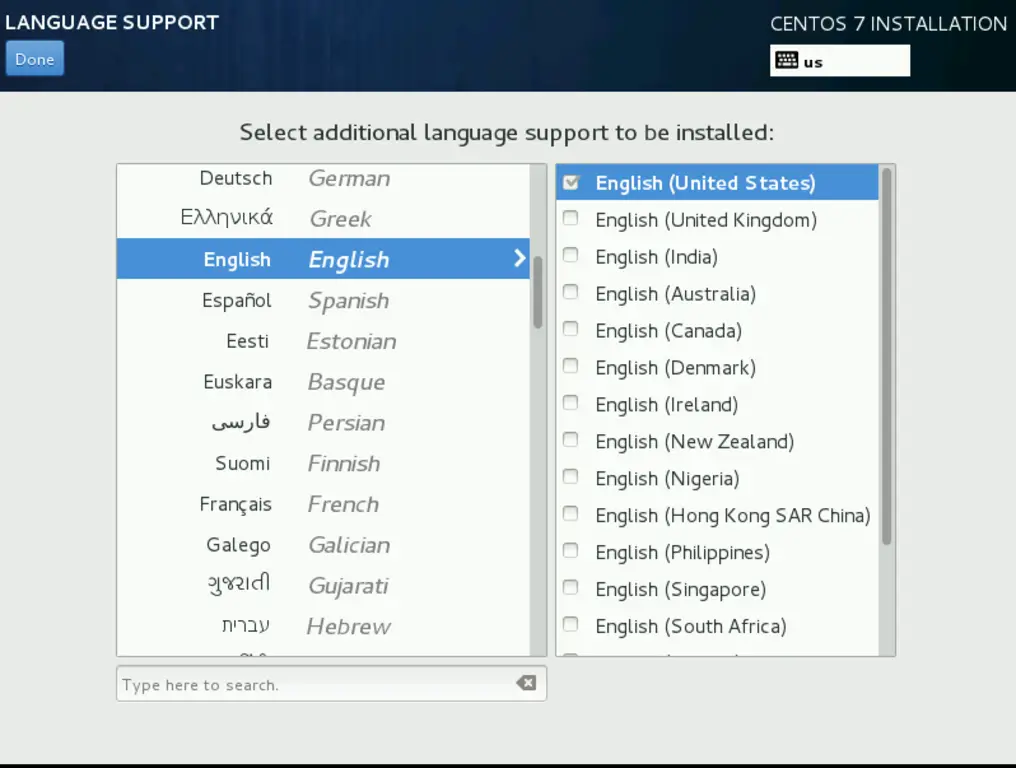
Press Done when completed.
Next we need to customized the selection for SOFTWARE SELECTION I will select here Base Environment as Gnome Desktop and Add-Ons for the environment as Gnome Applications, Internet Applications and Office suite and productivity.
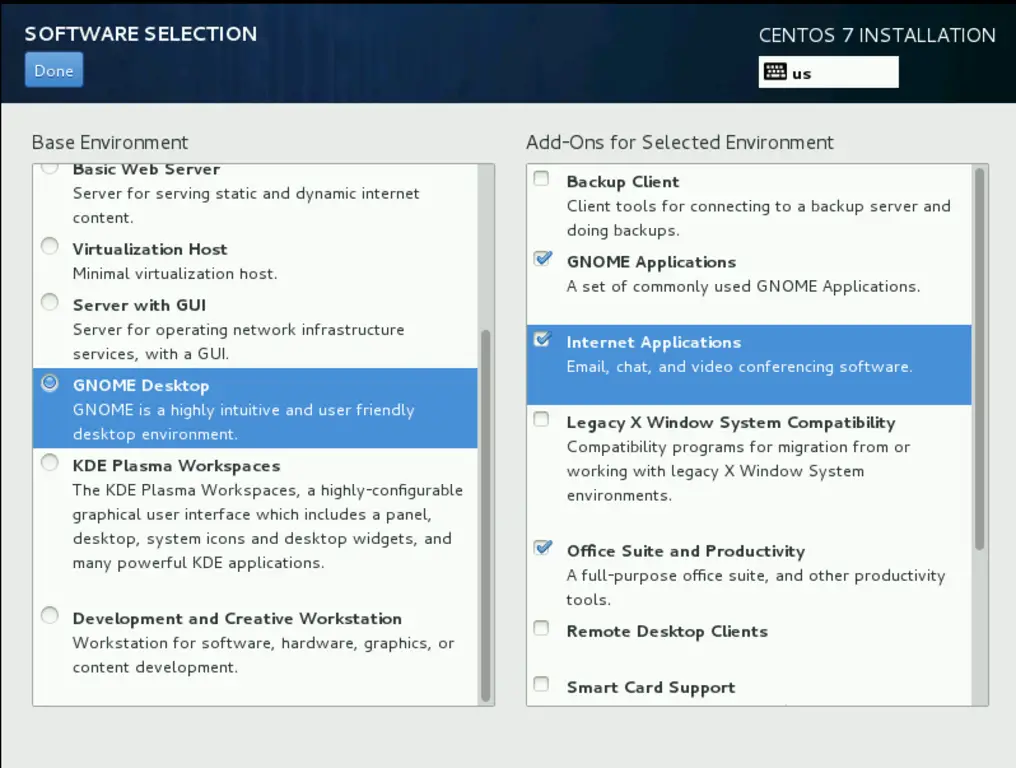
Press Done when completed.
Next in INSTALLATION DESTINATION you can use either Automatic or manual partitioning formation. I will be using Automatic drive Partitioning.
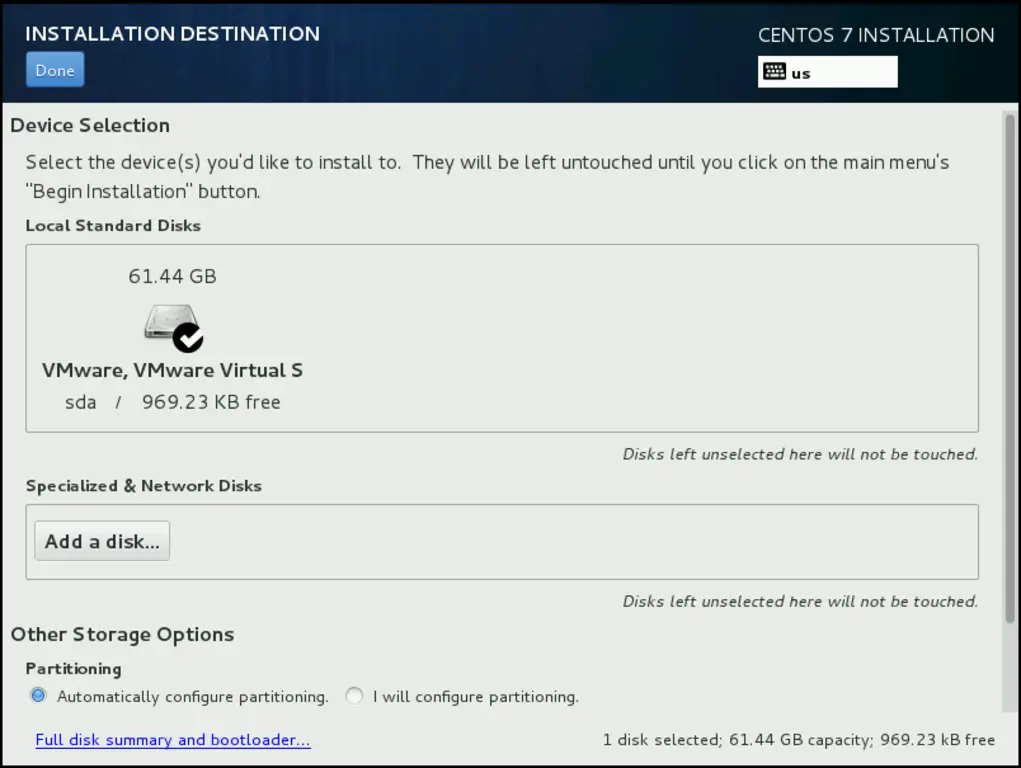
Press Done when completed.
Next we need to select NETWORK & HOSTNAME If you have a DHCP server installed before then you can use automatic DHCP, otherwise you can make it manual static IP addressing as shown. Press Configure in this section further in IPv4 Settings select Manual and give the entries as per your networking environment. I am the values as
Address 192.168.0.100
Netmask 255.255.255.0
Gateway 192.168.0.1
DNS servers 8.8.8.8 8.8.4.4
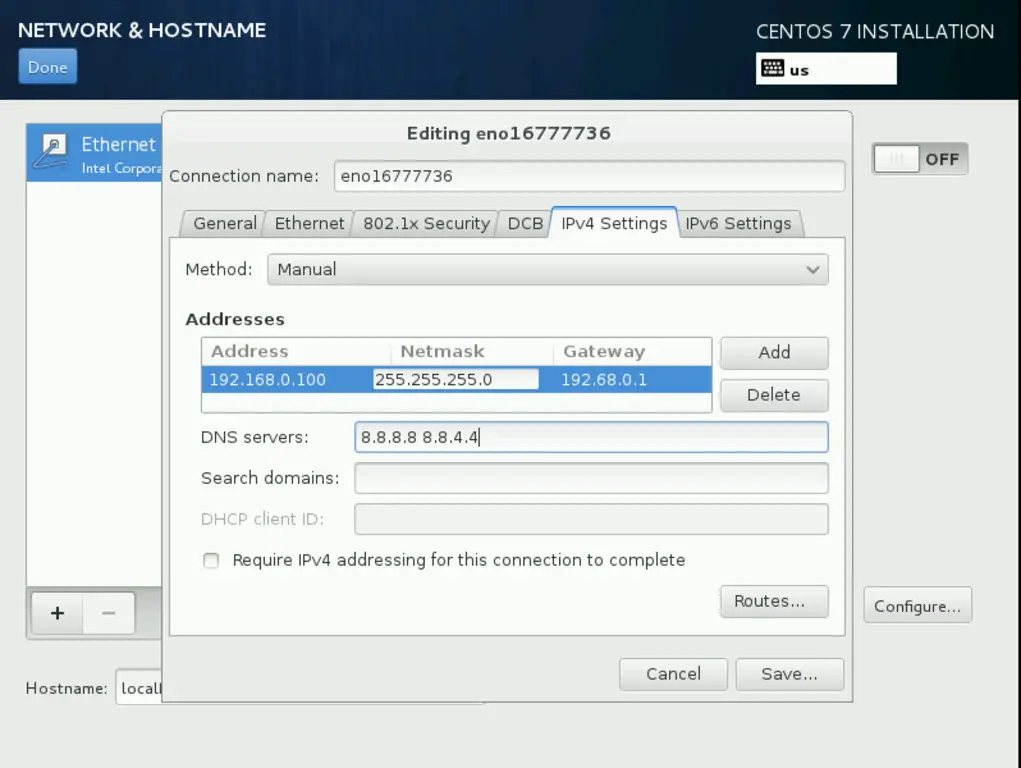
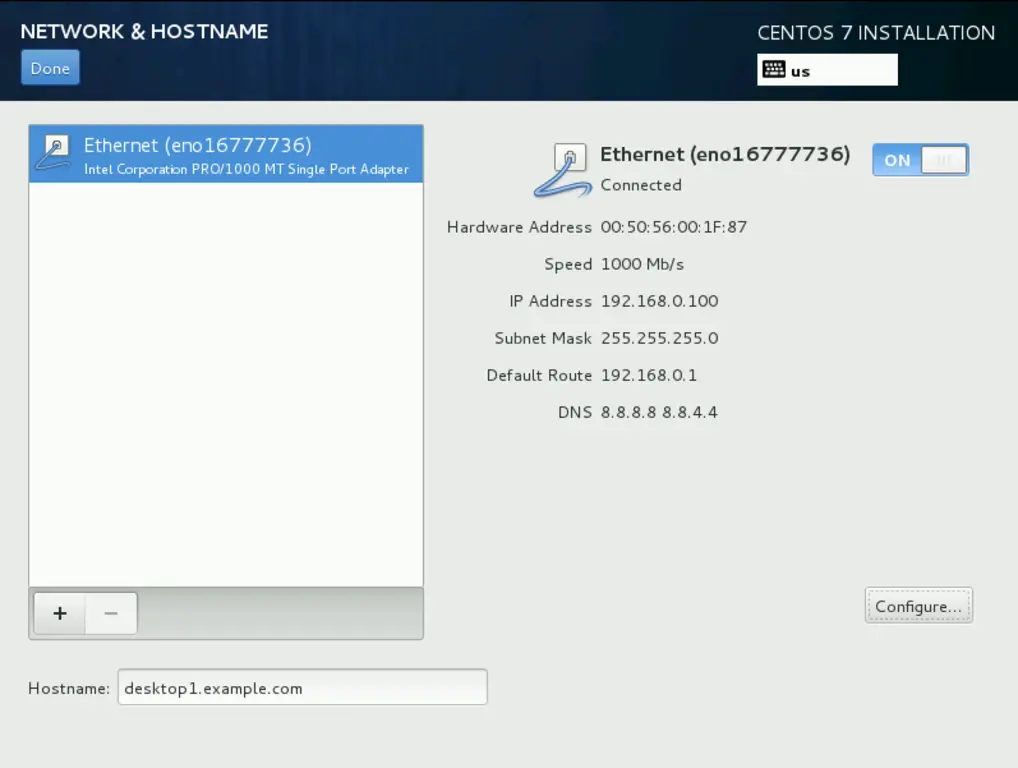
Press Save. In hostname give your desired name, I am using my hostname as desktop1.example.com Press Done when completed.
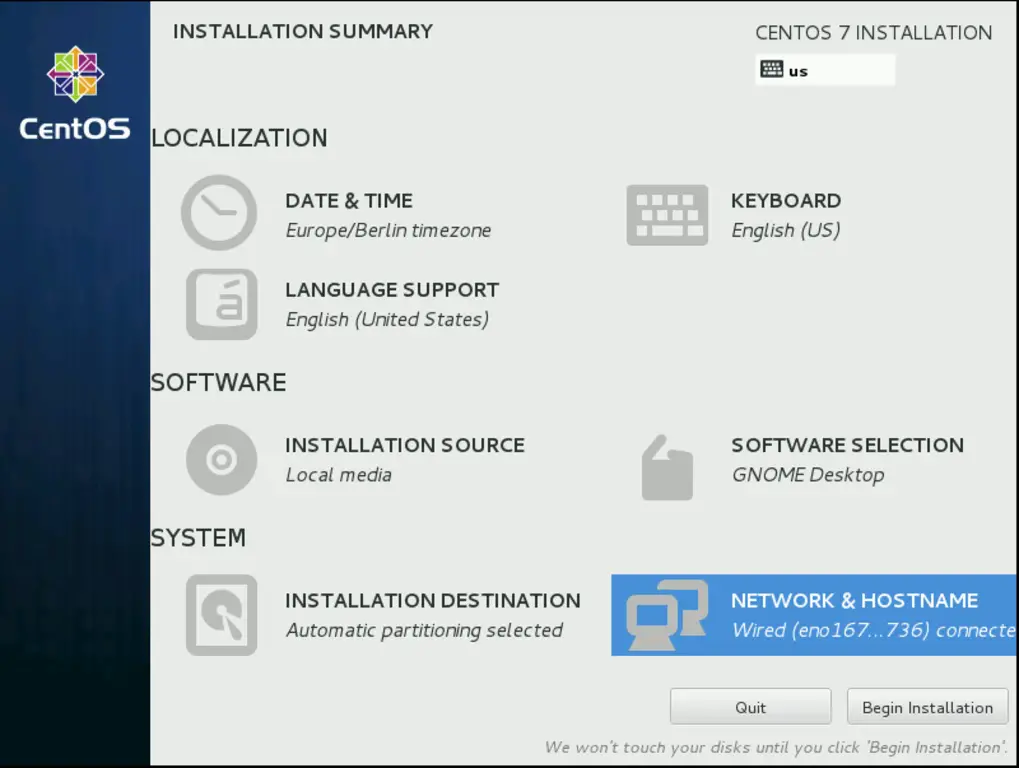
Please ensure that your Installation source must be Local media if it is like that. Now we can proceed with the installation, press Begin Installation.
Now we have started with the installation. Now we add an user and set the root passwords:
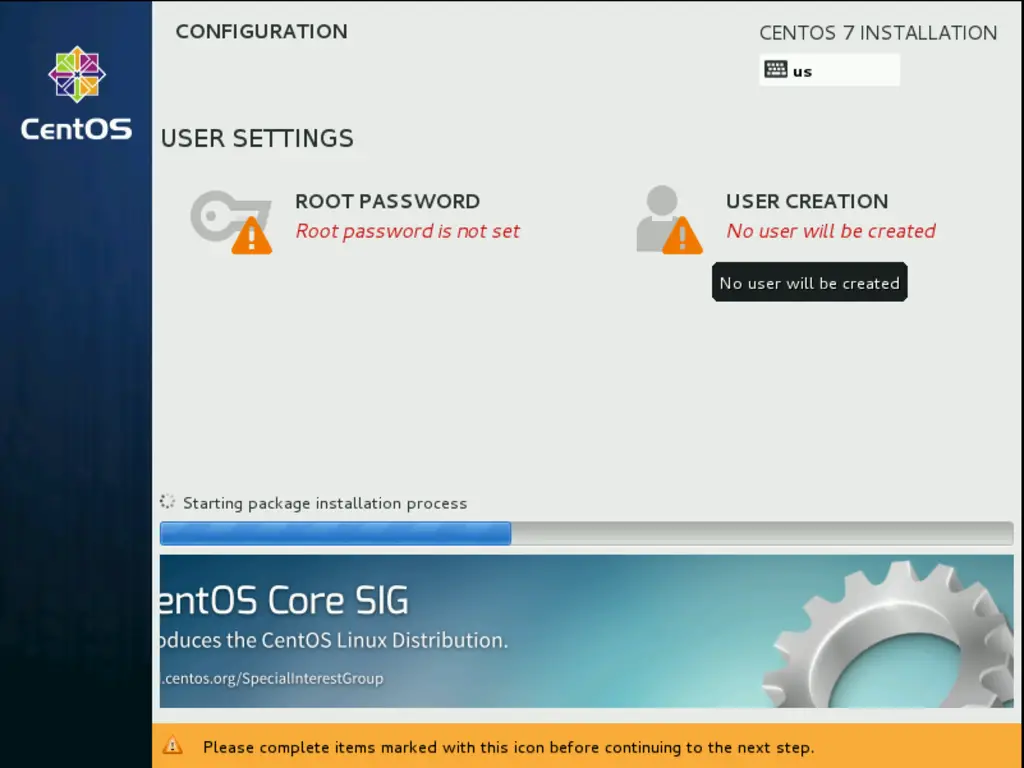
I will be creating the user as administrator and any password of your choice as follows:
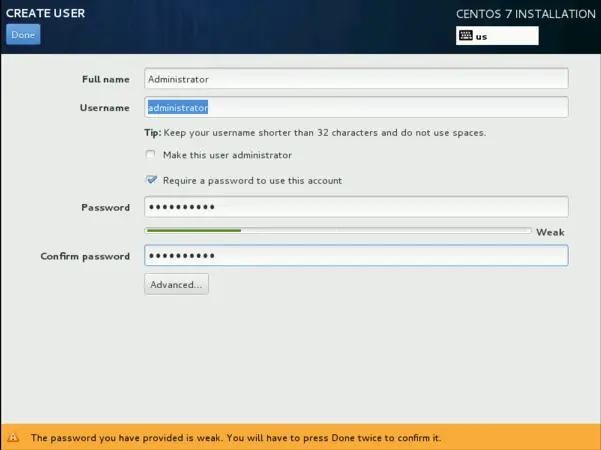
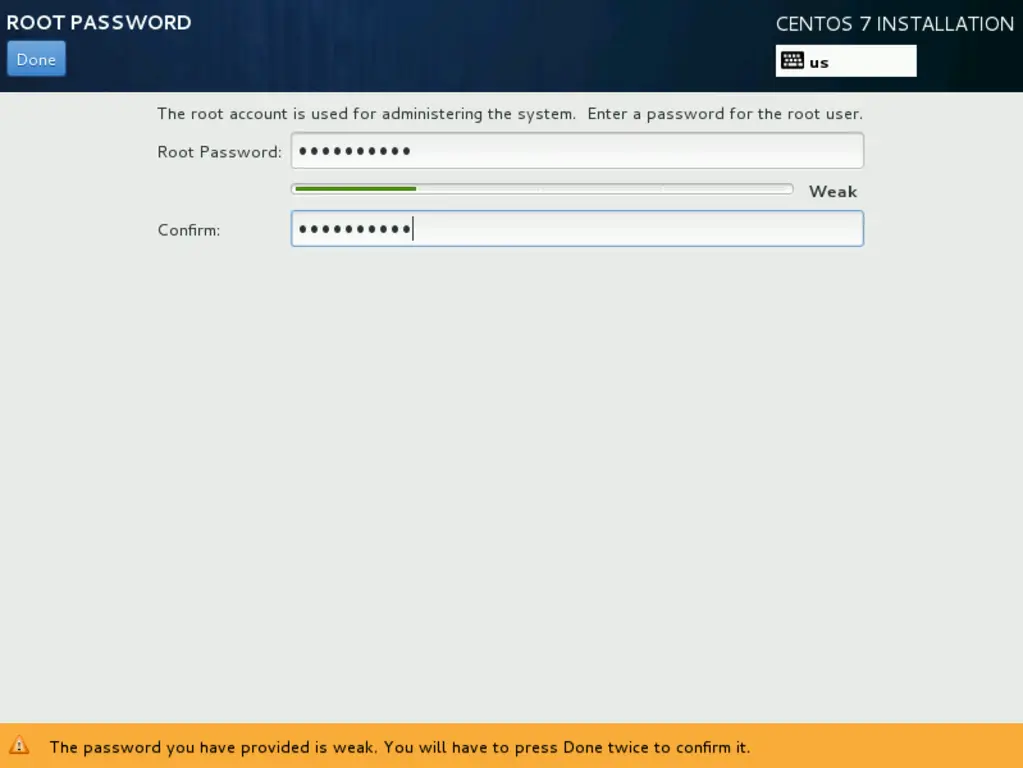
Press Done when completed. Similarly set the Root Password.
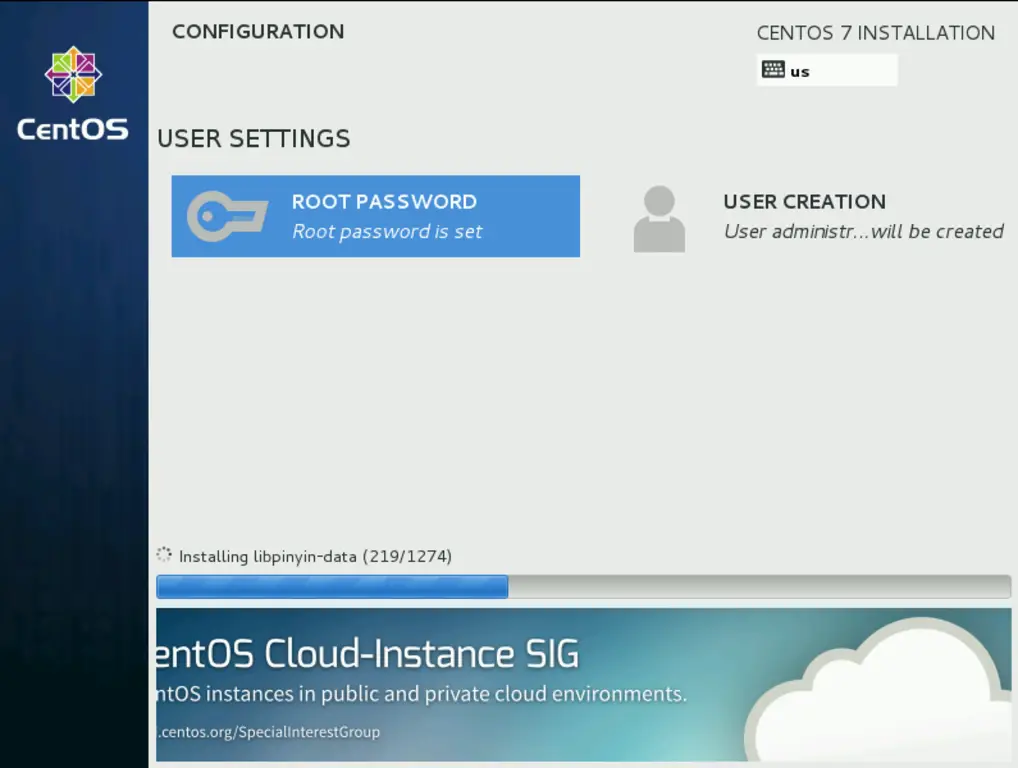
After that wait for some while till the installation is completed.
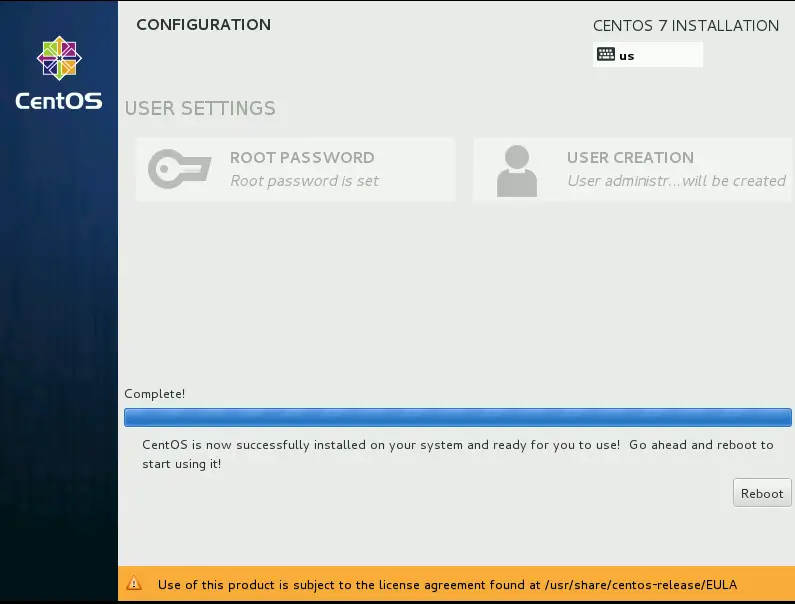
After complete installation it will ask for Reboot, just press Reboot.
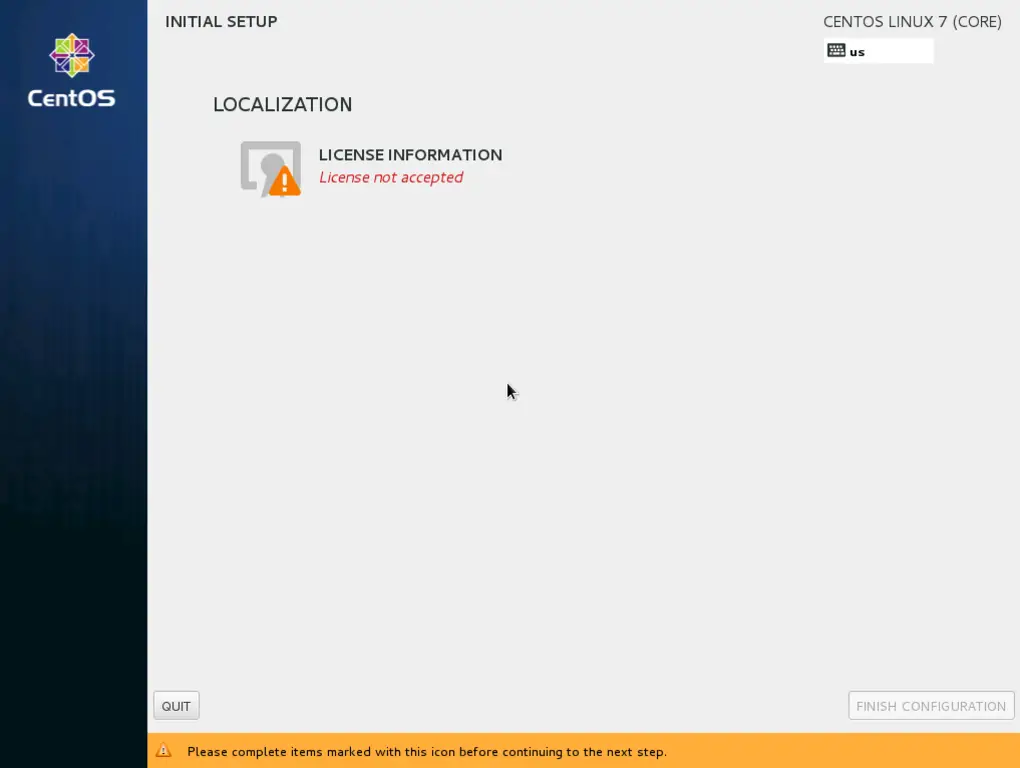
Now we need to accept the License, press LICENSE INFORMATION.
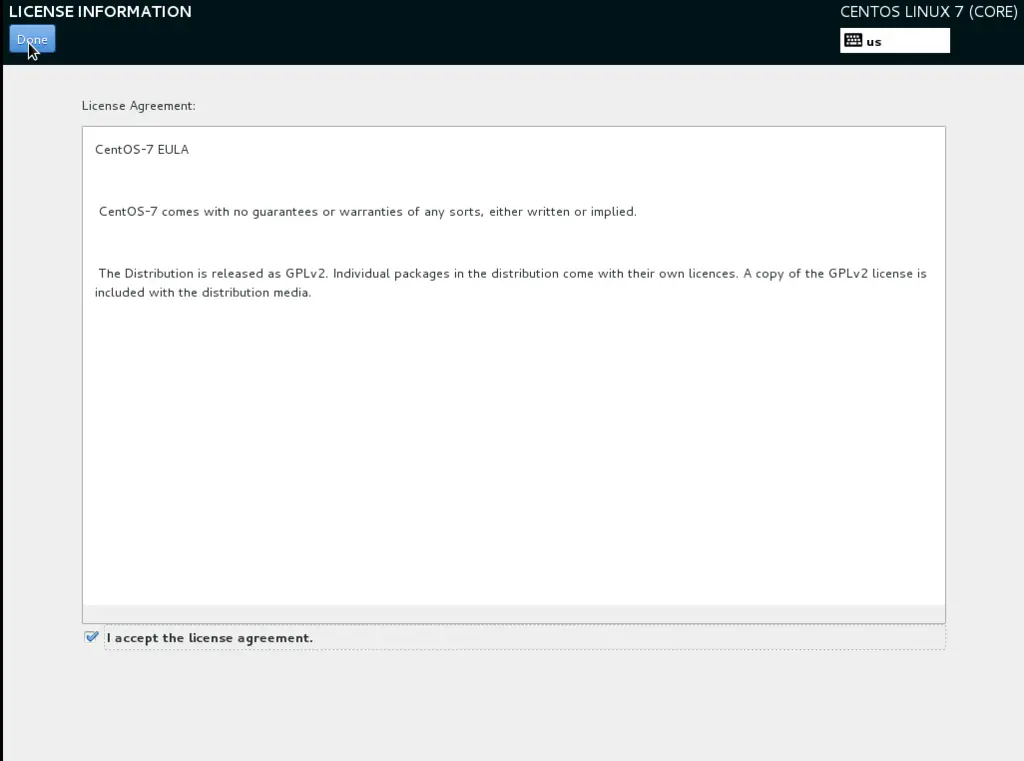
Tick the checkbox for I accept the license agreement. Press Done when completed.
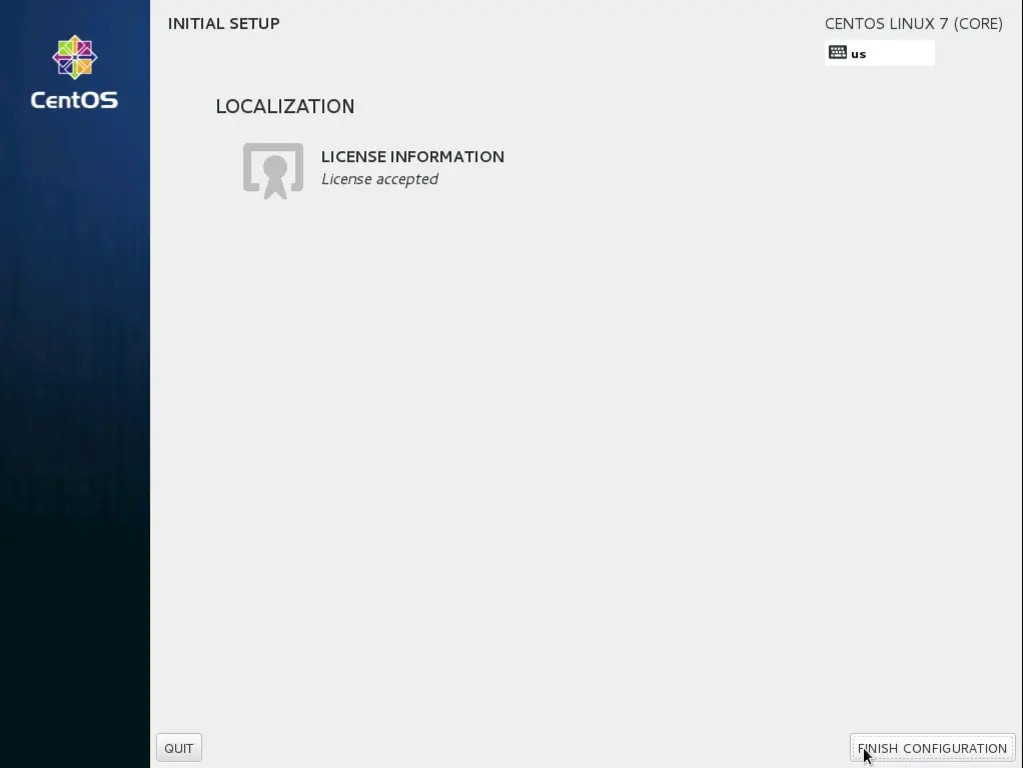
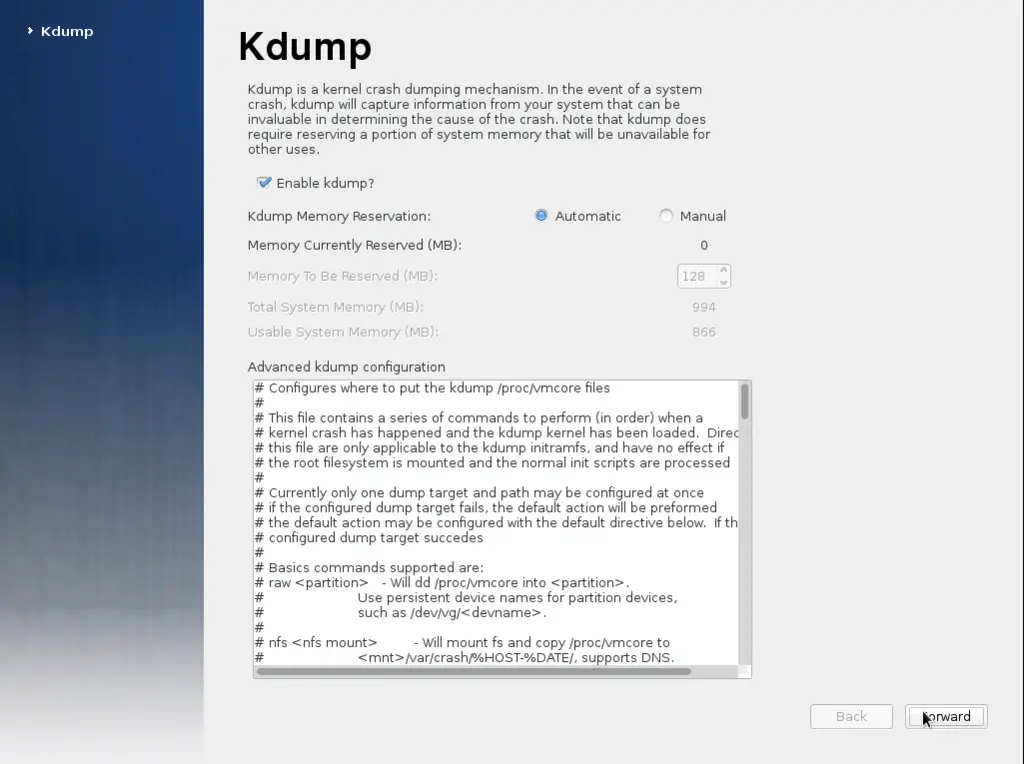
Next press FINISH CONFIGURATION. Next step is to enable Kdump. Select default values i.e. Automatic and the press forward:
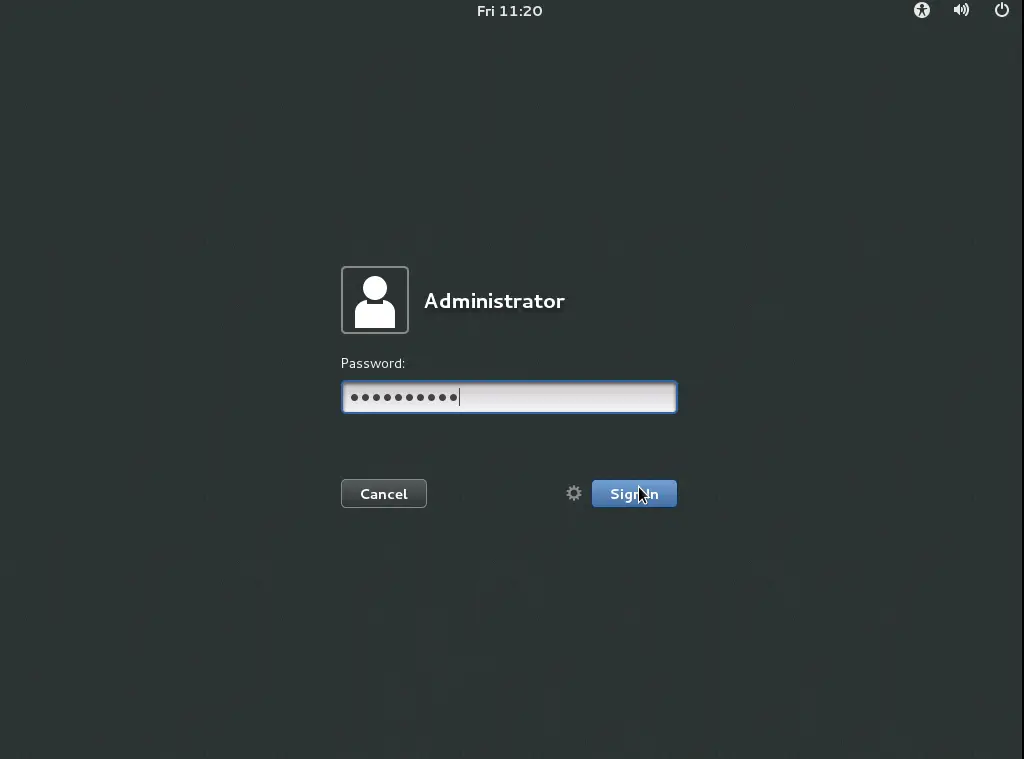
Next screen will prompt us to login in Gnome-desktop , put the credentials and press Signin:
Now we have completed the installation part. Next we need to setup the Gnome-initial-setup.
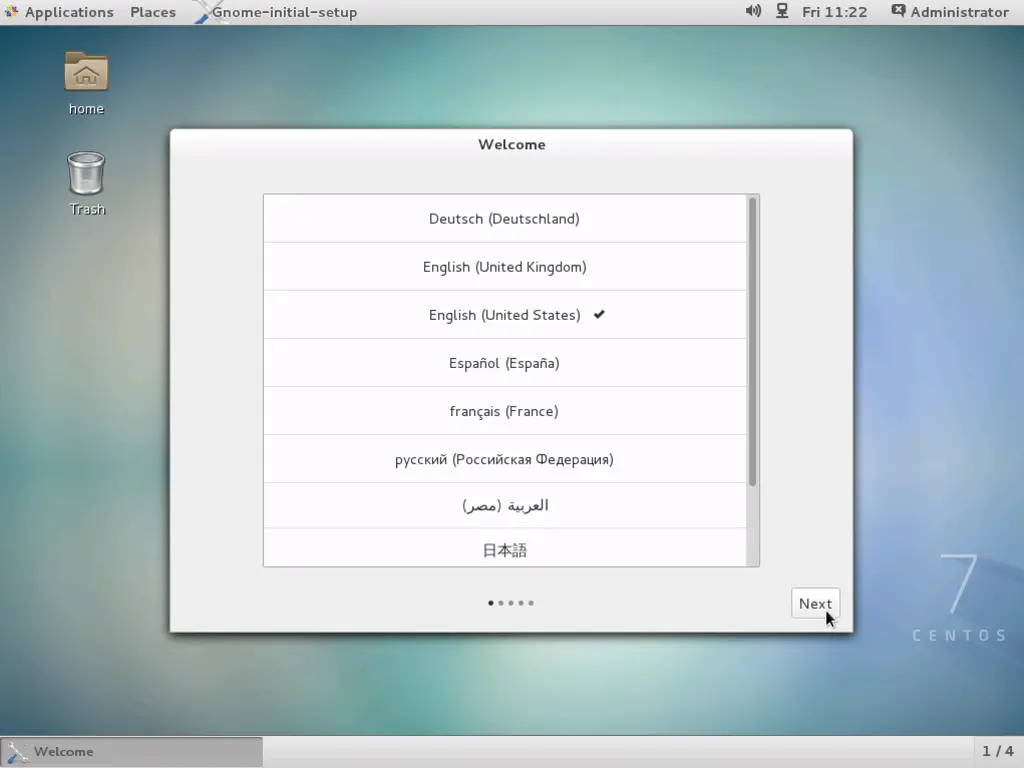
Select language and press Next:
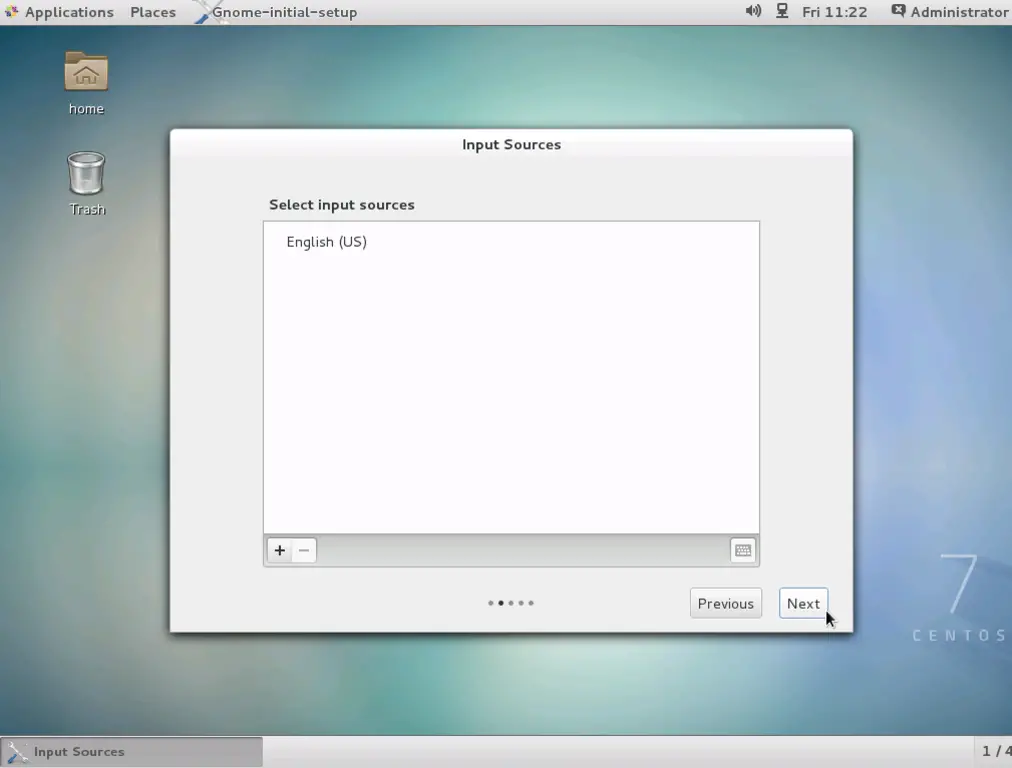
Further press Next:
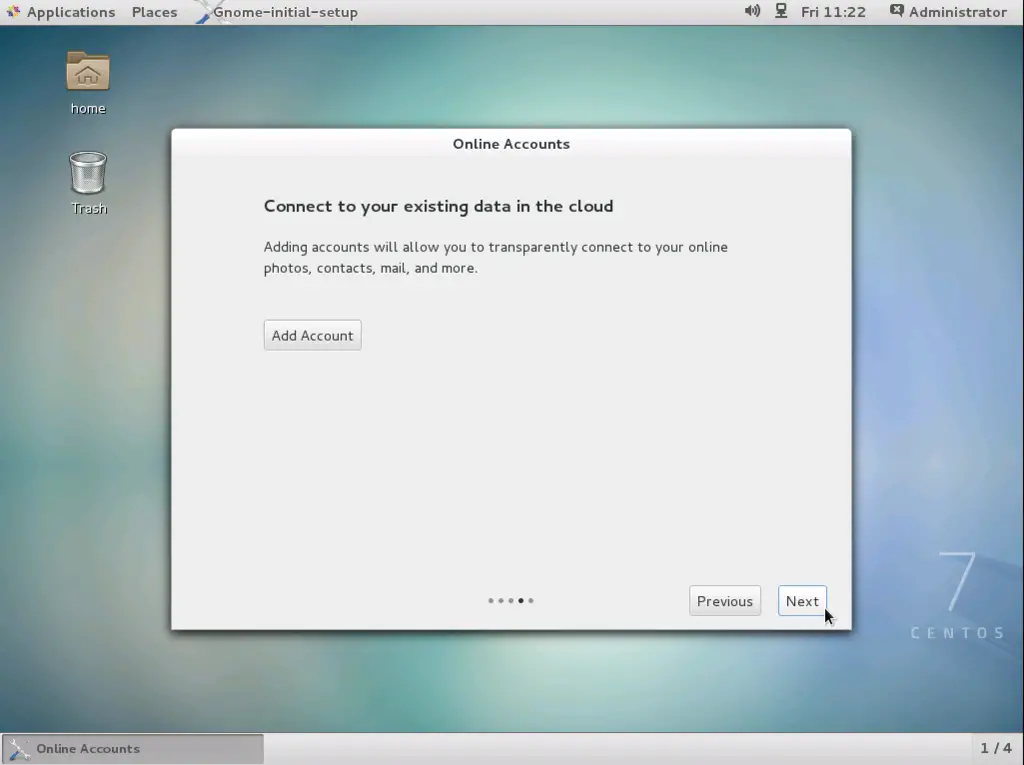
If you wish you can add accounts for Google, Yahoo etc. Press Next when done.
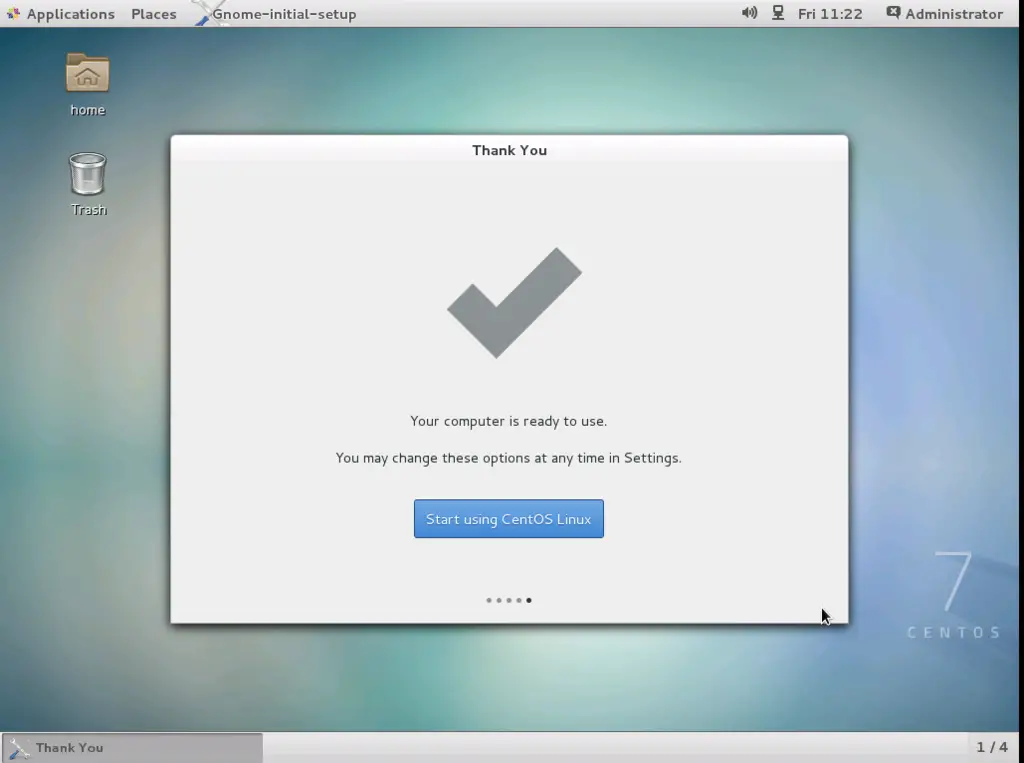
Now we are done, press using Start using CentOS Linux.
Now we are ready with the raw CentOS Desktop.

