Asterisk Installation on Debian 7 (Wheezy)
Introduction
This paper provide installation instructions for Debian linux 7 & Asterisk on a new platform.
Components:
1. Debian Linux : latest version can be obtained from (http://cdimage.debian.org/debian-cd/7.1.0/amd64/iso-dvd/). There will be more than one CD image on the website, only download the first CD the additional software on CD 2&3 can be downloaded during installation from within linux if needed.
2. Asterisk : is an open free platform for building communication systems. Latest stable version can be obtained from (http://www.asterisk.org/downloads/asterisk/all-asterisk-versions) and then choose the suitable certified version or from the command line after setting up linux and issue the below command line: (wget http://downloads.asterisk.org/pub/telephony/asterisk/asterisk-11-current.tar.gz). Along with Asterisk platform, an extra two packages need to be downloaded from Asterisk website:
i. DAHDI Library : used for managing communication interfaces (wget http://downloads.asterisk.org/pub/telephony/dahdi-linux-complete/dahdi-linux-complete-2.6.1+2.6.1.tar.gz)
ii. LIBPRI Library: LIBPRI is an open source library that encapsulates the protocols used to communicate over ISDN Primary Rate Interfaces (T1, E1, J1). LIBPRI is a dependency for Asterisk and DAHDI if PRI signaling is used. (wget http://downloads.asterisk.org/pub/telephony/libpri/libpri-1.4-current.tar.gz)
Linux Installation
1- Burn the downloaded ISO image of latest Linux platform to a DVD or a CD (depending on the size), and insert it into the machine and make sure to boot from the CD drive.
2- After booting, you’ll be greeted with the installation splash screen as per the Figure 1-1 below, select first option “install”

Fig 1-1 [first screen]
3- On the next screen “Language Screen” Select “English” and continue [Fig 1-2 Language screen]
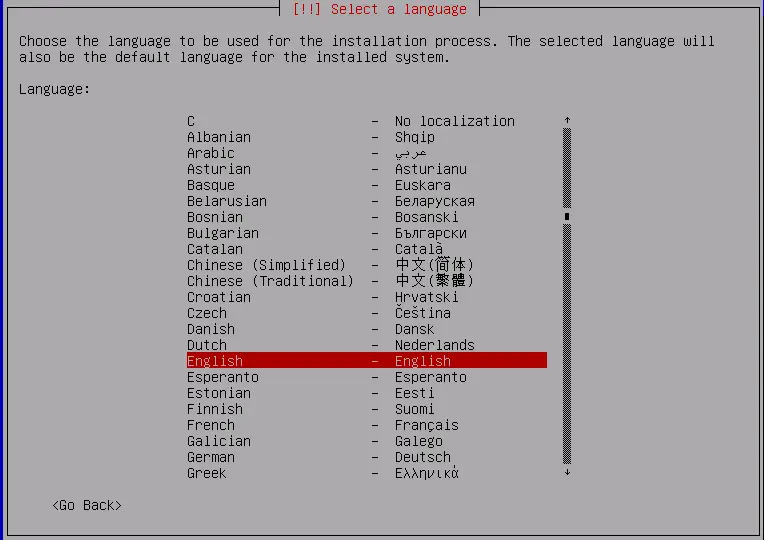
Fig 1-2
4- On the next screen “Select your location” choose the country you are in (Jordan); or you can leave it as US and fix it later from within the system. Fig 1-3
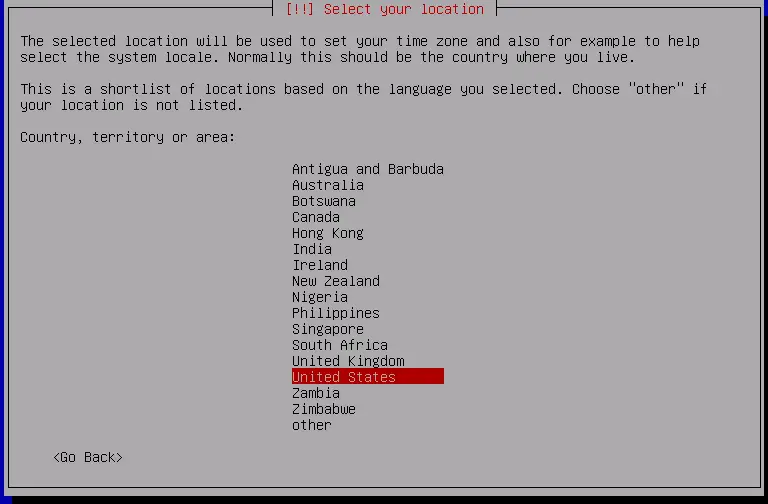
Fig 1-4
5- On The next screen “system locale” select the keyboard defaults (same as on screen). Fig 1-5
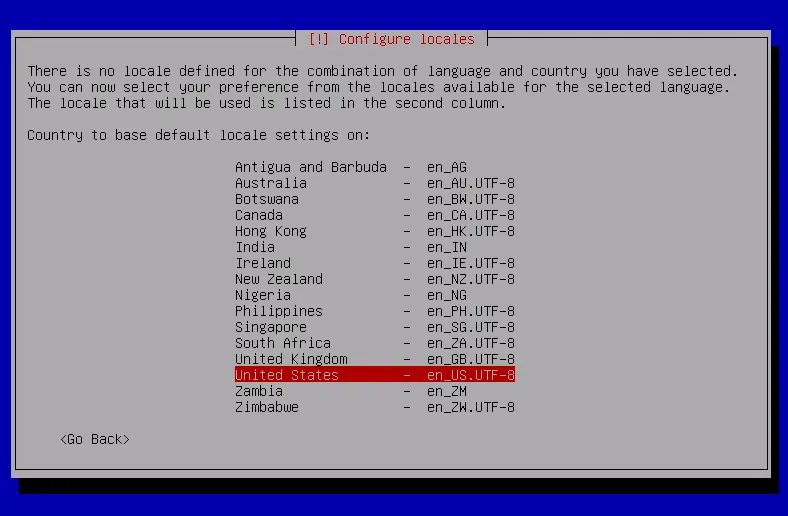
Fig 1-5
6- Configure the keyboard region by clicking enter Fig 1-6
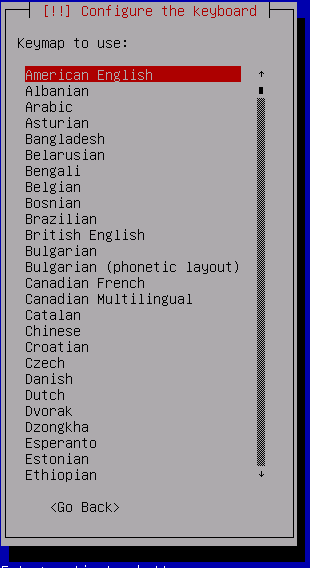
Fig 1-6
7- Debian will begins installation, set back and wait for it to request the next action (Fig 1-7)
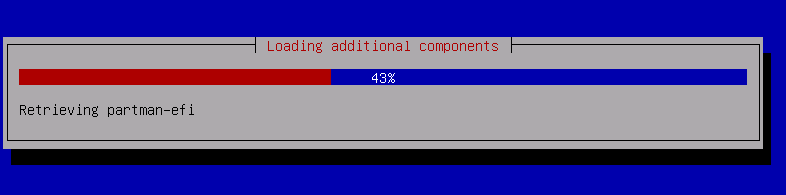
Fig 1-7
8- Next you’ll setup your network configuration (actual settings may differ from the figures below) figure 1-8..1-11
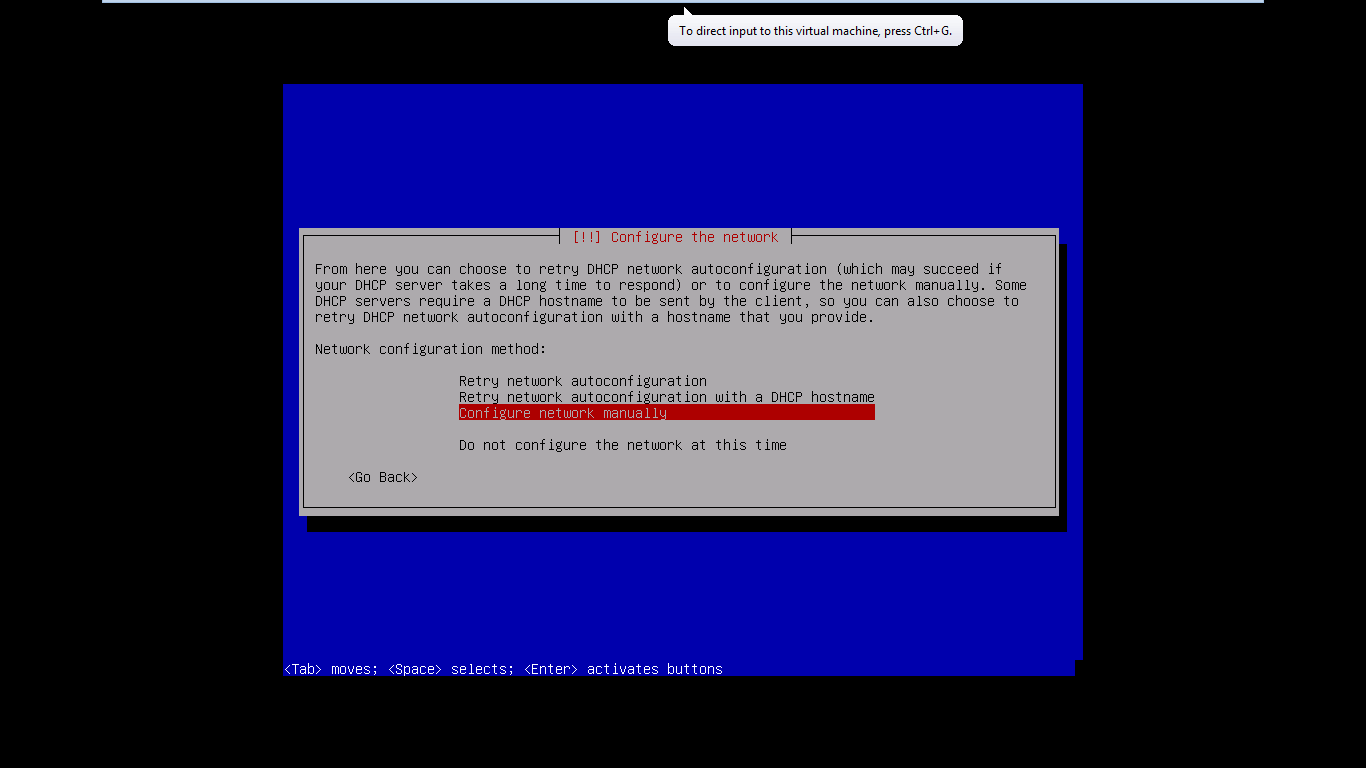
Fig 1-8
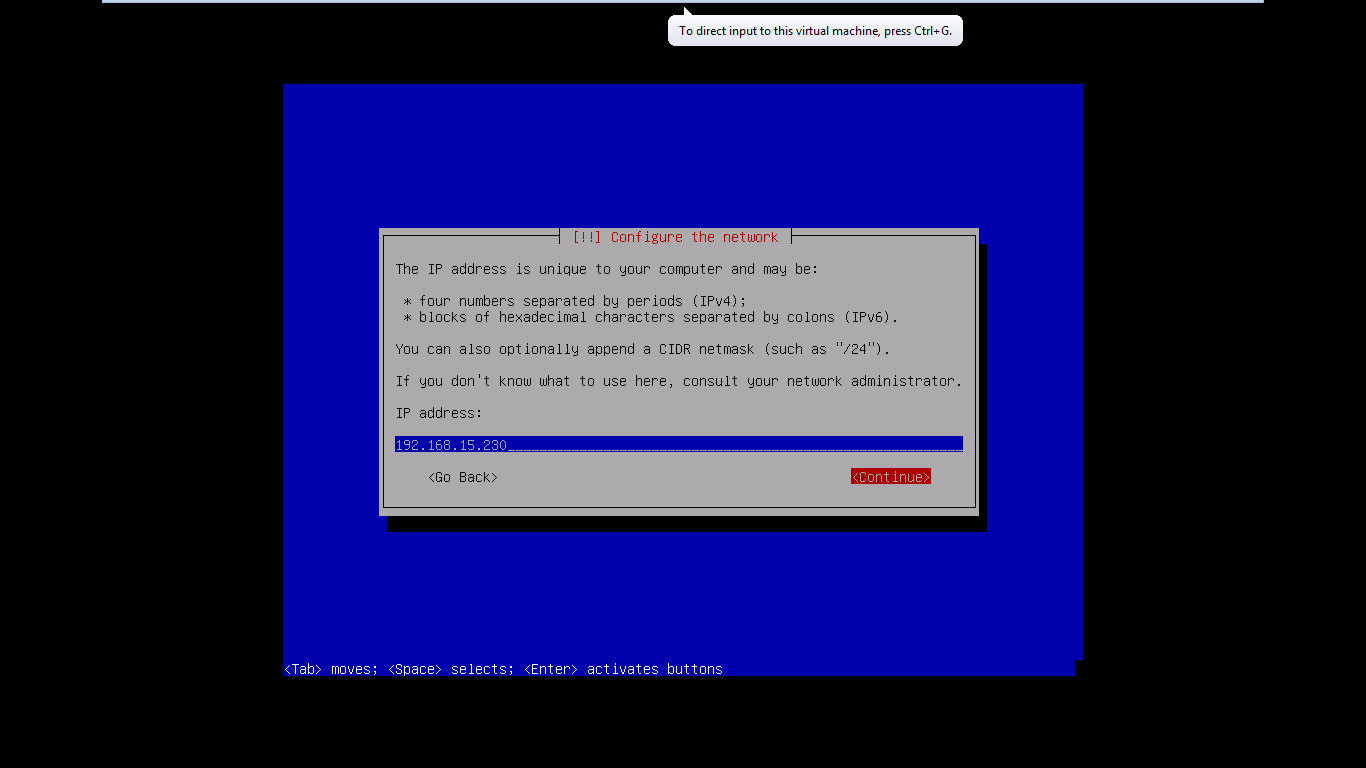
Fig 1-9
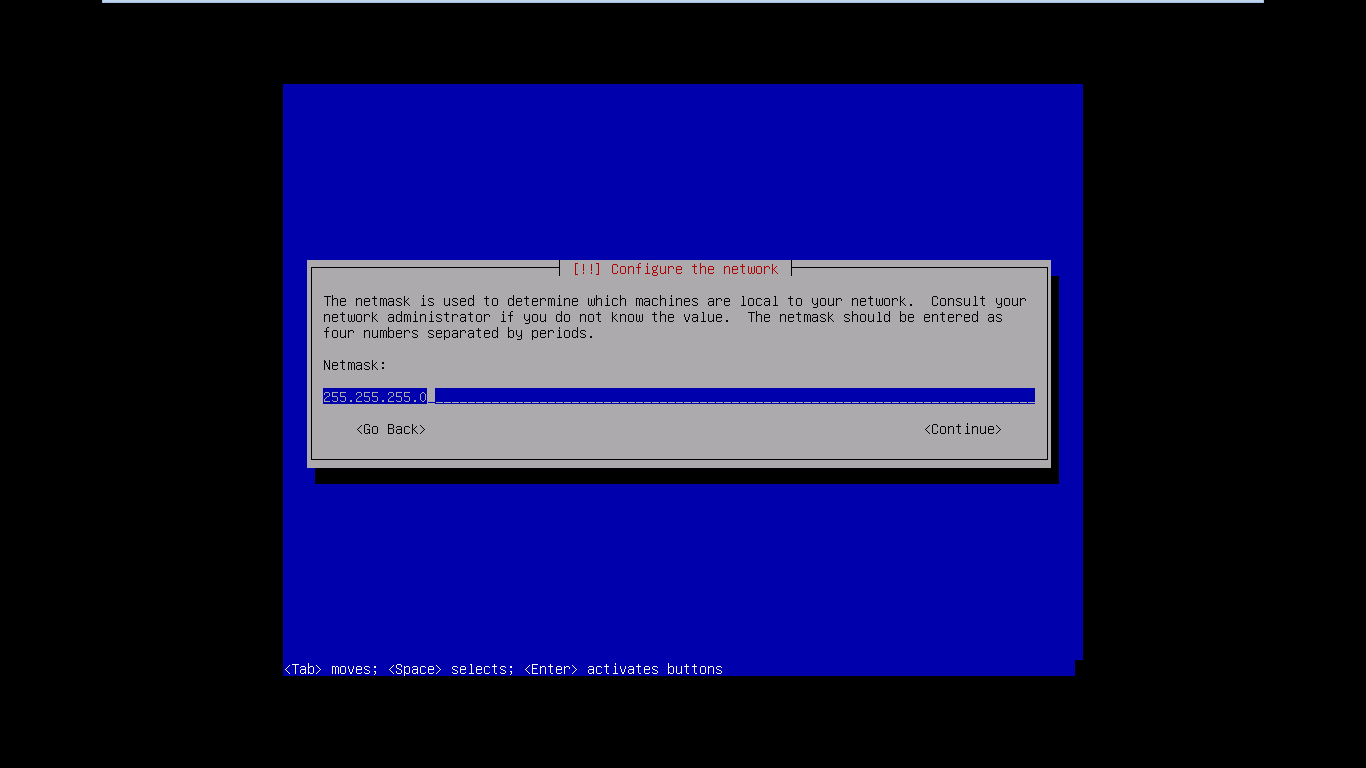
Fig 1-10
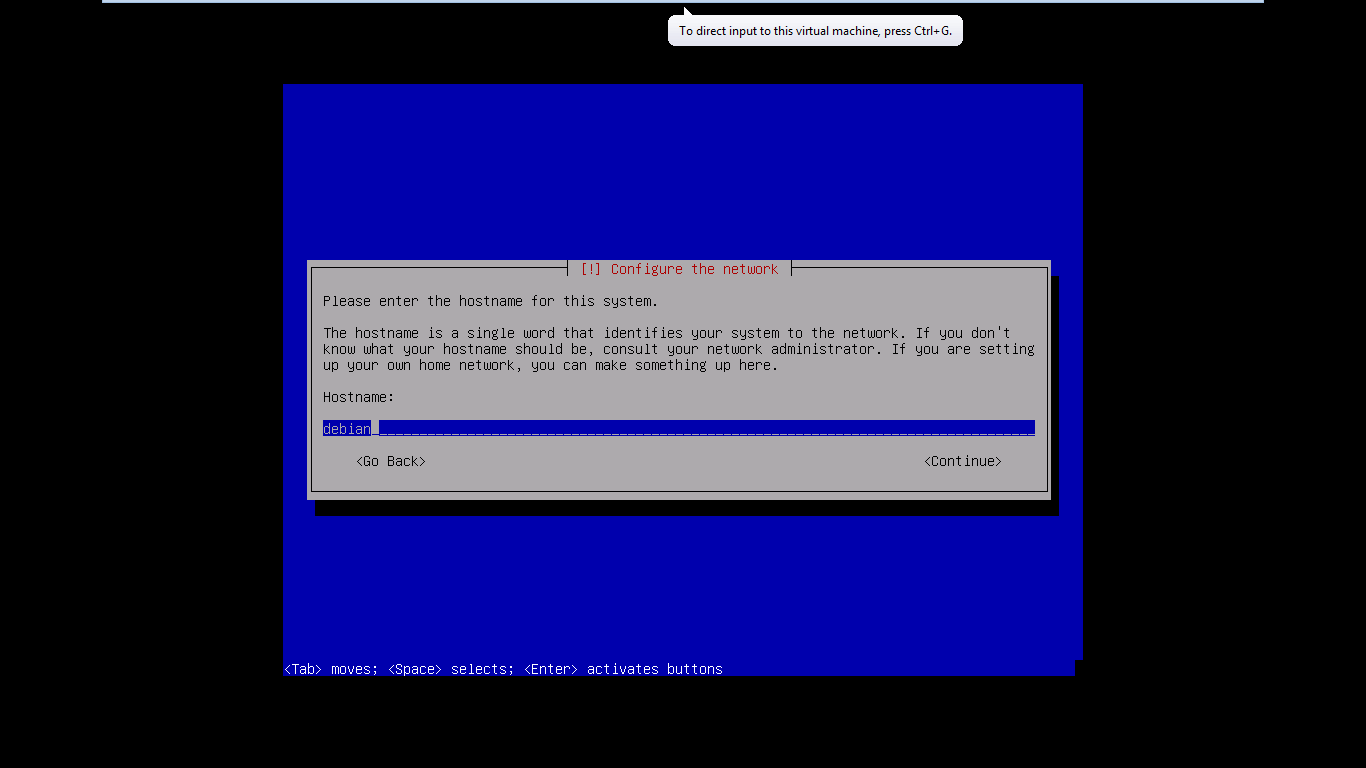
Fig 1-11
9- Next screen you’ll be prompted to enter the Root password, make sure you enter a complex password. Fig 1-12
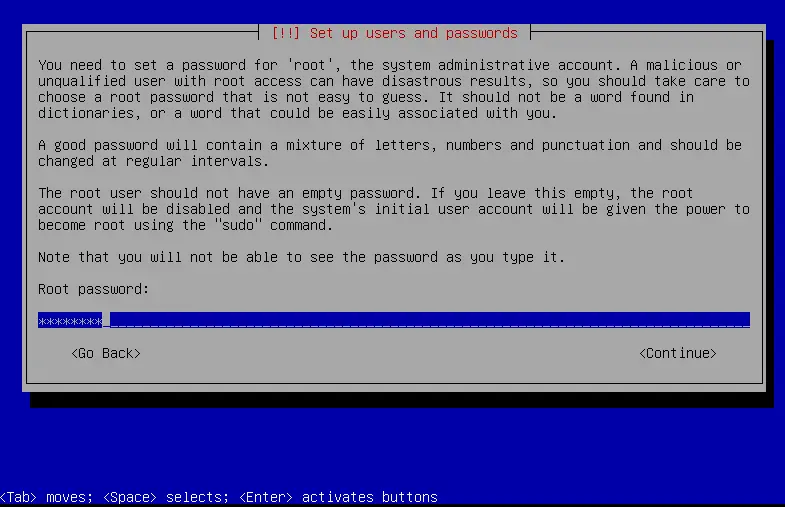
Fig 1-12
10- Next screen will request to confirm the root password from previous screen.
11- Next will be prompted to add a normal user to the system and enter a password for this user as per figure 1-13 and 1-14
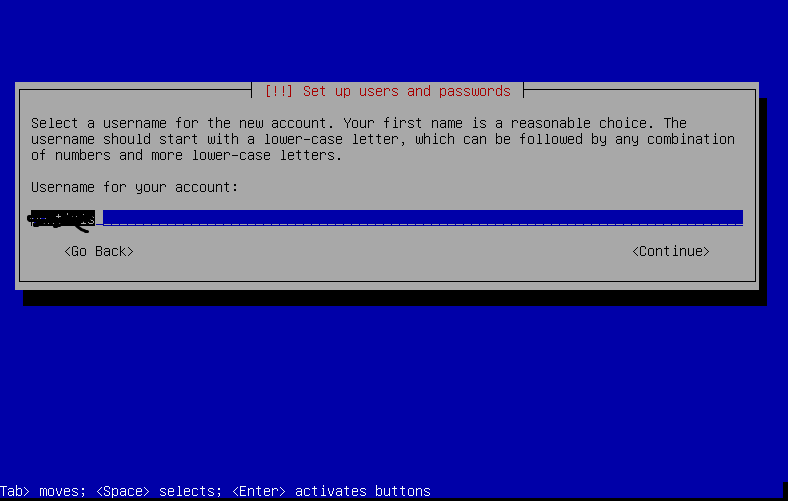
Fig 1-13
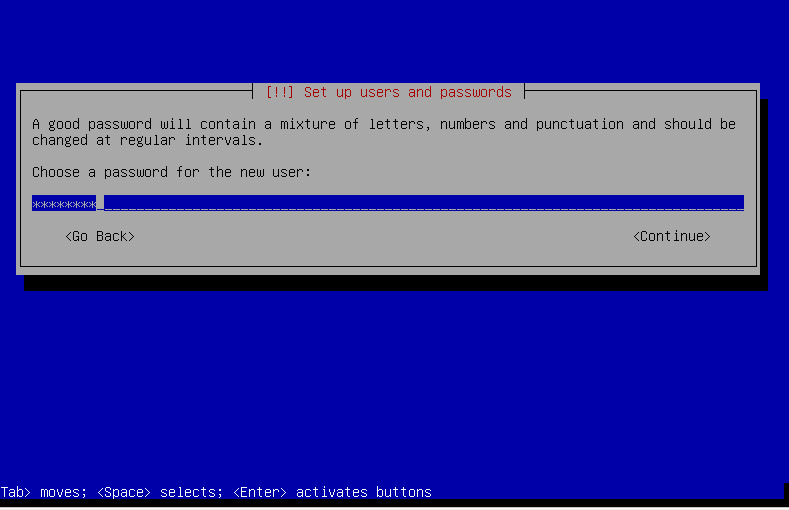
Fig 1-14
12- Next will be prompted to setup disk partition, choose “Guided,use entire disk” Fig 1-15
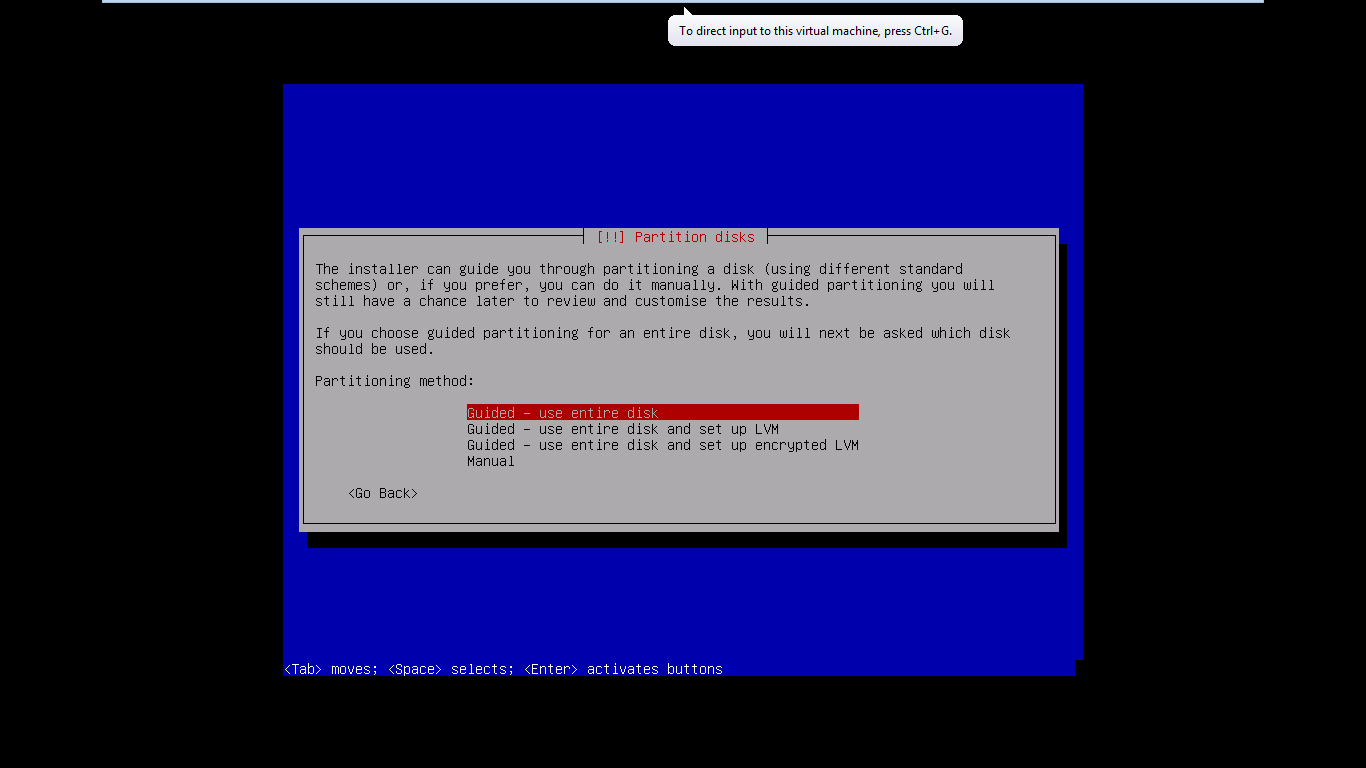
Fig 1-15
13- Click next on the following screens of the disk partition until system starts installation of files
14- System will start installation as per figure 1-16
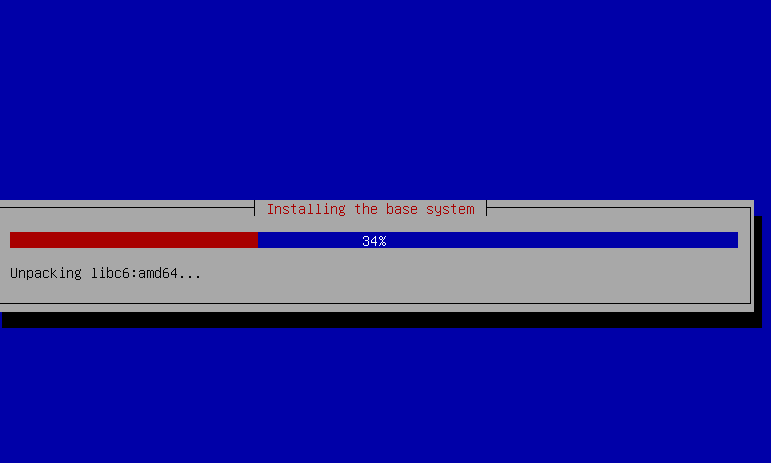
Fig 1-16
15- Next will be prompted to choose the package manager; the package manager will be responsible to identify the APT that will be used to install any required software later on. Fig 1-17
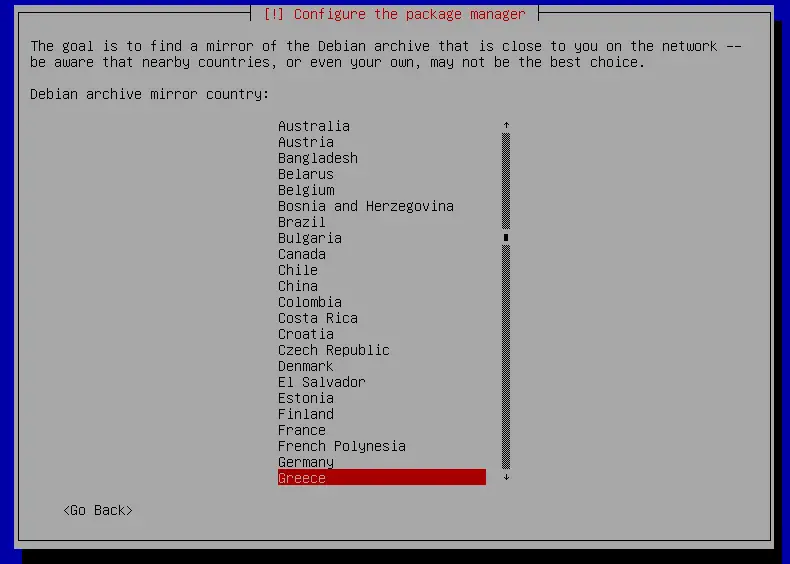
Fig 1-17
16- Apt configuration will start immediately after previous screen as per Fig 1-18 below
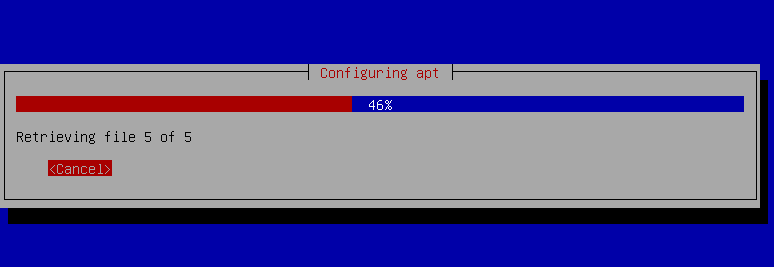
Fig 1-18
17- Click “NO” on the popularity-contest screen Fig 1-19

Fig 1-19
18- After setting up software repositories, you’ll be presented with additional software installation options, make sure to only select “SSH” and “Standard System Utilities” as per Fig 1-20
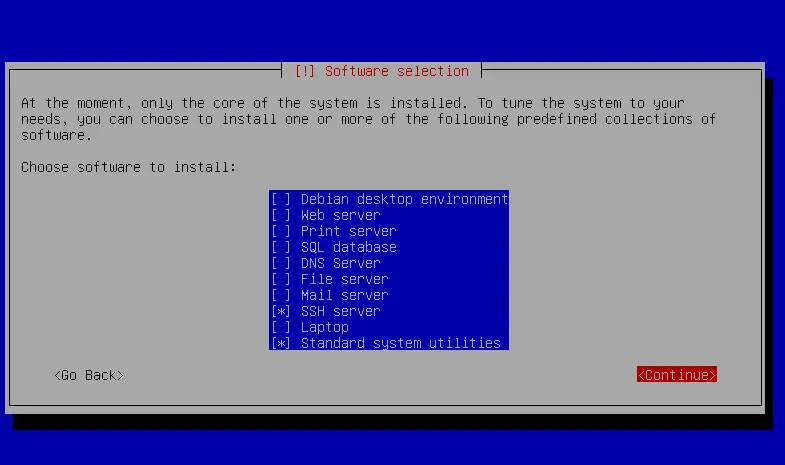
Fig 1-20
19- In the final steps, you’ll be presented with the installation of the GRUB loader which is a utility for Linux boot system, select “YES” and continue as per fig 1-21
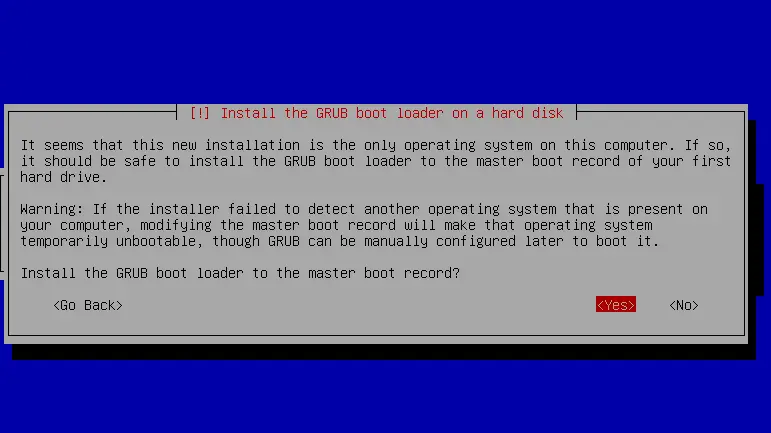
Fig 1-21
20- Congratulations, you have successfully finished installing Debian 7. Click “Continue” to reboot and logon to the system. Fig 1-22

Fig 1-22
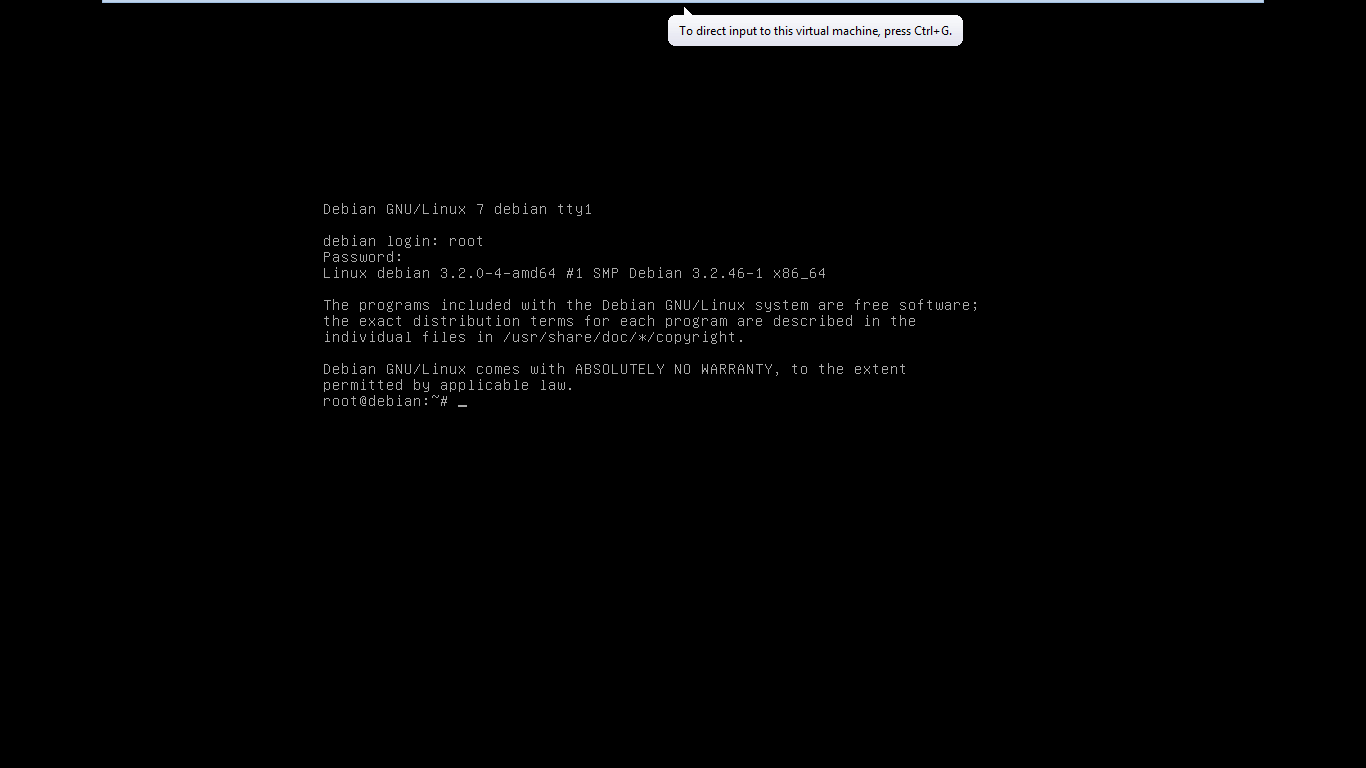
21- After system reboot enter your logon credentials to access the system, this can also be done remotely using “putty” if you prefer to work remotely.
Installing Asterisk
In order to install Asterisk properly, there are some system libraries that need to be installed before compiling asterisk.
Required system libraries:
1. C/C++ compiler
2. OpenSSL
3. Ncurses
4. Newt
5. Libxml2
6. Kernel Headers
7. Sql lite
8. Vim (file editor)
System Libraries installation:
1. Start with issuing the following command : apt-get install build-essential as in Fig 2-1 below this will install all pre build essentials such as C/C++ and gcc compiler
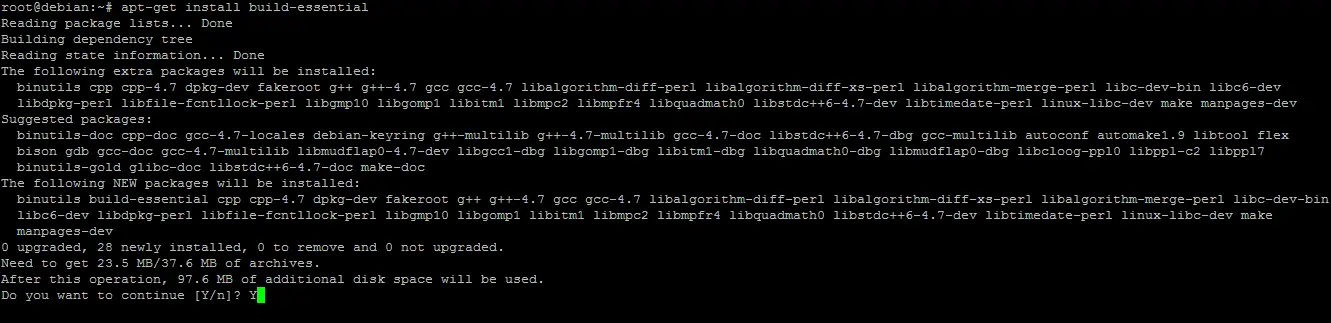
Fig 2-1
2. Next we’ll install : OpenSSL, Ncurses, Newt, LibXML2,vim and sqllite and Kernel Headers, we’ll start off with the last one (Kernel Headers) by issuing the command: apt-get install linux-headers-$(uname -r) but before that make sure the system is up to date by issuing: apt-get update. Fig 2-2 below
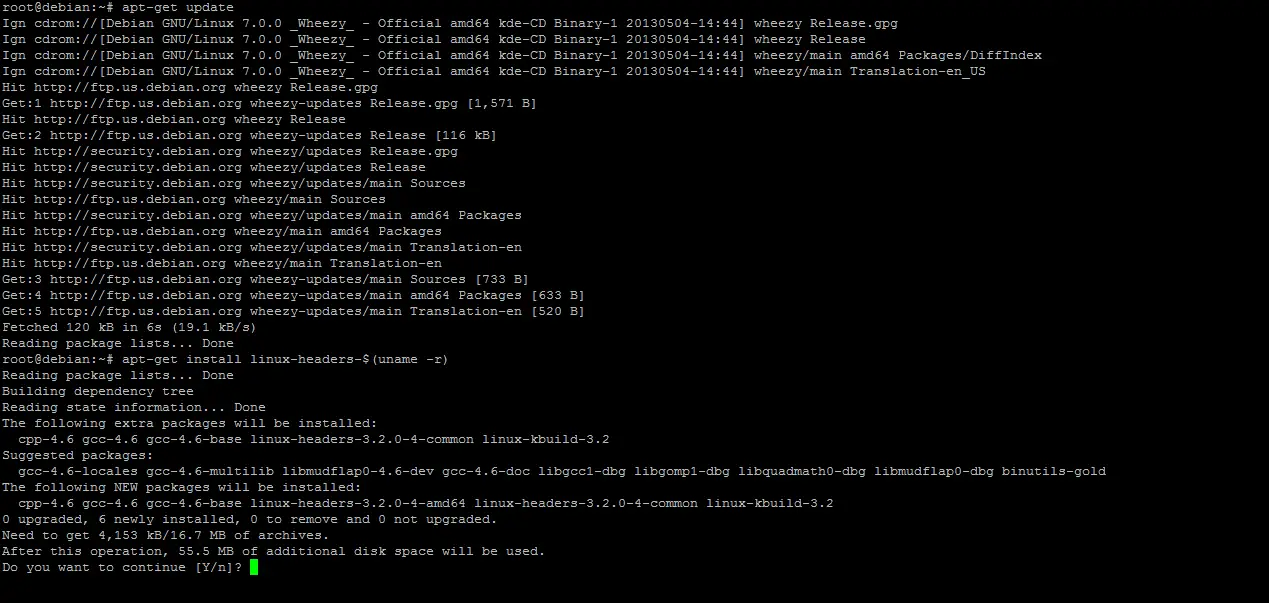
Fig 2-2
3. Next we’ll install the rest of the system libraries mentioned in step 2 along with their development libraries as well. To do so issue the following command: apt-get install libxml2 libxml2-dev openssl libssl-dev libncurses5 libncurses5-dev libnewt0.52 libnewt-dev vim-nox libsqlite3-dev as per Fig 2-3
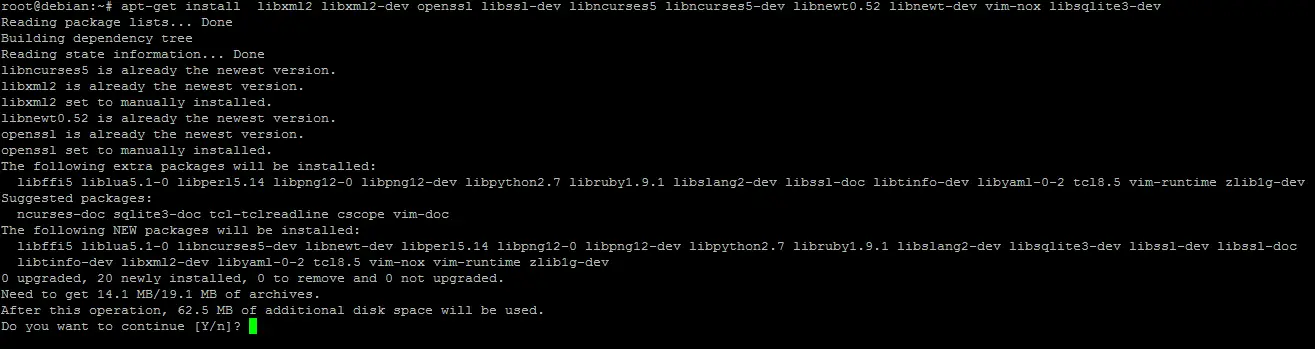
Fig 2-3
Now, we have completed installing all necessary libraries and support software. Reboot the system and continue with the next steps to install Asterisk system.
Downloading and installing Asterisk packages:
Asterisk system has two support packages that need to be installed along with Asterisk package: DAHDI & LIBPRI. DAHDI is a set of drivers and utilities for a number of analog and digital telephony cards, such as those manufactured by Digium. And LIBPri is a library allows Asterisk to communicate with ISDN connections.
We’ll kick off with downloading the tar files (zipped files) to our system and then extract them and eventually install them. Downloading the tar files from the command line is done as detailed in this document under “System Components” section. Download the packages to /usr/local/src.
Process:
1. Download Asterisk, DAHDI and LibPri to /usr/local/src as per figure 4-1
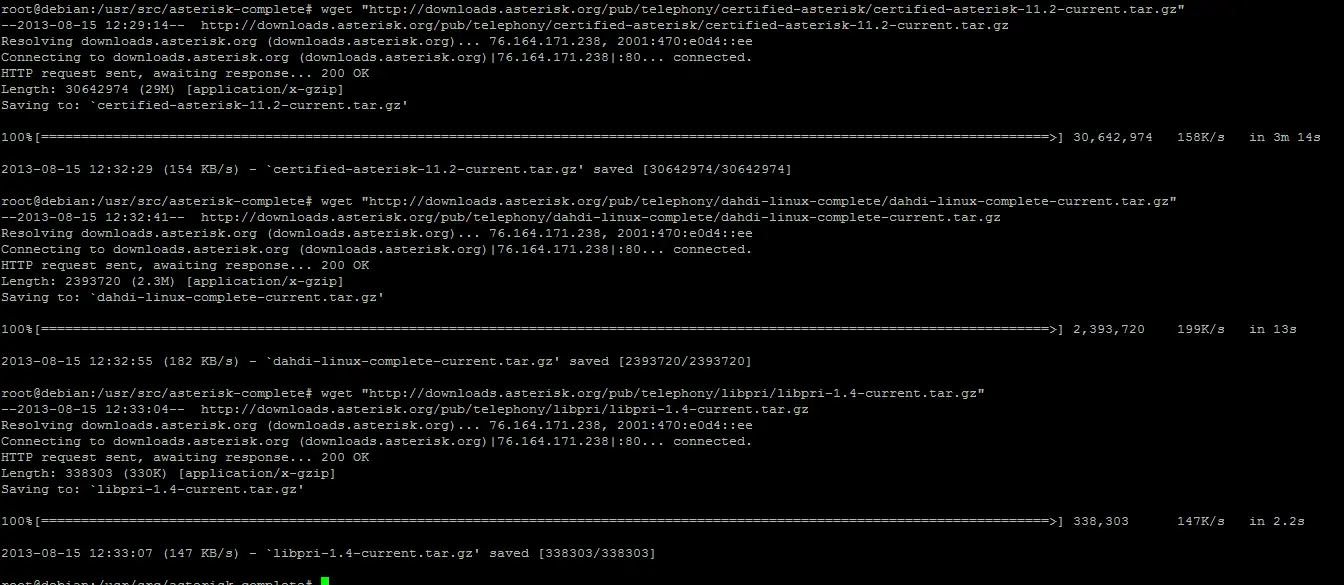
Fig 4-1
2. Untar the above installed files to the same directory by issuing the following command (make sure to change the package name accordingly) :tar -zxf [package_name].tar.gz see fig 4-2
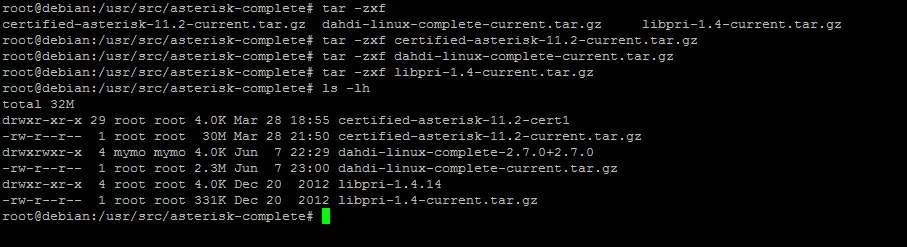
Fig 4-2
3. Now we’ll build DAHDI and LibPri by navigating to Asterisk folder and issue the next few commands:
a. DAHDI commands : make make install Fig 4-3.1
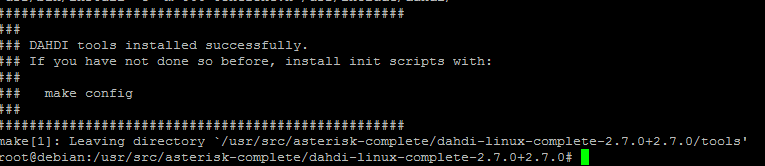
Fig 4-3.1
b. Issue: make config and you are done with DAHDI
4. Installing Libpri: first you’ll have to patch the current version of libpri if there was a patch available, so you’ll download also libpri patch from the same location and issue the following command : patch –p1 < /<<patch_name>> same as DAHDI issue the next commands : apt-get install libpri1.4
5. Finally we will start building and installing Asterisk package, first we’ll navigate to the Asterisk folder, after that we’ll start the following:
a. We’ll first need to issue the command: ./configure the end result will be as in Fig 5-1.1
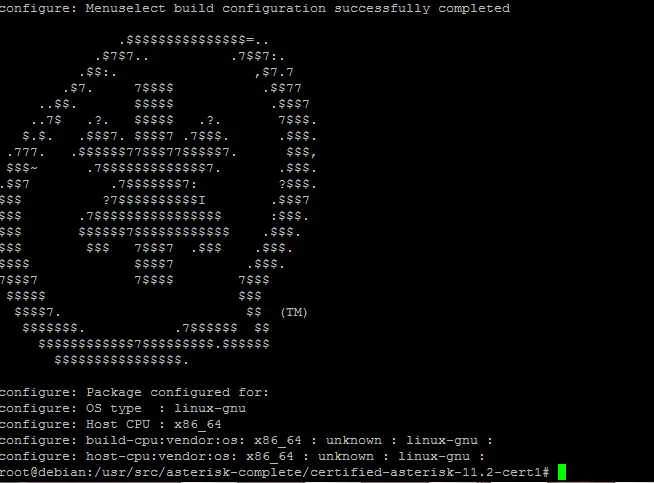
Fig 5-1.1
b. Next we’ll issue “make menuselect” to select mysql_cdr from the menu as per Fig 5-1.2
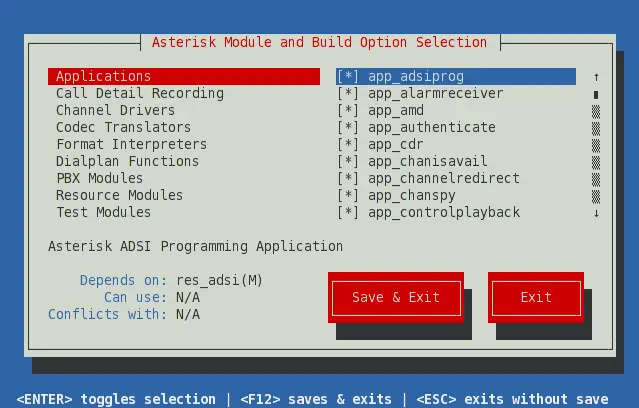
Fig 5-1.2
c. Finally we’ll build and install the asterisk package by issuing the commands “make” and “make install” and the final result will be as per the Fig 5-1.3 & Fig 5-1.4
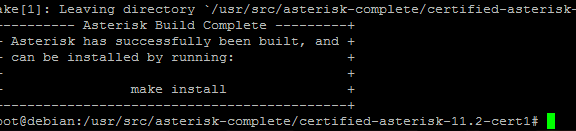
Fig 5-1.3
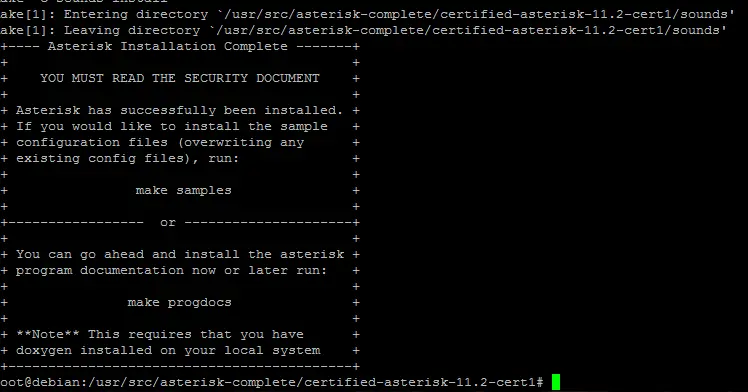
Fig 5-1.4
d. To install a set of sample configuration files for Asterisk, type: #make samples.
e. Now that you have Asterisk compiled and installed, the last step is to install the initialization script, or initscript. This script starts Asterisk when your server starts, and can be used to stop or restart Asterisk as well. To install the initscript, use the make config command.
f. As your Asterisk system runs, it will generate logfiles. It is recommended to install the logrotation script in order to compress and rotate those files, to save disk space and to make searching them or cataloguing them easier. To do this, use the make install-logrotate command.g. To check if Asterisk is running, you can use the Asterisk initscript. Using command /etc/init.d/asterisk status or restart
h. Congratulations on installing Asterisk, reboot your machine.
For more information on setting up and installing Asterisk check out the following links:
https://wiki.asterisk.org/wiki/display/AST/Asterisk+Packages
http://ofps.oreilly.com/titles/9781449332426/asterisk-Install.html#Installing_id291699
http://www.atcom.cn/AXE2D.html

