Ubuntu 14.10 PXE server installation
Version 1.0
Author: Srijan Kishore <s [dot] kishore [at] ispconfig [dot] org> Follow howtoforge on Twitter
Last edited 05/Dec/2014
This guide explains how to configure PXE server in Ubuntu 14.10 PXE Server, stands for preboot execution environment, is used to enable a network computer to boot only from a network interface card. This method will be very helpful, if a System Administrator wants to install many systems which doesn’t have a CD/DVD device on the network. PXE environment needs a DHCP server that distributes the IP addresses to the client systems, and a TFTP server that downloads the installation files to the PXE clients. You don’t need any CD/DVD or USB bootable drives to install client systems. Just, copy the ISO images on the PXE server and start installing your Linux clients via network using PXE server.
I do not issue any guarantee that this will work for you!
1 Preliminary Note
I have fresh installed Ubuntu 14.10 server, on which I am going to install the PXE server. My Ubuntu server have hostname server1.example.com and IP as 192.168.0.100
You can have your Ubuntu server installed from the tutorial. We need a DHCP server to have this setup. I will here install DHCP-server, tftp-server and other configurations as explained in next chapters.
2 Install DHCP Server
Now we will install these packages at the Ubuntu 14.10 server end as:
apt-get update
apt-get install isc-dhcp-server
Now the configuration part will include as:
nano /etc/default/isc-dhcp-server
Add the interface as follows:
[...]
INTERFACES="eth0"
Next Edit the the file dhcpd.conf as follows:
nano /etc/dhcp/dhcpd.conf
[...]
# option definitions common to all supported networks...
option domain-name "example.com";
option domain-name-servers server1.example.com;

subnet 192.168.0.0 netmask 255.255.255.0 {
 range 192.168.0.20 192.168.0.30;
 option routers 192.168.0.1;
 option broadcast-address 192.168.0.255;
}
default-lease-time 600;
max-lease-time 7200


[...]
# network, the authoritative directive should be uncommented.
authoritative;
[...]
Next Restart the service as follows:
service isc-dhcp-server start
service isc-dhcp-server stop
3 PXE installation and configuration
Next install PXE server as follows:
apt-get install apache2 tftpd-hpa inetutils-inetd
Configuration includes:
nano /etc/default/tftpd-hpa
[...]
RUN_DAEMON="yes"
OPTIONS="-l -s /var/lib/tftpboot"
Again
nano /etc/inetd.conf
[...]
tftp    dgram   udp    wait    root    /usr/sbin/in.tftpd /usr/sbin/in.tftpd -s /var/lib/tftpboot
Next restart the services as follows:
service tftpd-hpa restart
Modify dhcp configuration accordingly for the PXE server:
nano /etc/dhcp/dhcpd.conf
At the end of the file add the entries:
[...]
allow booting;
allow bootp;
option option-128 code 128 = string;
option option-129 code 129 = text;
next-server 192.168.0.100;
filename "pxelinux.0";
Restart the service as:
service isc-dhcp-server restart
4 Configuring installation media
Now we will mount the external media as follows:
mount /dev/sr0 /mnt
Now add the files as follows:
cp -avr /mnt/install/netboot/* /var/lib/tftpboot/
mkdir -p /var/www/html/ubuntu14.10
cp -avr /mnt/* /var/www/html/ubuntu14.10/
Now make the changes in the file pxelinux.cfg/default as follows:
nano /var/lib/tftpboot/pxelinux.cfg/default
[...]
label linux
        kernel ubuntu-installer/amd64/linux
        append ks=http://192.168.0.100/ks.cfg vga=normal initrd=ubuntu-installer/amd64/initrd.gz
ramdisk_size=16432 root=/dev/rd/0 rw  --
Lastly we need to make our DHCP server fully compatible to PXE environment as follows:
nano /etc/dhcp/dhcpd.conf
[...]
allow booting;
allow bootp;
option option-128 code 128 = string;
option option-129 code 129 = text;
next-server 192.168.0.100;
filename "pxelinux.0";
Now we are ready for the Network based installations. Simply booth any other device and boot over network will make the installations over the network.
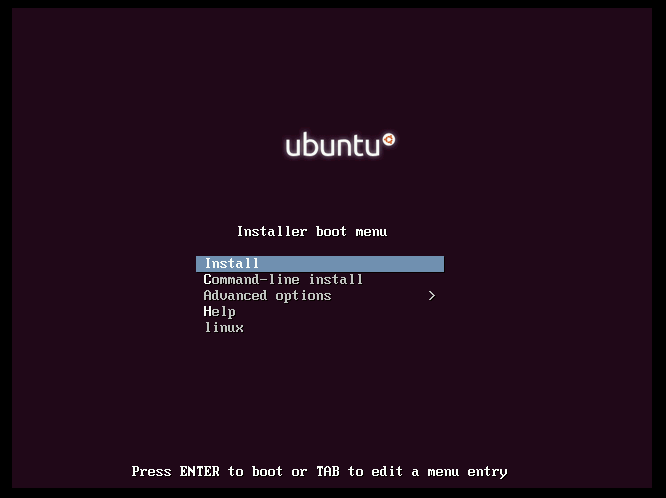
Cheers now we have a successfully configured PXE-server over Ubuntu 14.10 :)
5 Links
- Ubuntu : http://www.ubuntu.com/

