How to backup your Ubuntu Desktop with DejaDup
Déjà Dup is a nice graphical wrapper around the command line backup tool duplicity. It hides the complexity of backing up the Right Way (encrypted, off-site, and regular) and uses duplicity as the back end. Déjà Dup does not use cron or similar schedulers. Rather, it starts a program deja-dup-monitor when you log into your session. This keeps track of when you last successfully backed up and will wait until the next scheduled backup.
Encryption.
Déjà Dup relies on duplicity to handle the encryption, and it uses gpg with a symmetric cipher. Basically, that means it is encrypted just with the password your provide. You will need to remember that password to restore your data. If you choose to have Déjà Dup remember your password, it will be stored in the default GNOME keyring.
Backup Format.
Déjà Dup uses an opaque format for files stored in your backup location. You must use Déjà Dup or another duplicity-based tool to restore your files. This is opposed to a native format where you can browse and examine your files using any normal file tool.
Full Backups.
Déjà Dup will occasionally make fresh full backups for you. This takes up more space and more time. Déjà Dup assumes that disk space is not important and even time-to-backup isn't a terribly important detail, and that safety of data is paramount.
Deleting Older Backups.
Déjà Dup lets you specify that you want backups to be kept for a period of time like: a month, after which, you are OK with the backups being deleted. This does not mean that immediately after a month, Déjà Dup will delete all older backups. It takes two complete backups to delete the previous one i.e. When application creates a complete backup file on 04th-Mar-2015 and then after a month on 04th-Apr-2015 again creates a complete backup file, this doesn't mean the application will delete the file created on 04th-Mar-2015, the next month when the application will create another complete backup on 04th-May-2015 only then the first backup file of 04th-Mar-2015 will be deleted.
Installation.
Type in the following command to install Déjà Dup.
sudo apt-get install deja-dup
Using Déjà Dup.
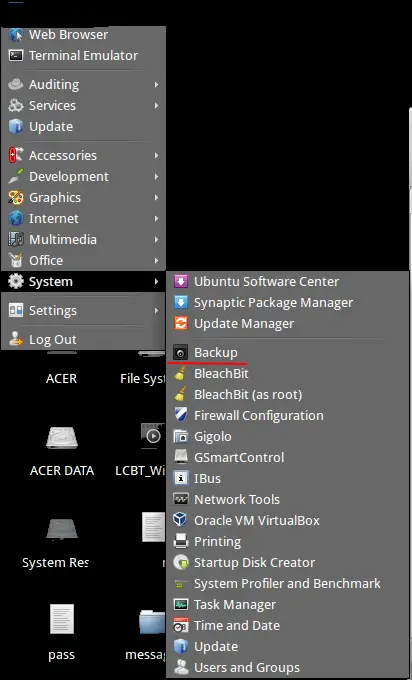
After the installation you can find the application on the default settings manager window in UBUNTU. If not you will find it some where in your system management options:
After the startup you will have a screen like this:
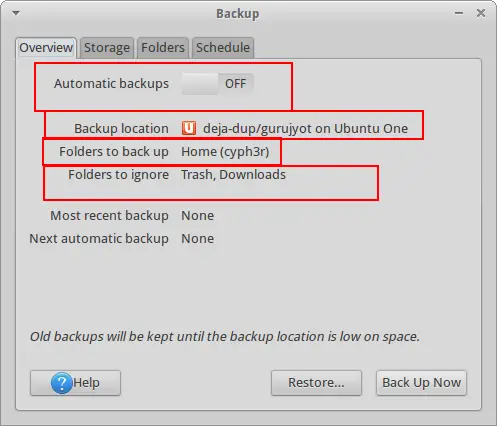
The options highlighted are the important one's that we are going to check further in this tutorial.
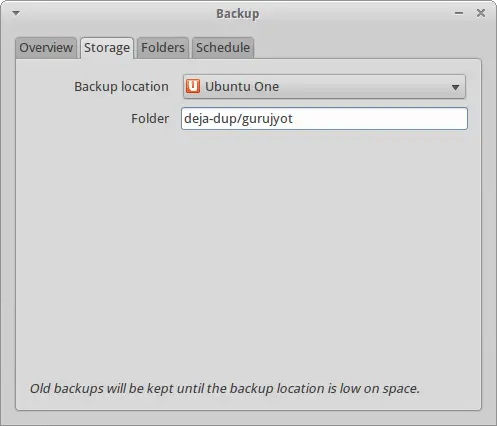
The above mentioned is the folder that you would like to choose, the folder on which you would like to save your backup. You have other options to save like:
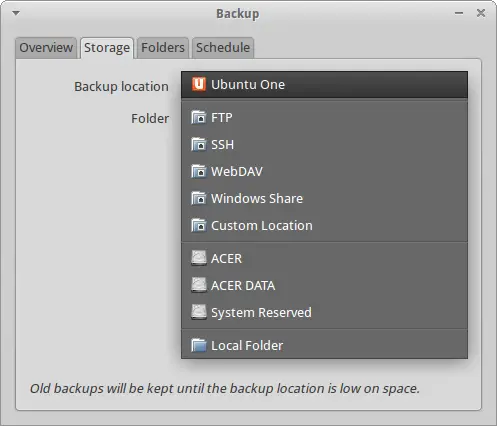
You can choose any folder or location you feel like, but make sure your data and the backup file both are on different drives or location keeping them in the same place isn't very smart.
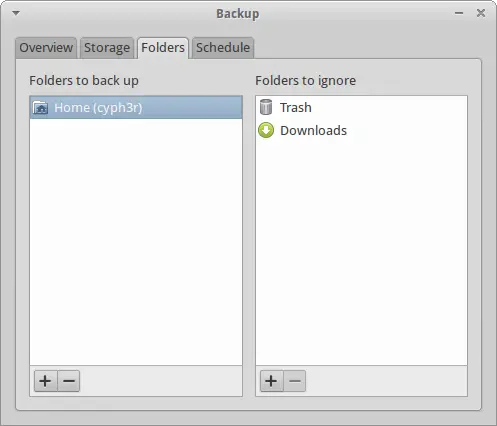
You can add or delete or add folders you would like to backup, also you can check which folder you want to be excluded.
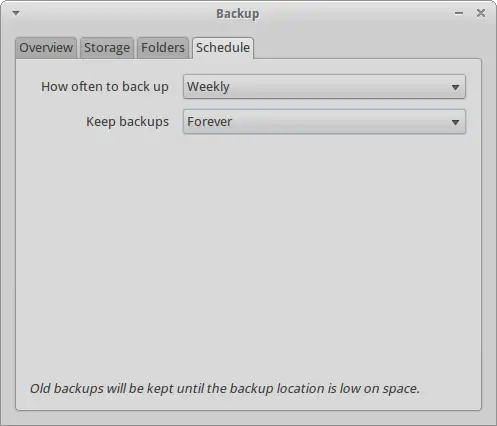
Scheduled backups can also be set using the application. Its depends on you how often you wish to create backups.
Creating Backup.
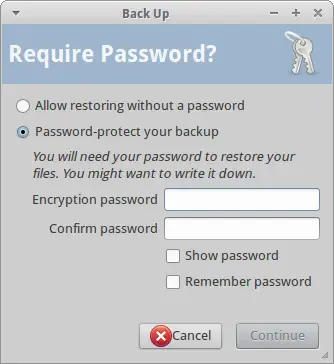
Now after you have setup the above options as per your requirement it is time to backup the data. Click on the backup option and let's begin, after the system has calculated the data to be backed-up, you will get a password prompt after you start the backup.
There you go the backup has started, you will see probably a screen like this:
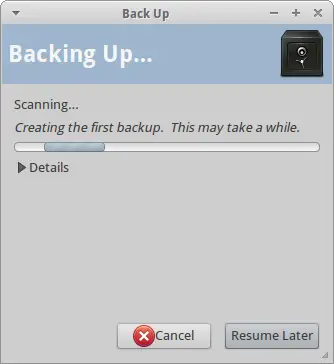
You got a option to resume later, if you feel like its is taking too long for the backup. And after this you are done with the creating the backup file.
Restoring Data.
After you have successfully backed-up your data you would also like to know how to restore it. You may click on the restore option available on the startup and it will give you a prompt.
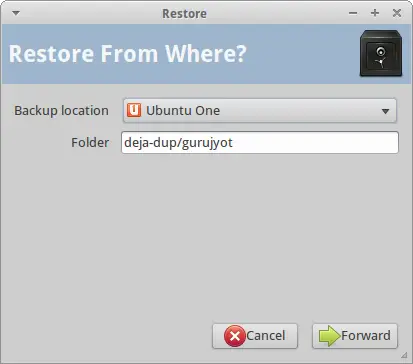
You may choose the location where you stored your backup file, and click forward.
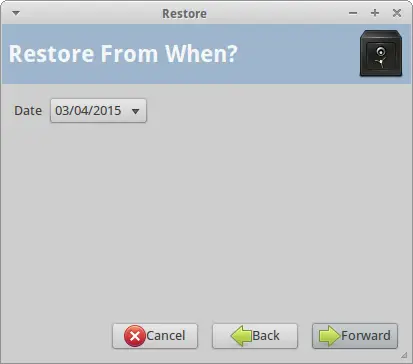
You will have to select the date for when you want to restore your data!
Your data can be extracted to the original location or else you can choose any different location you would like to, as per your requirement.
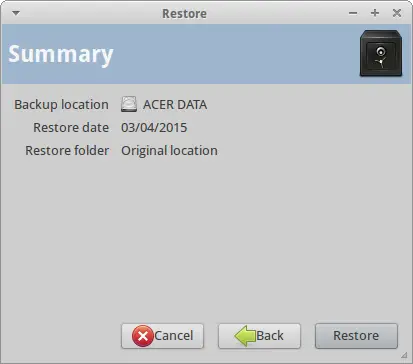
At last it will show you a summary of your backup you are about to restore.
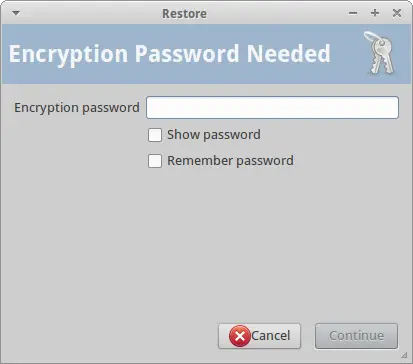
It will prompt you the password you created to create he backup! Enter the password and the data will be restored to your desired location.
This was all about using Déjà Dup.

