
Fail2ban is an intrusion prevention tool that protects computers from brute force and other attacks by closely monitoring the log files. The tool would then ban the suspicious IP addresses based on the predefined number of failed login attempts to stop the attacks. Fail2Ban uses jails to monitor log files for authentication failures and other entries that can be considered suspicious activities.
It can be configured to send an email and/or ban the attacker’s IP address for a pre-defined length of time. After the ban period is over, the attacking IP address will be automatically unbanned. In this tutorial, we will show you how to install and configure Fail2ban on Ubuntu 22.04.
Table of Contents
Prerequisites
- Ubuntu 22.04
- SSH access with root privileges or a regular system user with sudo privileges
Step 1. Login to the server
First, log in to your Ubuntu 22.04 server through SSH as the root user:
ssh root@IP_Address -p Port_number
Replace “root” with a user that has sudo privileges if necessary. Additionally, replace “IP_Address” and “Port_Number” with your server’s respective IP address and SSH port number.
You can check whether you have the proper Ubuntu version installed on your server with the following command:
$ lsb_release -a
You should get an output like this:
No LSB modules are available.
Distributor ID: Ubuntu
Description: Ubuntu 22.04 LTS
Release: 22.04
Codename: jammy
Before starting, you have to make sure that all Ubuntu OS packages installed on the server are up to date.
You can do this by running the following commands:
$ sudo apt update -y
$ sudo apt upgrade -y
Step 2. Install Fail2ban
Fail2ban is available in the default Ubuntu repository, so we can simply run the following command to install it.
$ sudo apt install fail2ban -y
Then, invoke this command to enable and run fail2ban
$ sudo systemctl enable --now fail2ban
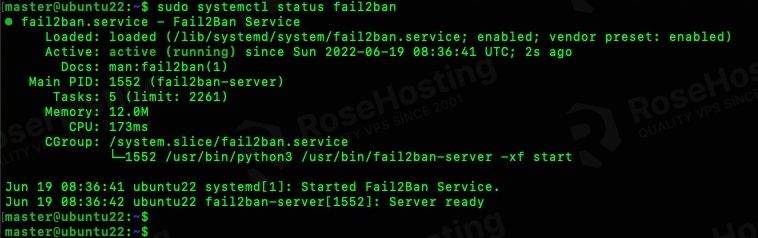
Fail2ban is installed and running now, you can verify this by invoking this command:
$ sudo systemctl status fail2ban
Step 3. Configure Fail2ban
In Ubuntu, you will see the configuration files in /etc/fail2ban/jail.conf and /etc/fail2ban/jail.d/defaults-debian.conf. Fail2ban will load .local first first before loading .conf files. So, it is necessary to create a copy of the default jail.conf file as jail.local. We will configure everything by modifying the jail.local file. Please also note that modifying the default .conf files is not recommended, as they could be overwritten upon update.
$ sudo cp /etc/fail2ban/jail.conf /etc/fail2ban/jail.local
Whitelist IP
The first thing you need to do is to whitelist your own server, let’s edit /etc/fail2ban/jail.local, and uncomment the ‘ignoreip’ line. You can also add other IP addresses, and they should be separated with a space or comma.
$ sudo nano /etc/fail2ban/jail.local
Find the line ‘ignoreip’ and uncomment it.
#ignoreip = 127.0.0.1/8 ::1
It should look like this:
ignoreip = 127.0.0.1/8 ::1

Let’s keep the editor open and continue to the next step.
Ban Time Set-Up
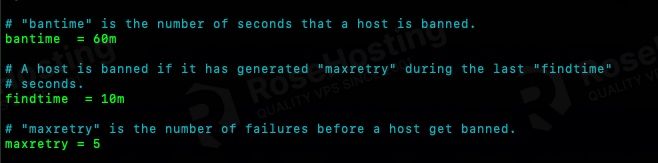
The ban time is when an IP is banned after a specific number of failed authentication attempts. By default, the value is 10 minutes with 10 minutes finder on five retries. It means that Fail2ban jail with active filtering will ban the attacker’s IP address for 10 minutes after it has retried the same attack in 10 minutes (find time) x 5 times (retries).
It is advised to set different ban times as some banning should automatically be longer than others, including retries that should be less or more. This is a personal preference, but setting the time long enough to disrupt malicious user activities is preferred. If you want to ban the attacking IP address permanently, you can set the bantime value to -1.
In this tutorial, we are going to adjust the bantime to 60 minutes.
bantime = 60m
Email Notifications
If you want to receive an email every time fail2ban bans an IP address in jail, you can set an e-mail address in the jail. Still in /etc/fail2ban/jail.local, we need to modify these values. Make sure to set the destemail to your own actual email address.
destemail = you@yourdomain.com
sender = fail2ban@host.yourserver.com
If you want to receive a notification email when an IP address is blocked due to failed SSH login attempt, you can put this line under [sshd] jail.
action = %(action_mwl)s
The “mwl” after the “action_” tells fail2ban to send you emails along with the logs too. If you do not want to receive the log, simply use “mw”.
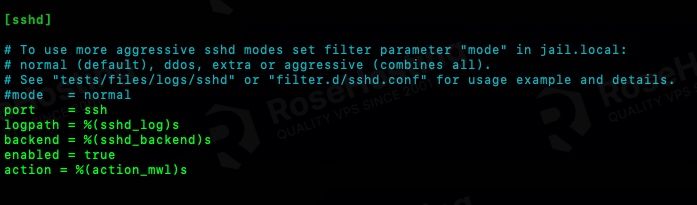
Also, make sure to enable your ‘sshd’ jail. It should look like this.
[sshd]

# To use more aggressive sshd modes set filter parameter "mode" in jail.local:
# normal (default), ddos, extra or aggressive (combines all).
# See "tests/files/logs/sshd" or "filter.d/sshd.conf" for usage example and details.
#mode = normal
port = ssh
logpath = %(sshd_log)s
backend = %(sshd_backend)s
enabled = true
action = %(action_mwl)s
Save the changes, exit from the nano editor then restart fail2ban to load the new configuration.
$ sudo systemctl restart fail2ban
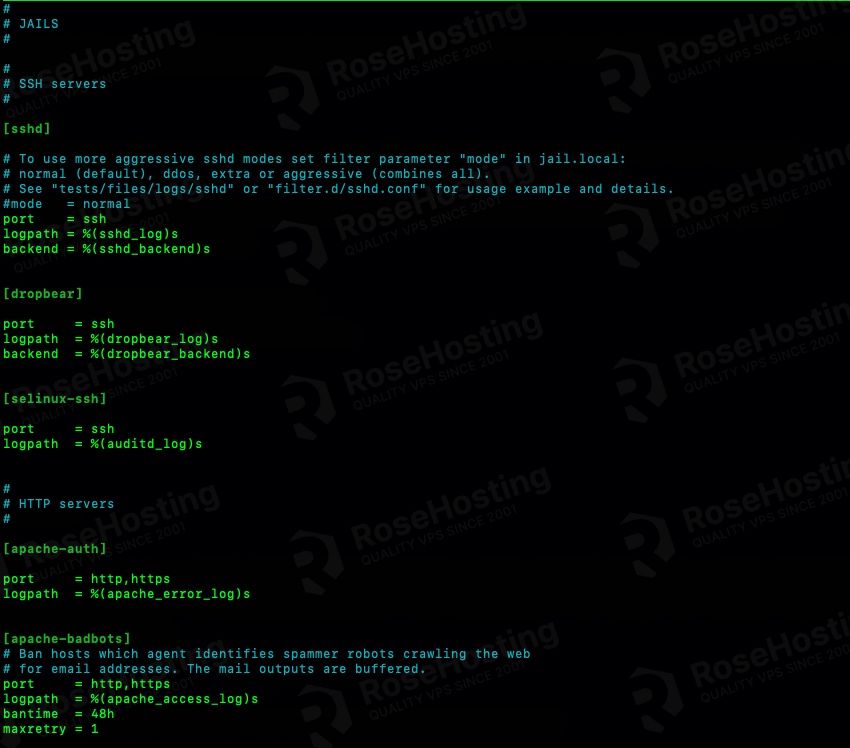
Fail2ban Jails
In fail2ban, a jail is a combination of a filter and one or several actions. A filter could define a regular expression that matches a pattern corresponding to a failed login attempt or other suspicious activities. An action could be the command that is executed when the defined filter catches an abusive IP address. By default, there are some jails we can use, the jails with filters and actions created by the community covering many popular server applications. In this step, we will configure the default fail2ban package jails.
Fail2ban disables the jails by default.
To enable a jail, make sure to add ‘enabled = true‘ under the relevant jail name.
Ban/Unban an IP
Now that fail2ban is running with some jails enabled, you need to know some basic operating commands to ban/unban an IP address. We can use the fail2ban-client command to perform the action.
To ban an IP address, put it in sshd jail, and run this command.
$ sudo fail2ban-client set sshd banip [IP_ADDRESS]
Sometimes you may find that fail2ban accidentally blocked an IP address, and you want to unban it. You can run these commands below to locate the jail name that banned the IP address.
$ sudo fail2ban-client status | grep "Jail list" | sed -E 's/^[^:]+:[ \t]+//' | sed 's/,//g'
After getting the jail name, you can run this command to unban it finally. Do not forget to replace [IP_ADDRESS] with the actual IP address.
$ sudo fail2ban-client set sshd unbanip [IP_ADDRESS]
That’s it. You have successfully installed and configured Fail2ban on Ubuntu 22.04 VPS.
Of course, you don’t have to install Fail2ban on Ubuntu 22.04 if you have a Managed Ubuntu Server with us. You can simply ask the RoseHosting support team to install Fail2ban on Ubuntu 22.04 for you. They are available 24/7 and will be able to help you with the installation.
PS. If you enjoyed reading this blog post on installing Fail2ban on Ubuntu 22.04, feel free to share it on social networks or simply leave a comment in the comments section. Thanks.