Wordpress: An Installation Guide for Ubuntu Linux (LAMP) and Windows (WAMP)
1. Introduction
Wordpress is a free open source blogging tool and CMS used by millions of people in the world. Its simplicity, power and flexibility places it as a top choice for people to use and developers to recommend. It has come a long way from its release in May, 2013. It consists of tons of themes, plugins and features that help the user to obtain speed, security and reliability.
2. Pre-requirements
The pre-requirements include latest versions of PHP, MySQL and apache server. On a Linux system this would mean installing a LAMP stack or on Windows, it would be installing the WAMP stack.
2.1 Installing LAMP
First, install Apache server using the following commands:
sudo apt-get update
sudo apt-get install apache2
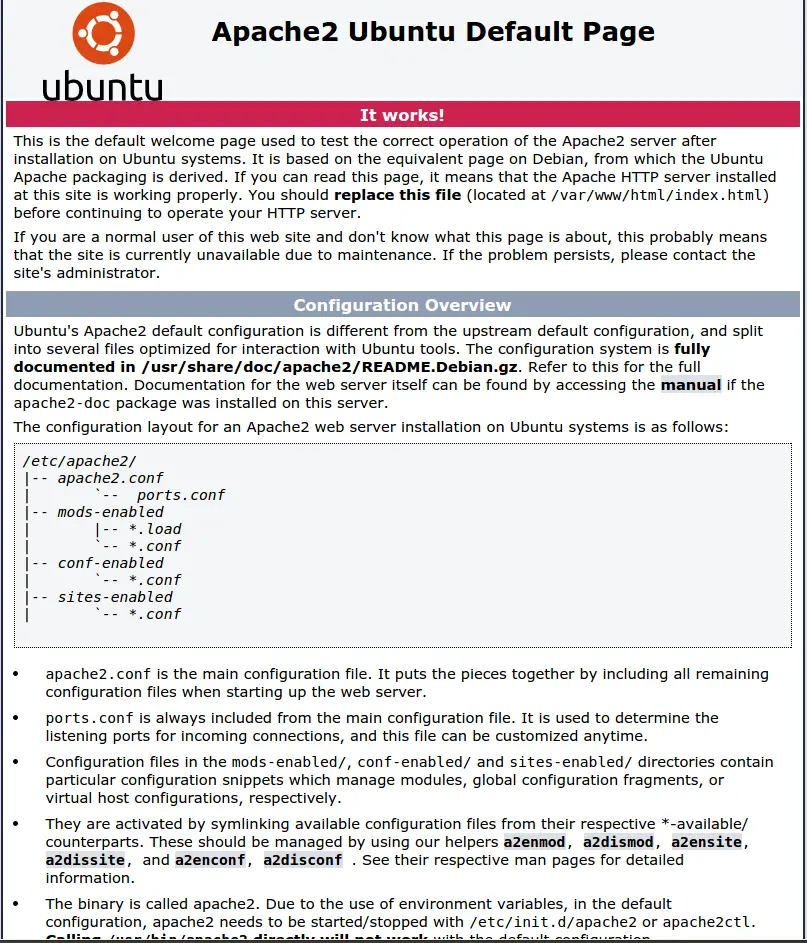
Test if Apache is working by typing the following URL in a browser:
http://localhost/
Second, Install PHP using the following command:
sudo apt-get install php5 libapache2-mod-php5 php5-mcrypt
sudo /etc/init.d/apache2 restart
Test php: use following command to create a file:
sudo gedit /var/www/html/testphp.php
then on the file enter the following content . Save and exit the file:
<?php phpinfo(); ?>
In a browser, use the following URL to test if PHP works:
http://localhost/testphp.php
Third, Install and setup Mysql using the following commands:
sudo apt-get install mysql-server libapache2-mod-auth-mysql php5-mysql
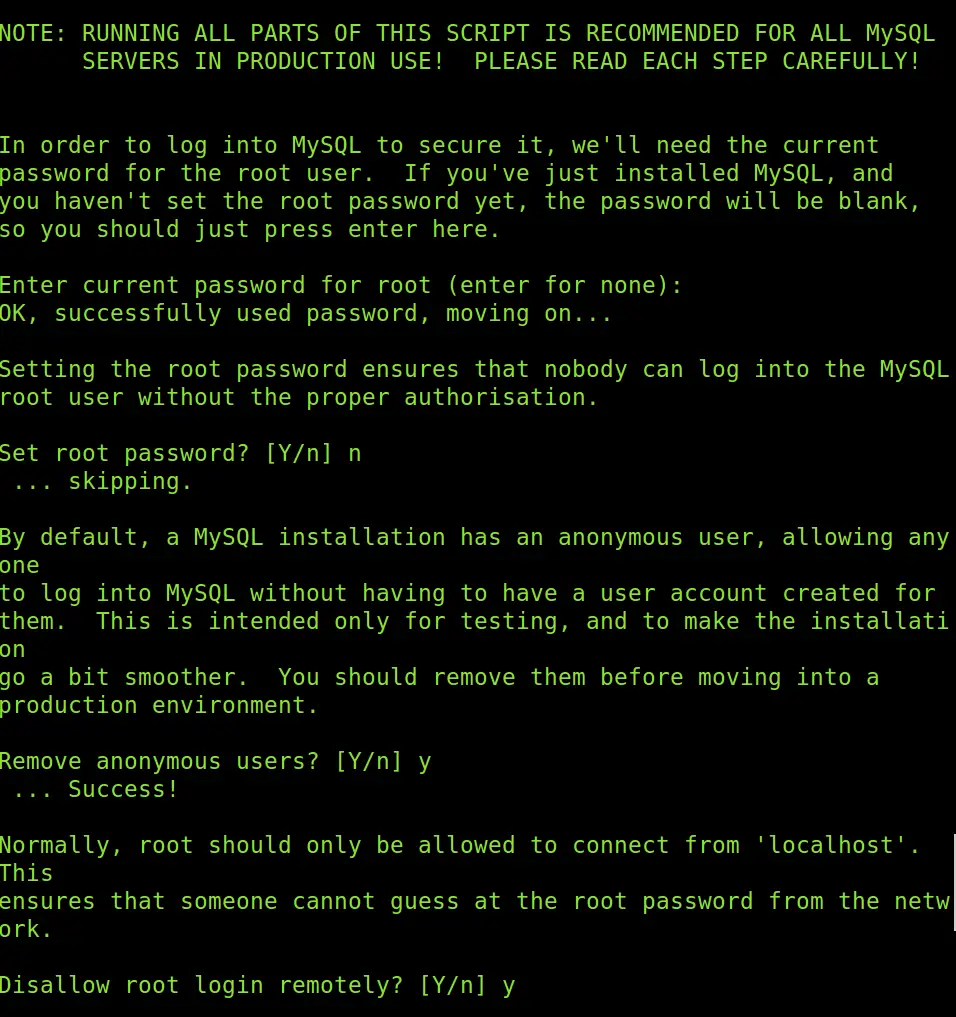
sudo /usr/bin/mysql_secure_installation
(Enter the root password when asked. And change if you want it to. Else it can be ignored. A set of questions will be asked pertaining to anonymous users, root login remotely, test data bases and remote tables. The answers to these can be either 'y' or 'n'. It is recommended to provide 'y' throughout. Refer to “result.txt†ot the image below for output)

Now, create a root user to mysql by using the following command:
mysql -u root
now use the following command to set password, but make sure you change "your_password" to what you want.
SET PASSWORD FOR 'root'@'localhost' = PASSWORD('your_password');
Finally, restart the apache server using the following command to integrate all the installations:
sudo service apache2 restart
2.2 Installing WAMP
WAMP can be downloaded directly from this link here .Once downloaded, run the file.
You will be able to see the configuration/version of each component of WAMP as shown below.
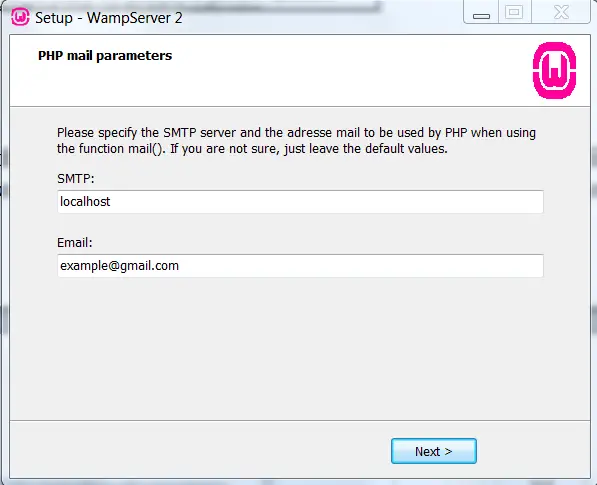
Click on next and follow the procedure on screen and click on install. Once the installation is over, it will prompt you for entering the hostname and email for configuring php mail. Enter the desired name and address. For example, see the image below:
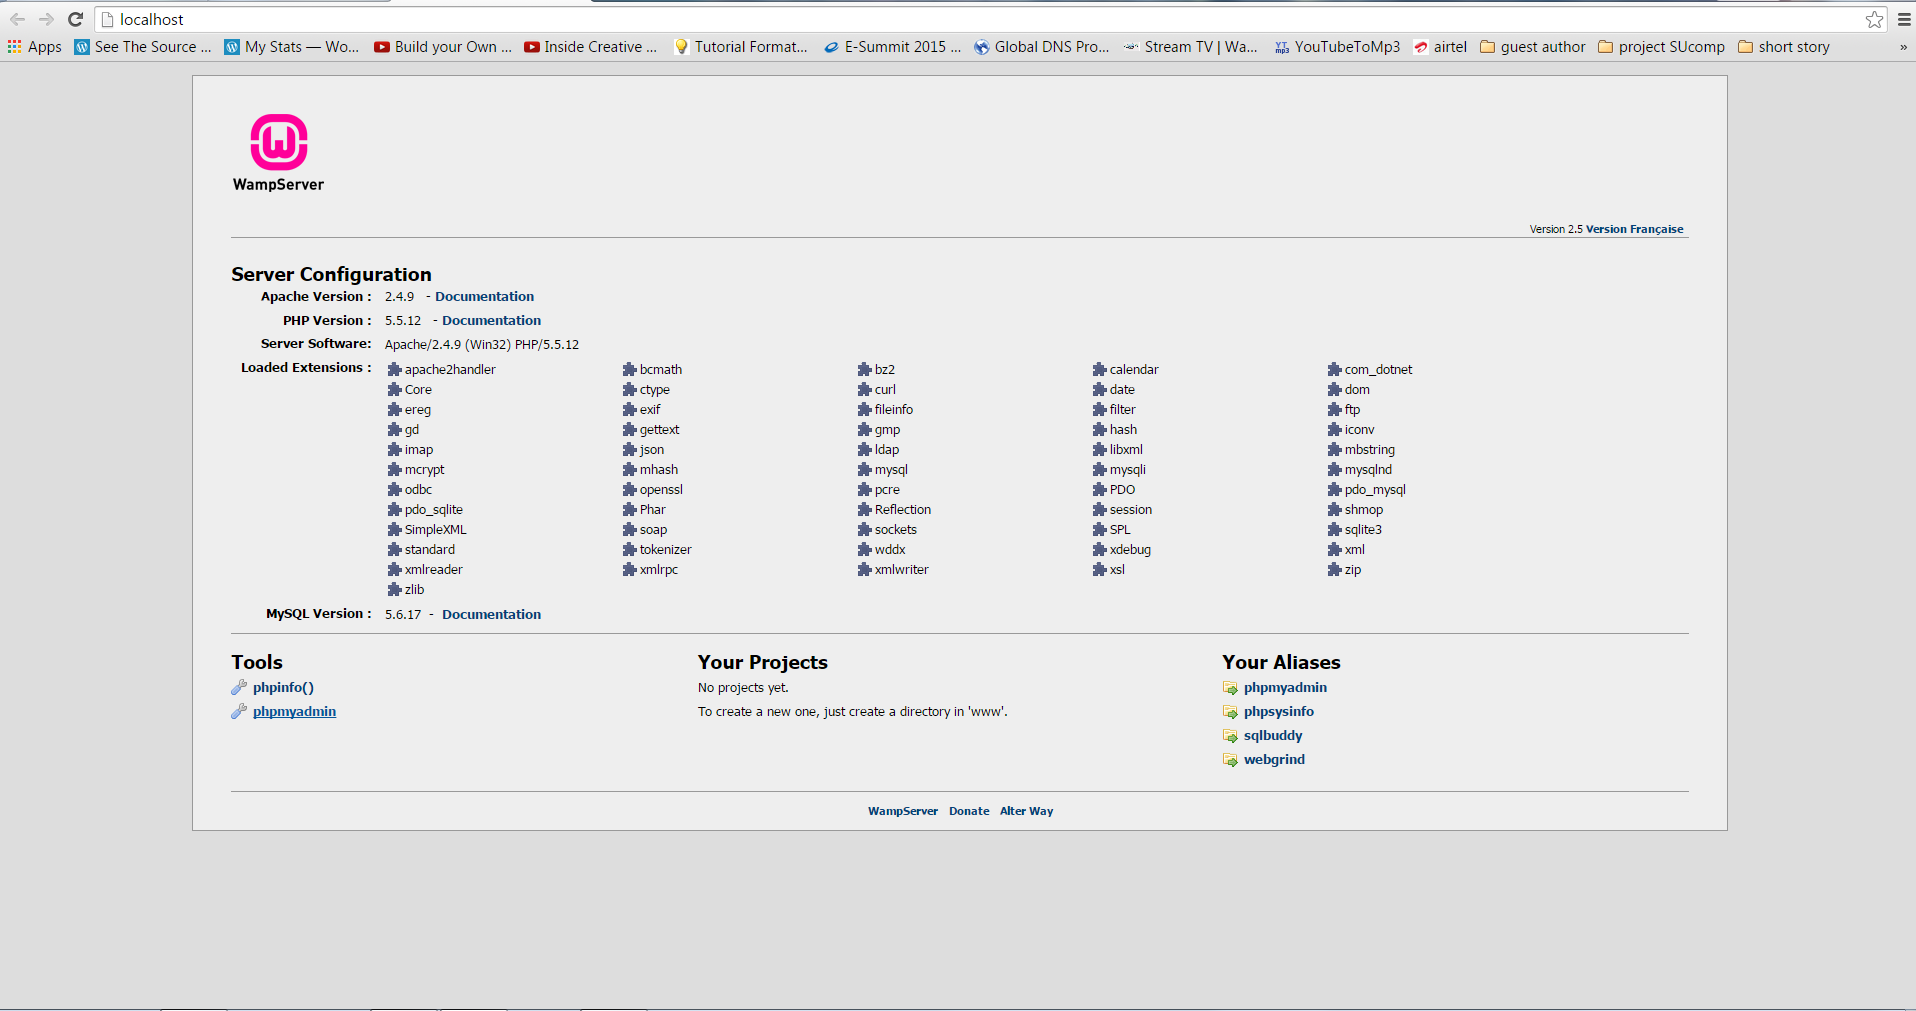
Click on next and then finish it. When prompted, allow access for the hhtp server through the firewall. And this starts the WAMP server. To test if it is working, type the URL in a browser: http://localhost/ . If a screen appears as shown below, then it has installed correctly.
2.3 Downloading Wordpress
Download the latest version of Wordpress from this page:
https://wordpress.org/download/
3 Extracting Wordpress
3.1 On Linux
The package of Wordpress can be directly extracted in the drive in which it has been downloaded or it can be downloaded and extracted in Linux by using the shell. To do so, use the following commands:
wget http://wordpress.org/latest.tar.gz tar -xzvf latest.tar.gz
3.2 On Windows
The WordPress package once downloaded has to be extracted and placed in the wamp server’s root directory. So place the WordPress extracted folder at location: "c://wamp/www/".
4 Creating the Database and a User
If a hosting provider is being used, there is a very high chance that the database is already created for you automated setup to do so. However, to set it up database for Wordpress manually using your own web server, using PhpMyAdmin or using the MySQL Client is recommended. This step hos how to use phpmyadmin
Install and configure phpmyadmin on Linux (LMAP) by using the following commands:
sudo apt-get install libapache2-mod-auth-mysql php5-mysql phpmyadmin sudo /etc/init.d/apache2 restart
In a browser, use the URL: "http://localhost/phpmyadmin" to get the phpmyadmin page.
Install and configure phpmyadmin on Windows (WAMP) The phpmyadmin in windows will be installed automatically when WAMP is installed. To use Phpmyadmin in windows, in a browser use the following url: http://localhost/phpmyadmin
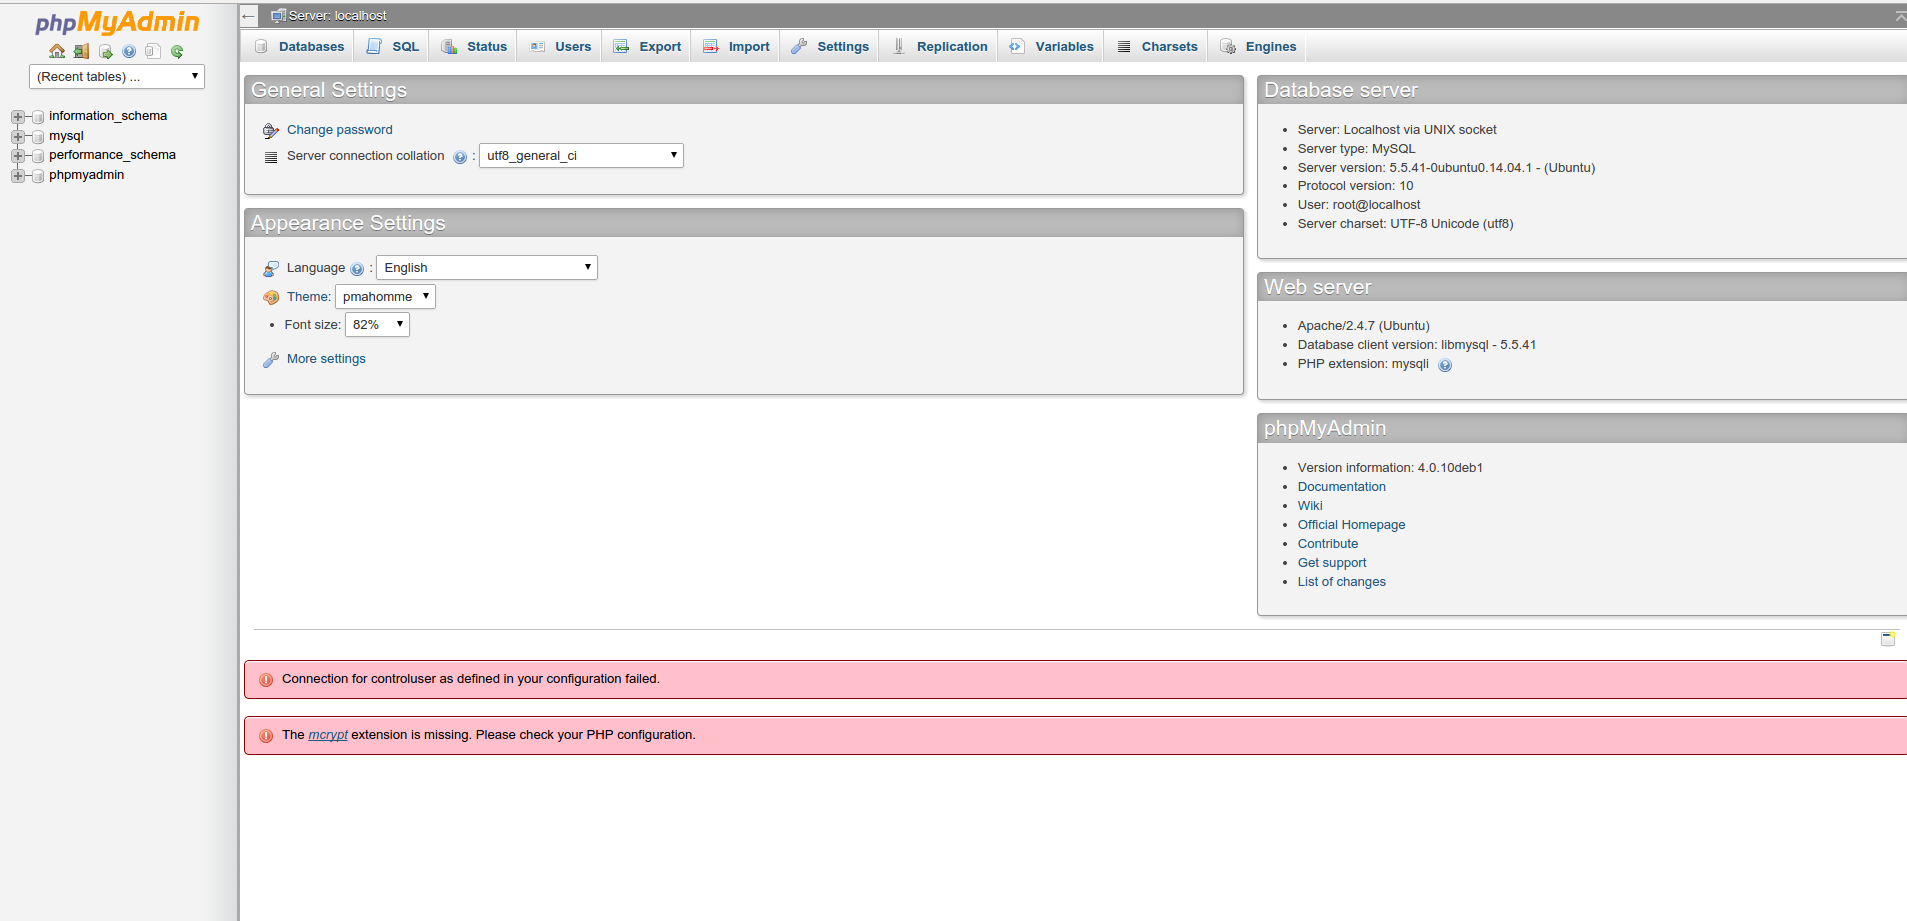
Once the page opens, it looks like the image below:
Once phpmyadmin is running , the next thing to do is create a database for wordpress. This process remains same for both Windows (WAMP) and Linux (LAMP)
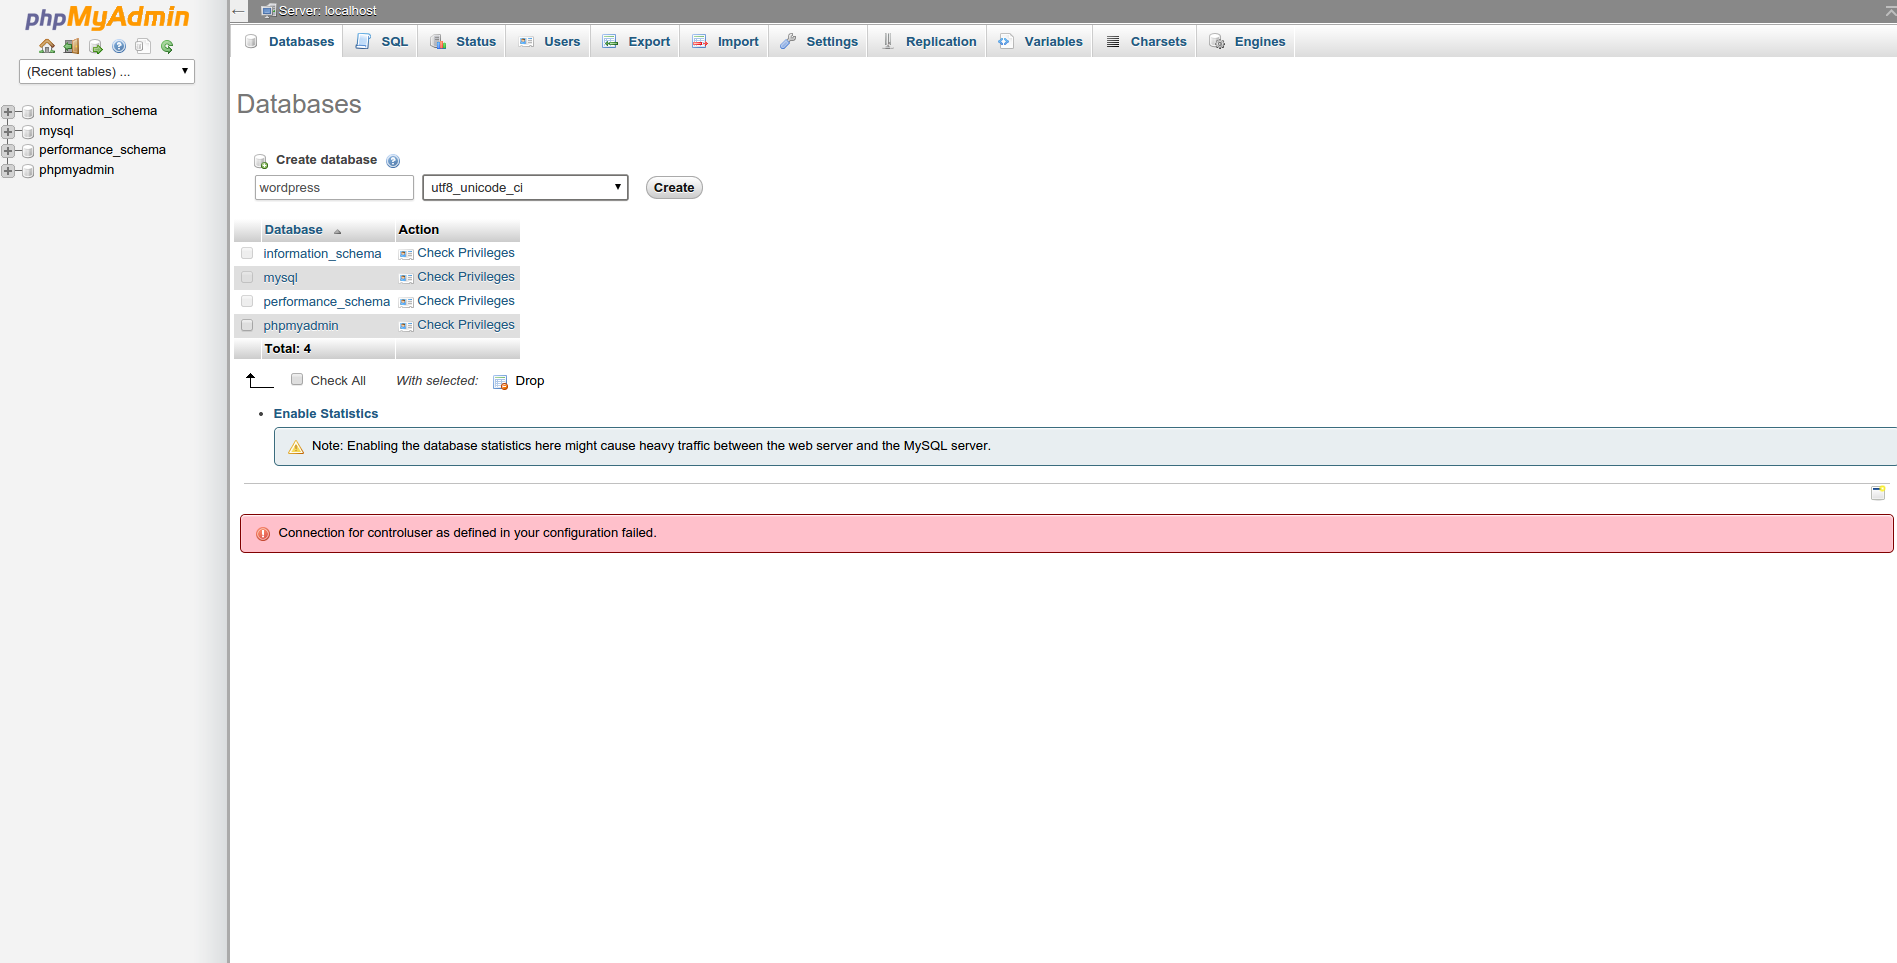
1) on the phpmyadmin page, click on the "database" tab at the top bar. Then in the textbox below, enter a name for your database. Here I name it "wordpress" and choose the collation as "utf8_unicode_ci". Then click on the "create" button. Once the create button is clicked, the wordpress database should appear in the left panel. Refer to the image below.
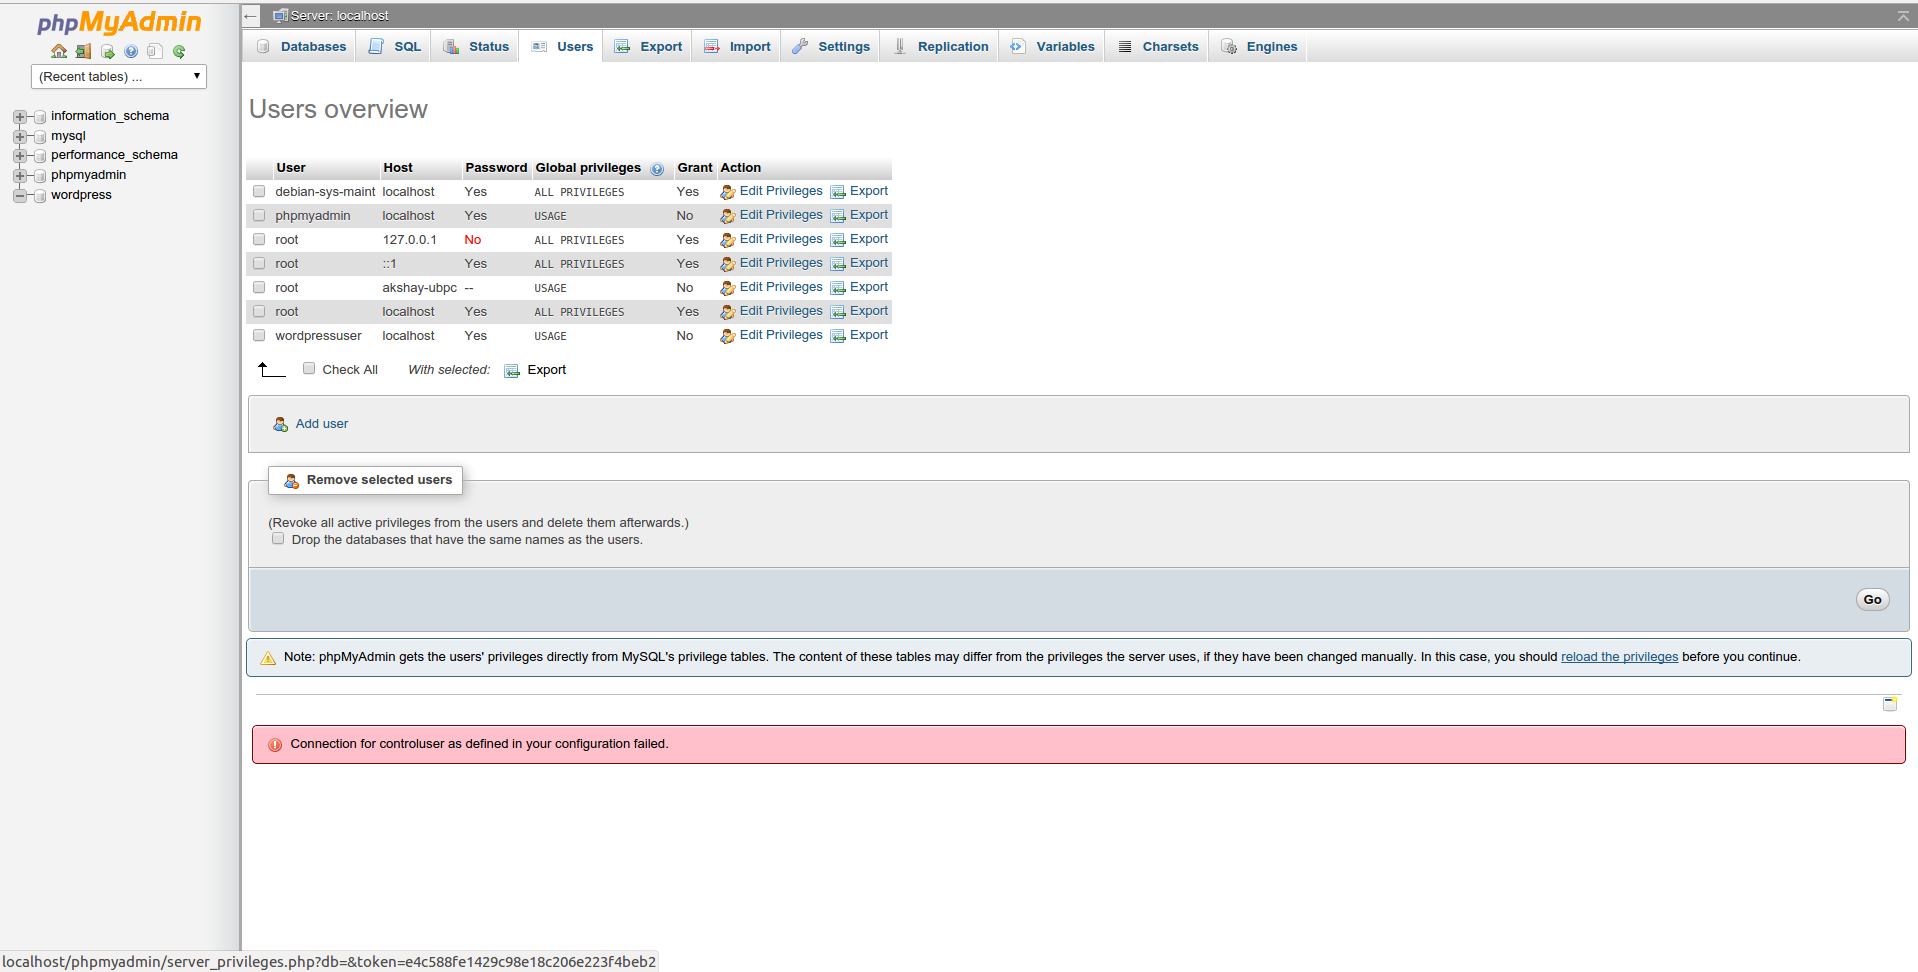
2) Now we create a user for wordpress. To do so, click on the home icon at the top of the left panel. Then click on the "users" tab at the top of the screen as shown in the image below.
Follow the steps below:
- Click on the button below that says "Add User".
- Provide a username. I have chosen "wpuser"
- Enter a password and re enter it.
- selct host as "local"from the dropdown menu.
- make a note of password and username.
- leave the other fields as it is and click on "Go" button at the bottom of that page.
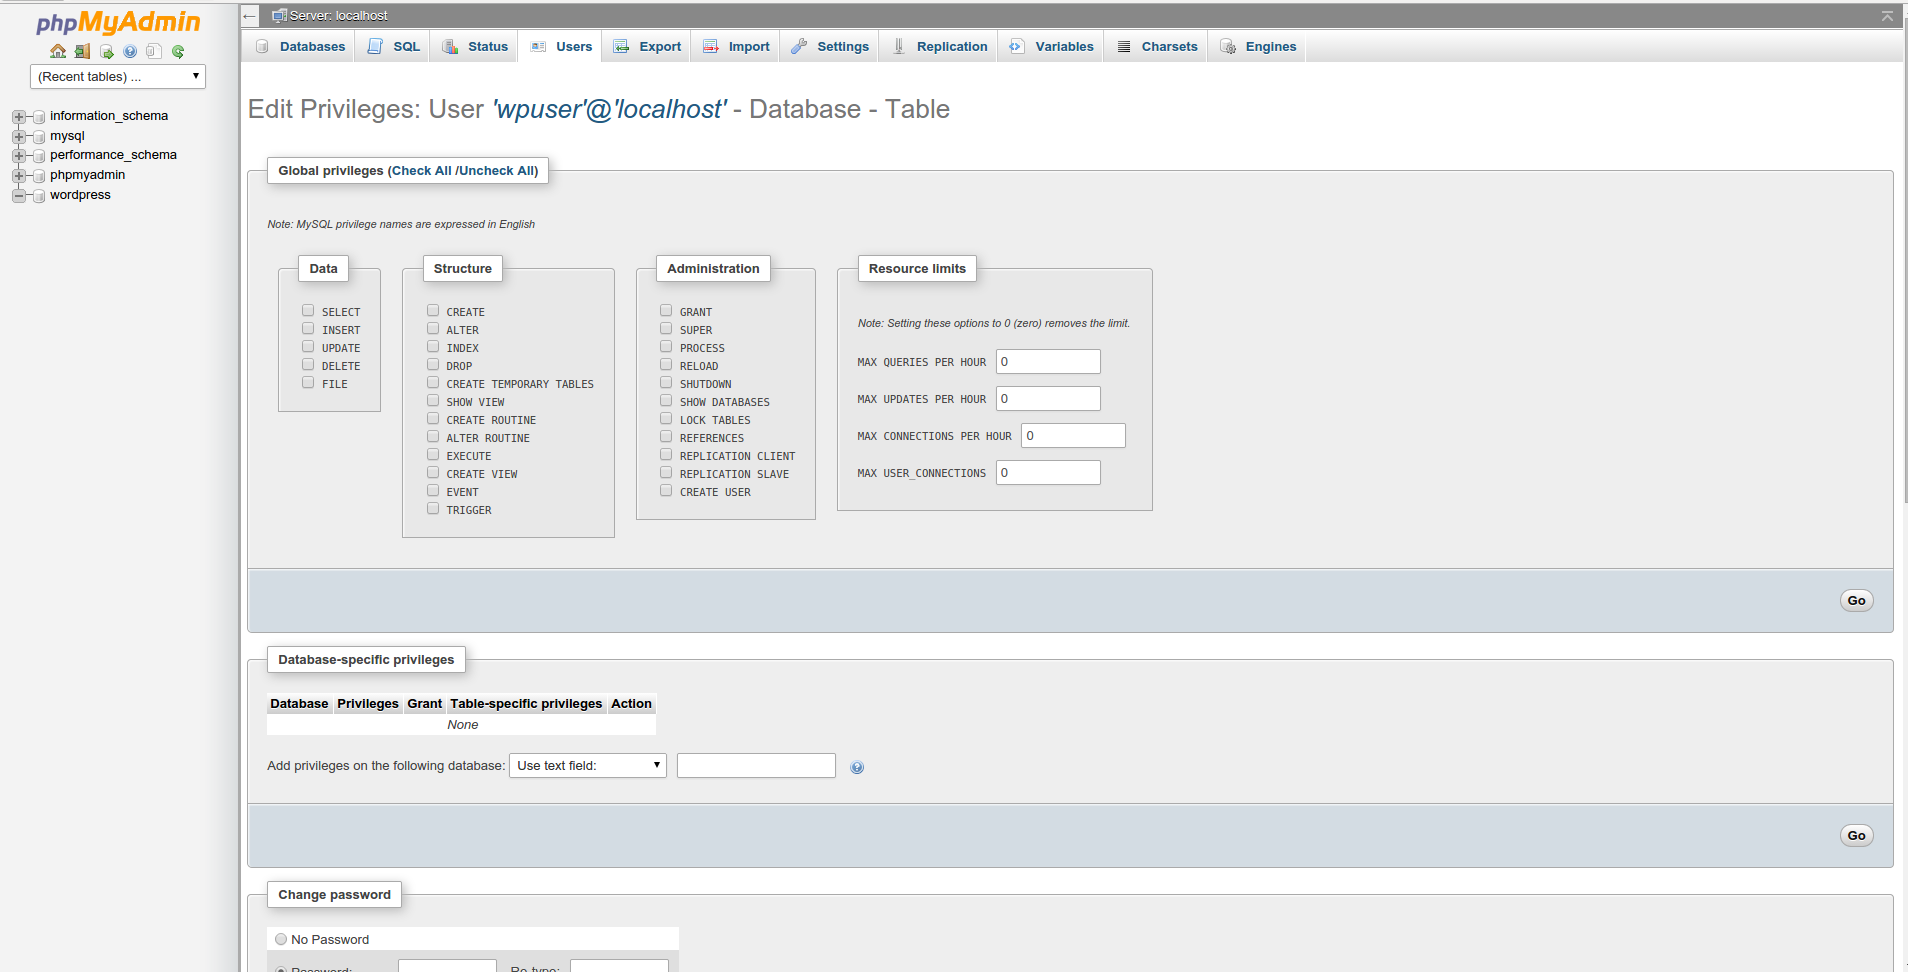
Once these steps are completed, you will be taken to the users page. Now in this page, click on “edit privileges†for the user that you have just created. 'wpuser' in this case and a page appears as shown below.
3) Now do the following steps.
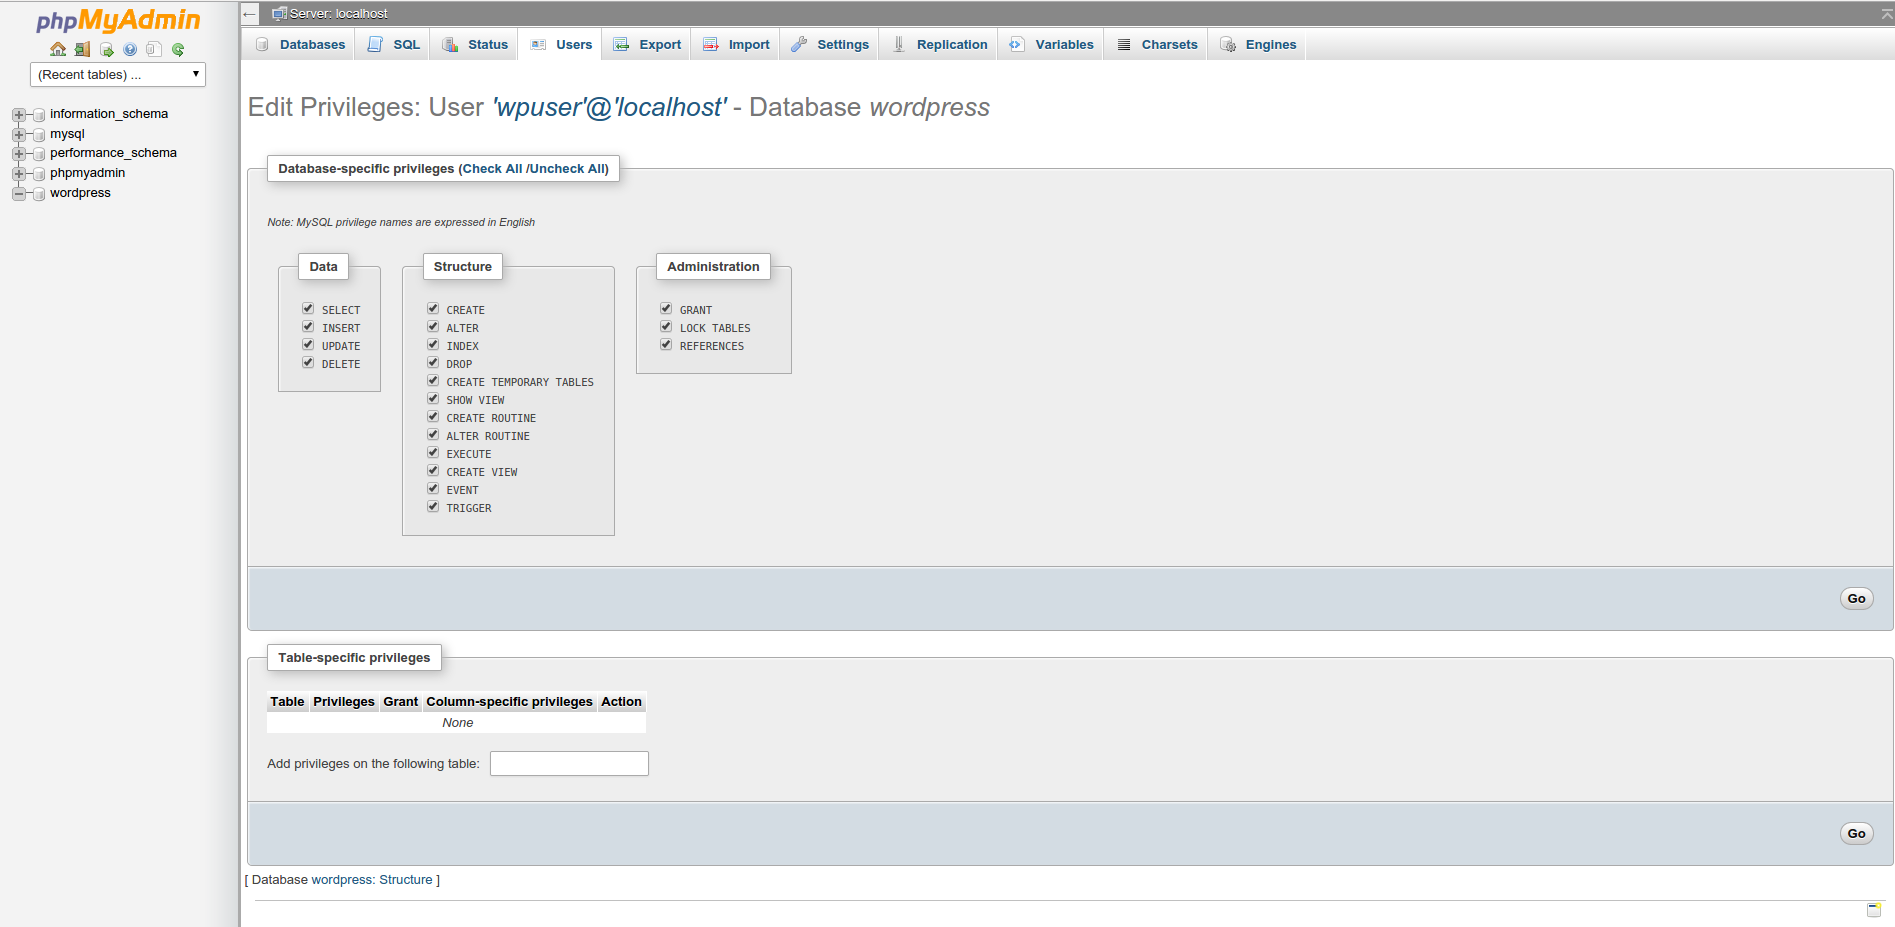
- Under the database specific section, select the "wordpress" database from the drop down menu.
- You will get checkboxes under 3 sections of Data, Structure and Administration. Above that select the "Check All" option and the page will look like the image below.
- Click on the "Go" button for that section.
5 Setting up the wp-config.php file
This file has to be configured to indicate the various database parameters required by wordpress to run config.php, and open it in a text editor. On Linux, the following command can be used.
cp wp-config-sample.php wp-config.php gedit wp-config.php
Once the file is opened, changes have to be made below the line that says :
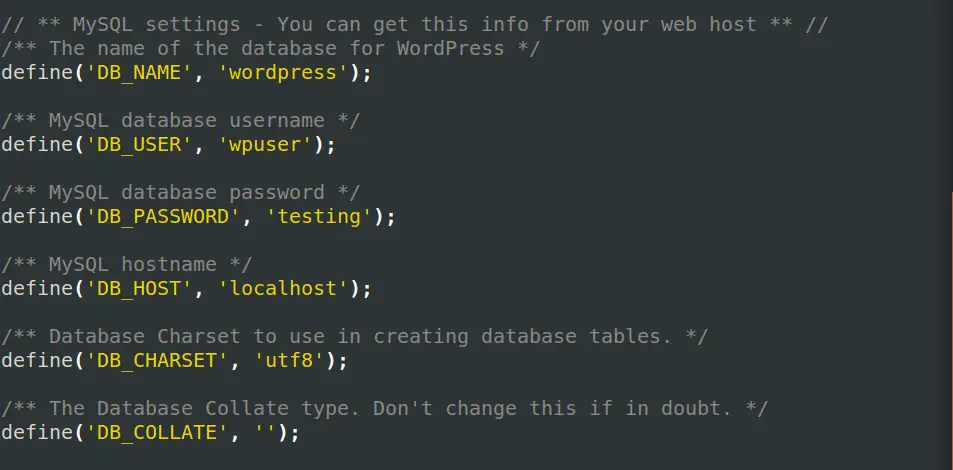
// ** MySQL settings - You can get this info from your web host ** //
So the changes are to be made by entering the DB_NAME, DB_USER, DB_PASSWORD, DB_HOST. The values of these parameters should be the same as the ones given while creating a DataBase and DB user. The images below shows the part of the file before and after changes. (Note that the image below contains the values given by us, change it to represent values provided by you)

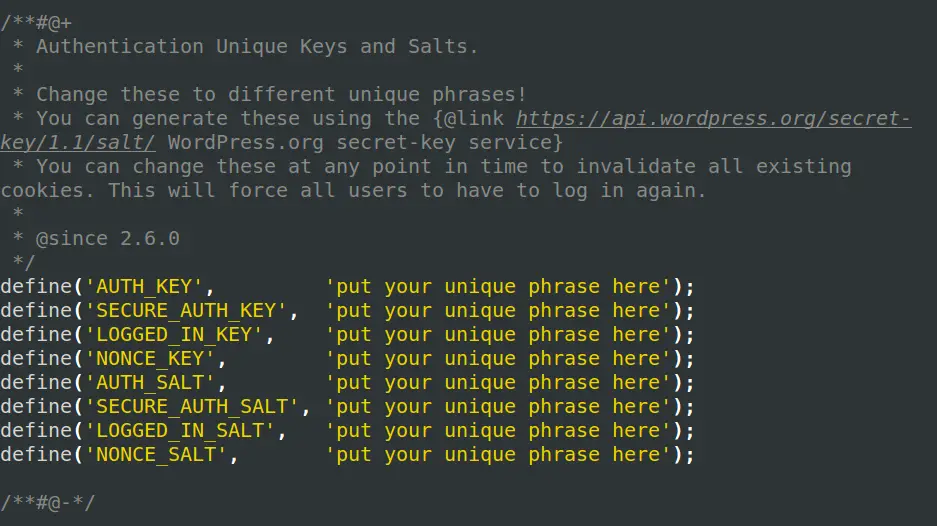
he next thing to do is to enter phrases in the same file under the line :
* Authentication Unique Keys and Salts.
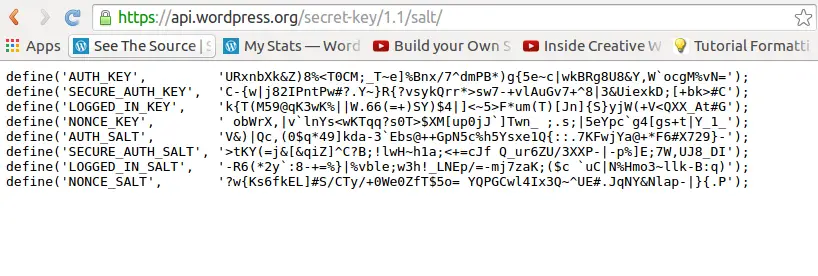
Now, in this section many phrases can be entered by you manually, but it is recommended that you generate a set of strong phrases using the link :
https://api.wordpress.org/secret-key/1.1/salt/
Each time you visit this link you will get a different set of values. The image below shows the value that I have got, and I will be using that.
Below are the images showing the file before and after entering these phrases.

Save and exit the file.
6 Upload the Files and Running wordpress install script.
6.1 Uploading in LAMP
In this step we put the wordpress within the server that we have created. So the "wordpress" directory has to be placed within the root folder of apache server, which is "/var/www". To do so use the following command in the terminal:
cp -R ~/wordpress /var/www/wordpress
This recursively copies the wordpress to the server's root directory.
6.2 Uploading in WAMP
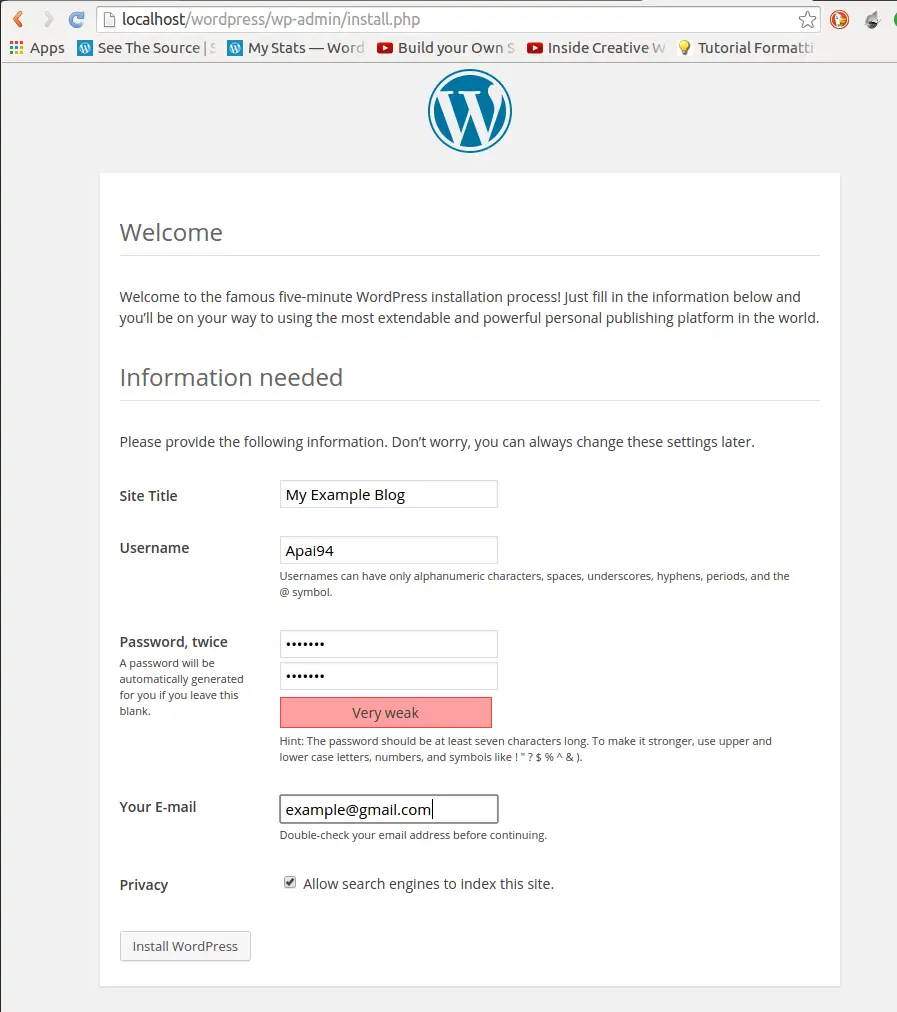
Place the extracted file under c:/wamp , if you haven't already. Now to run the wordpress install script, open a browser and point it to the install script present in the wp-admin folder. The url is:
http:// localhost/wordpress/wp-admin/install.php
This opens a page that would Include all the site details, username and password and click on the install button at the bottom of the page. The image is shown below:
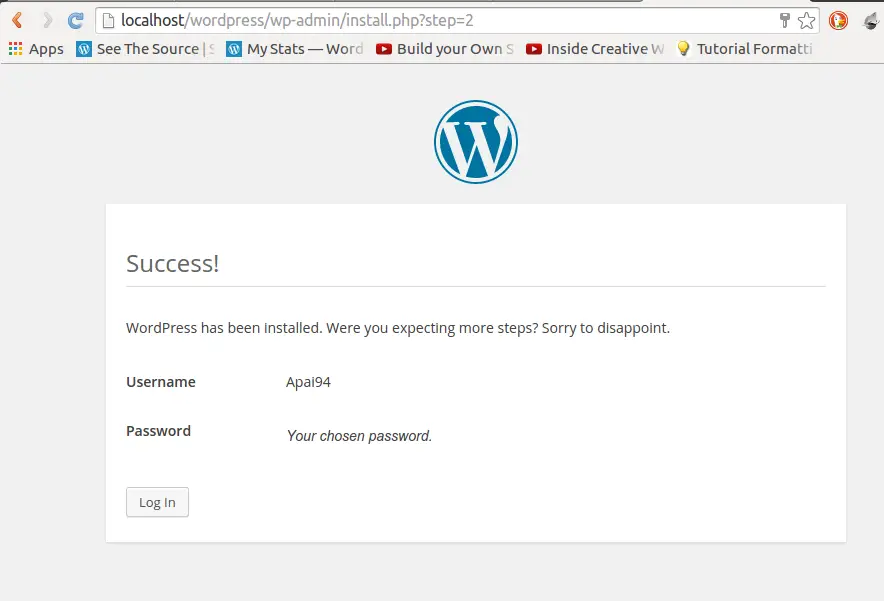
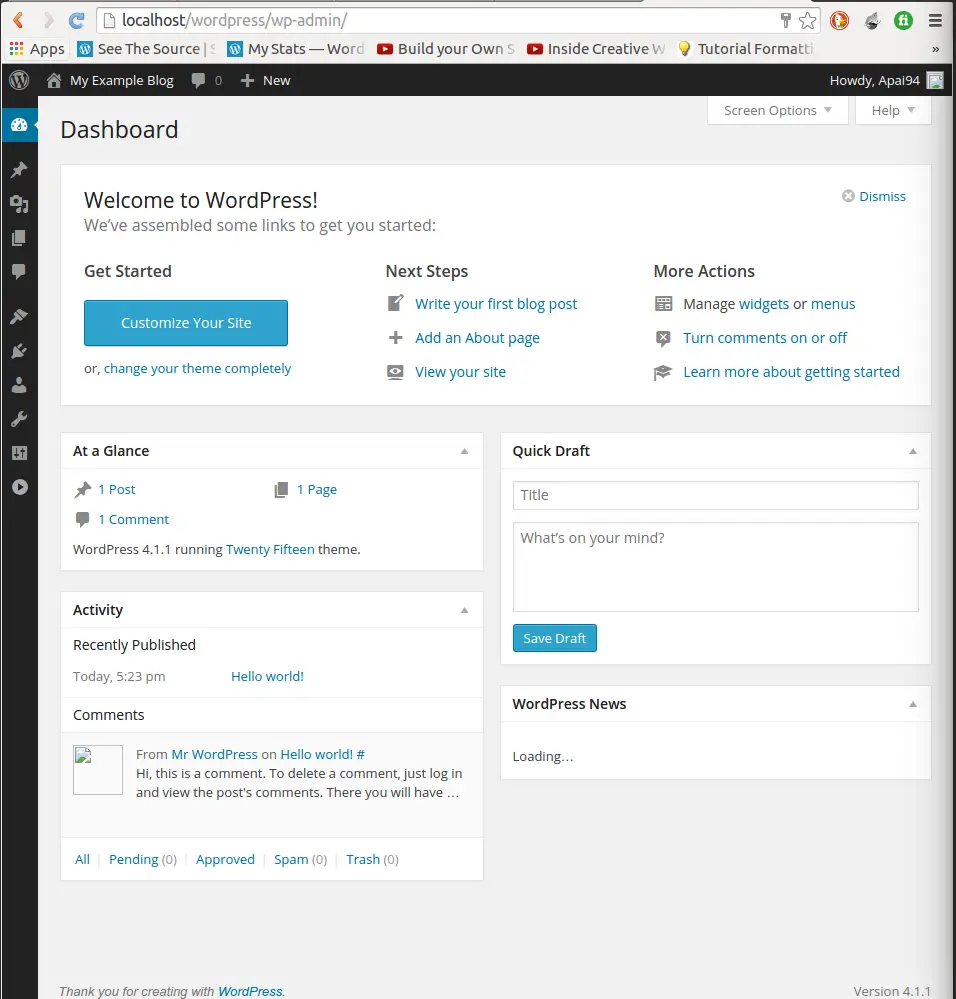
Once the installation is successful, you will get a screen like the image shown below. You can then click on the login button, enter your credentials and you would have completed the installation.