How to kill processes on the Linux Desktop with xkill
On this page
Linux is renown for its stability, rigidness and superior error-free functionality, but no matter how advanced and bug-free a system may be, it is inevitable that things will brake and windows will freeze/hang at some point. This is thankfully not disastrous at all, as Linux users can utilize smart tools and commands that will allow them to get rid of those nasty “not responding” applications instantly!
Today's distributions usually detect any problematic windows and offer the users the choice of forcing quit of waiting for the application to eventually respond, but if you're not prompted by such a dialog you can always use the good old “xkill” command and overcome any problems. The only prerequisite to this is that the rest of the system isn't completely frozen which is a rare case anyway.
How to Use “xkill”
The “xkill” command is a part of the “xorg-xkill” package, so to use it you got to make sure that the later is installed in your system. To do this, either install it via the Software Center/Package Manager of your distribution, or by using the terminal.
For Ubuntu/Mint users
sudo apt-get install xorg-xkill
For Fedora users
sudo yum install xorg-xkill
For Arch users
sudo pacman -S xorg-xkill
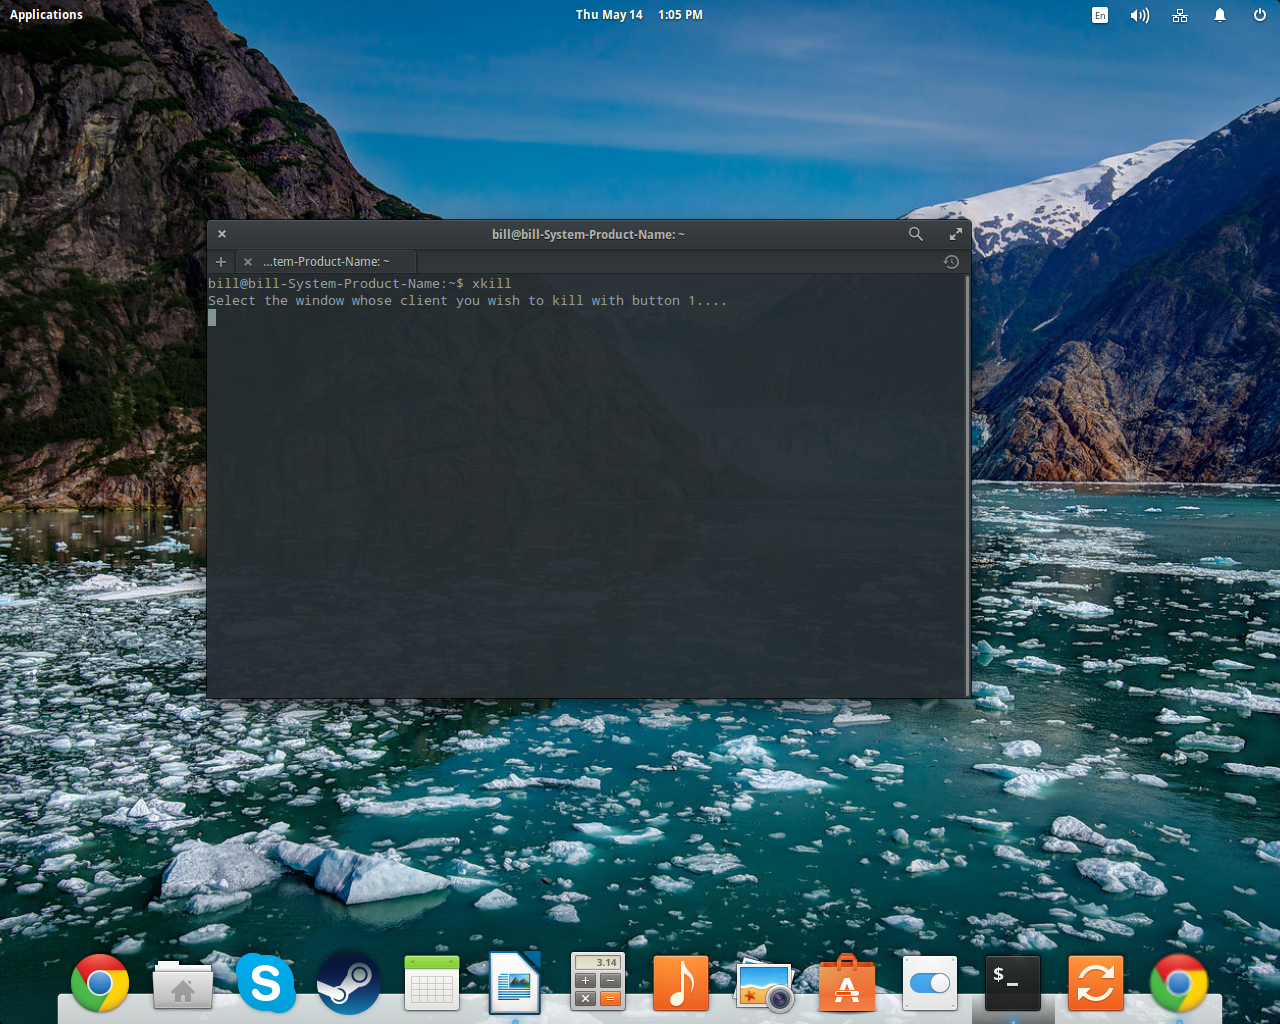
Ok, now that we have “xorg-xkill” package installed, we can open a terminal and simply put “xkill” and press enter. This will transform your mouse cursor into an “x” or into a scull (depending on your icon set). Now you may simply left-click whatever window is not responding and it'll be gone in an instant.
Add a Shortcut
But why open a terminal every time you want a window to be killed? That isn't very convenient indeed, so here's a tip for you. You can define a keyboard shortcut that will allow you to call for “xkill” in any situation. To do this you simply go to the “System Settings”, choose the “Keyboard” section and then add your desired shortcuts from the “Custom Shortcuts” category.
.png)
By clicking on the newly added shortcut, you can enter your preferred key sequence. I suggest that you use “Ctrl+Alt+k” as it is generally not taken by anything else while it sufficiently refers to its functionality. Now every time you press this sequence, your mouse cursor will be transformed into a killer “x” and you'll only have to click on the nasty window to remove it.
Possible Implications
Using “xkill” can be phenomenally facile and convenient, but it does come with some possible drawbacks. The problem is that some applications that loose their X connections continue to run as processes in the background. This binds system resources without the user being able to see anything actively running on the screen. Most applications will terminate the process once their X connection is lost, but some won't so here's how to address this if it happens.
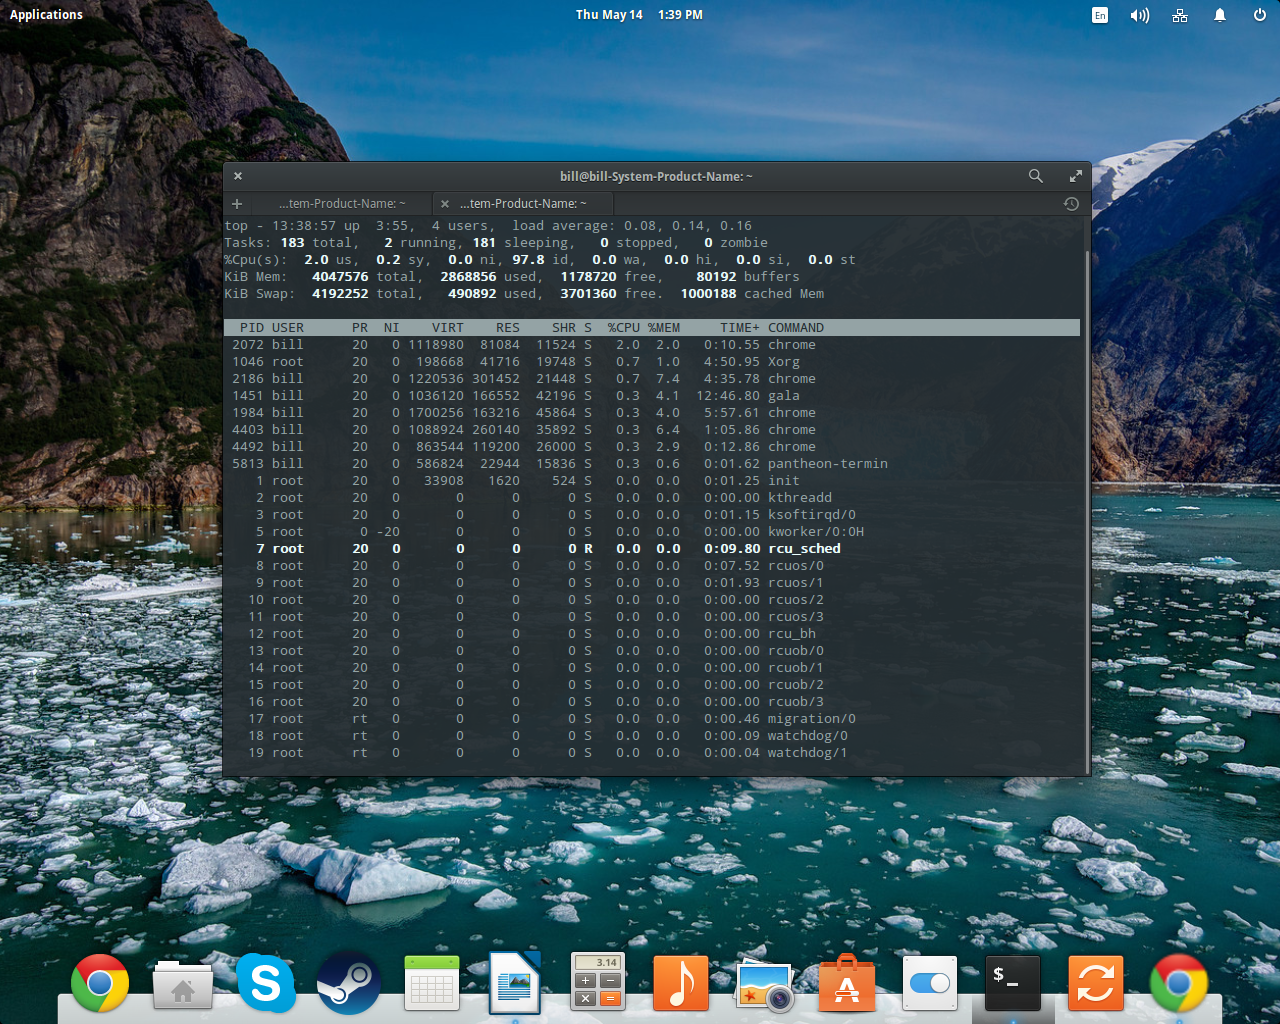
You open a terminal, write “top” and press enter. This will display the currently running processes. In order to sort the processes by their CPU usage, you can press the “P” button while on that screen. Locate the process that is still running and note its PID on the left column. By pressing the “k” button now, you will be prompt to enter the PID number of the process you want to kill. After doing that, you may type “kill” and press “enter” and the process is gone for good. Note that user permissions apply to both “kill” and “xkill” so make sure that the process you're trying to kill isn't run by the system administrator. If it is, start your terminal session with the “su” command, or enter “sudo top”.