Ubuntu PPA Management
On this page
PPAs or Personal Package Archives are basically software repositories that are used by Ubuntu systems for updating/upgrading activities. They contain package sets and package lists for particular Ubuntu versions. Their use is valuable for cases of individual updating, or for when seeking for a newer version of an application that is not yet available in the official Canonical's repositories. The addition of many PPAs means that there are more sources for your package manager to check before updating, and also increases the chances of having package breakages due to inter-conflicting versions of packages and their various dependencies. This generates the need for proper management of the PPAs, monitoring of their validity and removal in the case that they are no longer active and causing our updating process to fail.
Understanding PPAs and Basic Management
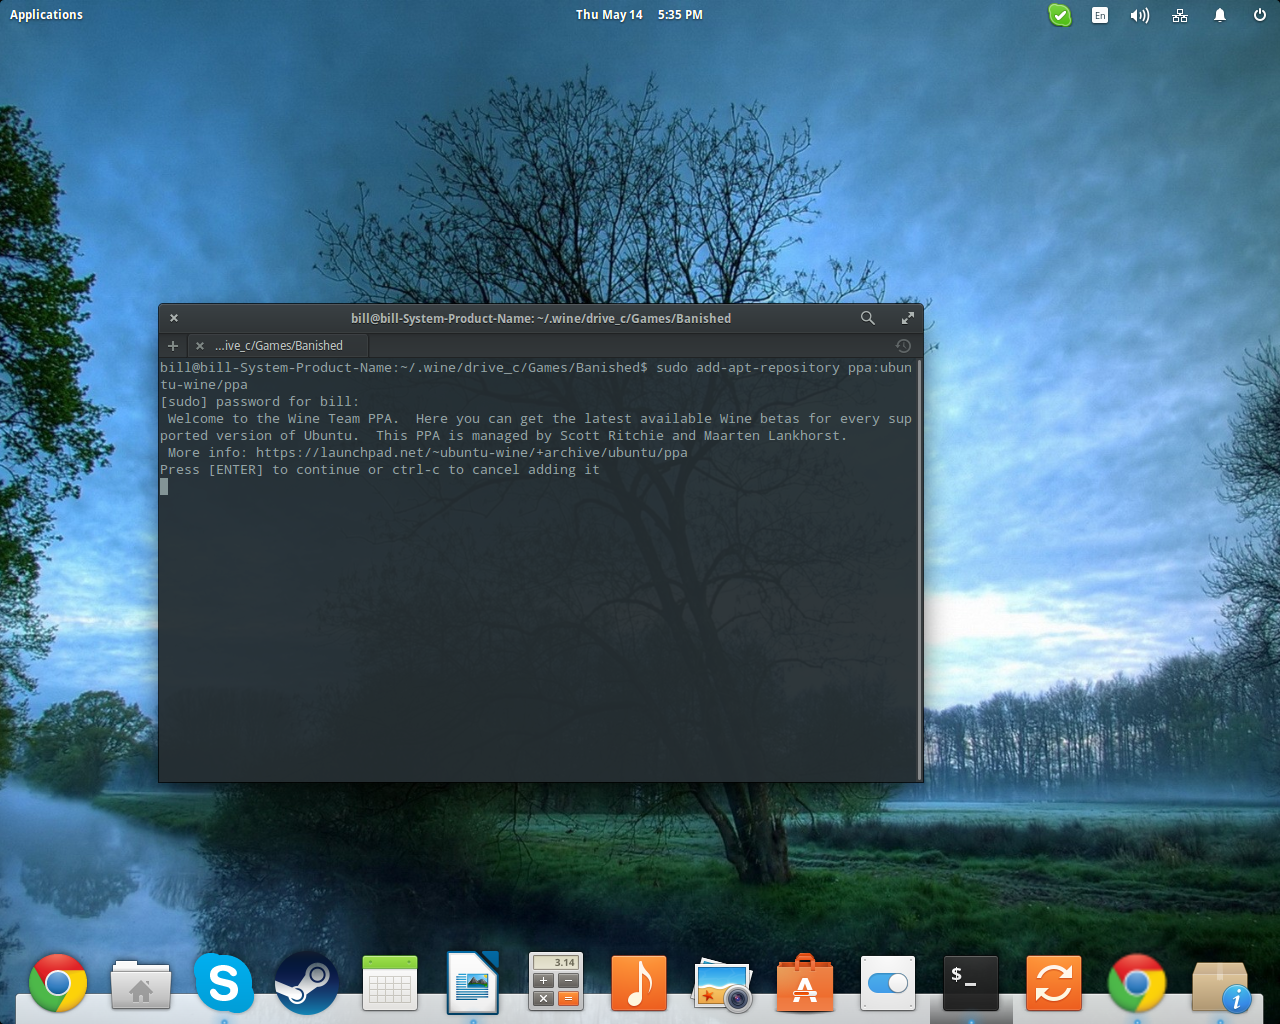
In order to add a PPA in your system, you first need to find its name. Let's suppose that I want the latest version of the “wine” Windows Emulating Framework, so according to the PPA webpage, its name is ppa:ubuntu-wine/ppa. To install this new software source I must open a terminal and write the following command:
sudo add-apt-repository ppa:ubuntu-wine/ppa
followed by:
sudo apt-get update
To update the sources list. After this, I may run the update tool and normally I should receive the newest wine version as a proposed update.
Another way to do this is by opening the “Software and Updates” application and going to the “Other Software” tab. There I can press the “Add” button on the lower left and insert the APT line which in this case would be http://ppa.launchpad.net/ubuntu-wine/ppa/ubuntu.
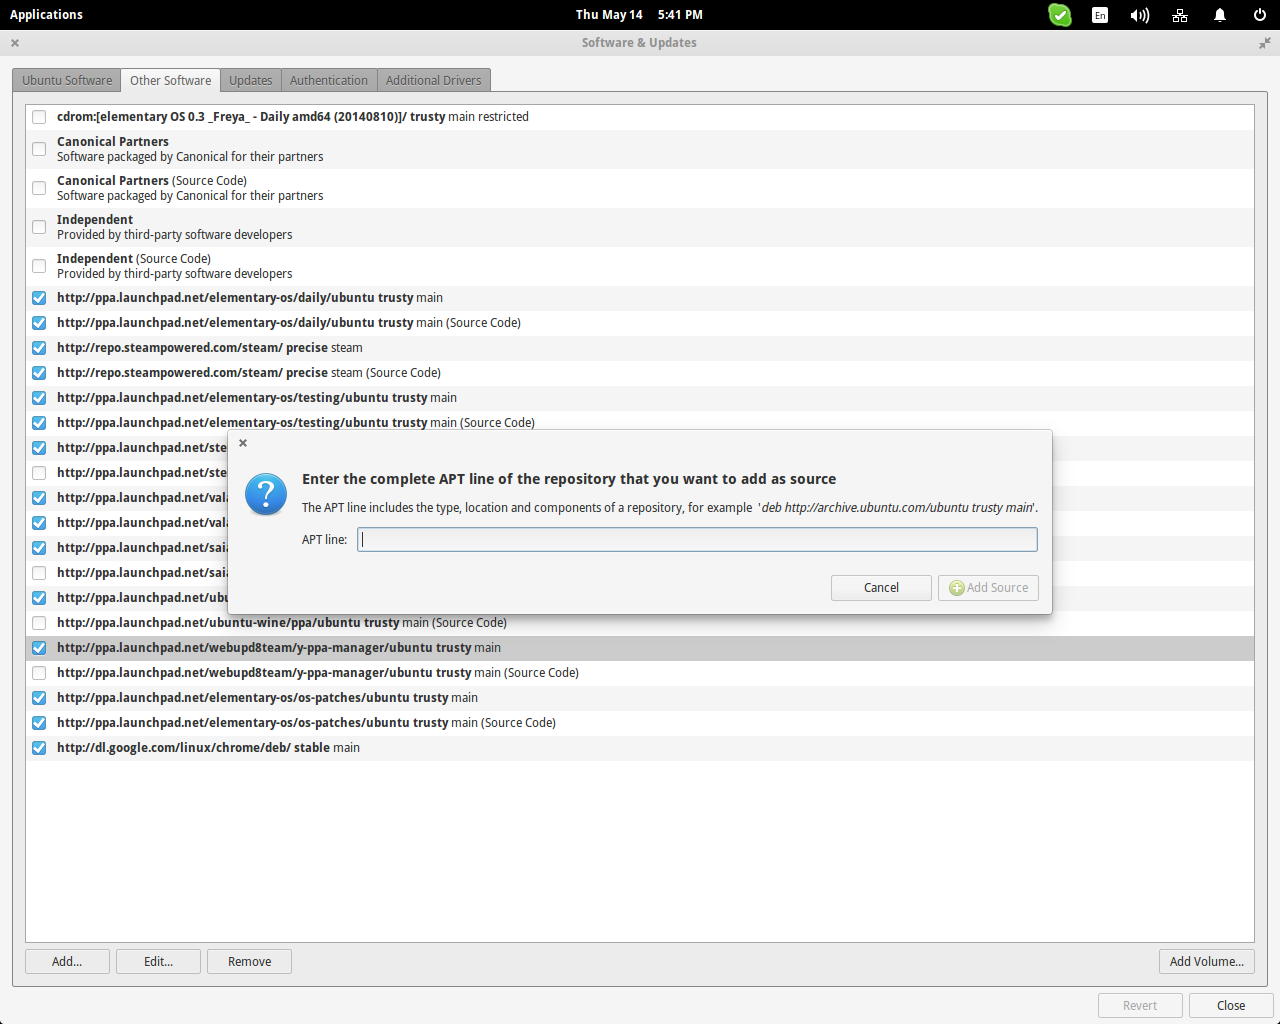
Notice from the above screenshot that the PPAs can be enabled/disabled and also completely removed. What happens in the case that software installed from a particular PPA (example used: wine) caused trouble on my system though? Will removing the PPA undo the installation of packages that came from it? No it won't! To correct this problem, you will need to use the “ppa-purge” command.
First you'll need to install the ppa-purge package by entering the following command in a terminal: sudo apt-get install ppa-purge. Then you can use it to remove PPAs along with the packages that came from those repositories by entering the command sudo ppa-purge ppa:ubuntu-wine/ppa. Note that this action won't completely remove the “wine” package, but it will downgrade it to the version available in the next priority active (enabled) repository of your system.
Y PPA Manager
If you want to avoid all the fuzz and possible confusion, you can simply install the Y PPA Manager tool that helps you easily manage your PPAs. The PPA for this utility is ppa:webupd8team/y-ppa-manager. This tool will allow you to purge PPAs from GUI, check the package list of a PPA, scan for duplicates, backup repositories, import missing GPG keys and even update your working PPAs after an release Ubuntu upgrade. This is life-saving as updating your PPAs for a newer Ubuntu version requires a lot of time re-writing all those APT sources. Finally, you can also search for a PPA in Launchpad and compare the installed version with what is available.


