How to edit Movie Subtitles on the Linux Desktop
On this page
Subtitles are the indispensable means, through which information can overcome encumbrances that derive from language differences and be shared worldwide no matter where it was originally created and published. Writing subtitles for your video, or editing/translating an existing subtitle certainly needs time and patience, but if you use one of the following tools, things will hopefully get a lot easier. Here's is a quick guide on how to load and edit subtitles on GNOME Subtitles and Subtitle Editor. The movie that I will be using for this tutorial is a documentary called “The Pirate Bay Away From Keyboard” released in 2013 under a Creative Commons (CC) license.
GNOME Subtitles
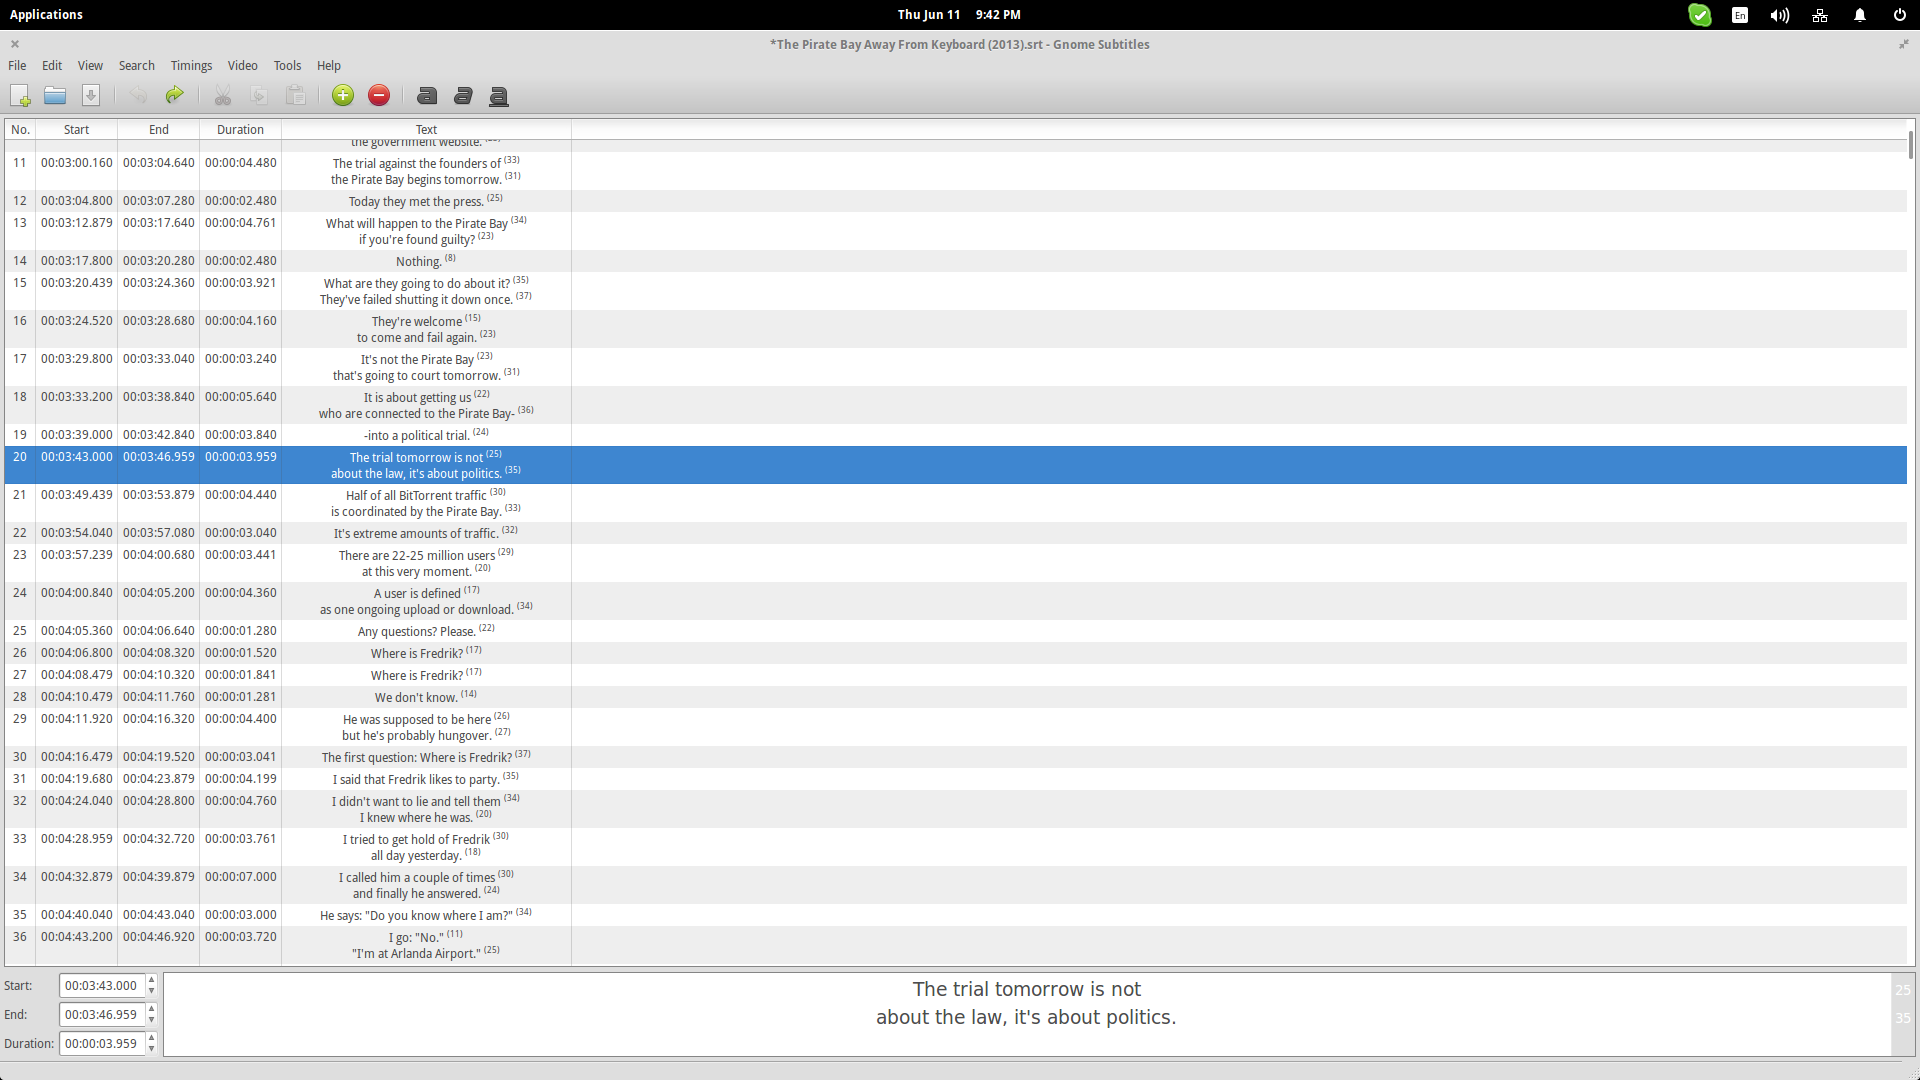
Contrary to what the name may imply, GNOME Subtitles isn't officially connected or part of the GNOME utilities and applications, but it's clearly created to be fit with the popular desktop environment using the Mono GTK# toolkit for its interface. With GNOME Subtitles, you can quickly add subtext entries using the “Add” button on the top left and get a list of the subtitle entries that are contained in the file.
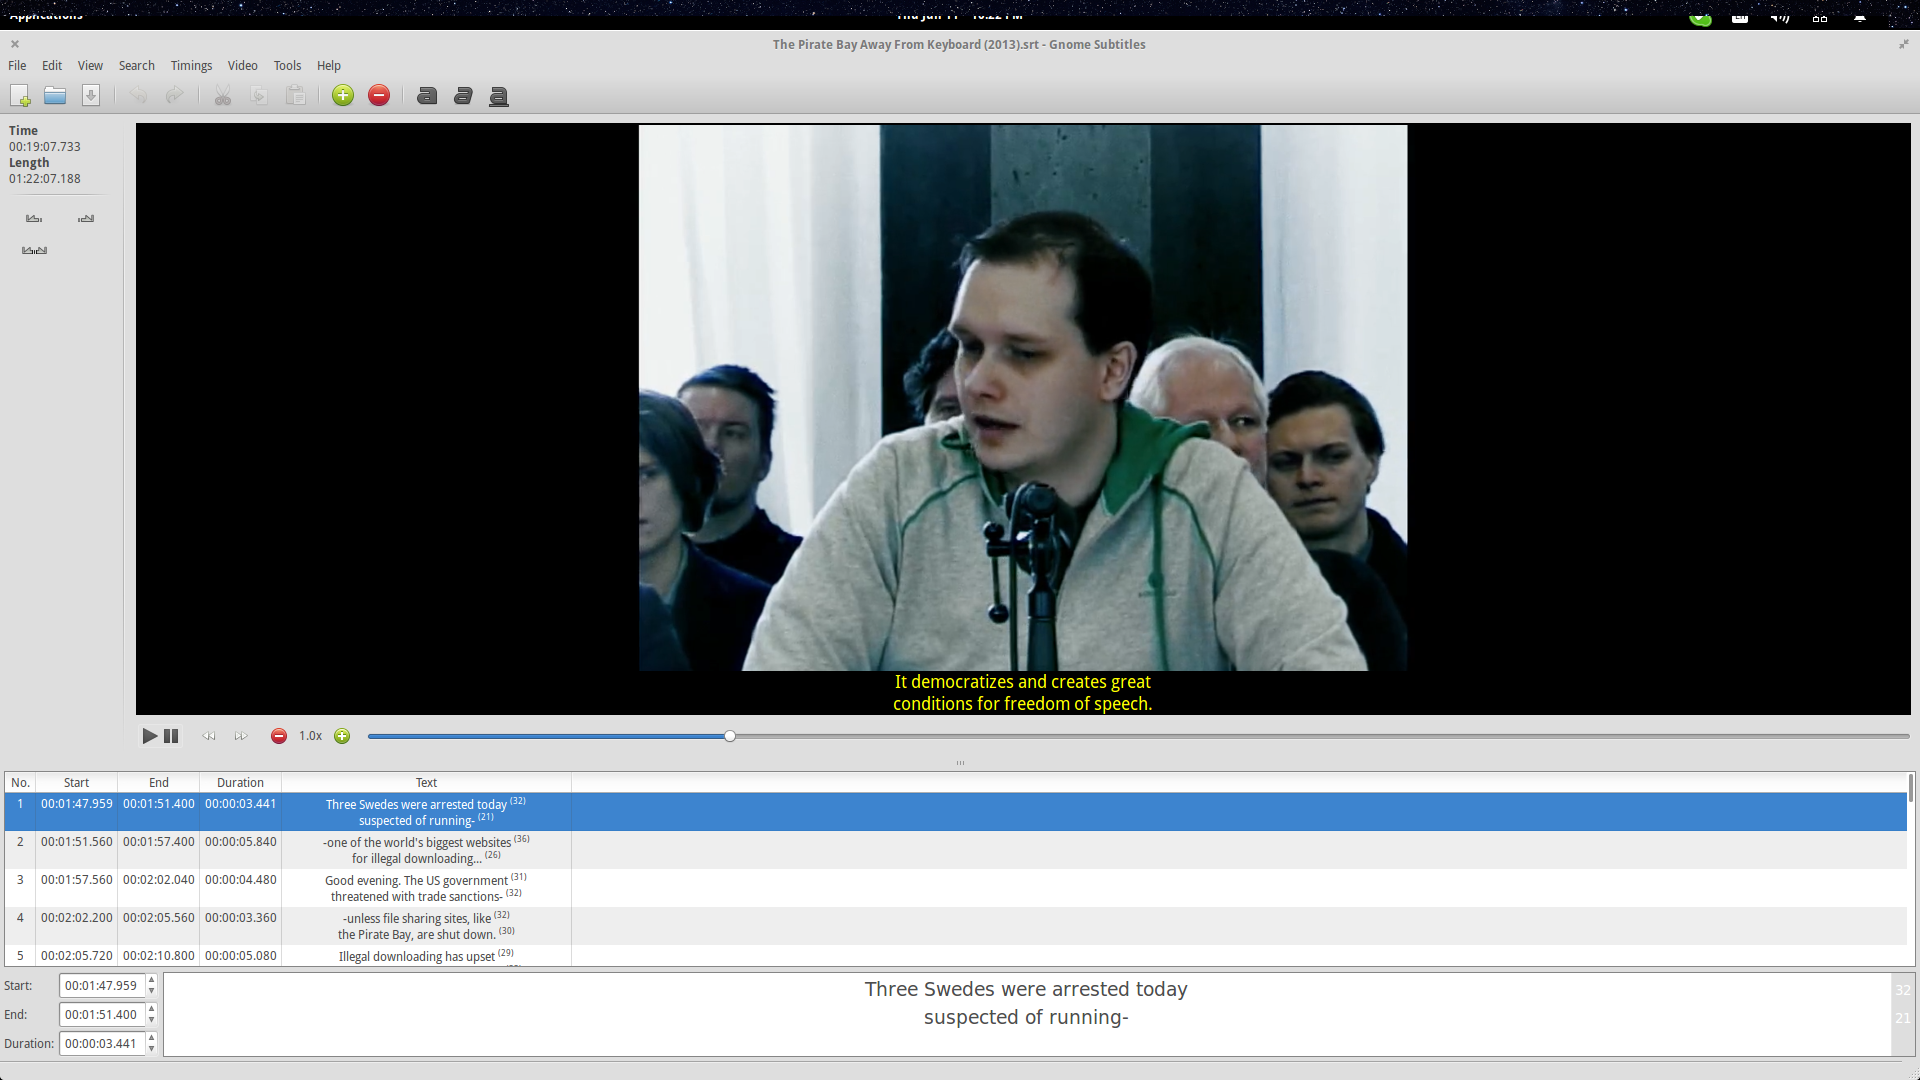
Now it is very helpful to load the corresponding video on the application as well, but this is not mandatory. To do this press the “video” menu on the top and choose the “open” option. This will open up a file manager window allowing you to navigate to the video file.
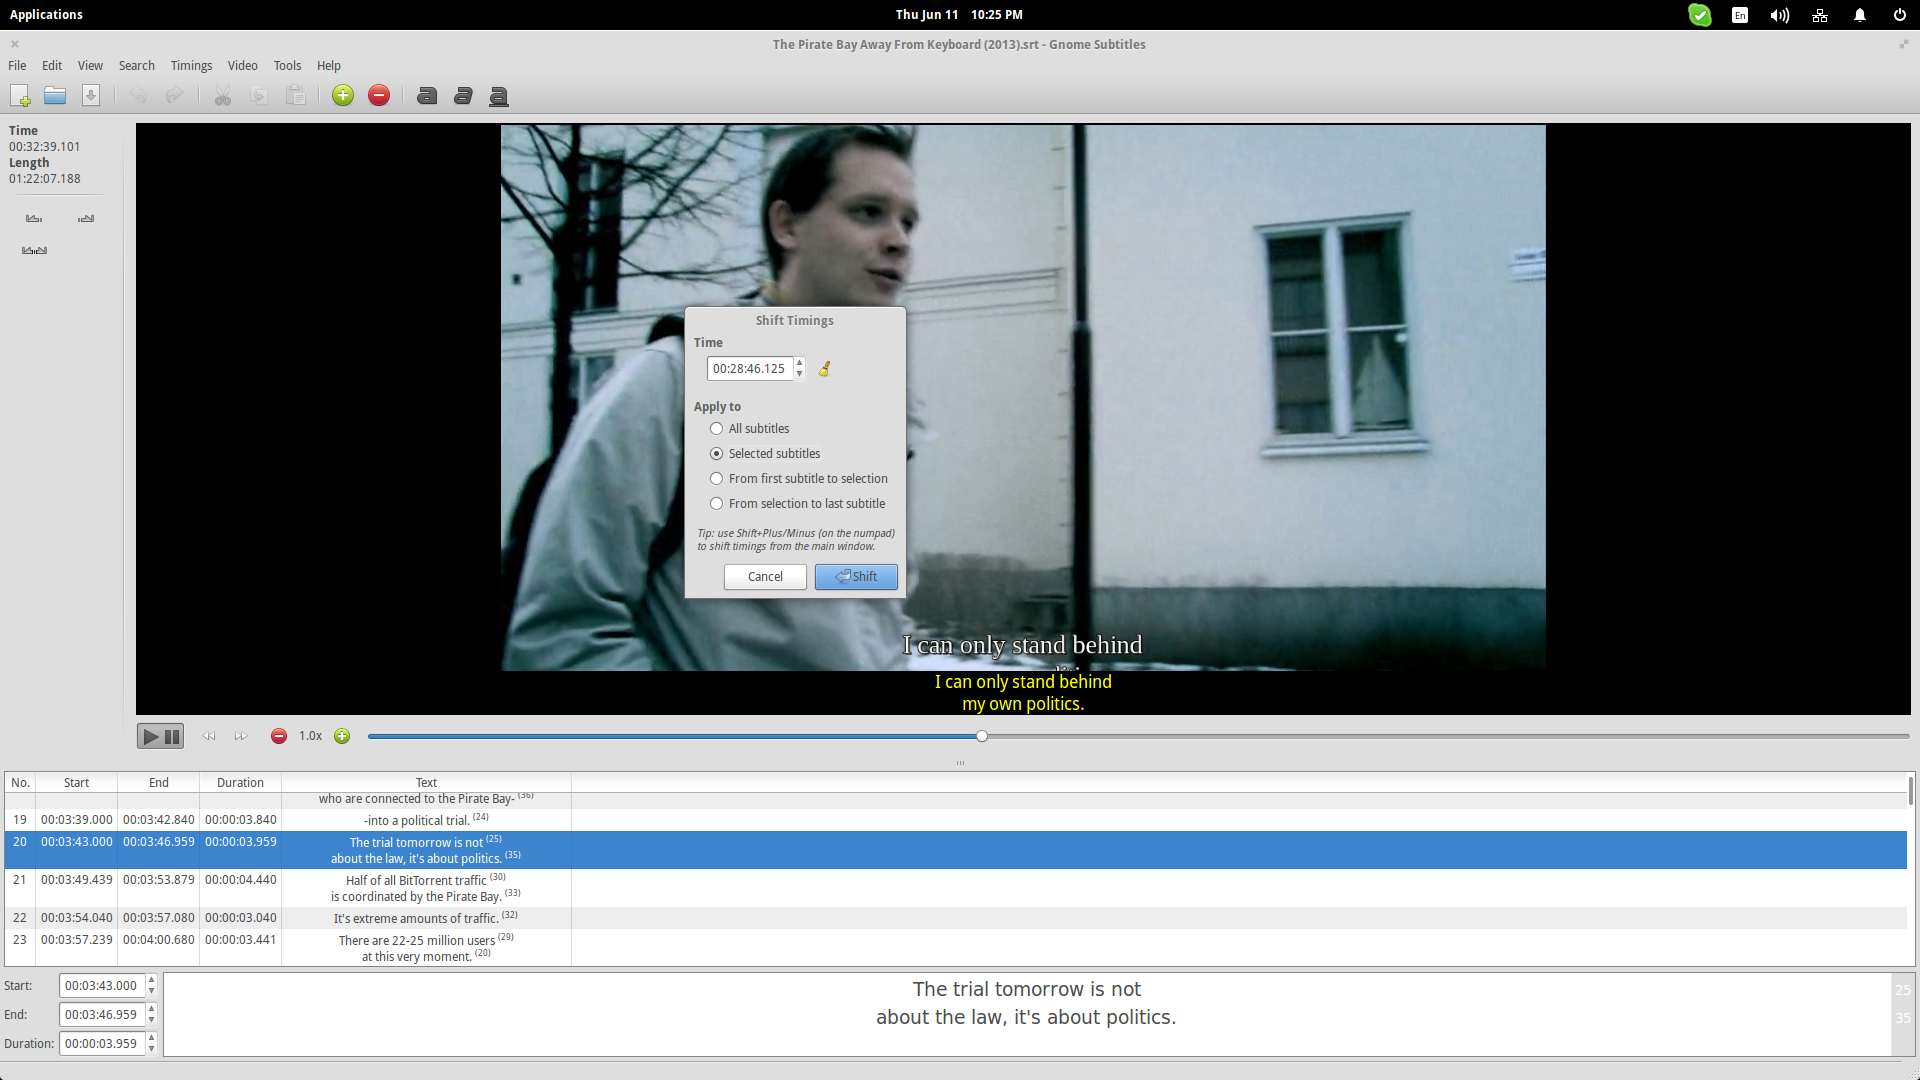
After this, we are ready to start editing the subtitle file by choosing the box/entry we want to edit and do so using the editor on the bottom part of the interface. On the left side of the editor, you will find the timing controls for the selected entry. You may either enter the preferred values by hand, or use the up and down arrows of the GUI until you get the results you desired. To speed up the editing, you may also search for certain phrases among all entries through the “Search” menu located on the top panel. You can also swiftly set the times or frames that the subtitles should appear at using the “Timings” menu on the top panel again.
If you want to test the validity of your work before saving it, you may open the in-built gstreamer video previewer that appears on the top and skips to any point you want fast and seamlessly. It can also play slowly for that extra touch of accuracy.
The software is quite powerful in regards of subtitle format detection (supports 22 formats) and character encoding, while it also performs spell checking, character counting and auto-highlighting of problematic parts for faster error parsing. With GNOME Subtitles, you can also auto-fix those badly synchronized subtitles using sync points, or even convert them to a different frame rate. There is the drag n drop functionality working for the all items you can grab from your file manager, a comprehensive manual and translation of the interface in 32 languages!
Subtitle Editor
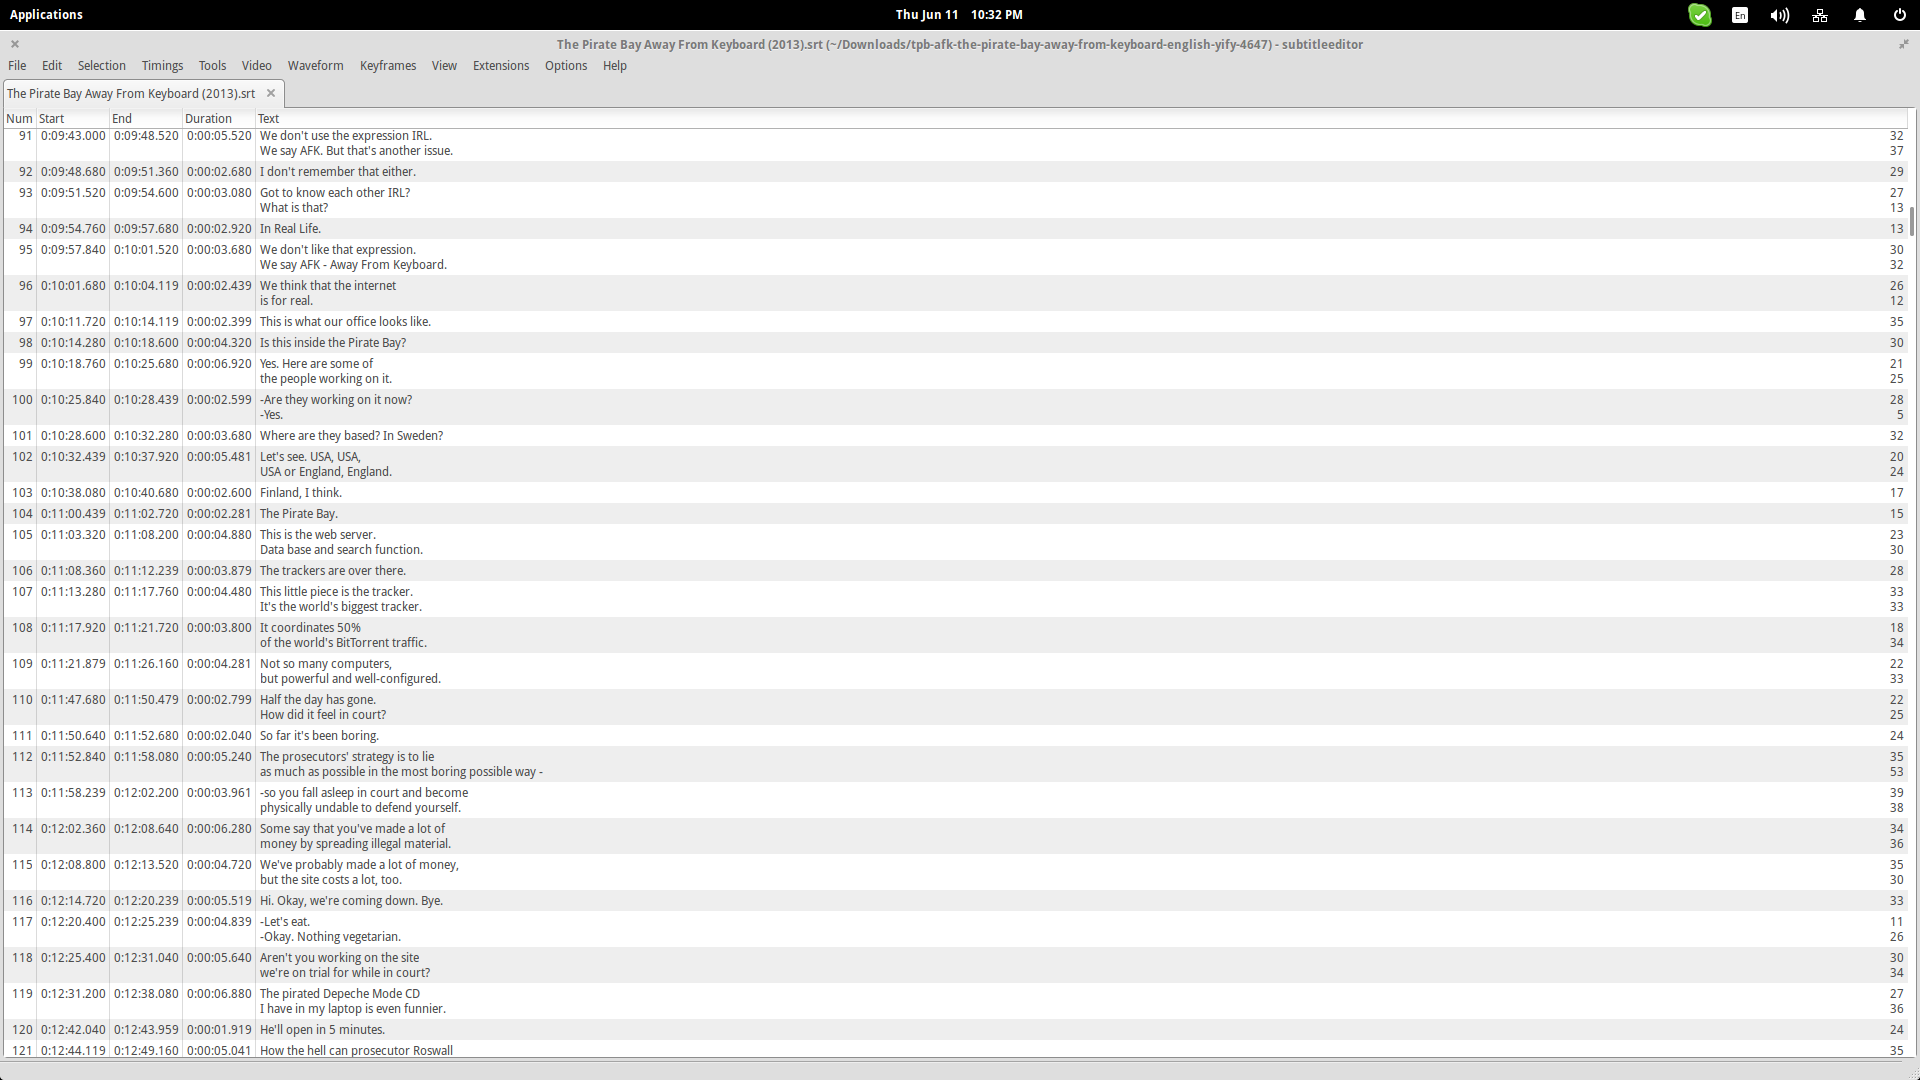
If for any reason GNOME Subtitles is not working for you, you can check out the amazing Subtitle Editor. Although its GTK+ interface looks much less complicated at first look (no buttons, no separate editing space, all elements are located on the top menu), Subtitle Editor is not missing useful features. In contrary, it boasts a set of advanced tools and options to fix timing issues, perform error and spell checking, seek in text and edit batches of subtitle text files like converting the frame-rate for 100 .srt files for example.
The embedded video player also uses gstreamer for playback, but in this case you can take advantage of it to set timing points for your sub text entries. It also supports drag n drop functions and can export to over 18 subtitle formats.
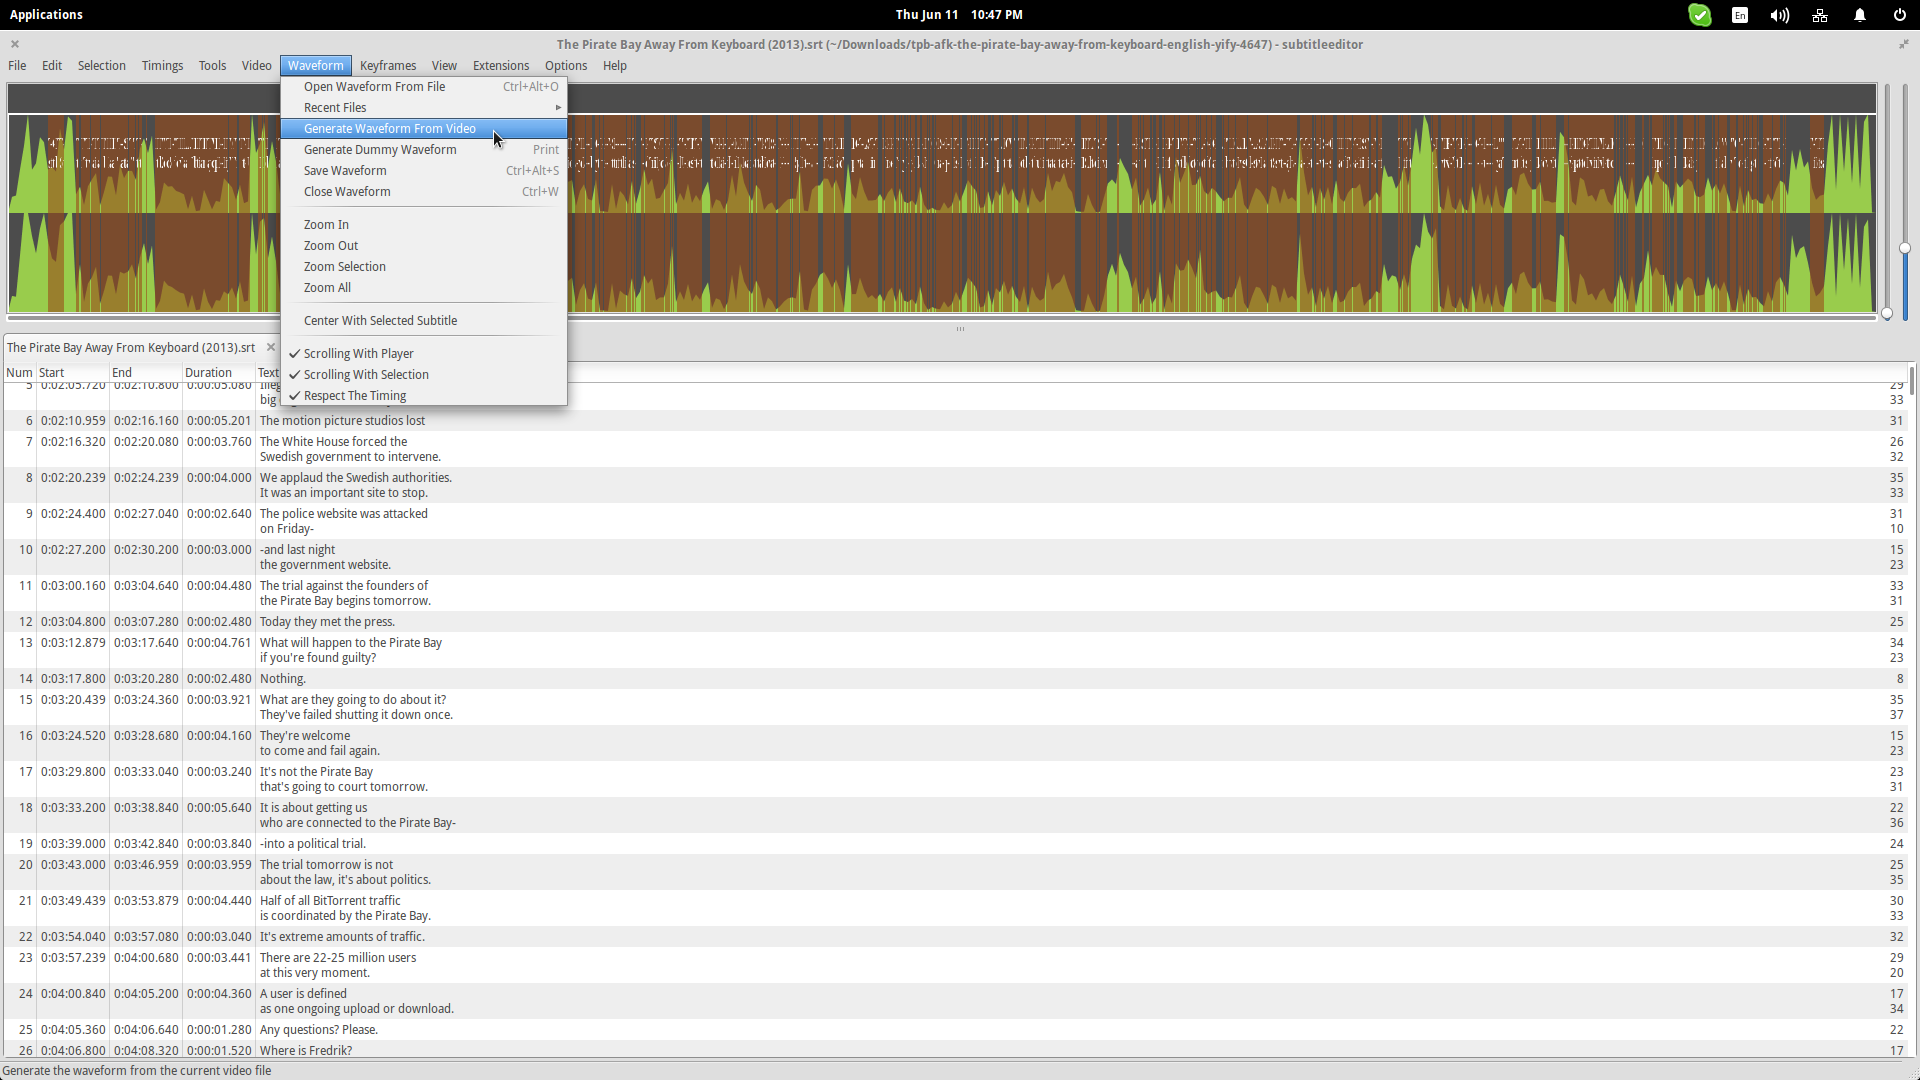
In addition to all this, you can also import or generate (from an existing video file) a waveform that will depict exactly where the speech starts/ends. This will take some time to generate in older systems, but it can prove valuable for those who do professional work, or use the subtitle auto-positioning feature. You may then open the waveform viewer from the “View” menu which also contains the video player option.
AegisSub
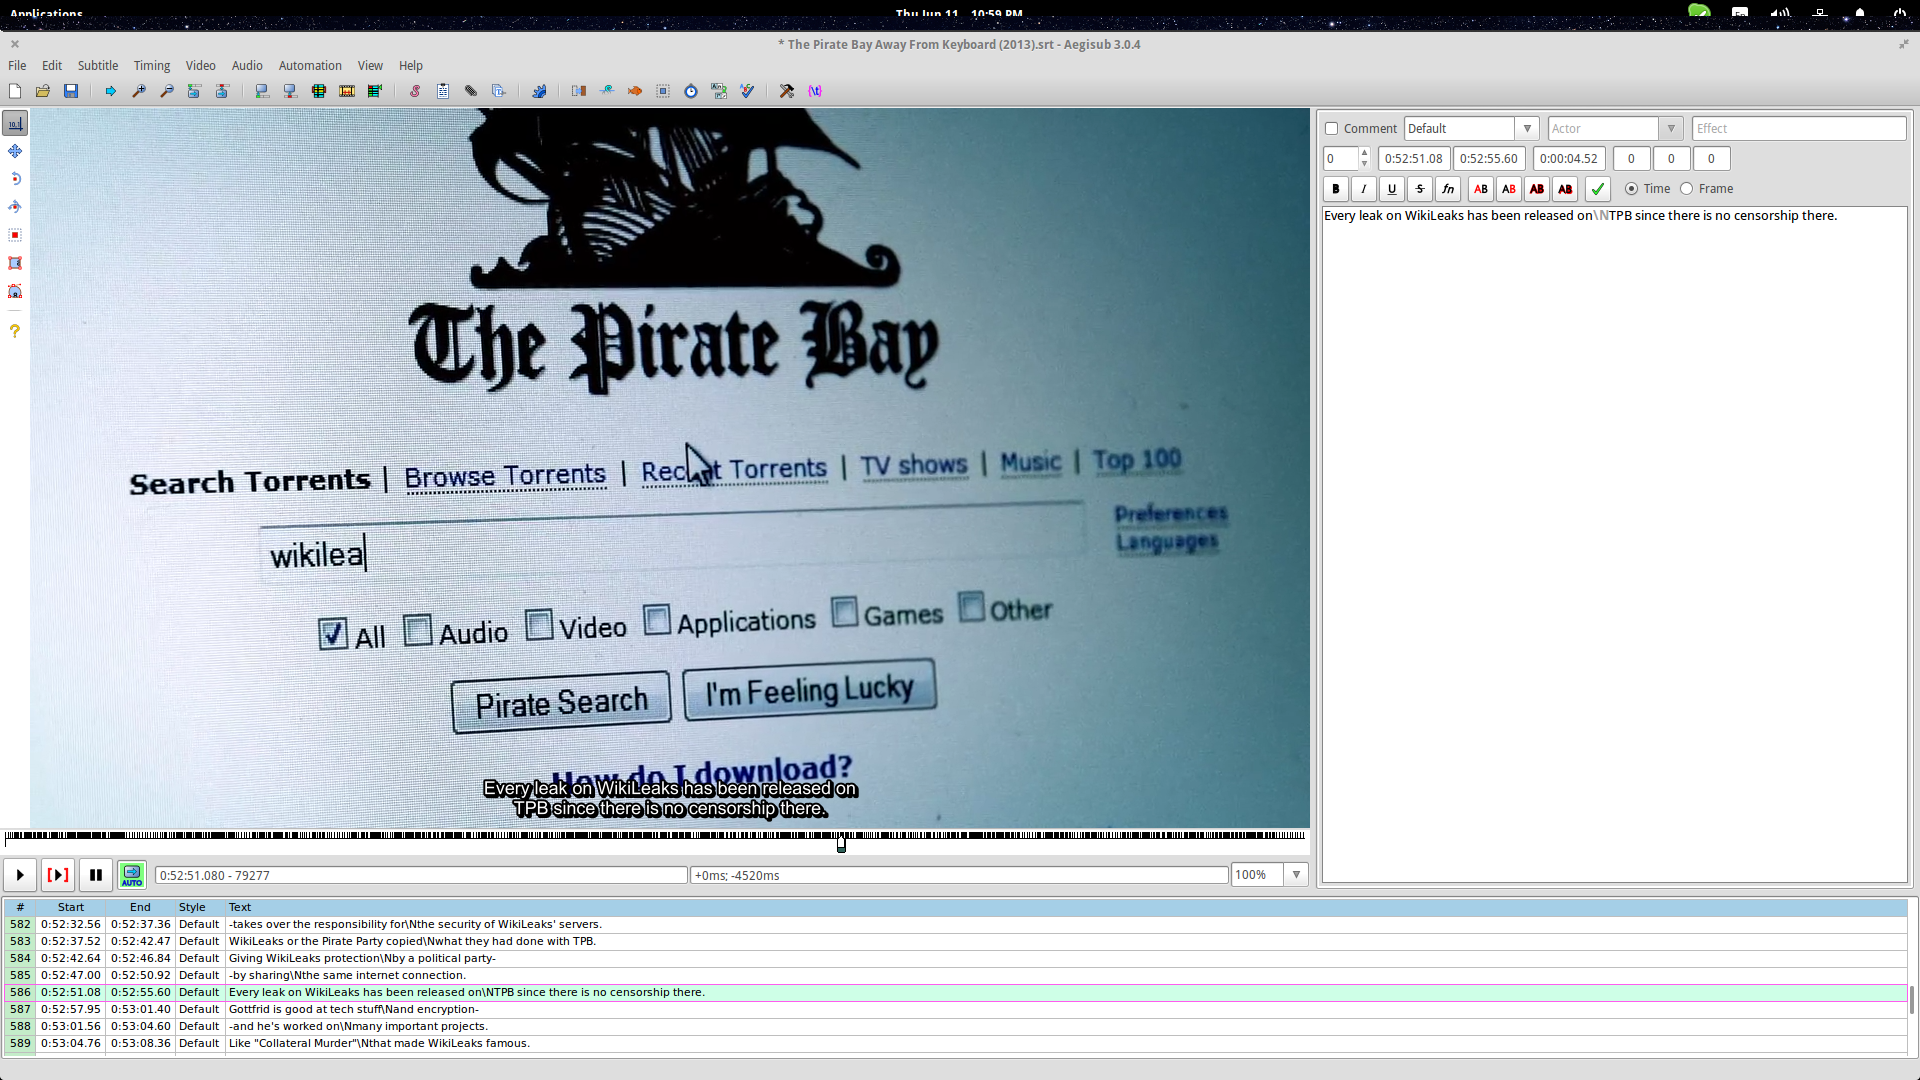
The third and final software tool with which one can easily edit subtitle files is the AegisSub. Although its user interface looks very outdated, this is a very straight forward tool which puts the simplicity above all. After the subtitles file is loaded (Flie/Open Subtitles) the users can edit and modify any entry, using a comfortable editor positioned on the top. This editor allows for text changes, position fixing, simple format editing, and also offers powerful time controls. If the corresponding video file is also loaded, then the editor is positioned on the right while the subtitle cells are found on the bottom, as seen on the below screenshot.
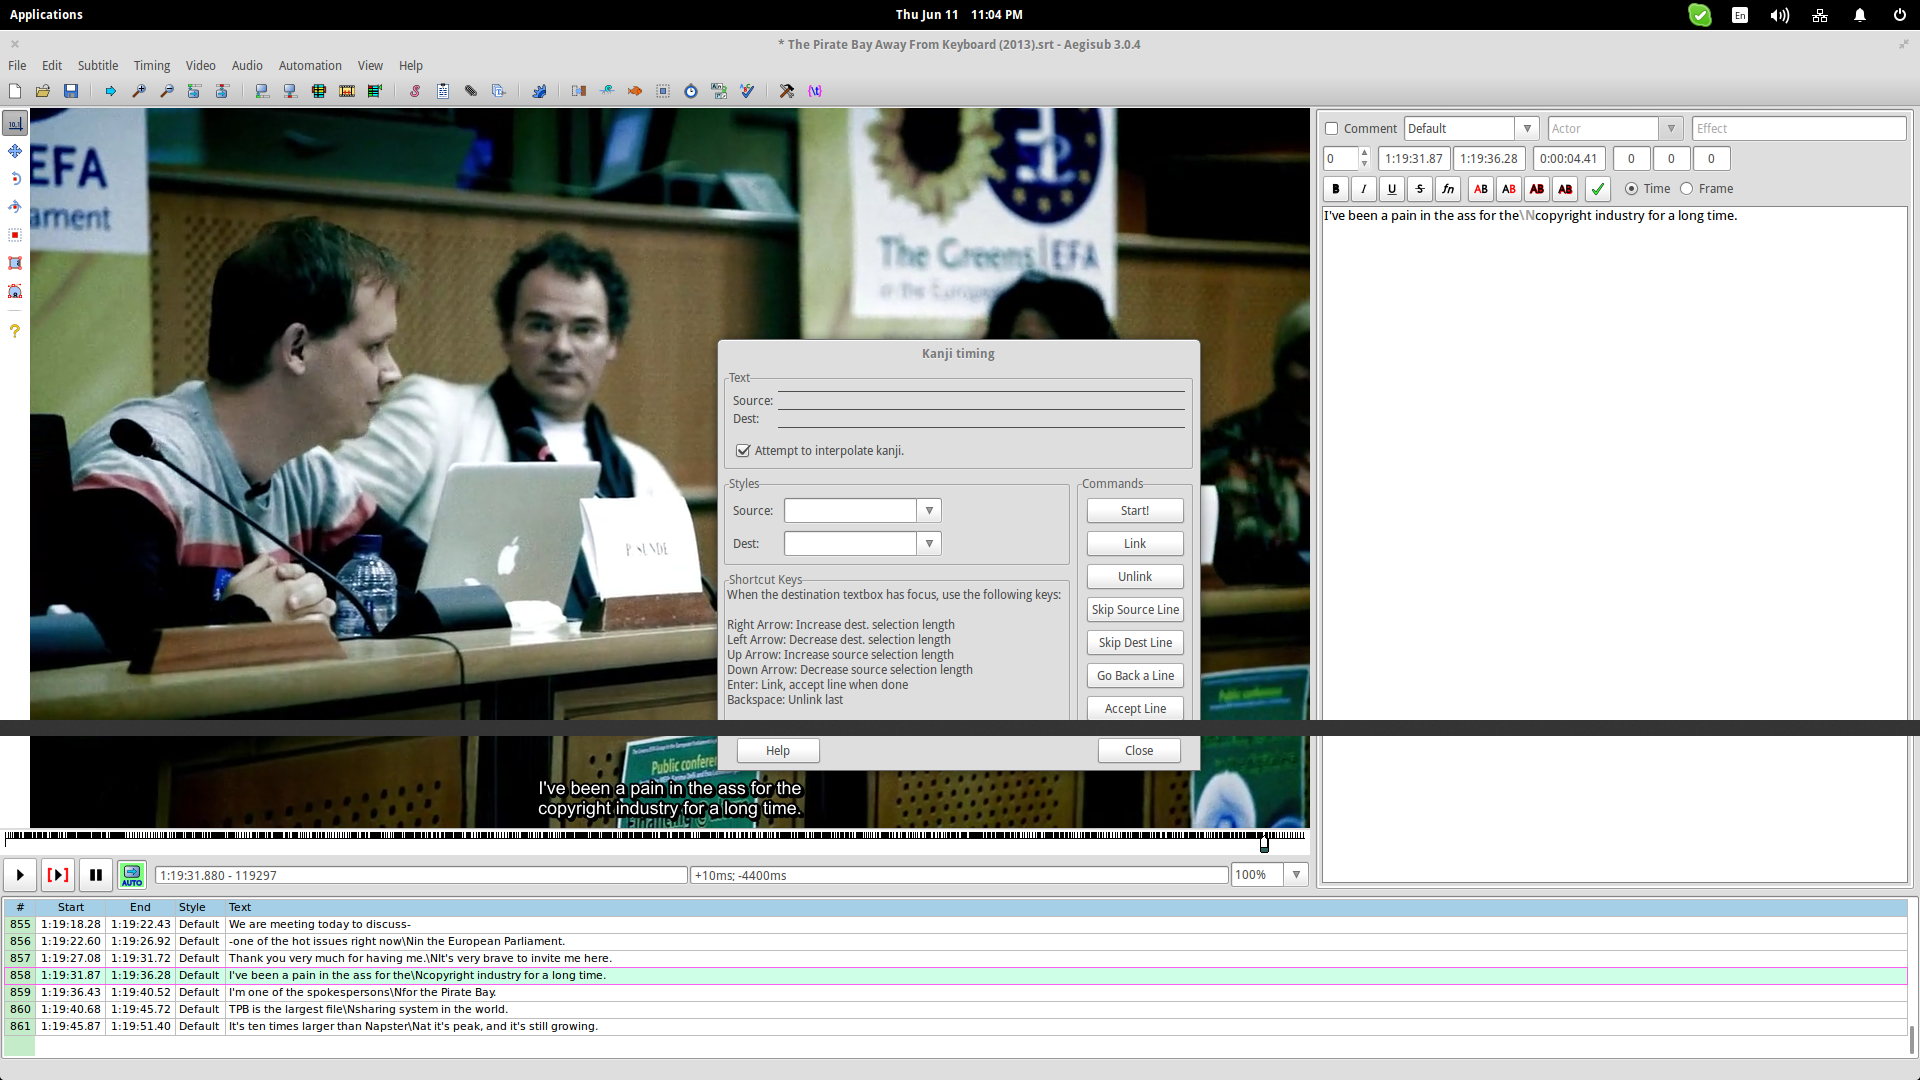
AegisSub offers some truly notable features like the Kinji timing tool that helps in the creation of karaoke videos, time shifter and timing post-processing abilities, translation assistant, spellchecker and subtitle styling daemon. All is found at the top panel under the “Subtitle”, “Timing” and “Video” menus. More options like the loading of separate audio channels and the generation of some effects for the appearance of the subtitles are also available under the “Audio” and “View” options respectively. My only wish is that AegisSub would use a more modern icon set with larger and cleaner icons. Other than that, it works perfectly and swiftly in every task.
Text Editors
Subtitle files are text files so most text editors can open and edit them without any problems. The thing is though that this will take ages and there is no real reason to choose them over any of the aforementioned tools. You can however perform quick editing or use the “save as” option to quickly change the encoding of a subtitle file.

