RoundCube webmail installation on Debian 8 (Jessie)
This tutorial shows the installation of the latest RoundCube webmail on Debian 8. Roundcube is an easy to use webmail client with IMAP and SMTP support that can be extended with plugins. On Debian 7, RoundCube was available as .deb package, it was not the latest version but at least it was easy to install with apt. For the current Debian release, there is no RoundCube package available anymore so I'll describe the installation from source here. This tutorial contains an optional chapter that describes the steps to connect RoundCube with the ISPConfig 3 Hosting Control Panel.
Prerequisites
- Debian 8 Operating System.
- Apache web server with mod_php installed. If there is no apache installed yet, then take a look at our LAMP guide or Perfect Server setup to install a suitable environment.
- An email server (SMTP + IMAP) were Roundcube shall connect to. This can be the local server (e.g. when you use one of the perfect server setups) or a remote server.
- The server hostname that I will use in this tutorial is server1.example.com with the IP address 192.168.1.100. Please replace that with the IP and hostname of your server.
RoundCube Installation
I will install RoundCube into the directory /opt/roundcube to ensure that this installation will not collide with any Debian system packages. The first step is to install wget, create the directory /opt/roundcube and download the latest RoundCube version with wget into this directory. The current RoundCube version is 1.1.3 at the time that I write this tutorial, take a look at the RoundCube website to check if there is a later version that you can use.
Login as root user on the shell of your server, then install wget and the nano editor:
apt-get install wget nano
Create the directory and enter it with the "cd" command:
mkdir /opt/roundcube
cd /opt/roundcube
Download the RoundCube tar.gz file and unpack it:
wget https://downloads.sourceforge.net/project/roundcubemail/roundcubemail/1.1.3/roundcubemail-1.1.3-complete.tar.gz
tar xfz roundcubemail-1.1.3-complete.tar.gz
The RoundCube files are now in the folder /opt/roundcube/roundcubemail-1.1.3. The next step is to move them one directory up to /opt/roundcube.
mv roundcubemail-1.1.3/* .
mv roundcubemail-1.1.3/.htaccess .
The dot at the end of the two commands is required and part of the command, don't miss it! Delete the empty directory and the tar.gz file.
rmdir roundcubemail-1.1.3
rm roundcubemail-1.1.3-complete.tar.gz
And change the owner of all files to the user the Apache server is running as.
chown -R www-data:www-data /opt/roundcube
Install the RoundCube Database
Roundcube requires a database to store mailbox settings, contacts, etc. I will use MySQL (or MariaDB) here as database backend. We will now create a database with the name "roundcubemail" and a user with the name "roundcube" in MySQL.
Login to the MySQL server with the following command:
mysql --defaults-file=/etc/mysql/debian.cnf
Then execute the following commands on the MySQl database shell to create the database and database user. Replace the word "secretpassword" in the commands below with a password of your choice.
CREATE DATABASE roundcubemail;
GRANT ALL PRIVILEGES ON roundcubemail.* TO roundcube@localhost IDENTIFIED BY 'secretpassword';
flush privileges;
quit
Now we will import the RoundCube tables from the file mysql.initial.sql into our new database.
Run the following command on the Linux shell:
mysql --defaults-file=/etc/mysql/debian.cnf roundcubemail < /opt/roundcube/SQL/mysql.initial.sql
Configure RoundCube and Apache
In this step, we will configure the database details in RoundCube and add a RoundCube configuration file in Apache.
I'll start with the database configuration in RoundCube. Run the following commands to create a new config.inc.php file based on the sample configuration file and open it in the nano editor.
cd /opt/roundcube/config
cp -pf config.inc.php.sample config.inc.php
nano config.inc.php
Find the database configuration line that starts with $config['db_dsnw'] and replace it with the following line:
$config['db_dsnw'] = 'mysql://roundcube:secretpassword@localhost/roundcubemail';
The word "secretpassword" has to be replaced with the password that you have chosen for the database.
Next search for the "smtp_server" line and set the hostname of your SMTP server here. In my case, the mail server is the local server, so I'll set the server to "localhost".
$config['smtp_server'] = 'localhost';
Now it's time to configure Apache. I'll create a new configuration file roundcube.conf in the folder /etc/apache2/conf-available/.
nano /etc/apache2/conf-available/roundcube.conf
Add the following lines to that file and save it.
Alias /roundcube /opt/roundcube
Alias /webmail /opt/roundcube

<Directory /opt/roundcube>
 Options +FollowSymLinks
 # AddDefaultCharset UTF-8
 AddType text/x-component .htc

 <IfModule mod_php5.c>
 AddType application/x-httpd-php .php
 php_flag display_errors Off
 php_flag log_errors On
 # php_value error_log logs/errors
 php_value upload_max_filesize 10M
 php_value post_max_size 12M
 php_value memory_limit 64M
 php_flag zlib.output_compression Off
 php_flag magic_quotes_gpc Off
 php_flag magic_quotes_runtime Off
 php_flag zend.ze1_compatibility_mode Off
 php_flag suhosin.session.encrypt Off
 #php_value session.cookie_path /
 php_flag session.auto_start Off
 php_value session.gc_maxlifetime 21600
 php_value session.gc_divisor 500
 php_value session.gc_probability 1
 </IfModule>

 <IfModule mod_rewrite.c>
 RewriteEngine On
 RewriteRule ^favicon\.ico$ skins/larry/images/favicon.ico
 # security rules:
 # - deny access to files not containing a dot or starting with a dot
 # in all locations except installer directory
 RewriteRule ^(?!installer)(\.?[^\.]+)$ - [F]
 # - deny access to some locations
 RewriteRule ^/?(\.git|\.tx|SQL|bin|config|logs|temp|tests|program\/(include|lib|localization|steps)) - [F]
 # - deny access to some documentation files
 RewriteRule /?(README\.md|composer\.json-dist|composer\.json|package\.xml)$ - [F]
 </IfModule>

 <IfModule mod_deflate.c>
 SetOutputFilter DEFLATE
 </IfModule>

 <IfModule mod_expires.c>
 ExpiresActive On
 ExpiresDefault "access plus 1 month"
 </IfModule>

 FileETag MTime Size

 <IfModule mod_autoindex.c>
 Options -Indexes
 </ifModule>

 AllowOverride None
 Require all granted
</Directory>

<Directory /opt/roundcube/plugins/enigma/home>
 Options -FollowSymLinks
 AllowOverride None
 Require all denied
</Directory>

<Directory /opt/roundcube/config>
 Options -FollowSymLinks
 AllowOverride None
 Require all denied
</Directory>

<Directory /opt/roundcube/temp>
 Options -FollowSymLinks
 AllowOverride None
 Require all denied
</Directory>

<Directory /opt/roundcube/logs>
 Options -FollowSymLinks
 AllowOverride None
 Require all denied
</Directory>
The 2 Alias lines in the first two lines make RoundCube available as /roundcube and /webmail on your server.
Enable the configuration and reload apache:
a2enconf roundcube
service apache2 reload
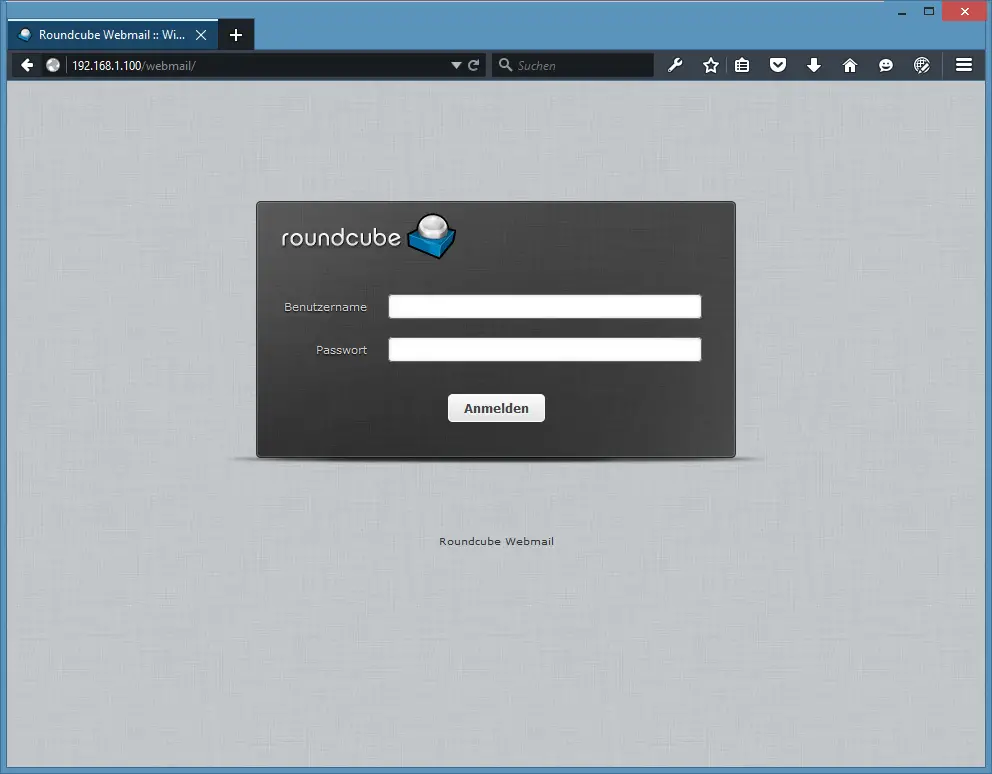
That's it, RoundCube is now fully installed on your server, and you can reach it on the server IP and hostname trough the aliases /roundcube and /webmail. The IP of my server is 192.168.1.100; for that I can open RoundCube with http://192.168.1.100/webmail
Installation of the ISPConfig RoundCube plugin (optional)
When your server has iSPConfig 3 installed, then it is highly recommended to install the ISPConfig RoundCube plugin. This allows your email users to manage their autoresponders, email filters and other mailbox settings from within RoundCube.
The ISPConfig 3 RoundCube plugin is connected to ISPConfig 3 with the ISPConfig remote API. To use this API, we need a remote user.
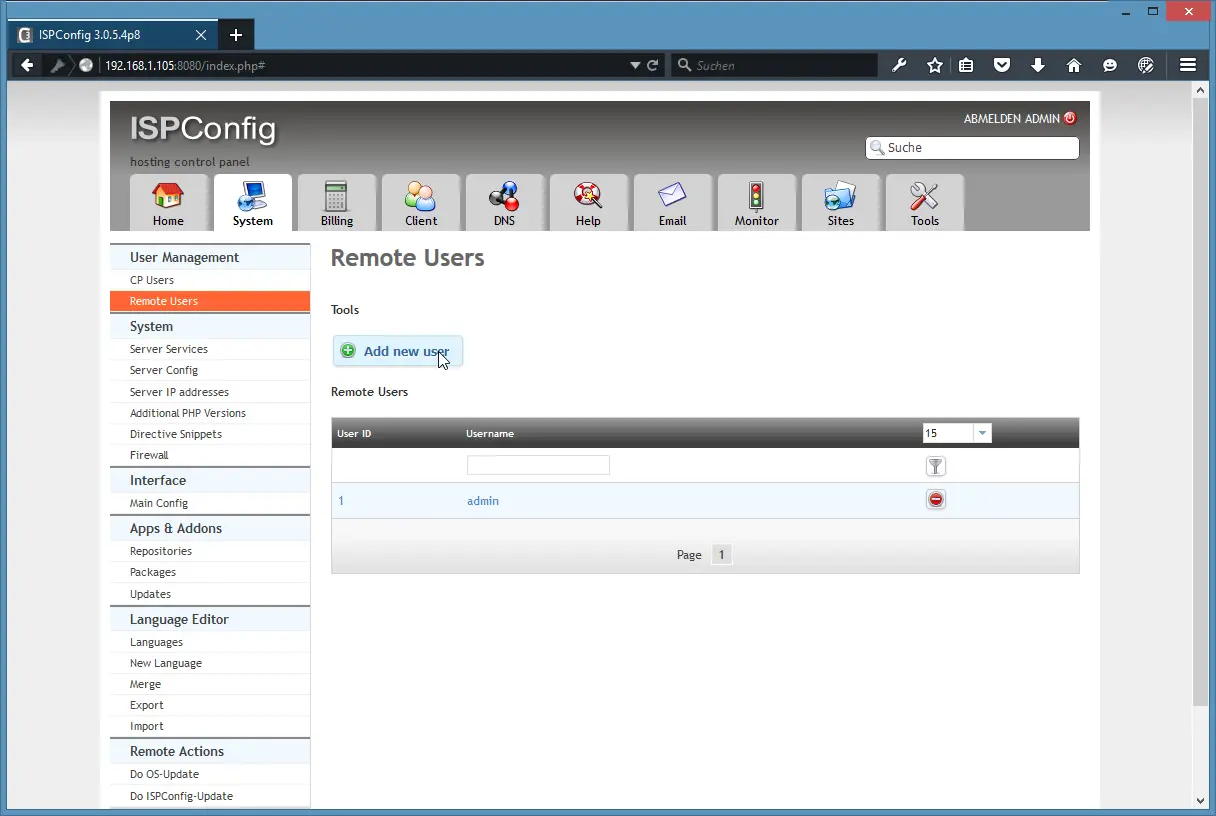
Login to ISPConfig as "admin" user.
To create such a user, go to System > User Management > Remote Users and click on the Add new user button:
Enter a Username and password for the new remote user. I'll choose the username "roundcube" and password "!fdWEacBOG1d".
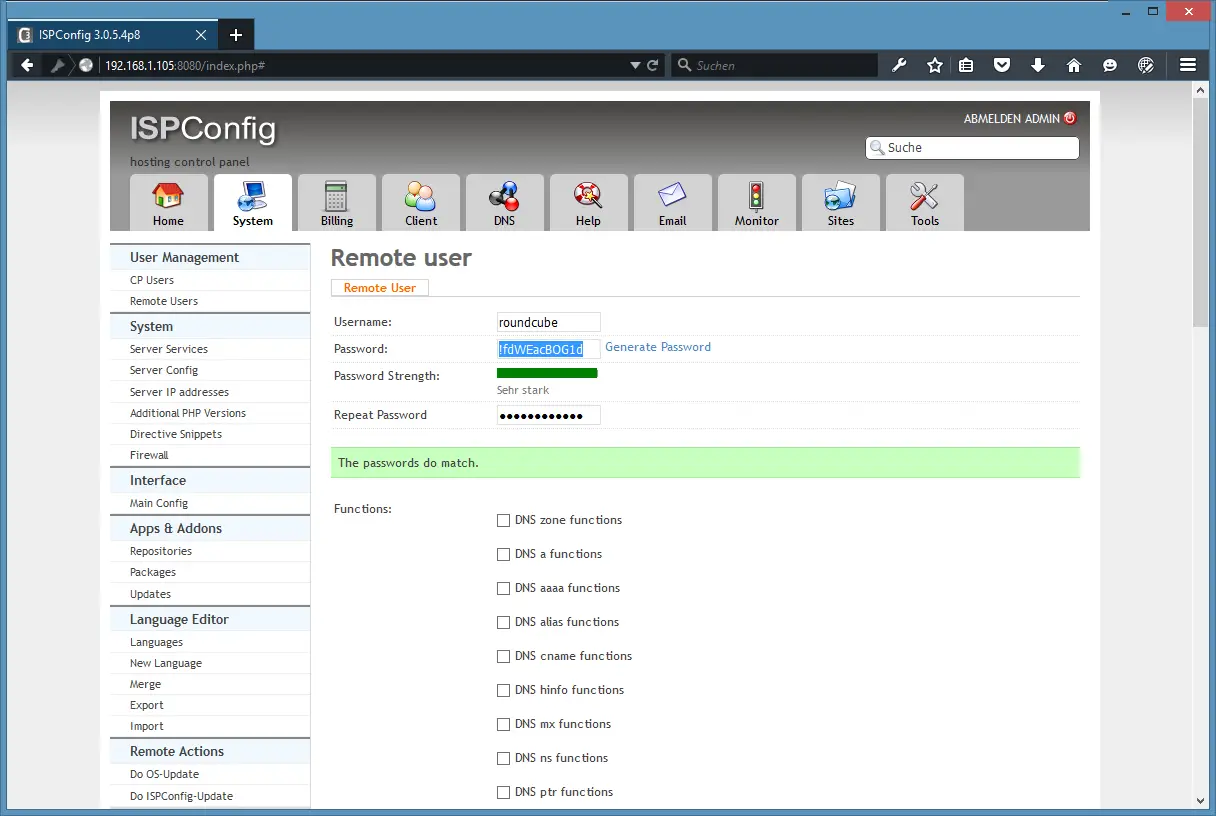
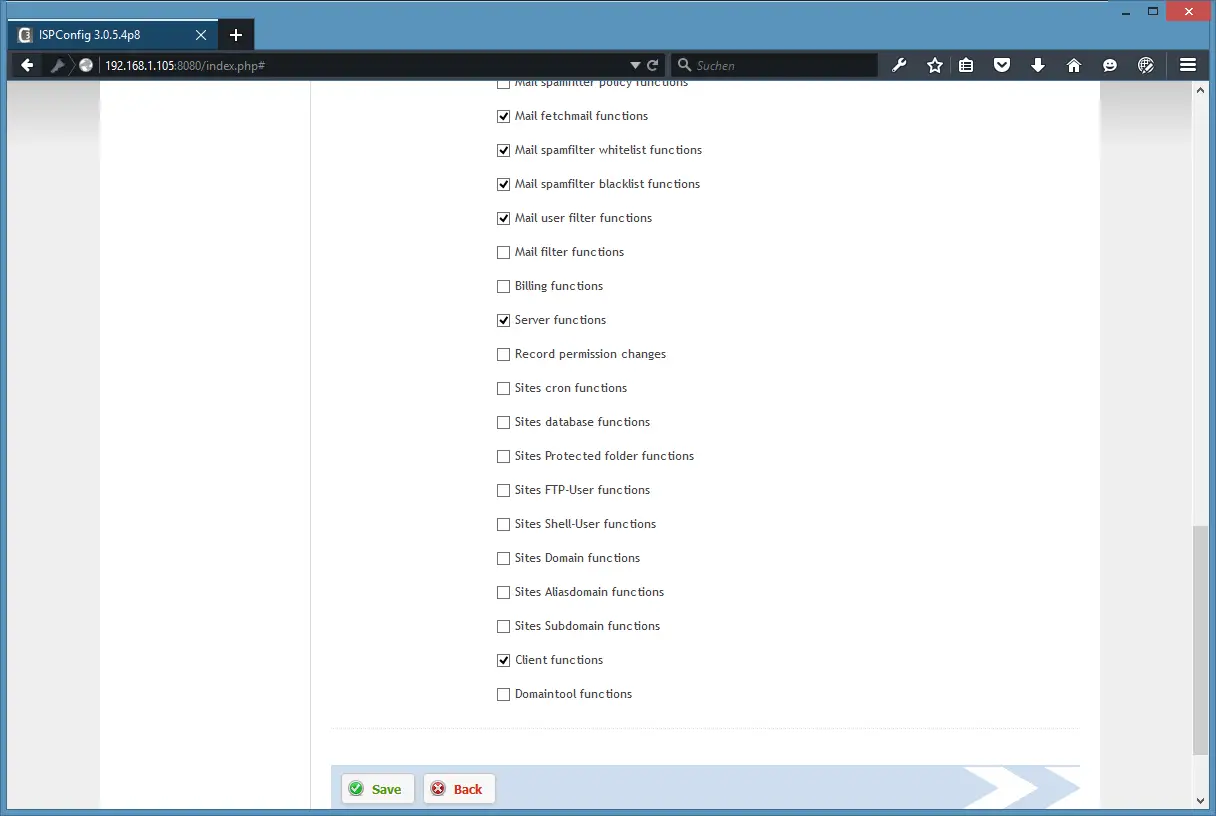
The remote user setup allows a fine grained access control; the following functions have to be enabled:
- Server functions
- Client functions
- Mail user functions
- Mail alias functions
- Mail spamfilter user functions
- Mail spamfilter policy functions
- Mail fetchmail functions
- Mail spamfilter whitelist functions
- Mail spamfilter blacklist functions
- Mail user filter functions
Finally click on Save.
The next steps were performed on the shell of your server. Login as root user.
We will install now the ISPConfig SSL certificate into the SSL certificate store from Debian.
cp /usr/local/ispconfig/interface/ssl/ispserver.crt /usr/local/share/ca-certificates/
update-ca-certificates
Open the /etc/php5/cgi/php.ini file
nano /etc/php5/apache2/php.ini
Scroll down until you see the [openssl] section of the file and there you add the following line:
openssl.cafile=/etc/ssl/certs/ca-certificates.crt
Then restart apache.
service apache2 restart
To download the addon, install the Git client first.
apt-get install git
Get the latest version of the RoundCube ISPConfig plugin:
cd /tmp
git clone https://github.com/w2c/ispconfig3_roundcube.git
cd /tmp/ispconfig3_roundcube/
And move the plugin into the roundcube plugin directory.
mv ispconfig3_* /opt/roundcube/plugins
cd /opt/roundcube/plugins
Create a new config.inc.php file for the plugin based on the sample configuration and open the file in the nano editor.
mv ispconfig3_account/config/config.inc.php.dist ispconfig3_account/config/config.inc.php
nano ispconfig3_account/config/config.inc.php
Fill in the details of the remote user and save the file.
<?php
$rcmail_config['identity_limit'] = false;
$rcmail_config['remote_soap_user'] = 'roundcube';
$rcmail_config['remote_soap_pass'] = '!fdWEacBOG1d';
$rcmail_config['soap_url'] = 'https://server1.example.com:8080/remote/';
?>
Replace server1.example.com with the hostname of the server. When SSL (HTTPS) is used for the Remote API connection, then it is important that the hostname in the RoundCube configuration matches the hostname of the SSL certificate of the ISPConfig interface. You can check the hostname of the ISPConfig SSL certificate with the command:
openssl x509 -in /usr/local/share/ca-certificates/ispserver.crt -text -noout | grep Subject:
The result is in my case:
Subject: C=DE, ST=Niedersachsen, L=Lueneburg, O=ISPConfig UG, OU=IT, CN=server1.example.com/[email protected]
So the hostname "server1.example.com" in the plugin configuration file matches the hostname in the SSL certificate.
Now we'll activate the new plugins in RoundCube. Open the configuration file in an editor:
nano /opt/roundcube/config/config.inc.php
and add the following line at the end of the file:
$rcmail_config['plugins'] = array("jqueryui", "ispconfig3_account", "ispconfig3_autoreply", "ispconfig3_pass", "ispconfig3_spam", "ispconfig3_fetchmail", "ispconfig3_filter");
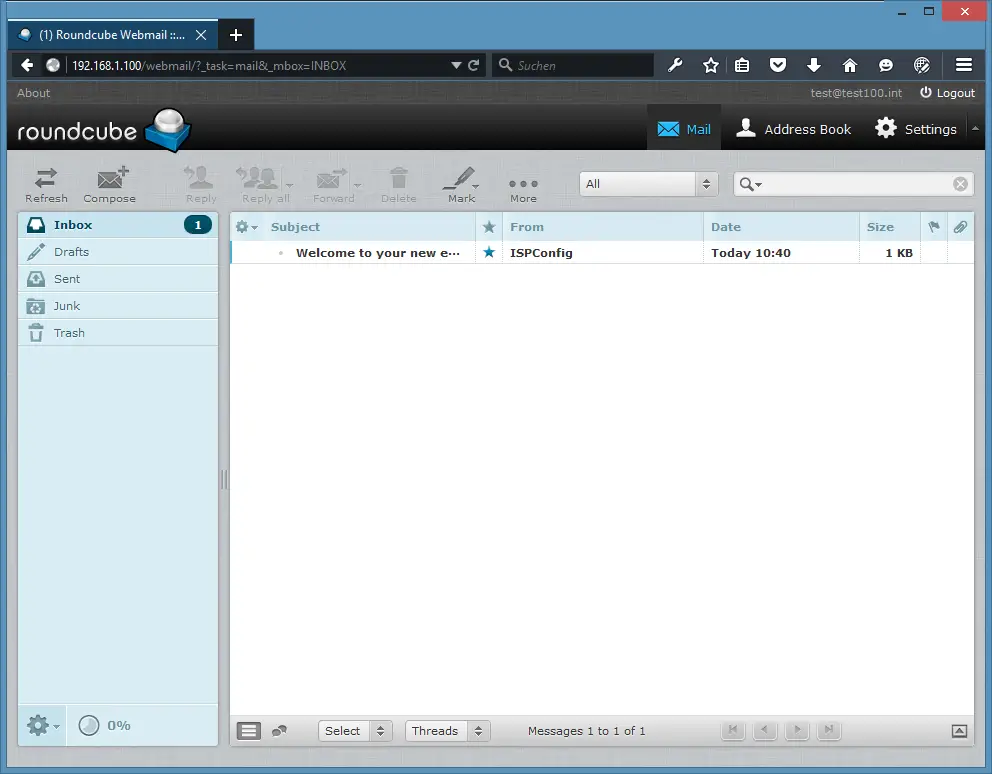
Now you can login to RoundCube, the new options can be found under Settings > Account.
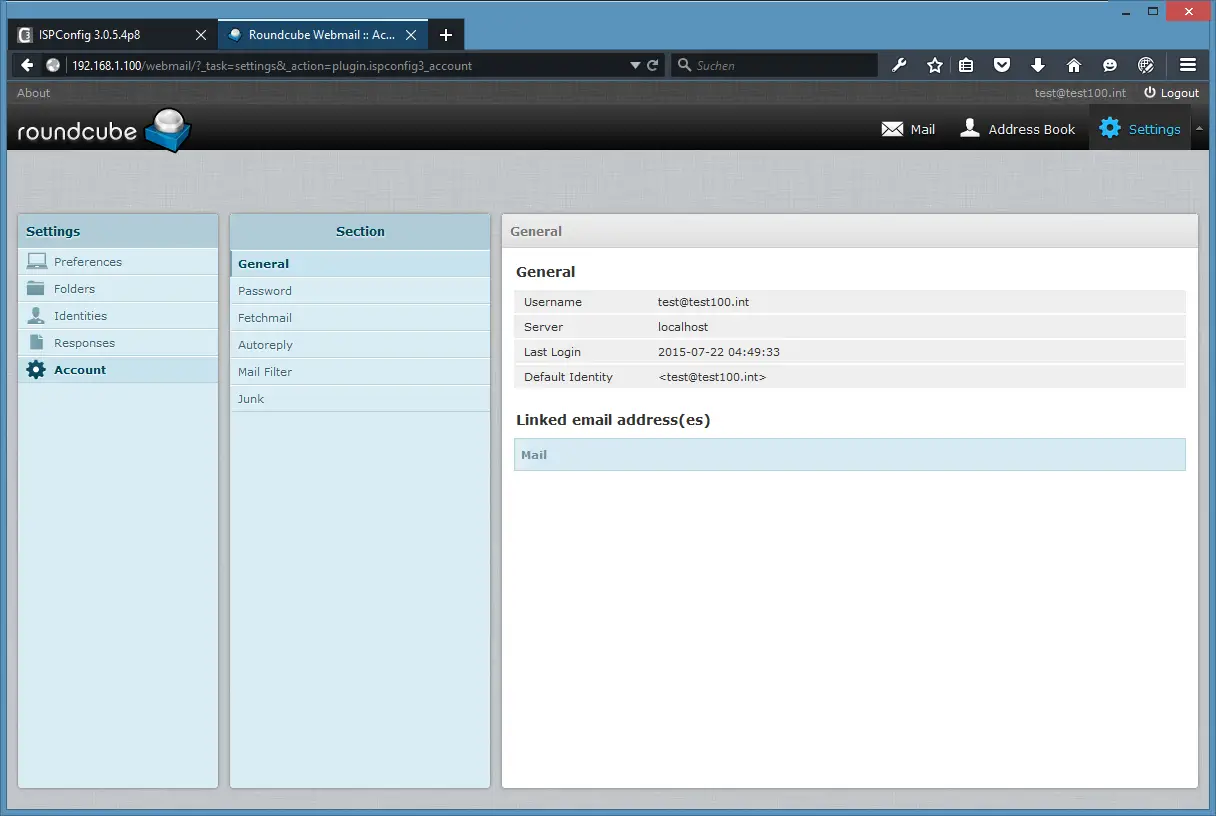
General account.
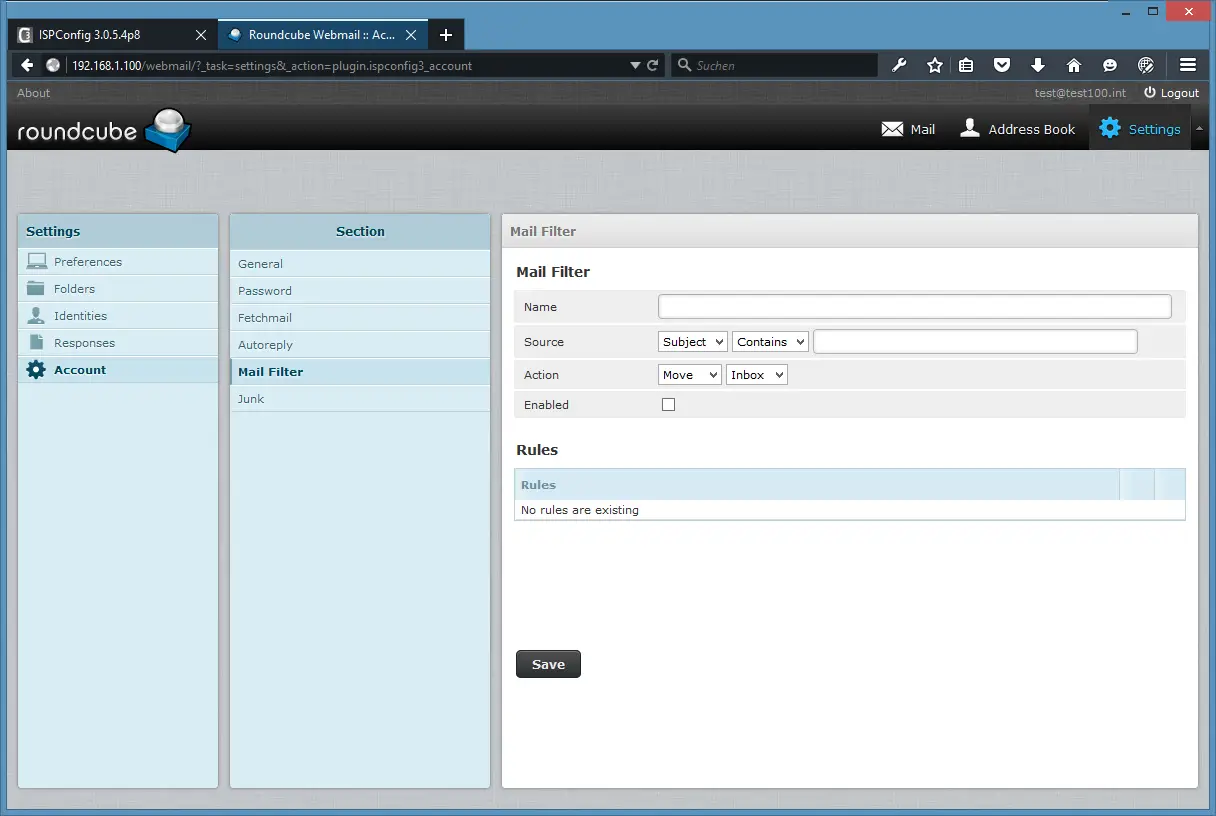
Mail filter setup.
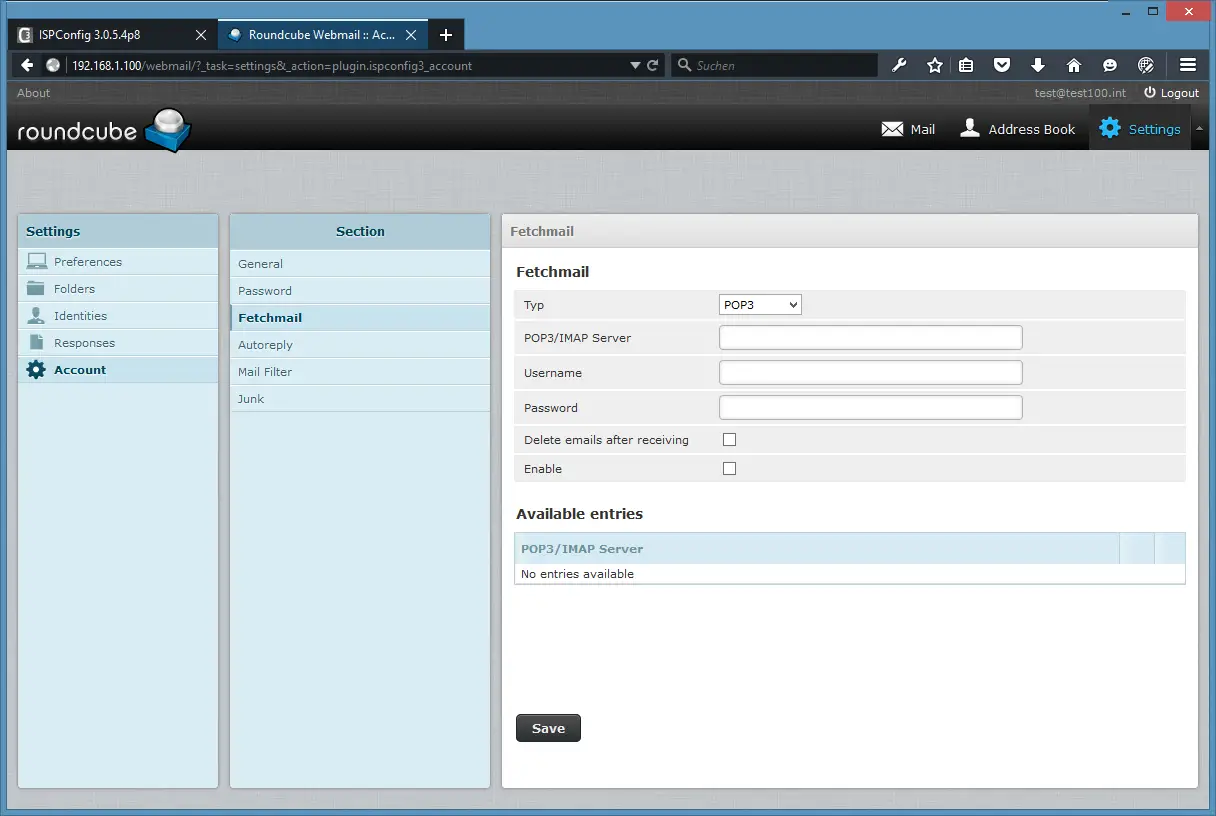
Fetchmail setup.

