How to manage your passwords with Enpass on Linux
Enpass is an advanced password manager that works natively on Linux. Although its open source nature is limited in the use of a free software encryption engine called SQLCipher, the tool offers good integration with widely used online services and can serve as a central platform where a lot of different passwords, accounts, and other miscellaneous information can be added. That said, it can be useful to many Linux users out there so here's a quick guide on how to set it up.
Installation of Enpass on Linux
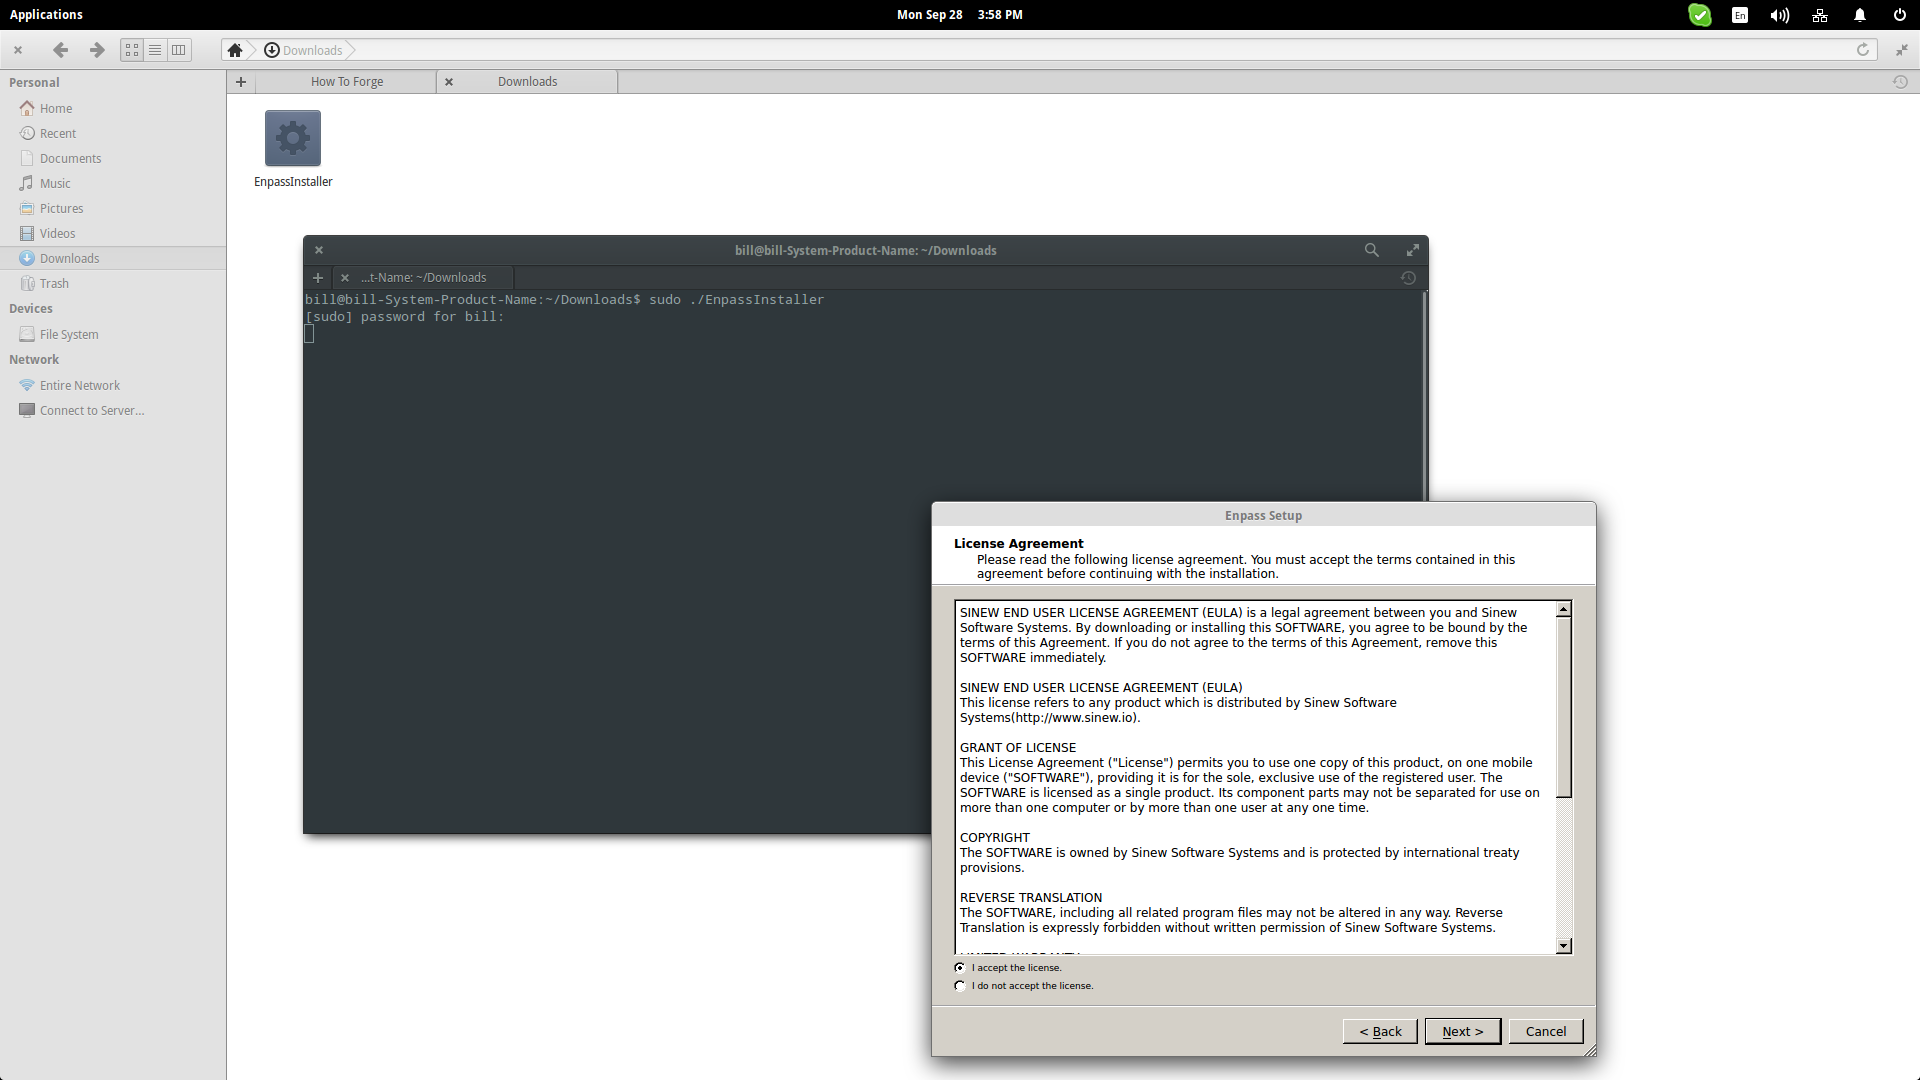
You can freely download Enpass for Linux by visiting this webpage. After filling in your email, Enpass will send you an email that contains a download link. Right-click on the downloaded file and choose “Properties” to mark it as executable. After having done that, open a terminal on the same location and run the file with “./” as shown in the following screenshot.
You can find more about Enpass installation on Linux and how to add a repository for Ubuntu-based distributions on this guide.
Adding Passwords
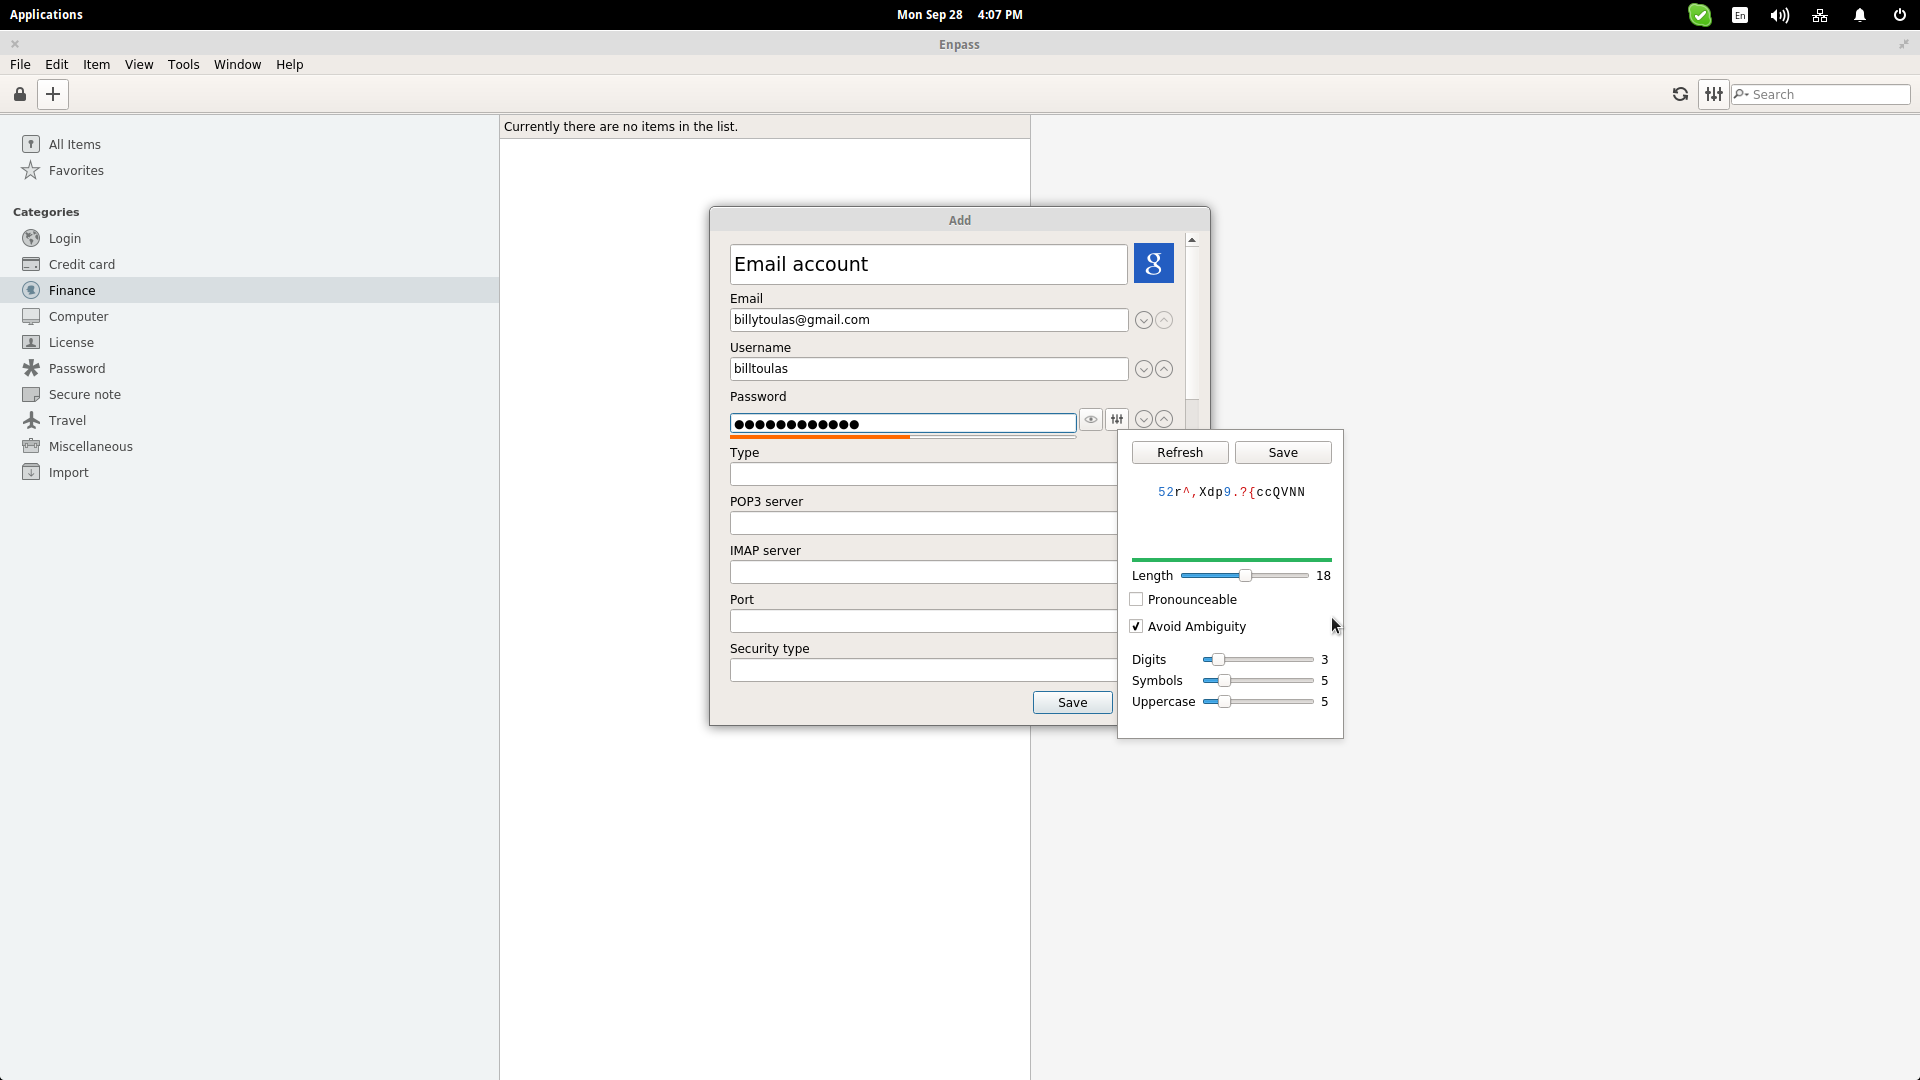
Enpass offers various different password categories located on the left sidebar. Clicking them will display the corresponding accounts as added by the user. In the beginning, there is nothing to show so start adding the passwords of your accounts by clicking the “plus sign” button on the top left. Enpass boasts a password generator that can be invoked every time users add a new account. The generator has adjustable parameters such as the password length, number of digits, number of symbols etc.
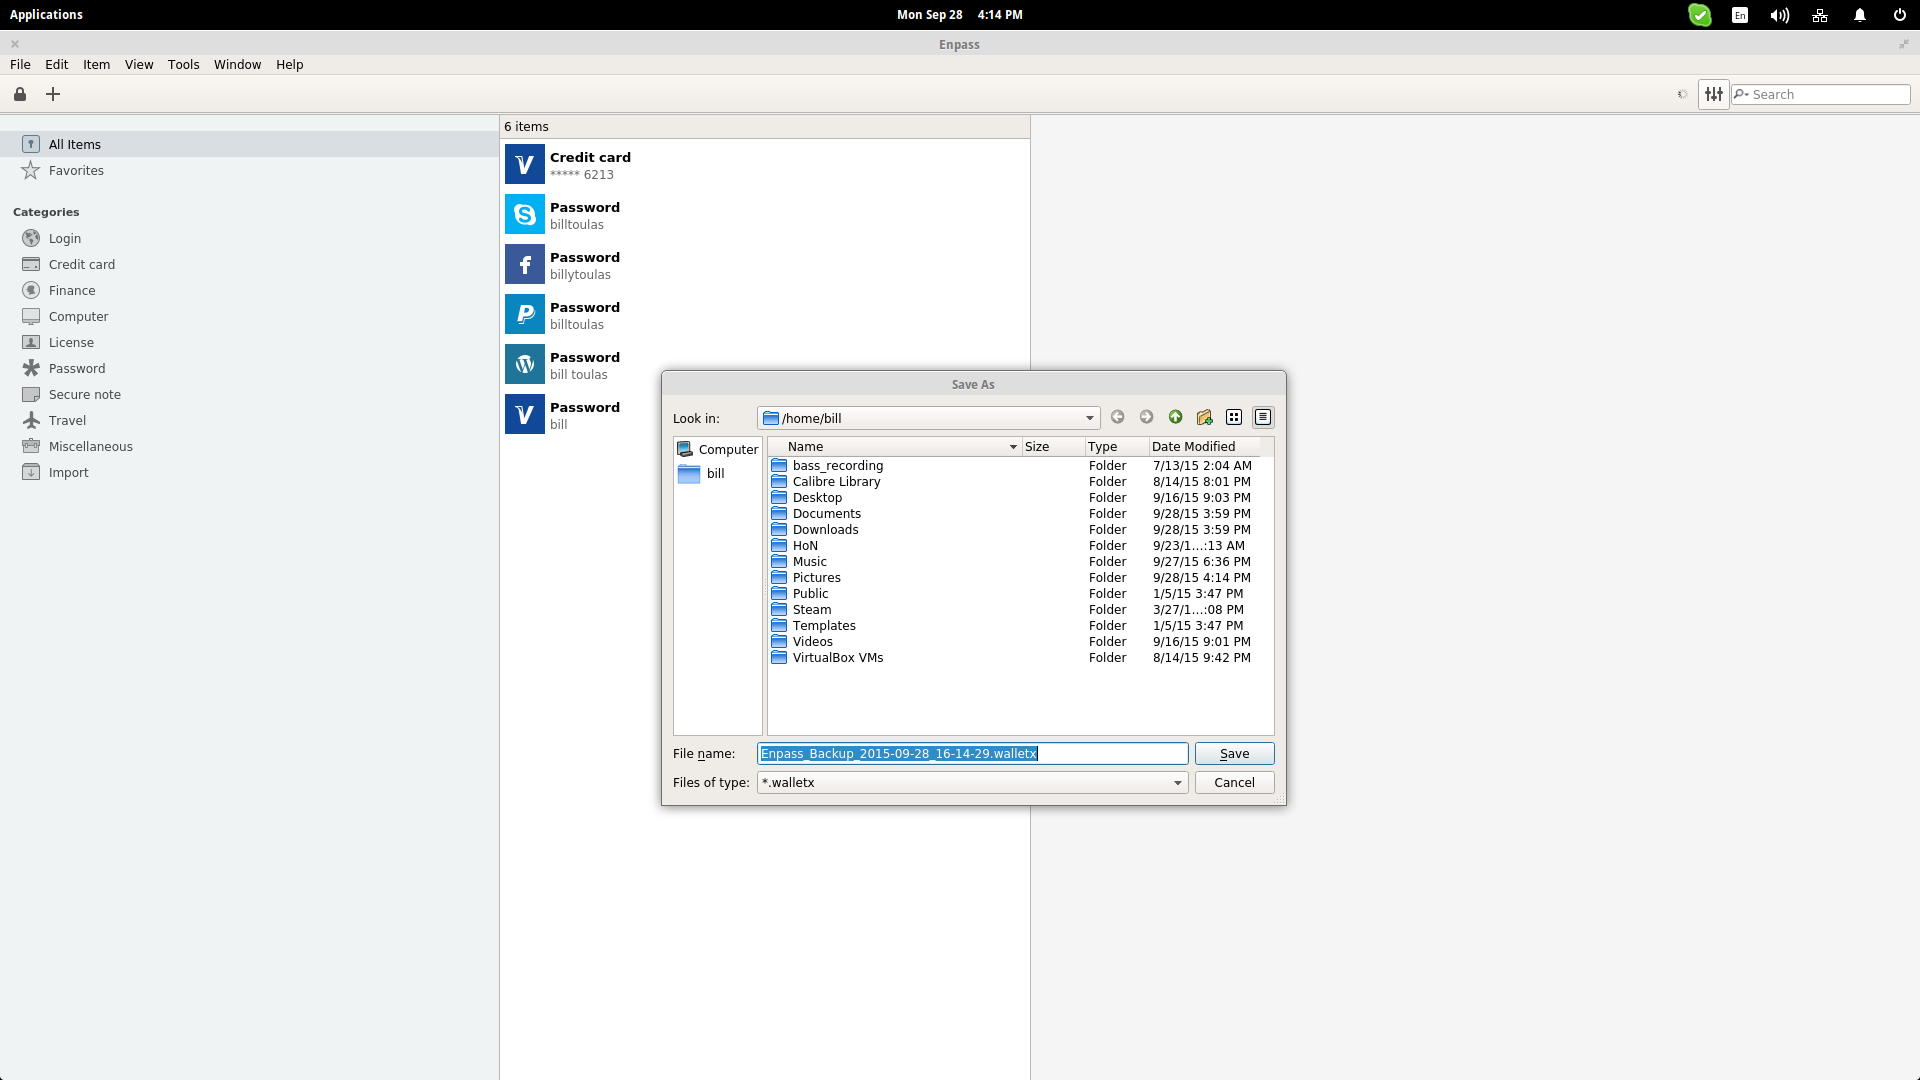
You can add accounts and special information that concern anything from bank accounts to driver's licenses. All key information about a person can be added on Enpass and backed up at any time from “File > Backup”.
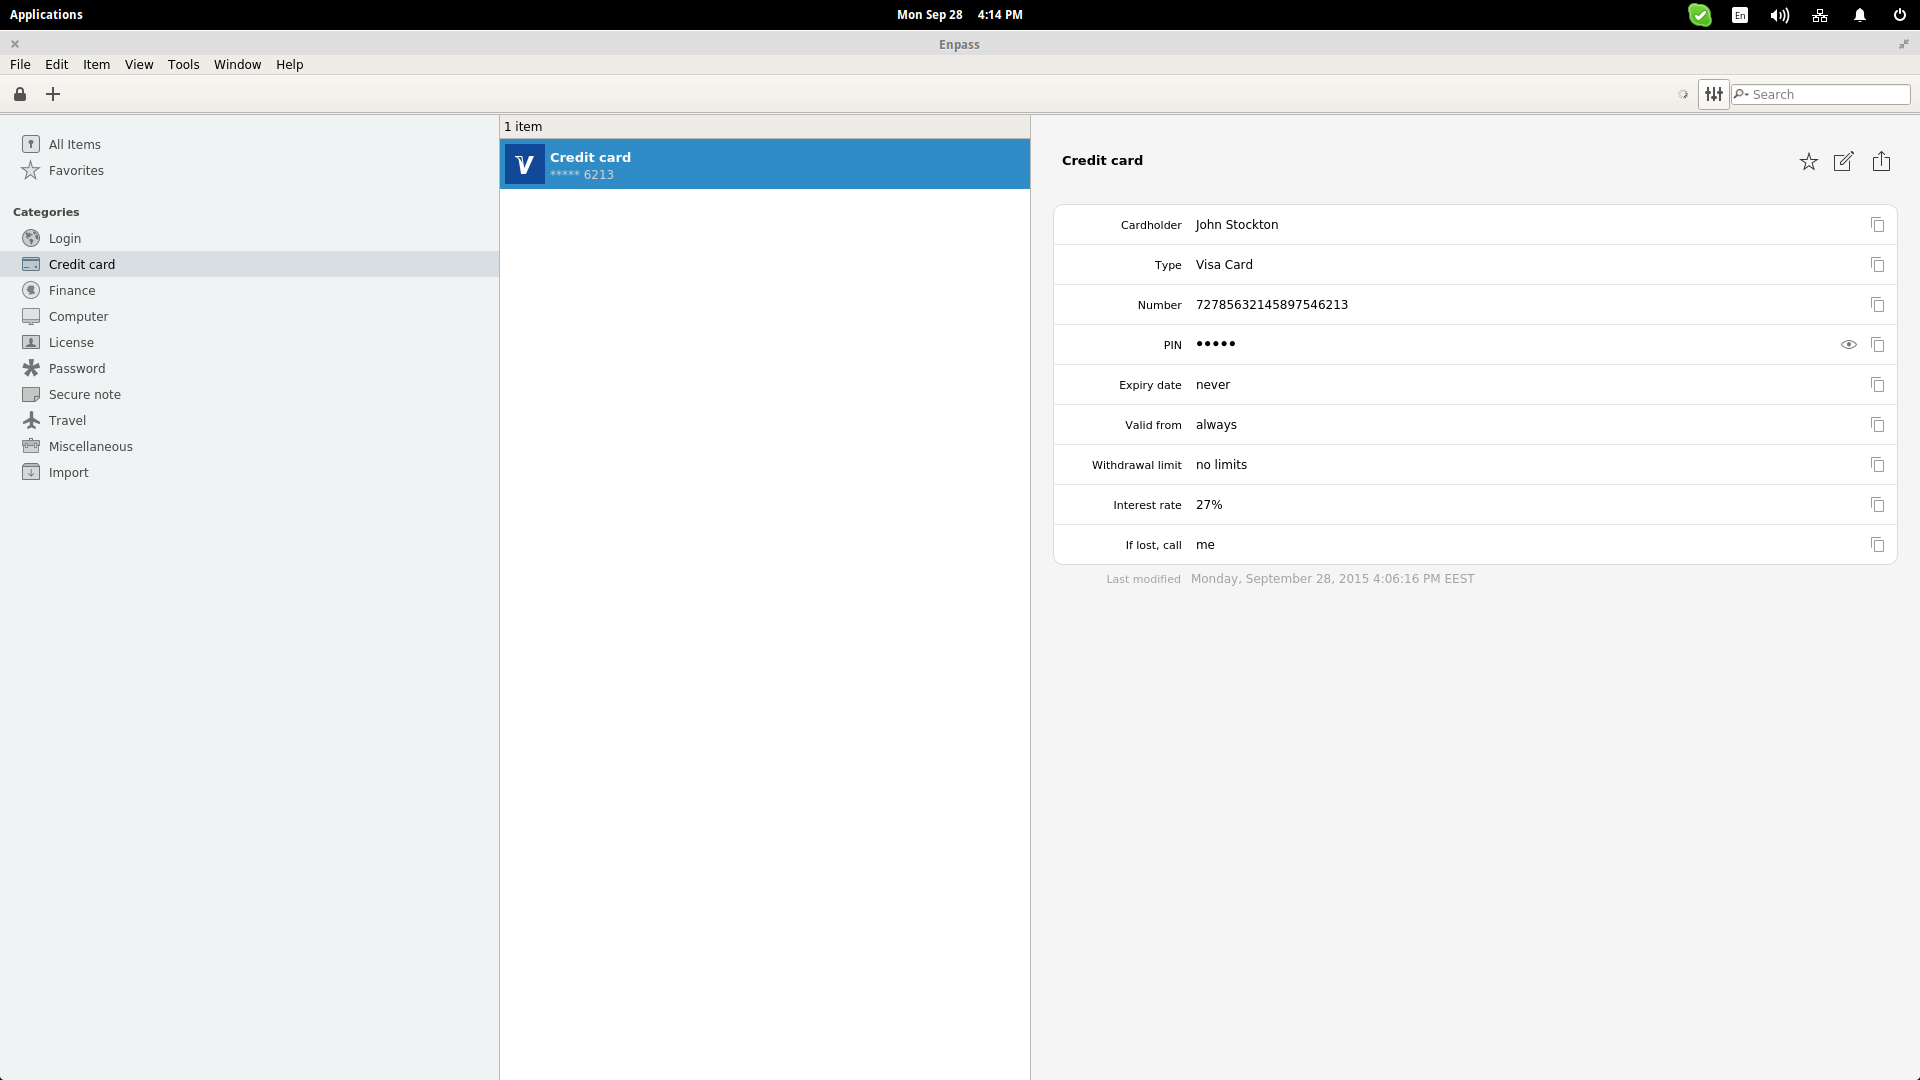
The accounts are added as cards that contain the inputted information. Users can invoke this information by clicking on the category and then choosing a specific card. The graphical user interface is divided in three columns that work well for the purpose.
Enpass Synchronization
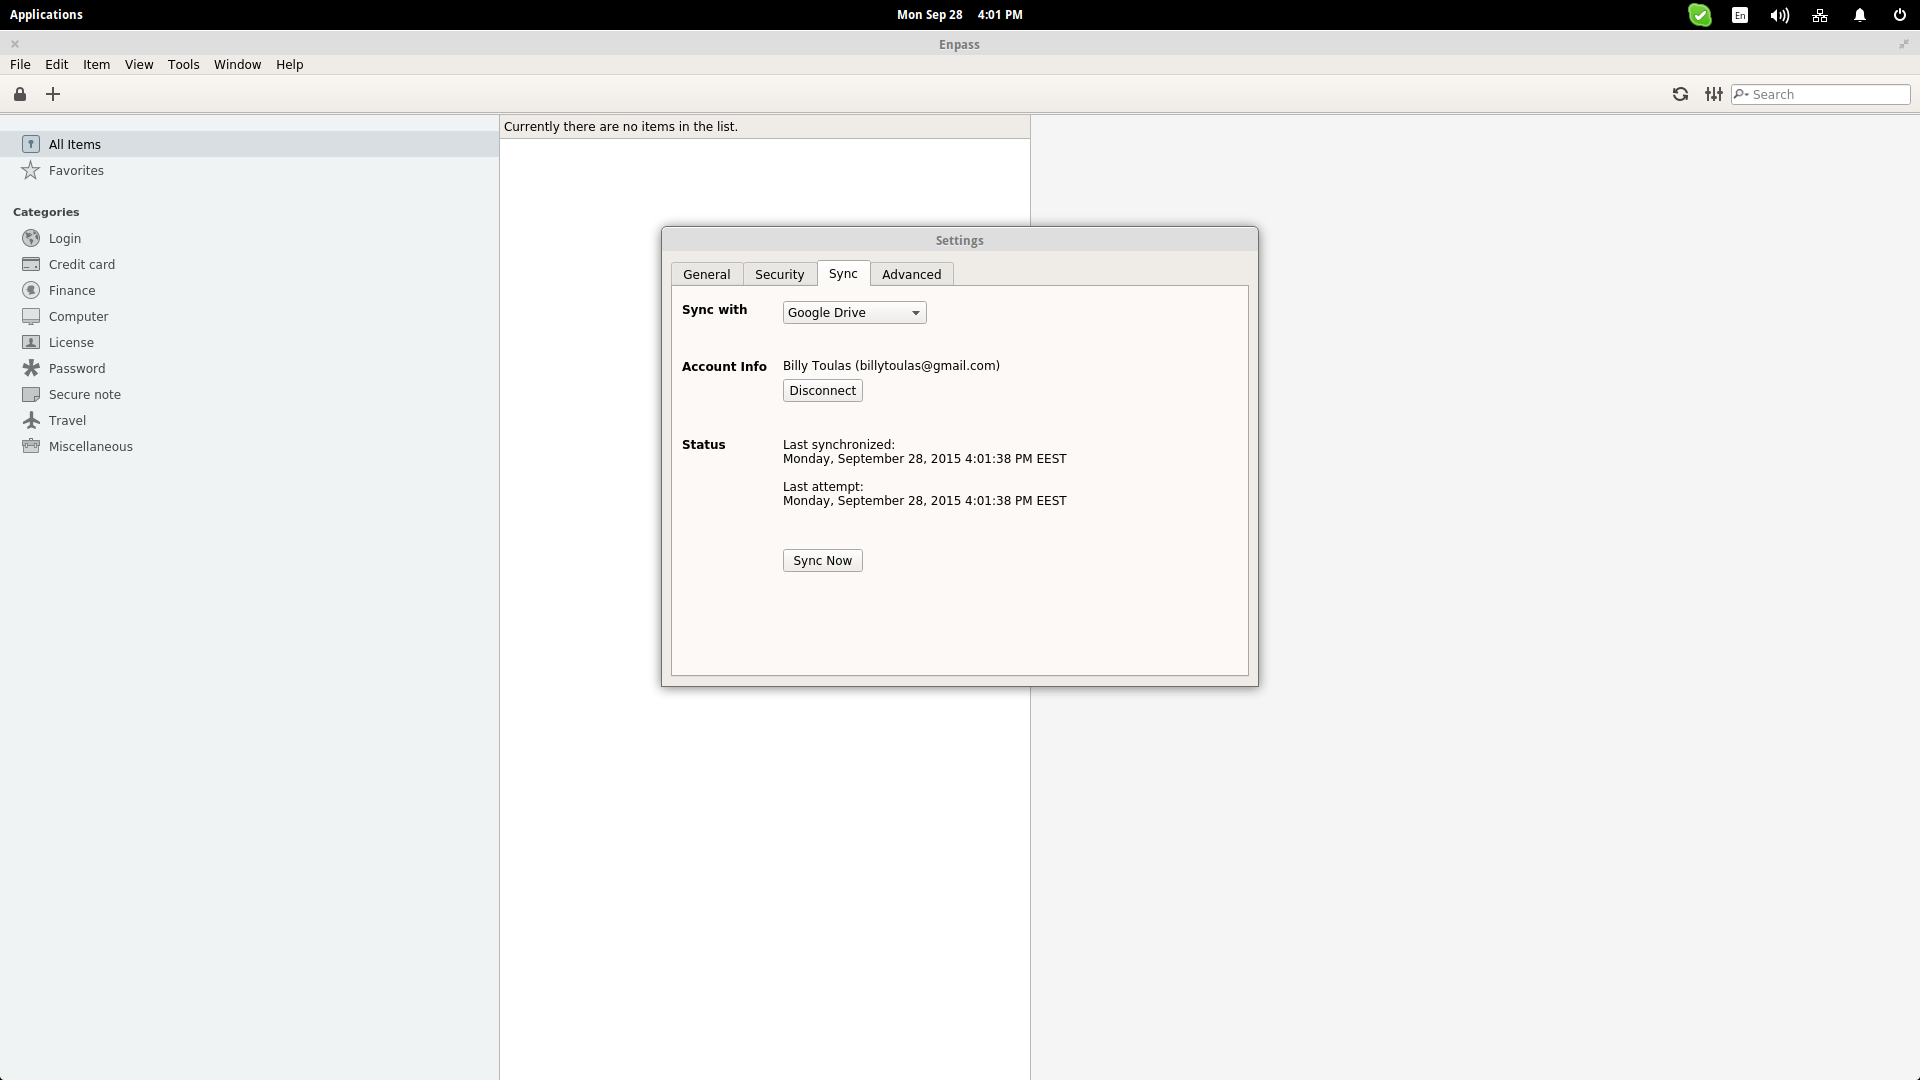
Enpass can synch with cloud services to back up its data online. This is a very important feature as it automates the procedure of having to export the passwords set in .txt, and then upload them somewhere before safety wiping out data from local disks. Some of the services that are supported are Google Drive, Dropbox, and ownCloud. You can sync Enpass with those services through “Tools > Settings > Sync tab”.
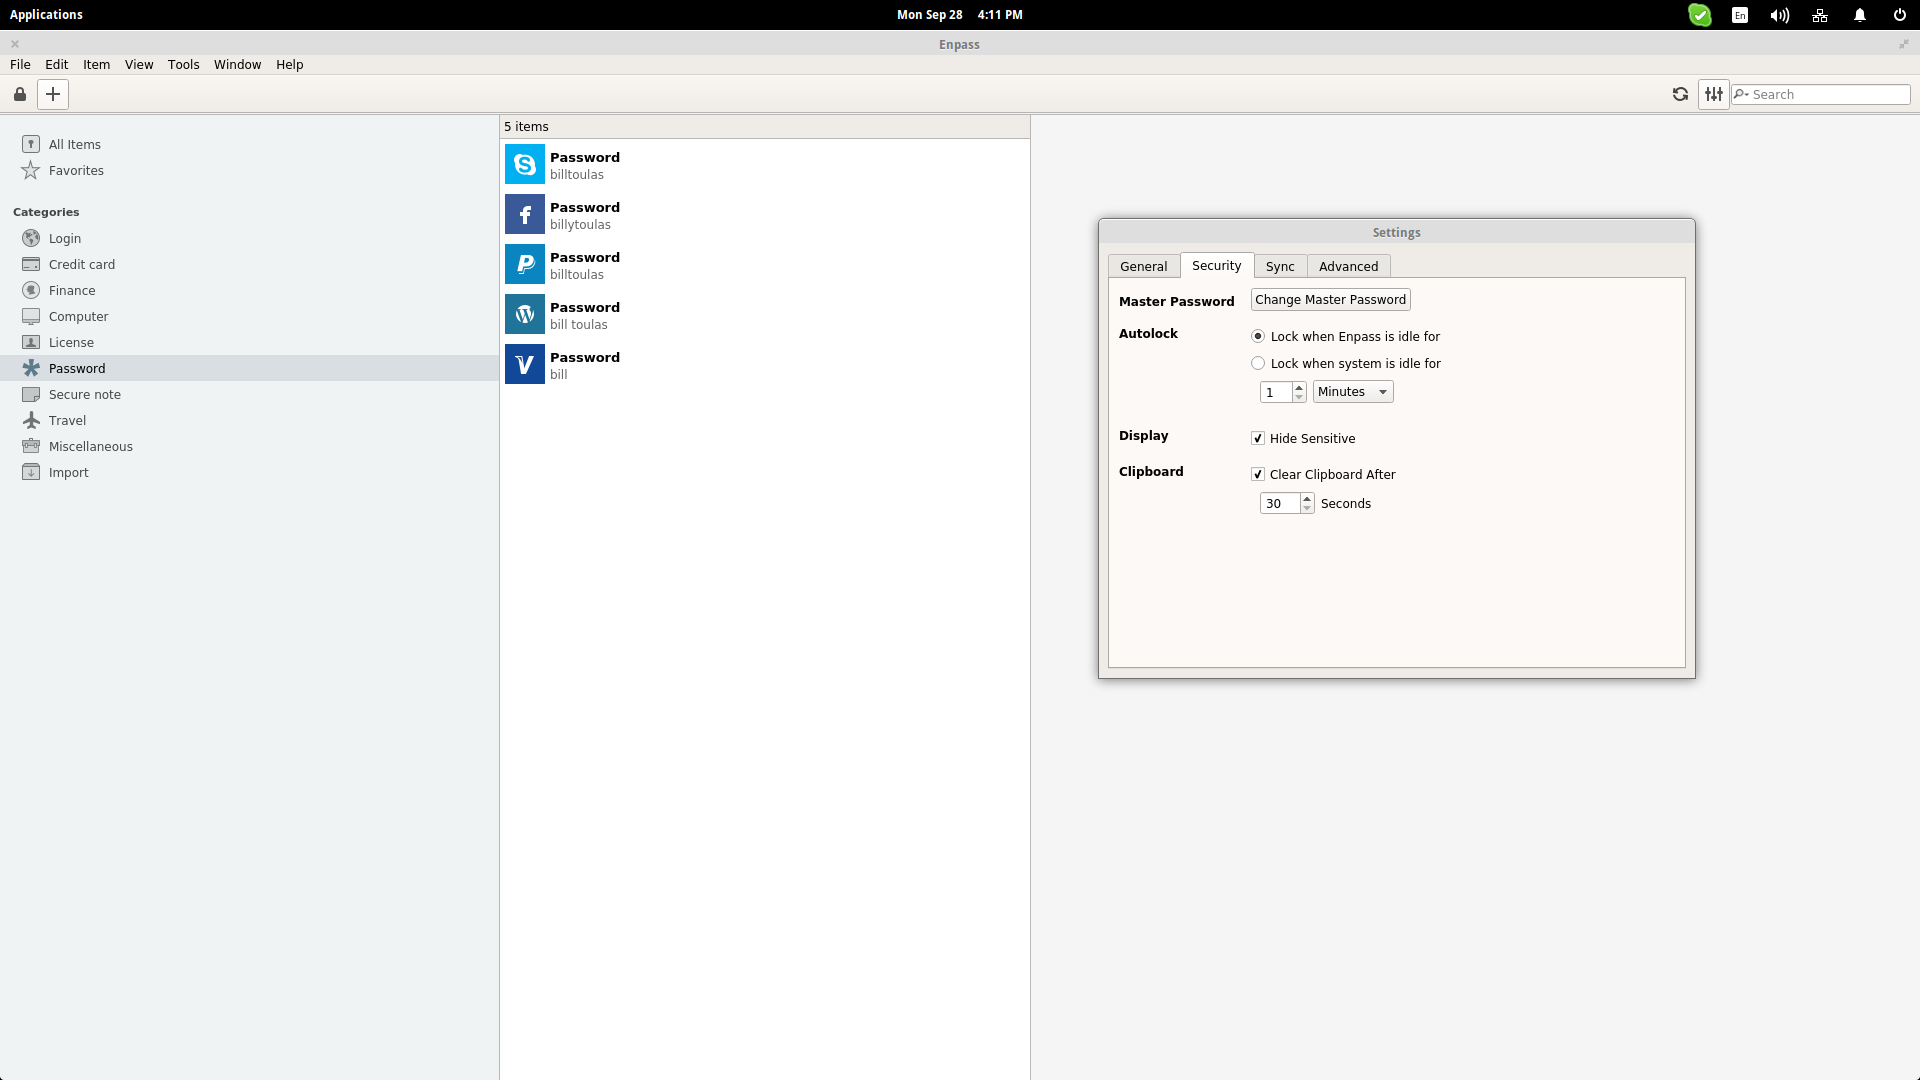
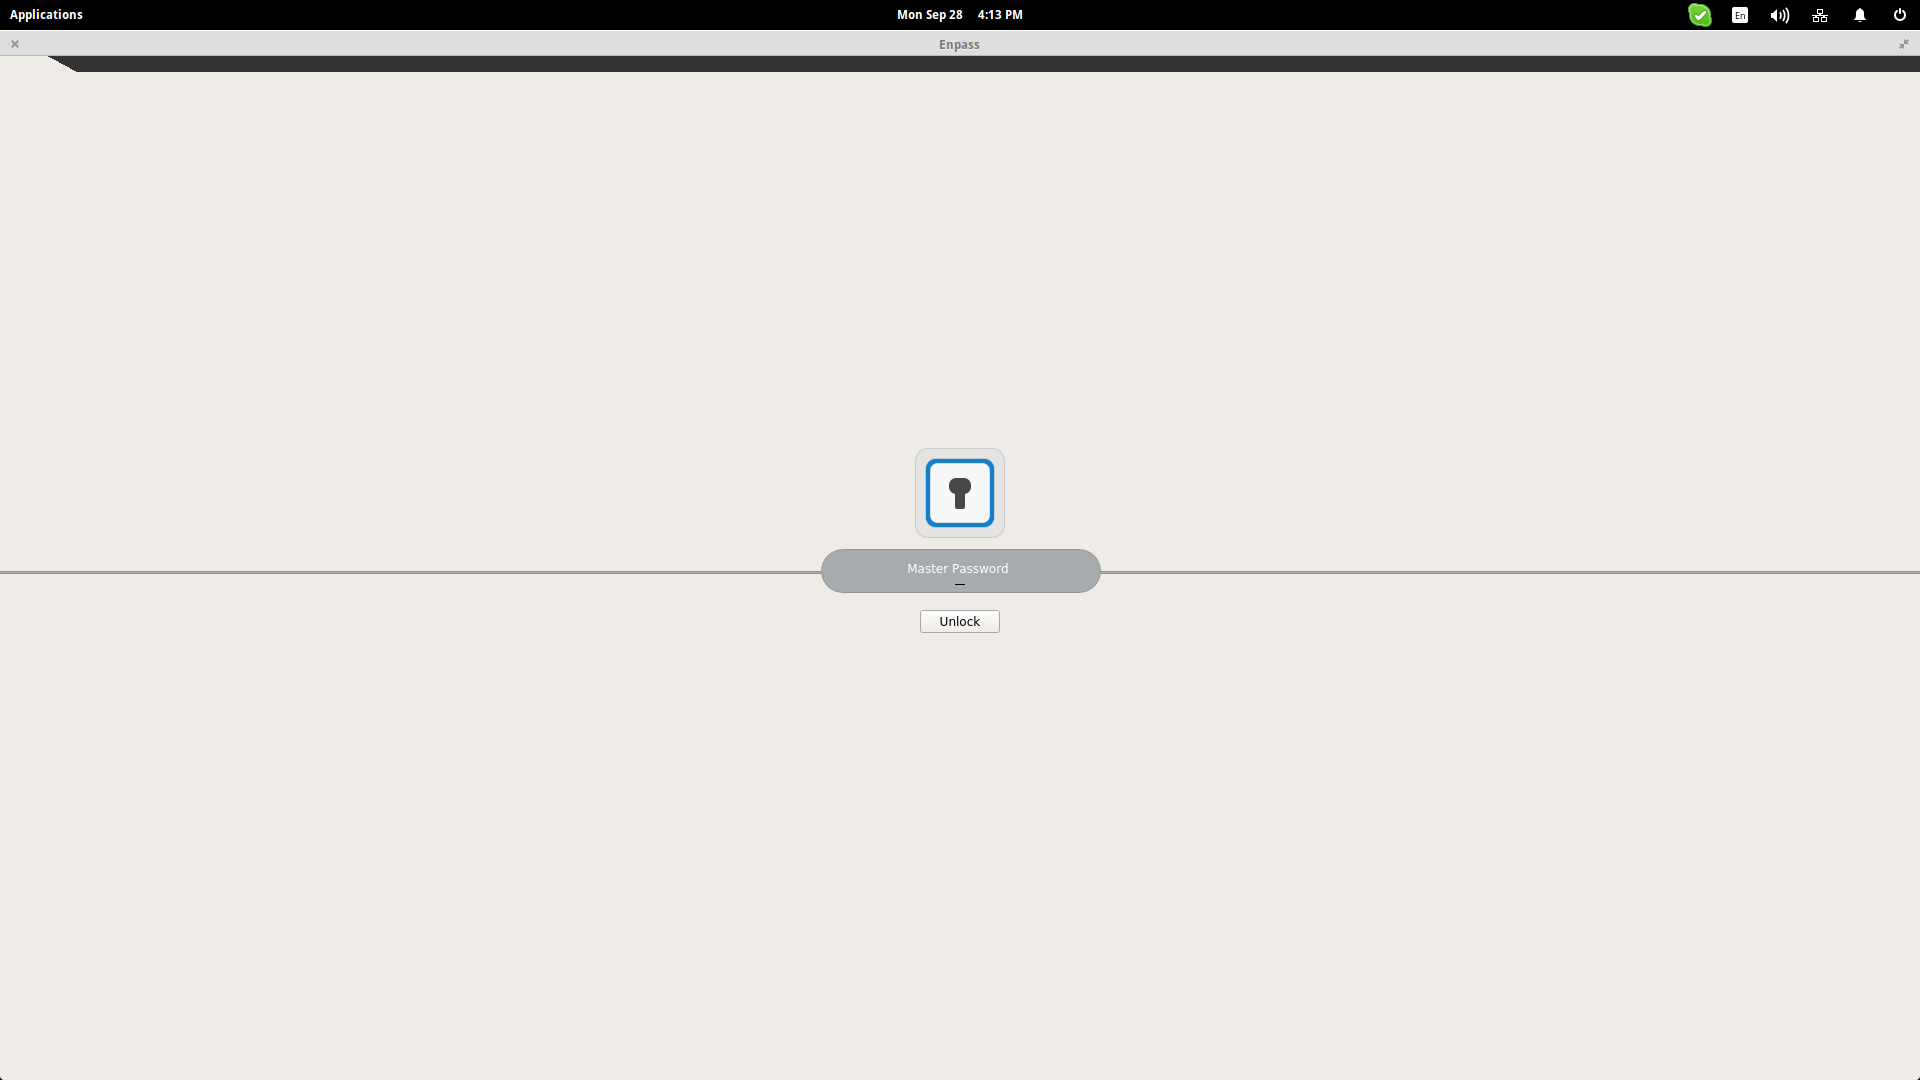
Enpass Security
Storing all of your passwords and sensitive personal information in one software tool may sound like a risky idea to some, but Enpass makes sure to offer the high levels of security needed to ensure that your data remains safe from all dangers. First of all, Enpass requires no signing up before getting it so no personal data is connected with your IP, and Enpass knows nothing about you. Secondly, SQLChiper encrypts your data in 256 bit before it leaves your computer to be uploaded onto the cloud. Moreover, Enpass is protected by a master password that governs everything and isn't recorded by the software. If you forget this password, there is no possible way to access your Enpass account. The Autolock feature can be enabled by navigating on the “Tools > Settings > Security” menu, and it will lock Enpass after a period of time. Finally, the clipboard is getting cleared by default every few seconds.