How to set up and use Nylas N1 Email Client on Linux
On this page
Nylas N1 is a new open source email client that boasts great levels of flexibility, configuration, and expandability. This San Fransisco-made software was built with a strong focus on security, intuitive interface design, and support for all popular platforms.
Note (added by Howtoforge): The Nylas N1 Email Client stores emails and passwords to your Email accounts on the servers of nylas.com and not on your local desktop. Please take that in account when choosing to use this email client.
Install and set up Nylas N1
First, you need to download the suitable version for your system by visiting the download webpage webpage. You may then install the downloaded package using your distribution's package installer. Ubuntu users may open a terminal in the location of the downloaded file and type the following command: sudo
sudo dpkg -i N1.deb
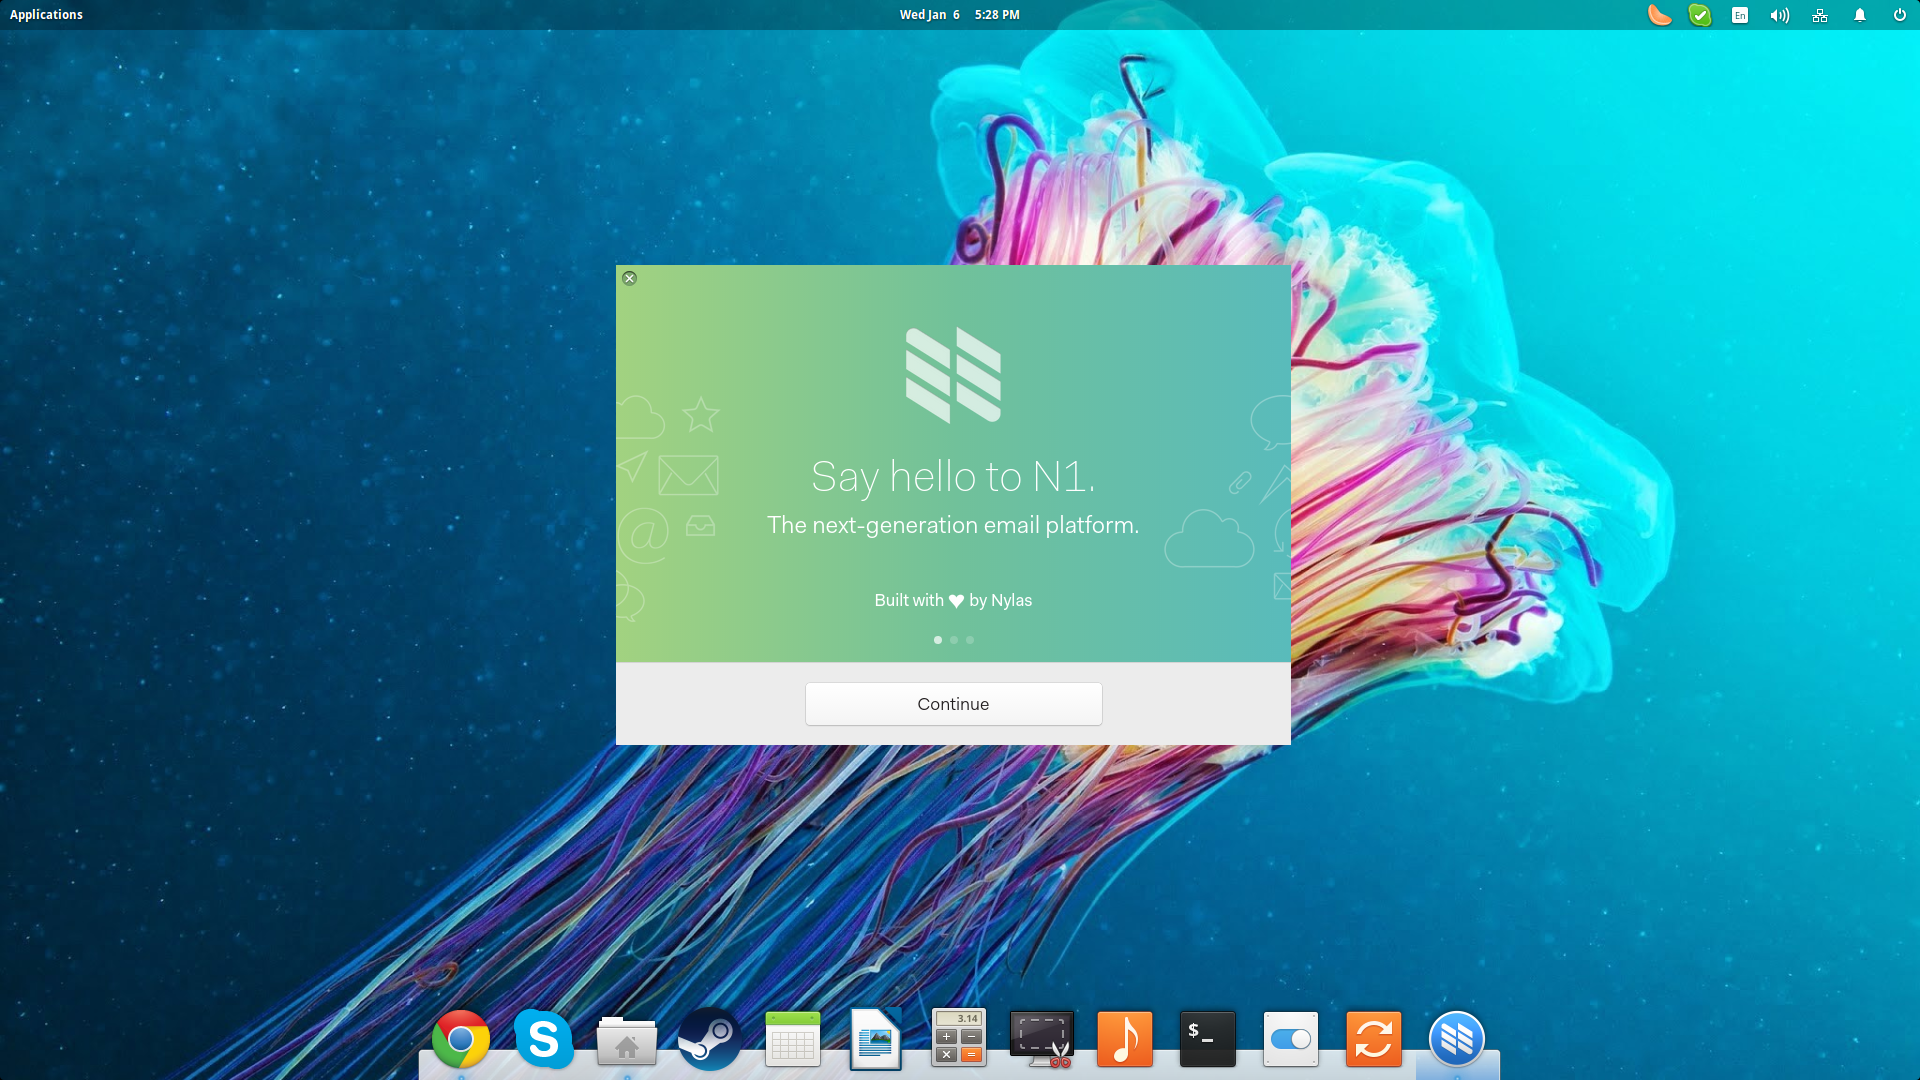
After the installation is done, and you launch N1 for the first time, you will get a quick set up guide that will help you choose the basic options for the software.
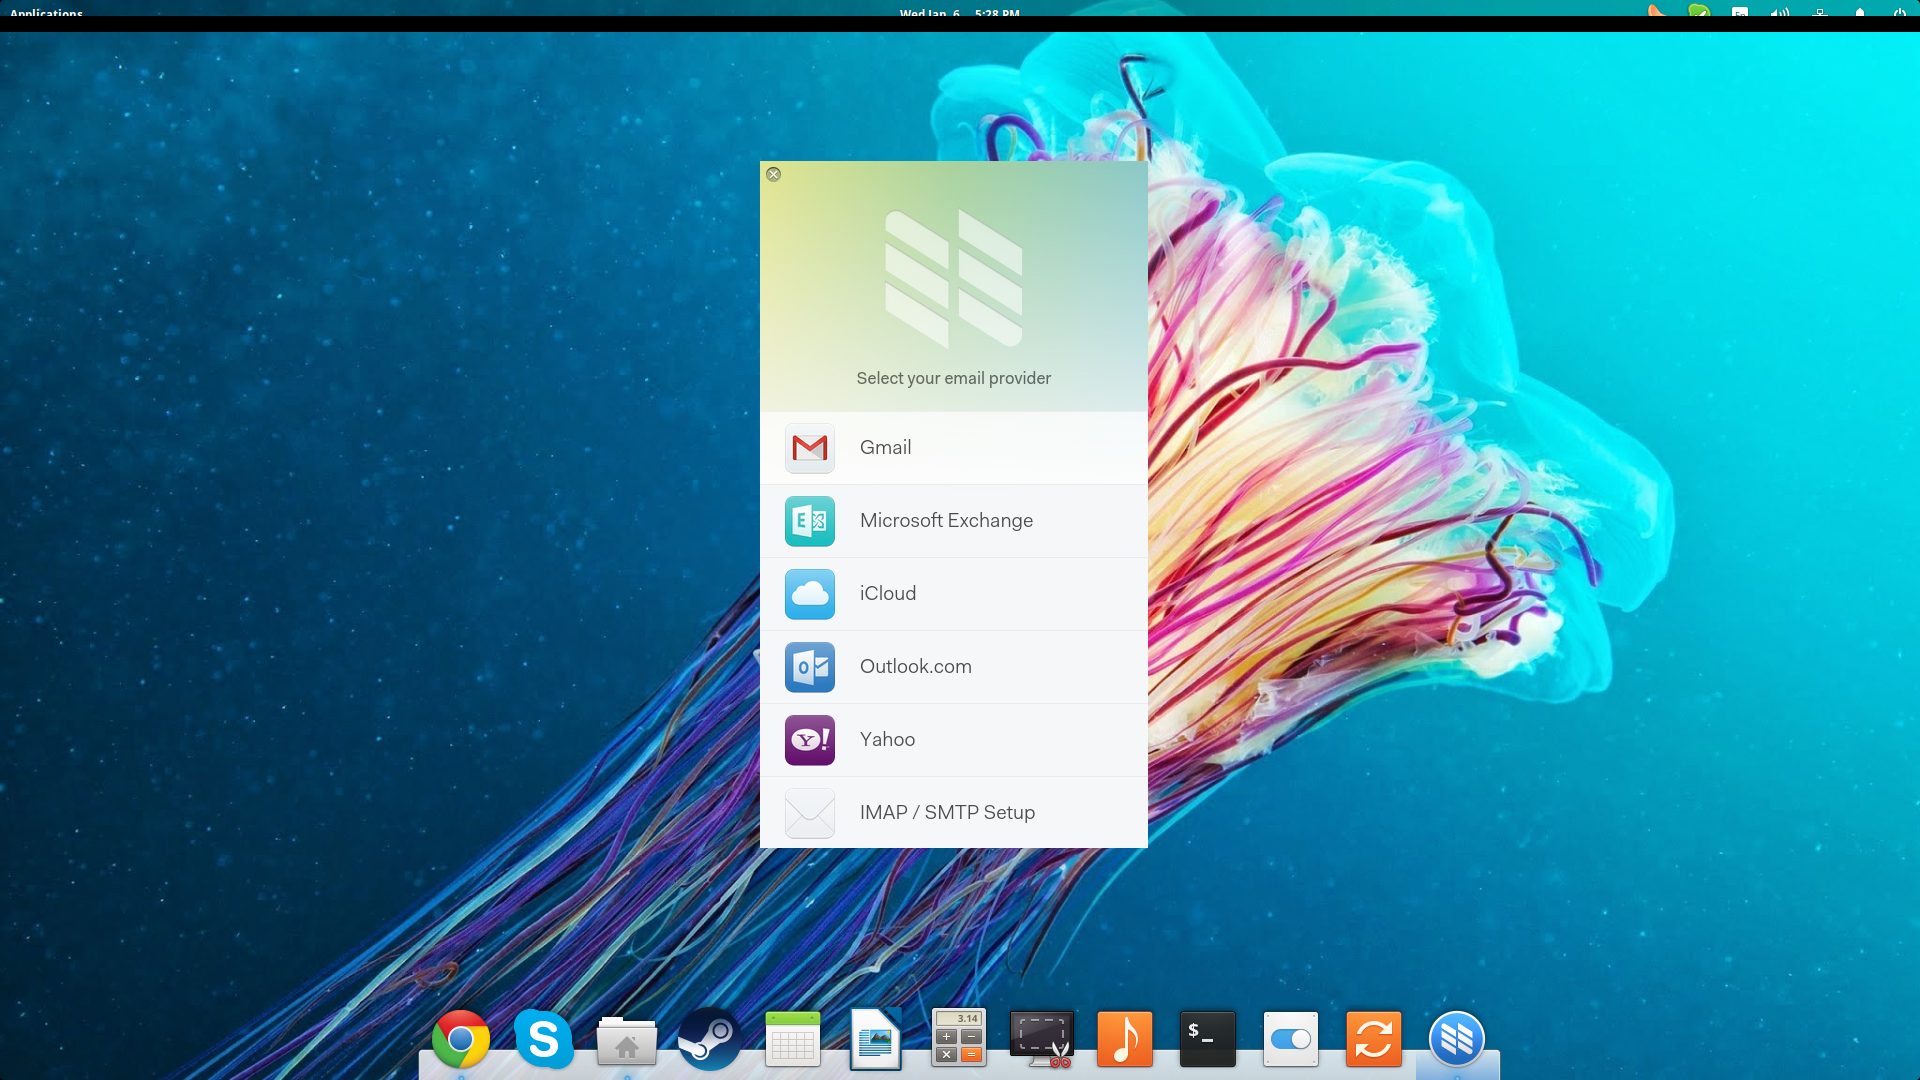
Select the account you want to add to N1. You may choose between a Gmail account, a Yahoo, an Outlook, or simply add an IMAP. I will select the Gmail option, which will open up a new page on the default browser for me to allow N1 to communicate with the online service.
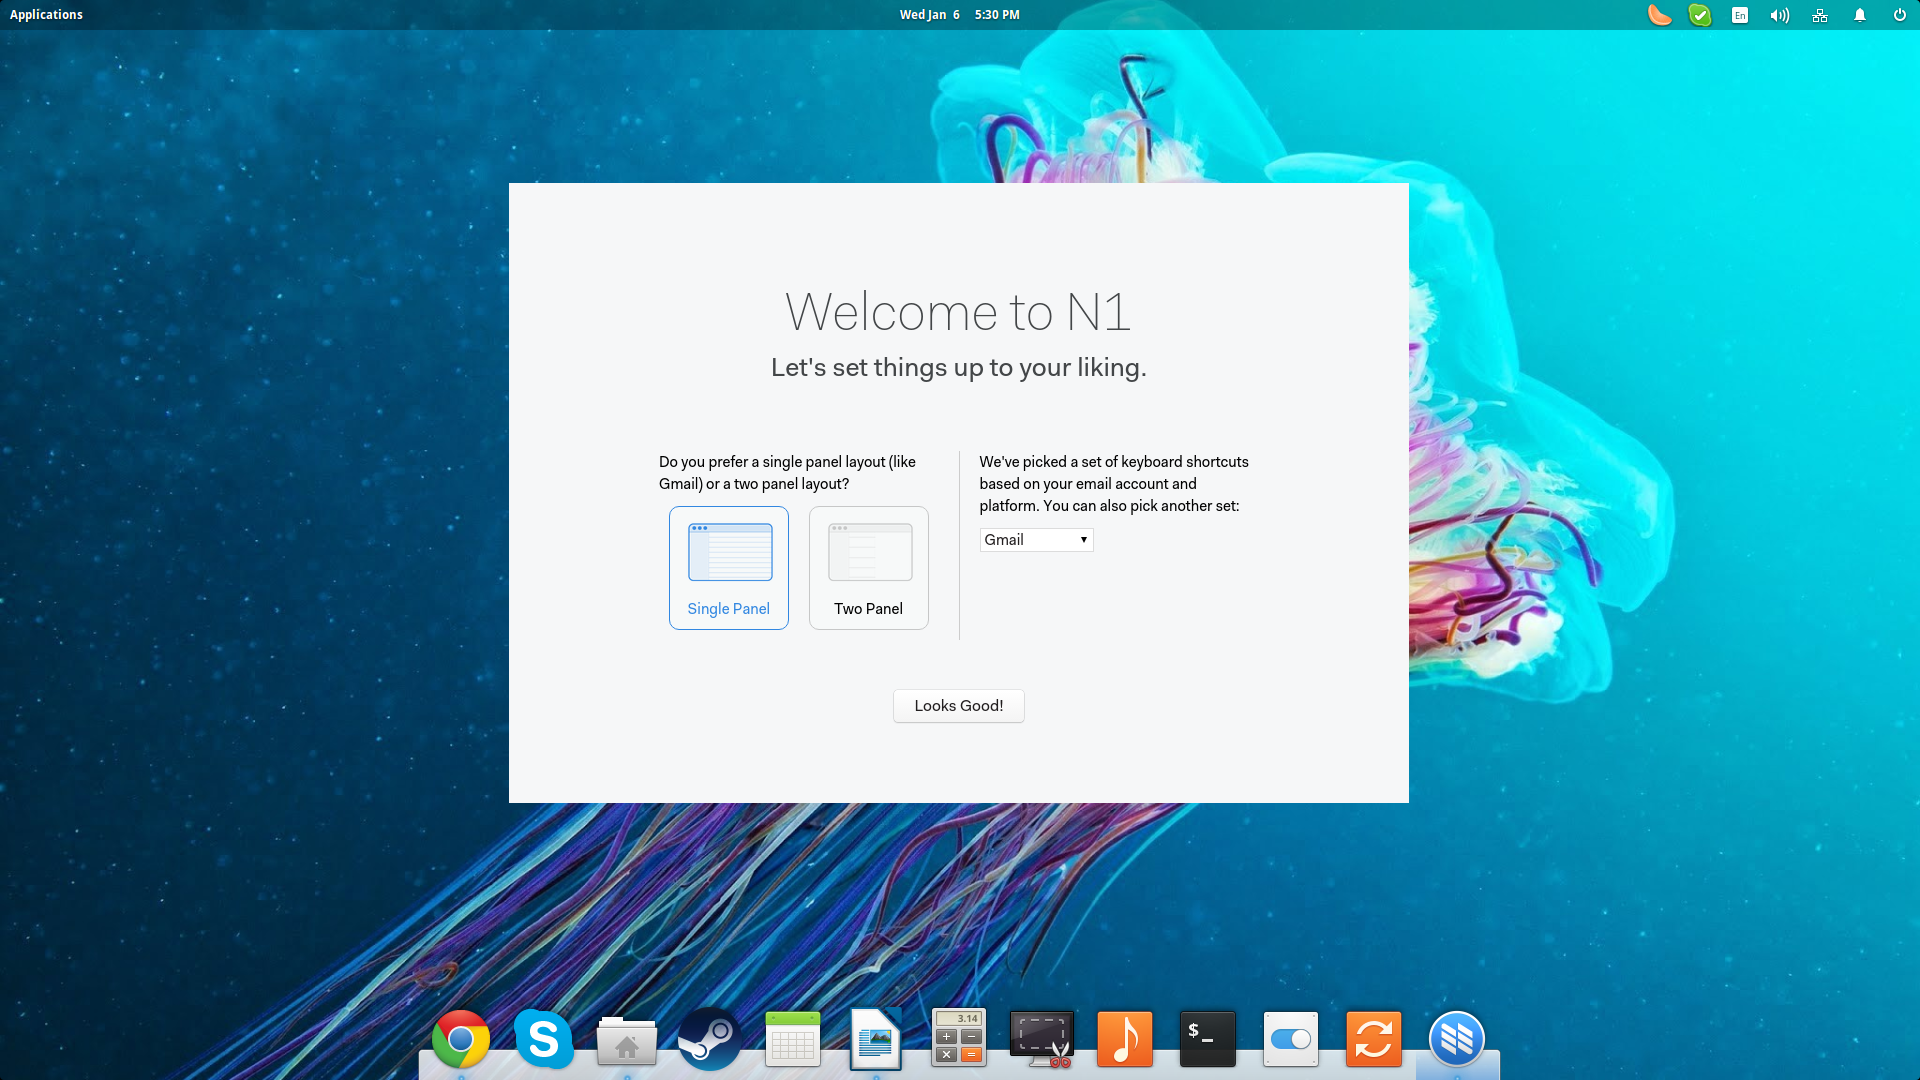
Then I select the layout I want to use, and in the case that I have added multiple accounts, I can also set different layouts for each one.
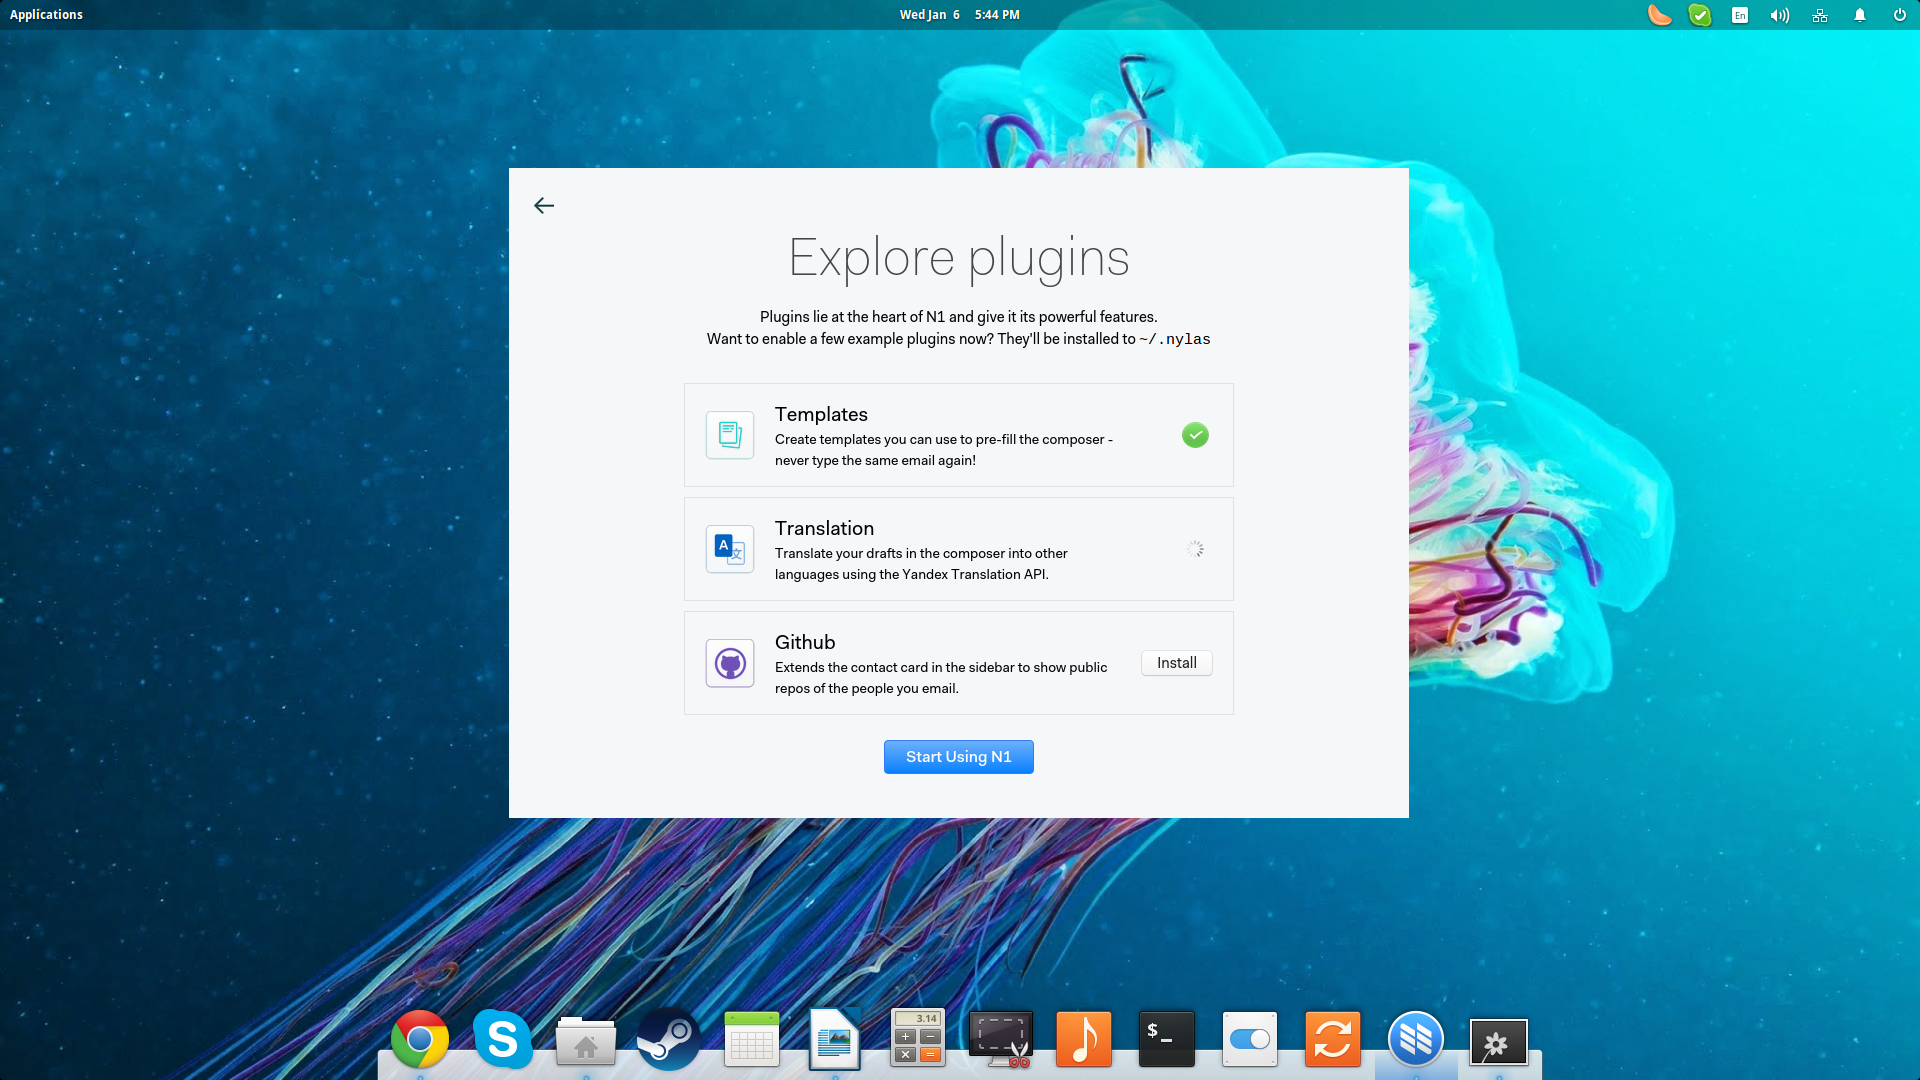
The third and final step of the guide is a choice to install any of the three most popular official plugins for N1. I will select to install the first two by clicking on the “install” buttons before I finalize the setting up of the email client.
Using N1
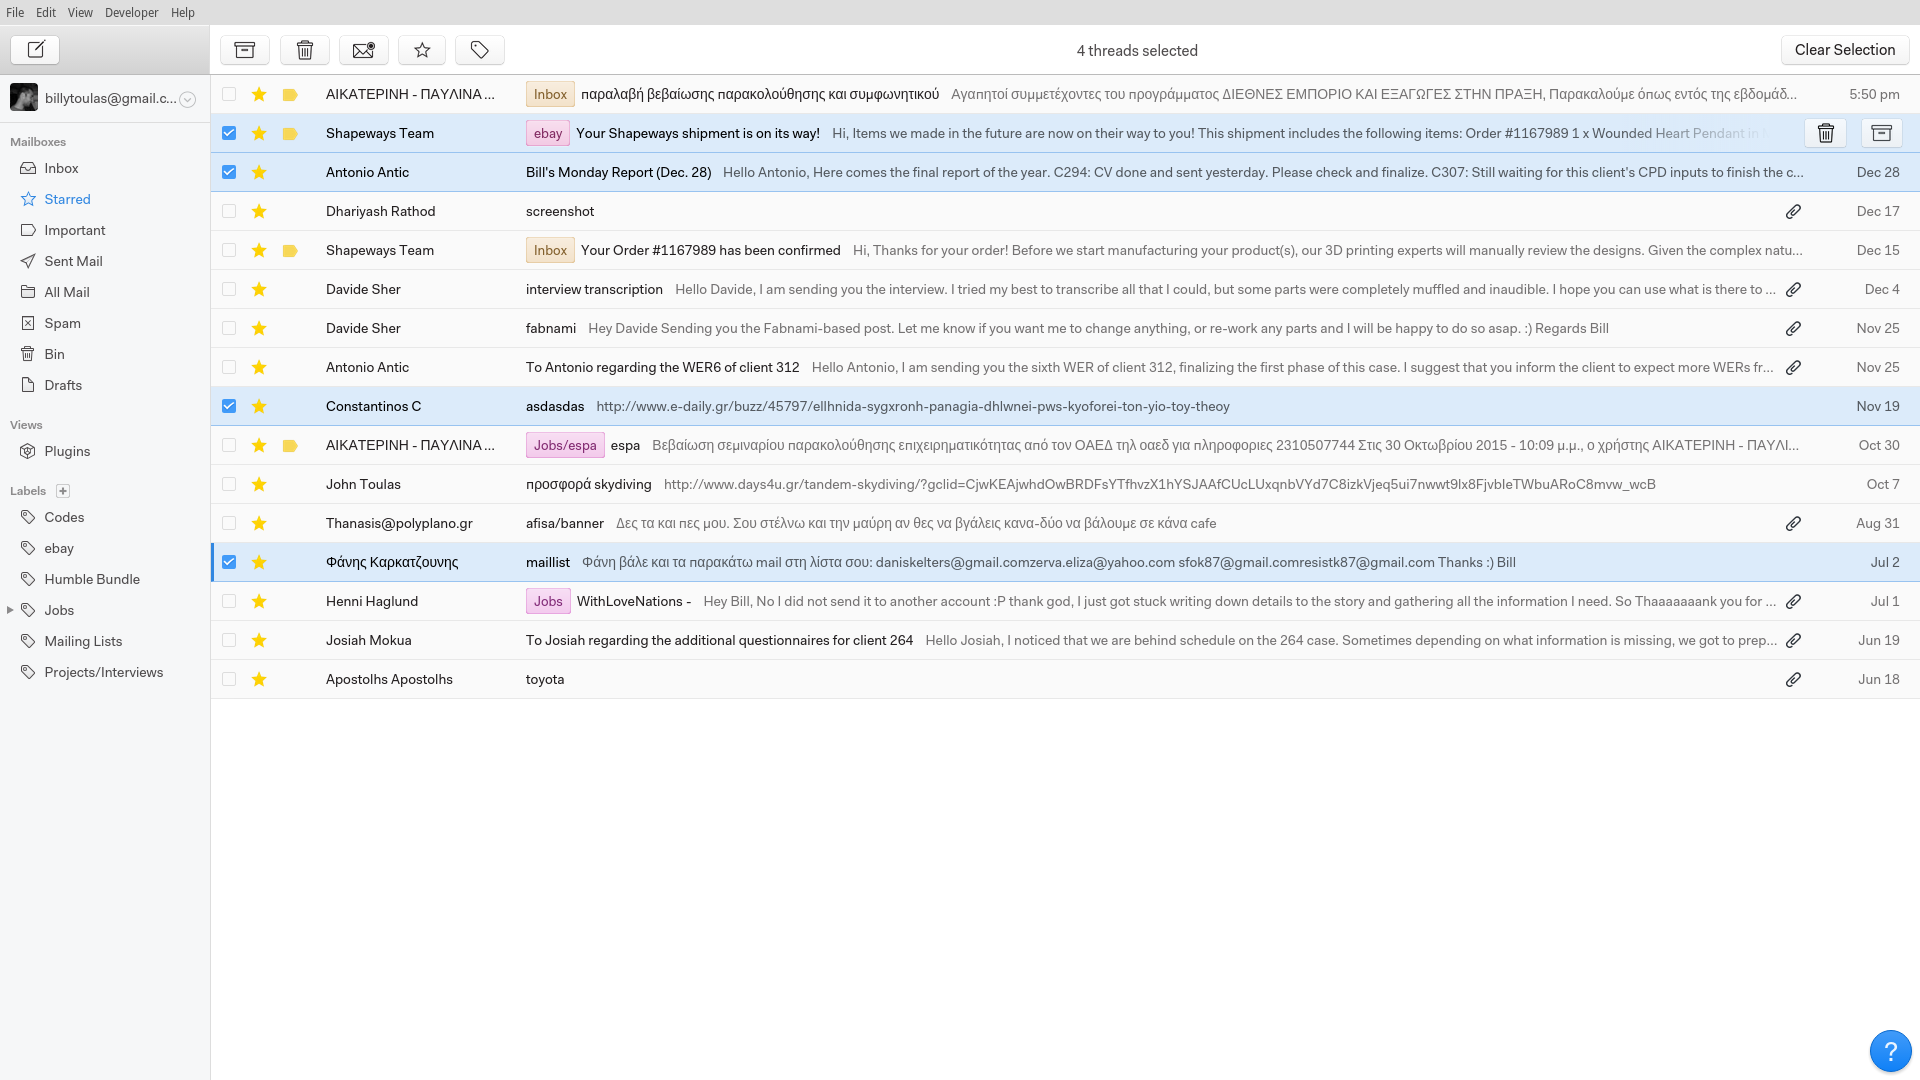
The interface of the client is clean and modern, and most of the things you can do on the web clients like starring mails, adding labels, and changing categories are there.
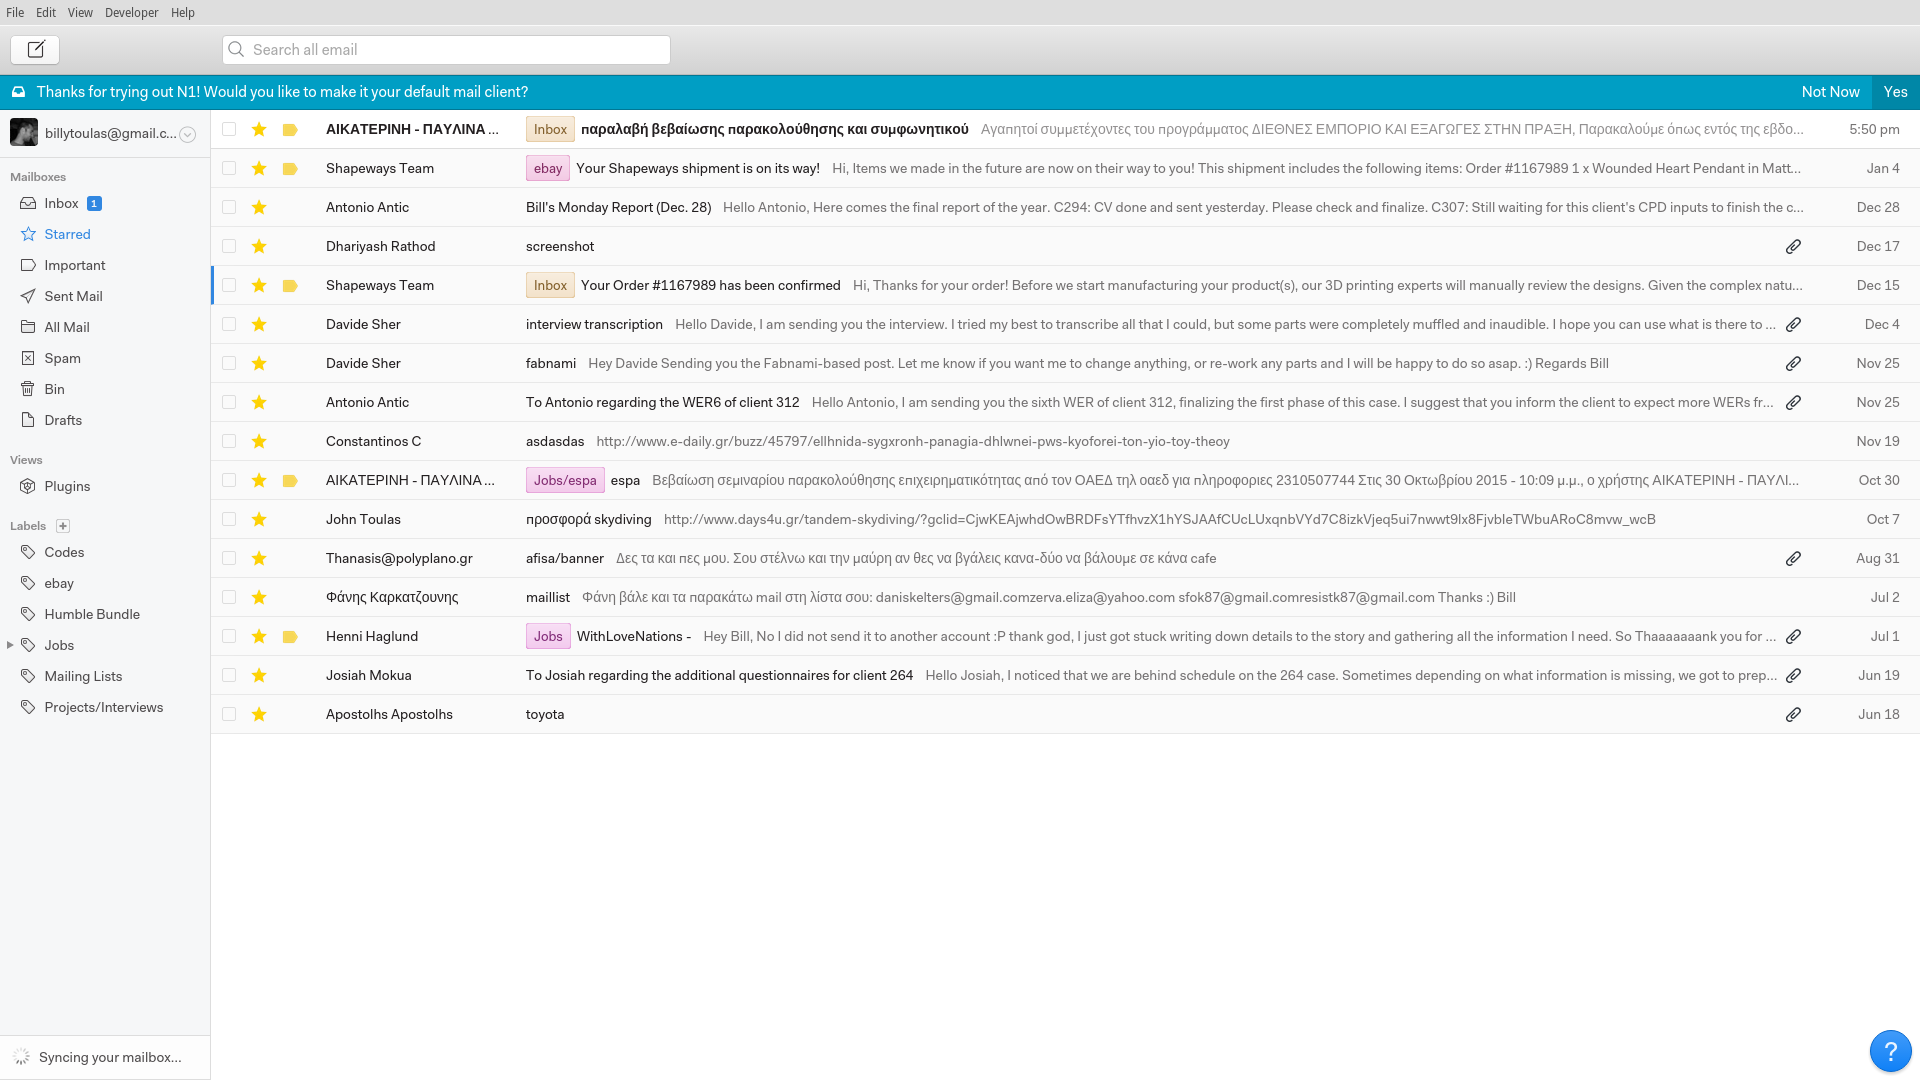
You may select the mails by ticking the boxes on the left, and then apply labels, mark as unread, star/unstar them, or delete them using the actions on the top panel.
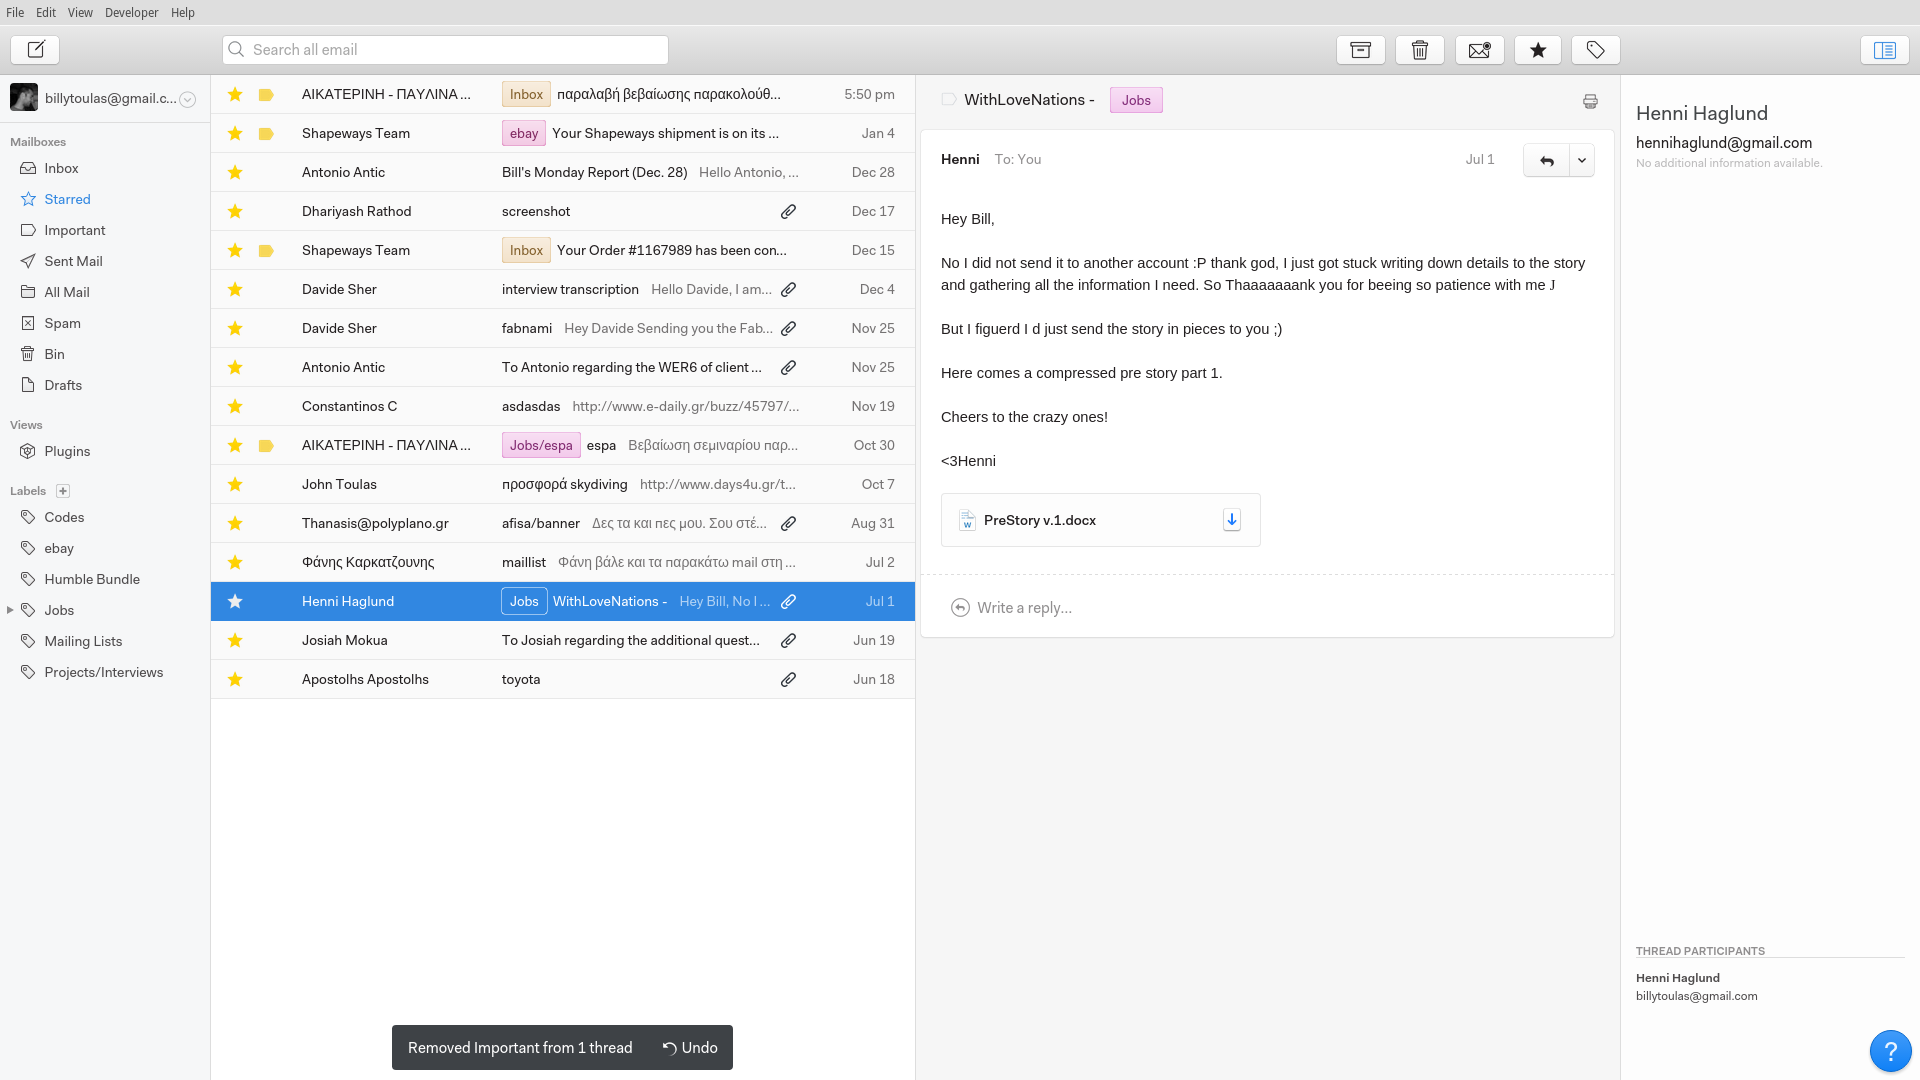
If you want to check out the two-panel interface, you can go to “Edit → Preferences → General” and select the two-panel followed by clicking the “Apply Changes” button. This will change the interface to this style:
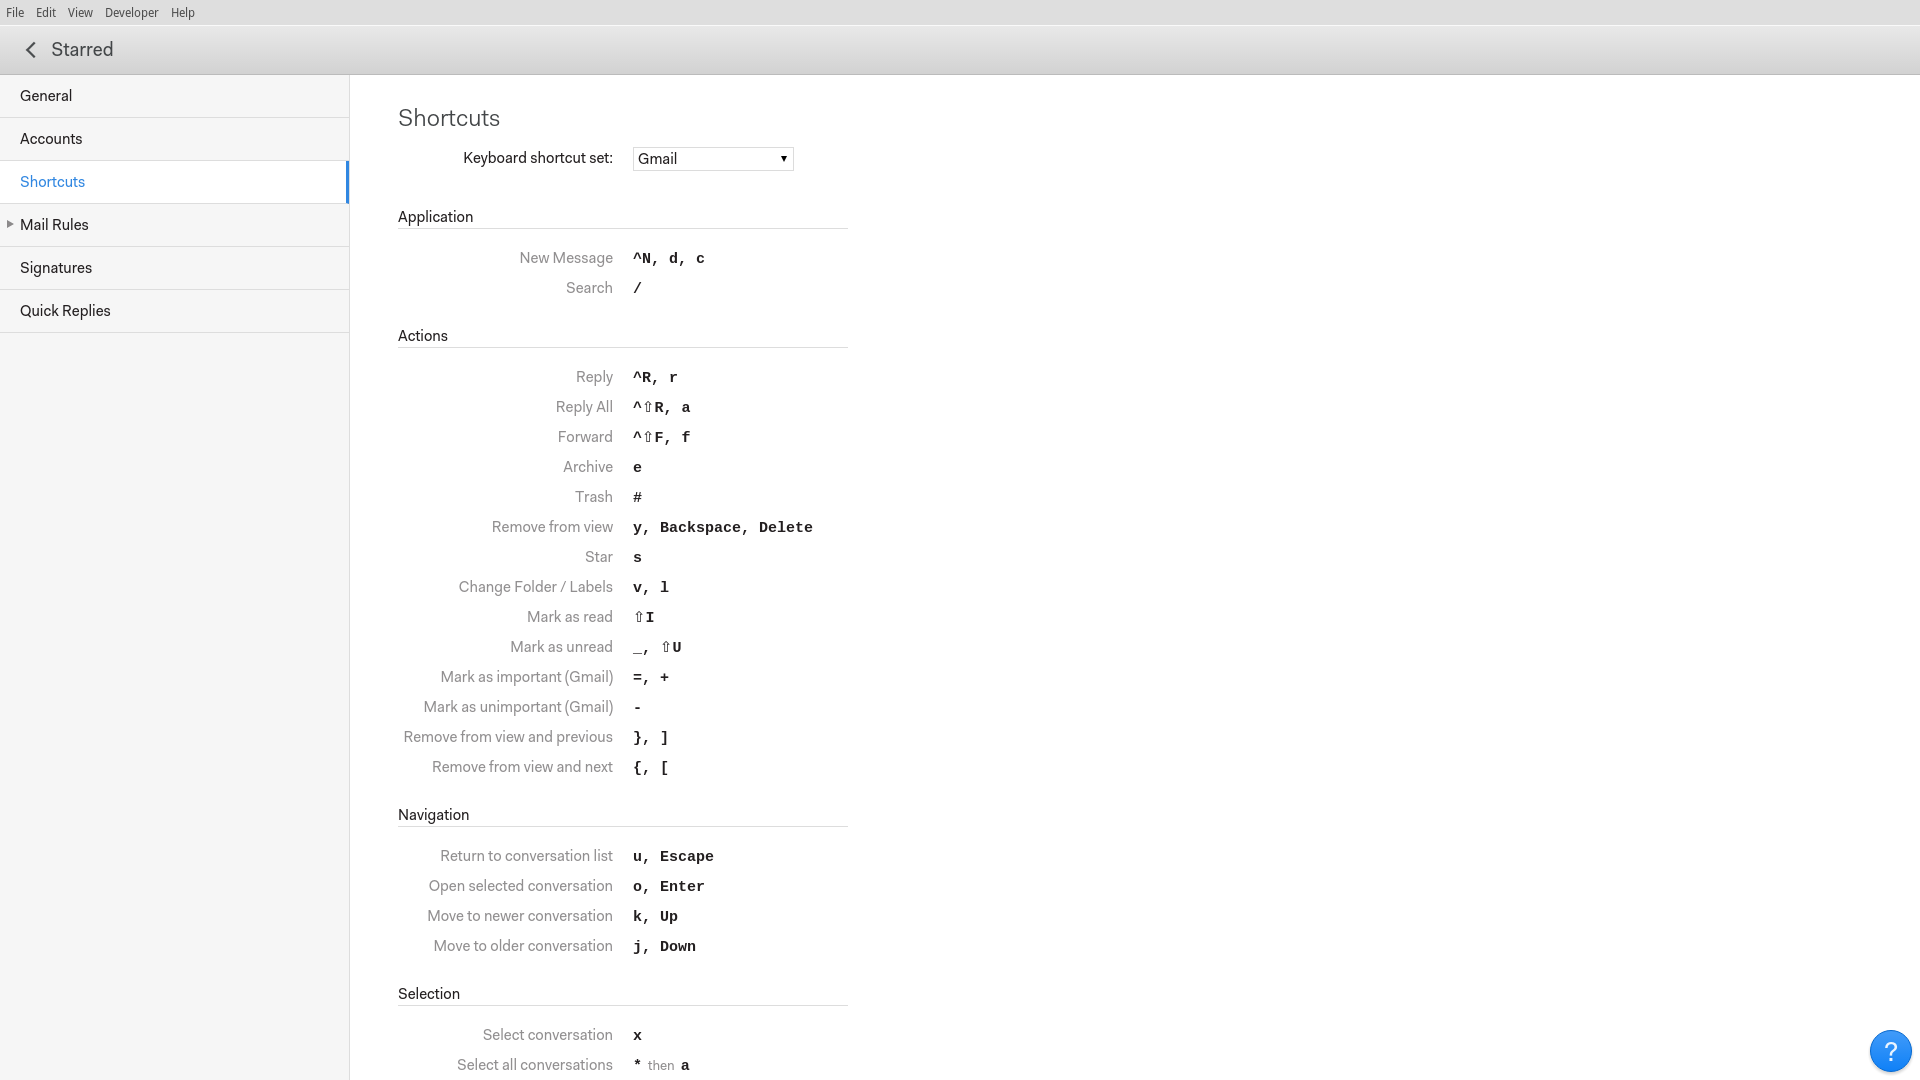
If you want to add more accounts, you can always do so by going to “Edit → Preferences → Accounts” and clicking on the “plus” icon. You may also choose different keyboard shortcut sets from the “Shortcuts” menu that offers four pre-defined sets based on Gmail, Apple mail, Google Inbox and Outlook. For custom shortcuts, scroll down and hit the “Edit custom shortcuts” button.
Using Templates
Remember the Templates plugin that I installed during the setup phase? This plugin allows us to use a content composer to respond to emails promptly. Make sure that the plugin is enabled from the “Plugins” menu.
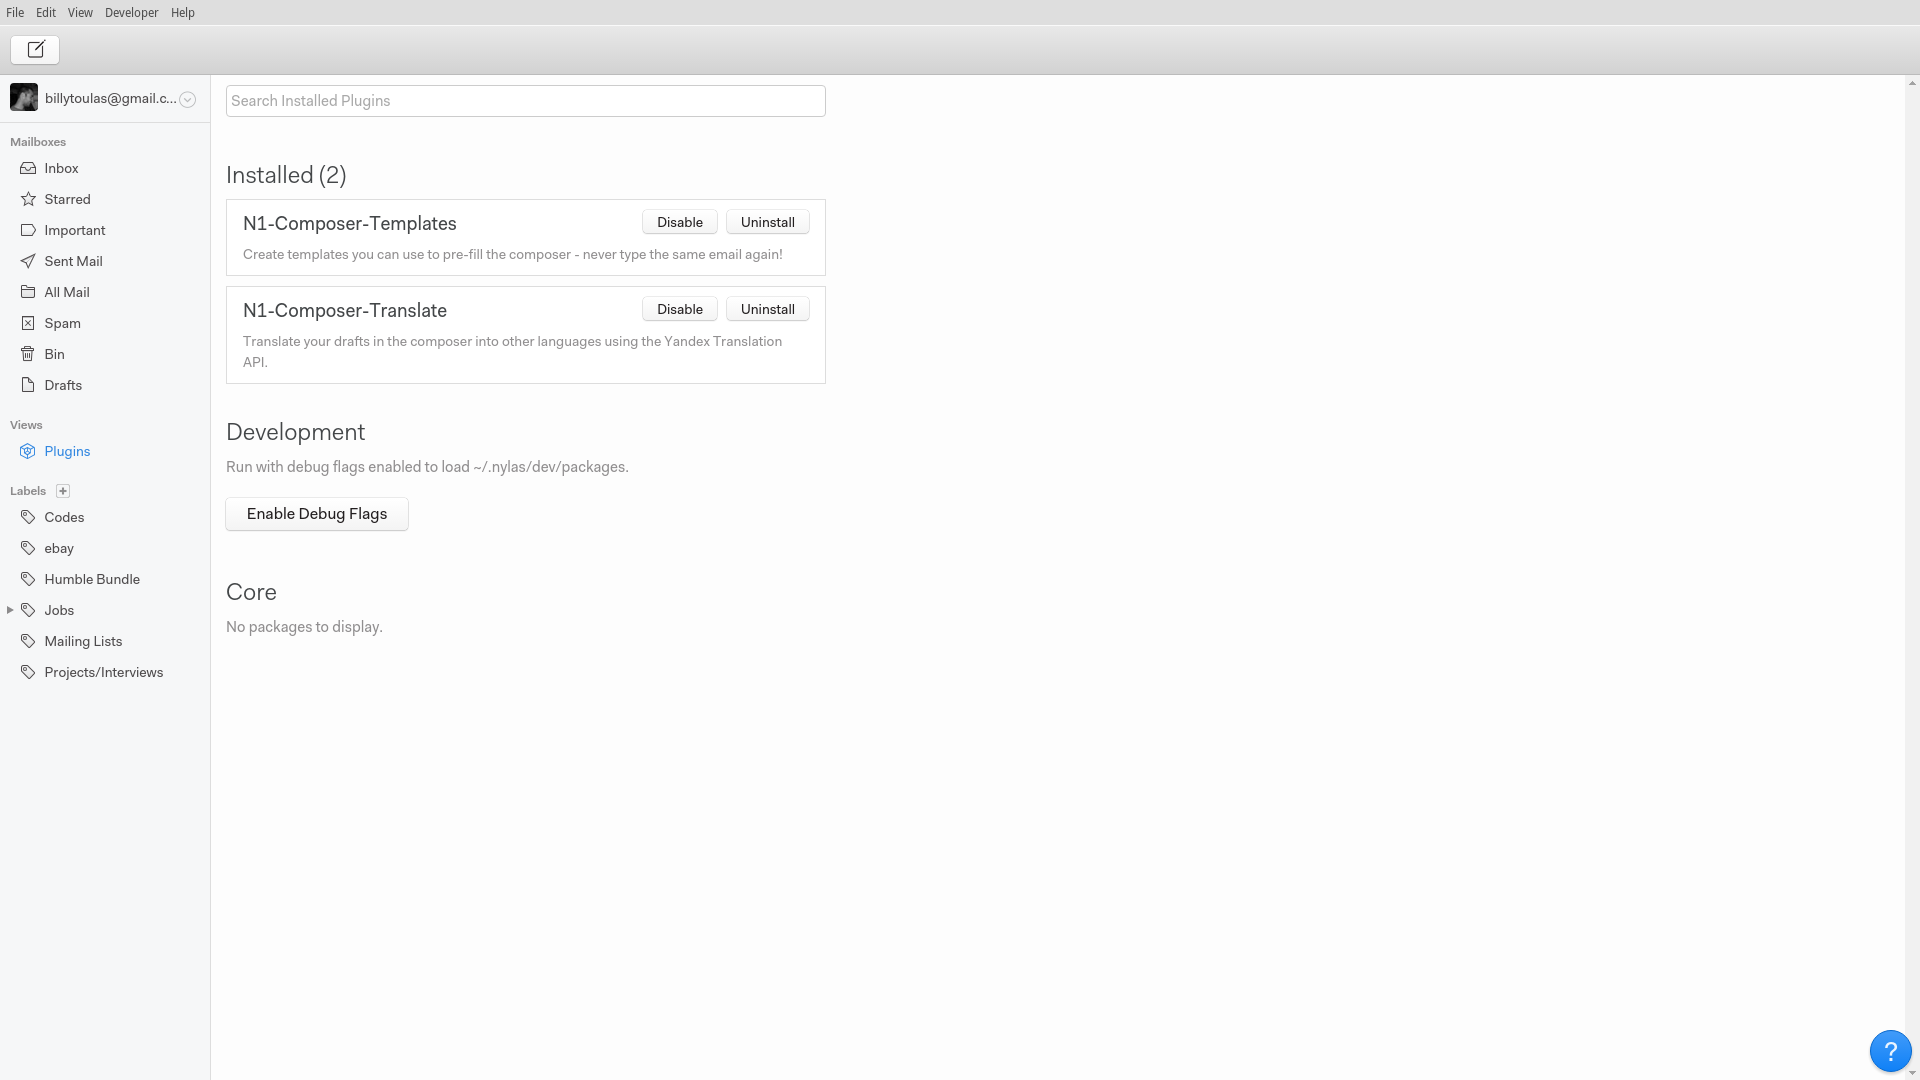
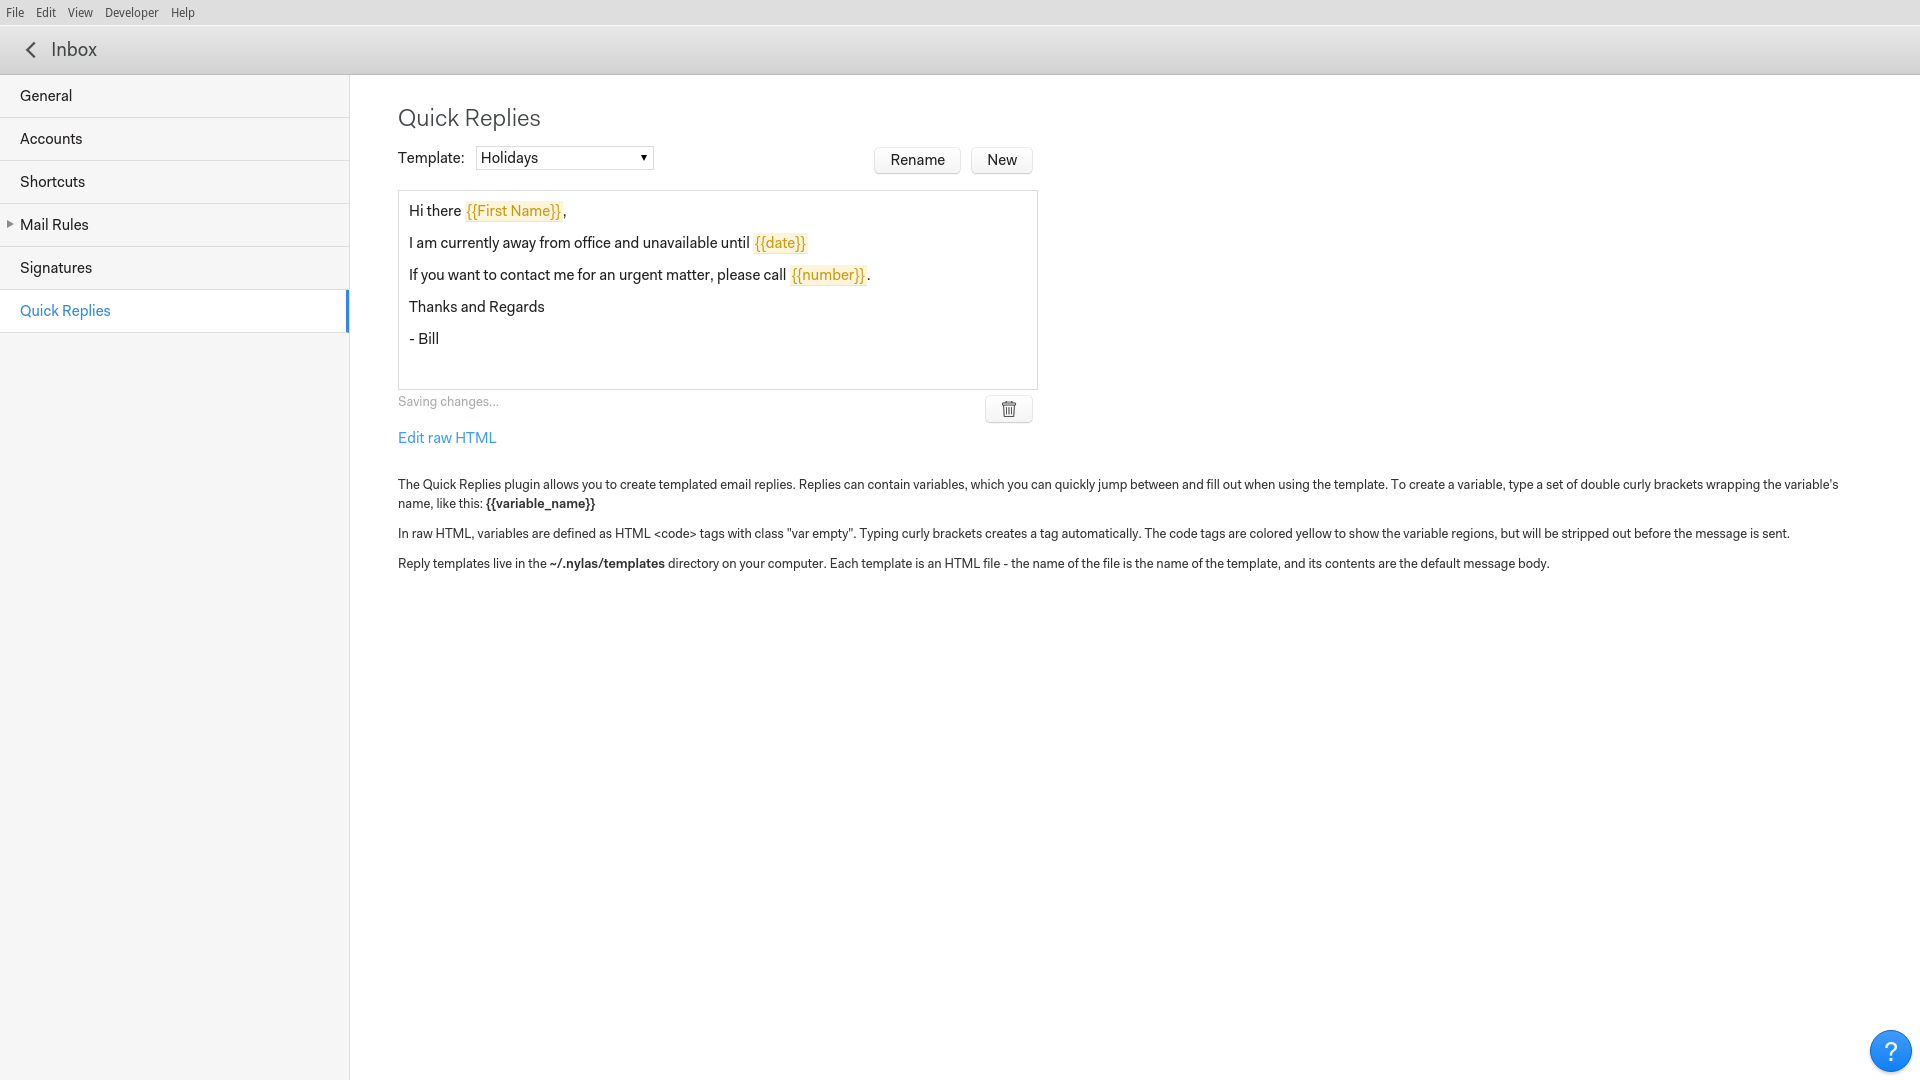
Then go to “Edit → Preferences → Quick Replies” and click the “New” to add a template. Write the content and set variables by wrapping them in a set of four curly brackets. Here's a simple example:
Now to use this template, we click the reply button (or write a new mail), and then click on the templates button located on the lower right of the box.
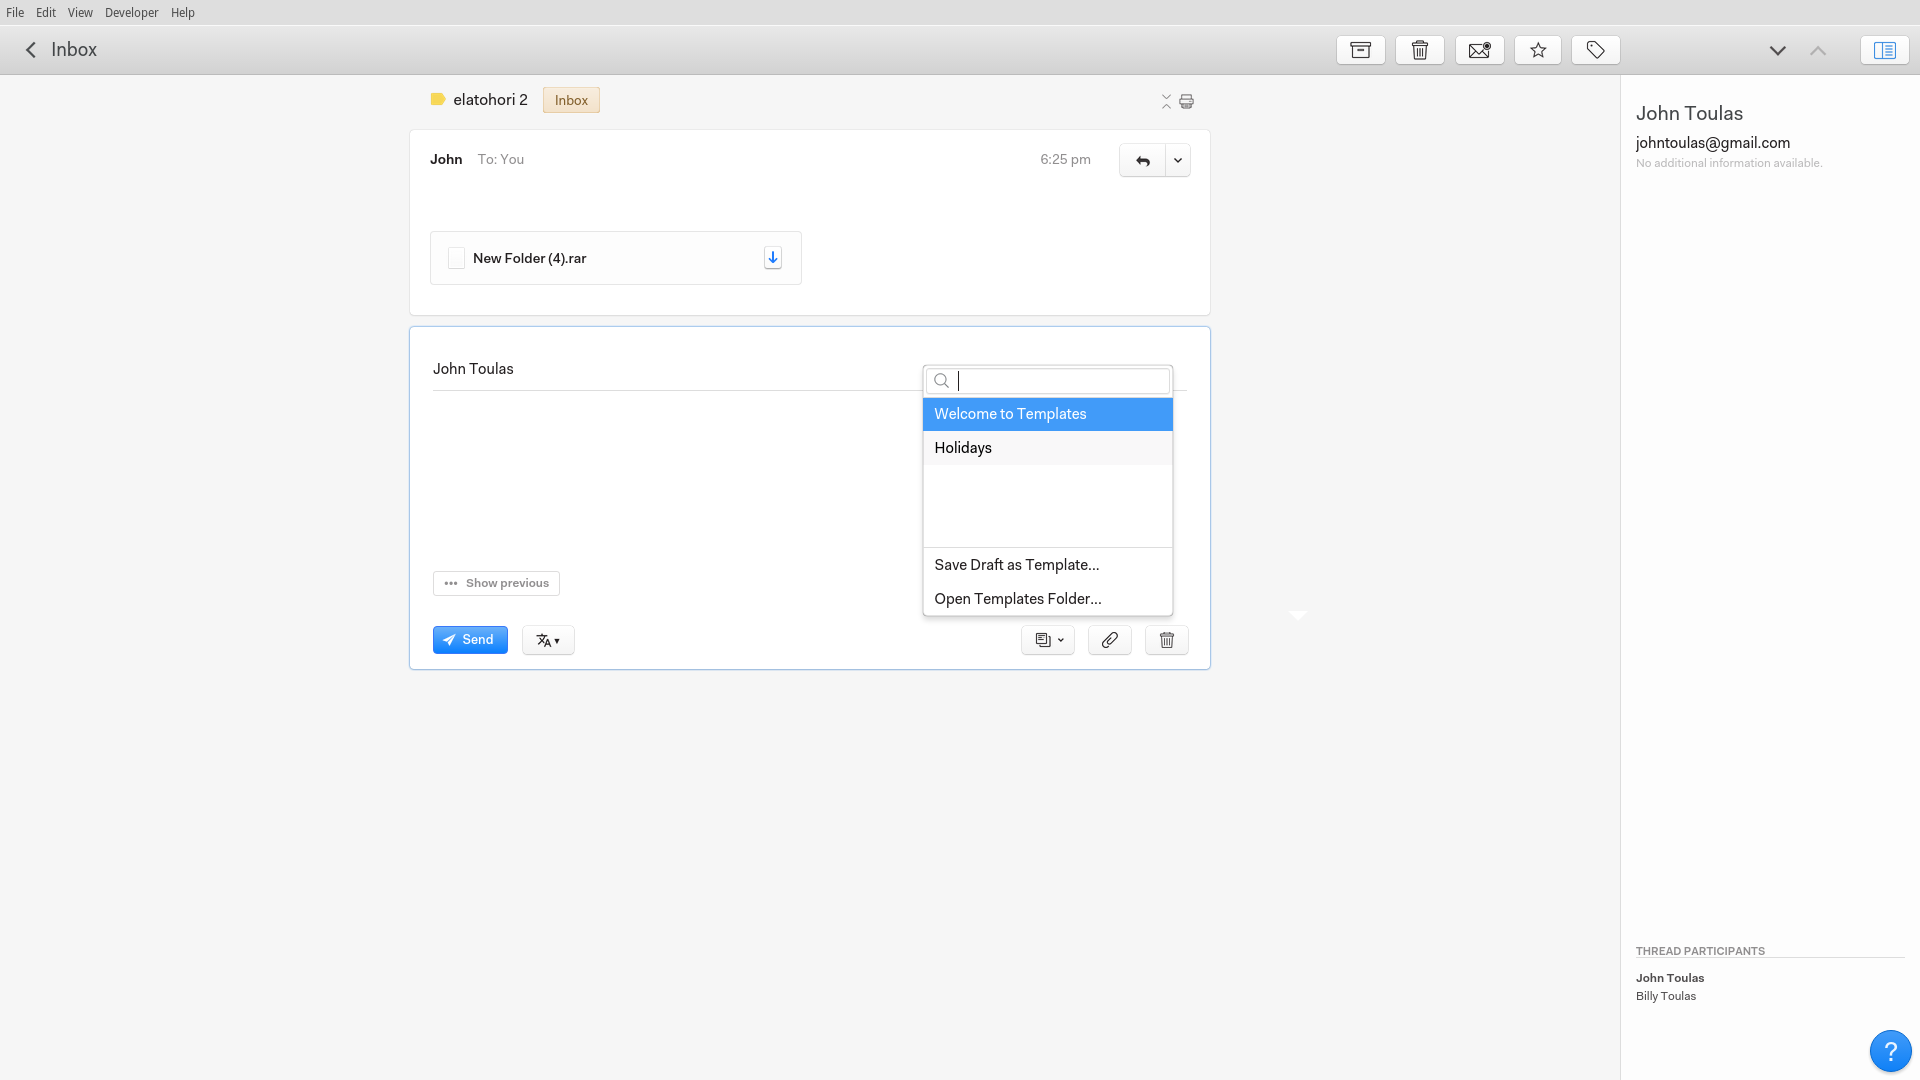
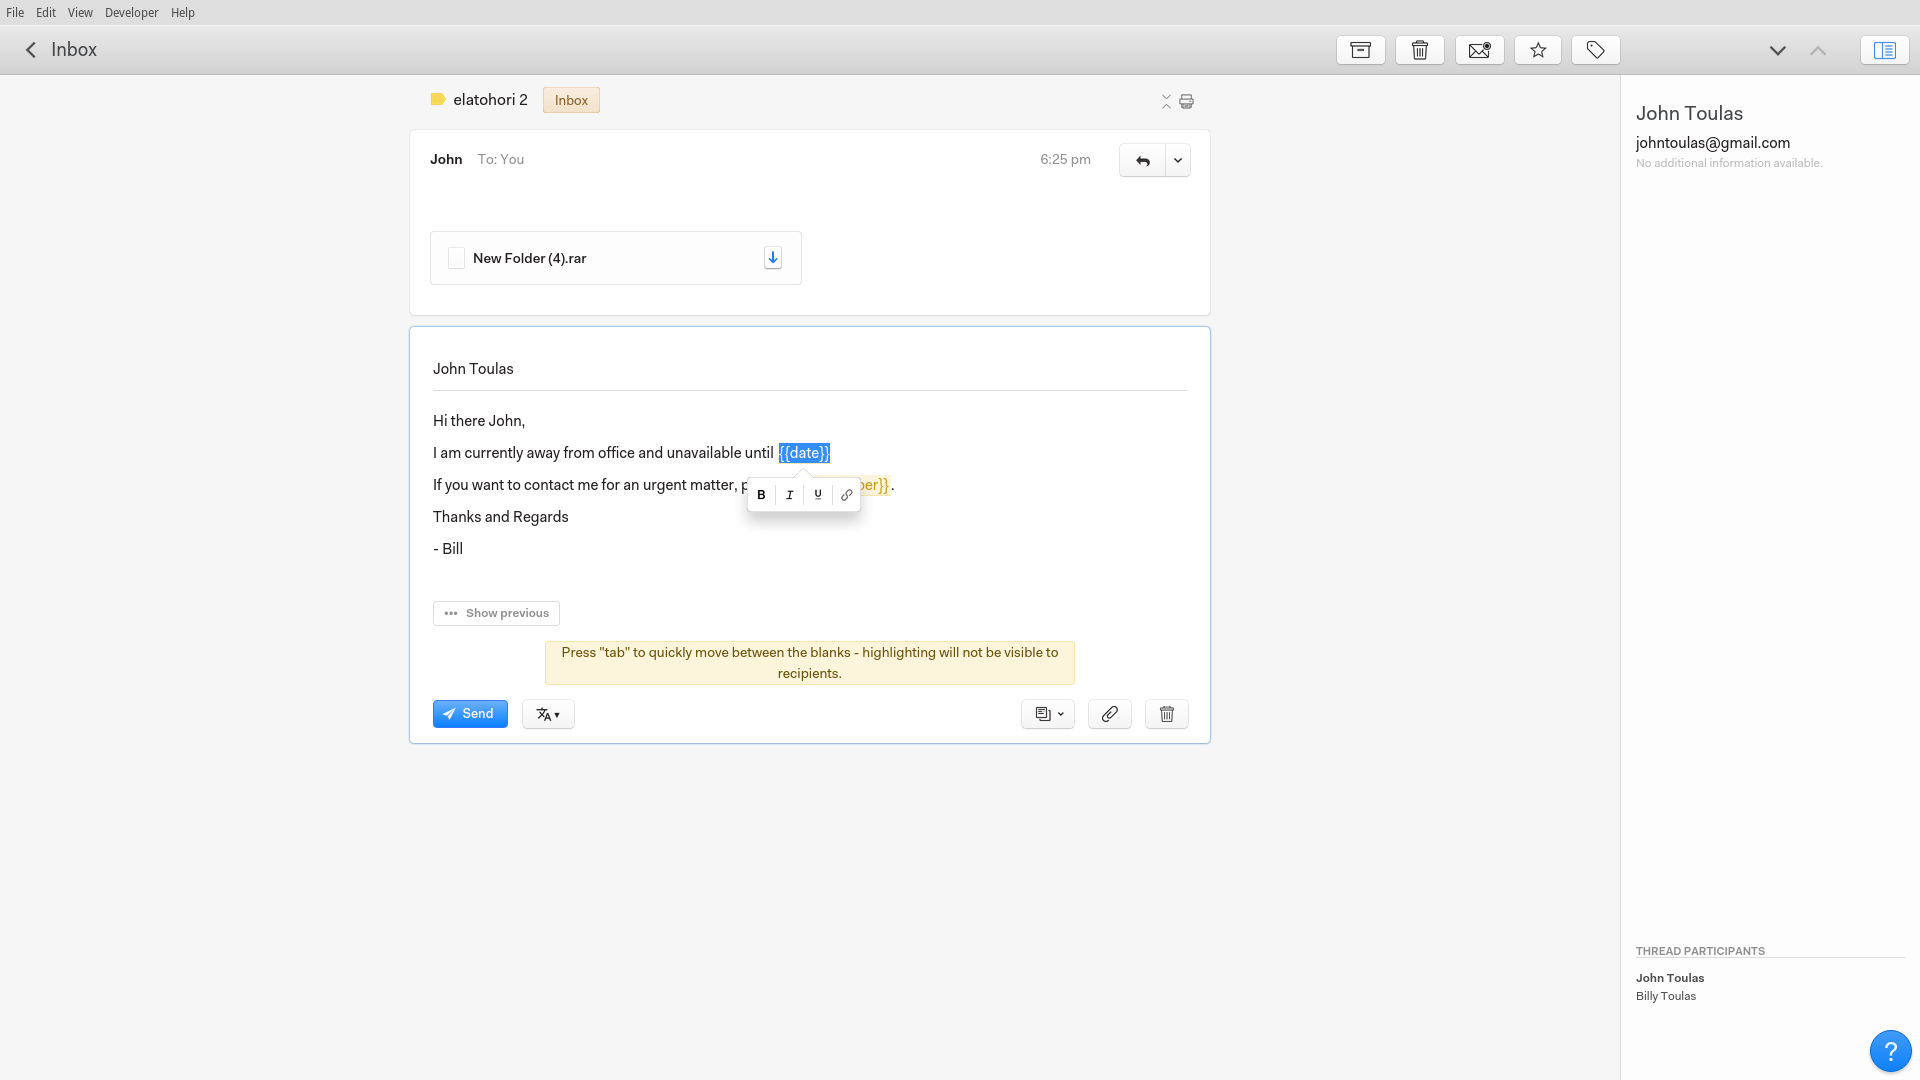
Select the template, and then fill in the variables by cycling between them with Tab.
Conclusion
What N1 adds to the already available open source email clients of today is its modern design and the very simple to use interface. It looks refreshing and it's quite fun to use. If you're looking for an email client that's simple and quick to set up and use, N1 from Nylas team is a really great choice that won't disappoint you.

