How to install ONLYOFFICE 8.9.0 with Docker on Ubuntu
This tutorial describes the ONLYOFFICE installation process with Docker. Docker that allows you to deploy all ONLYOFFICE components on a single Linux machine easily and helps to avoid dependency errors.
ONLYOFFICE provides a corporate office suite with integrated a CRM system, project and document management and collaboration tools, calendar, and mail. It is composed of three servers: Community Server that offers 8 modules and tools: People, Projects, CRM, Documents, CRM, Community, mail client, calendar and chat; Document Server that combines text, spreadsheet and presentation online editors allowing to co-edit documents in real time, review and track version history, and Mail Server.
What's new in ONLYOFFICE Community Server 8.9.0:
- mail and calendar integration;
- mail autoreply;
- address book;
- Review access rights to documents.
Document Server 4.0:
- fast real-time co-editing like in Google Docs;
- commenting and integrated chat;
- reviewing and tracking changes;
- version history.
System Requirements and ONLYOFFICE Dependencies
Your machine should meet the following system requirements for ONLYOFFICE and should have some additional components installed.
- RAM: 6 GB or more;
- HDD: at least 2 GB of free space;
- Swap file: at least 2 GB;
- A registered domain name for the mail server;
- Docker: version 1.10 or later.
The installation instructions for Docker can be found on its official website.
Installing ONLYOFFICE
Step 1. Open Terminal using Ctrl+Alt+T
Step 2. Run Docker and execute the following command to create the 'onlyoffice' network.docker network.
docker network create --driver bridge onlyoffice
Step 3. Install Document Server:sudo docker run --net
sudo docker run --net onlyoffice -i -t -d --restart=always --name onlyoffice-document-server onlyoffice/documentserver
Step 4. Install Mail Server:sudo docker run --net
sudo docker run --net onlyoffice --privileged -i -t -d --restart=always --name onlyoffice-mail-server \
-p 25:25 -p 143:143 -p 587:587 \
-h yourdomain.com \
onlyoffice/mailserver
Where yourdomain.com is your registered domain name.
Step 5. Install Community Server:
sudo docker run --net onlyoffice -i -t -d -p 80:80 --restart=always --name onlyoffice-community-server \
-p 80:80 -p 5222:5222 -p 443:443 \
-e DOCUMENT_SERVER_PORT_80_TCP_ADDR=onlyoffice-document-server \
-e MAIL_SERVER_DB_HOST=onlyoffice-mail-server \
onlyoffice/communityserver
These commands will install all ONLYOFFICE servers with all their dependencies in one 'onlyoffice' Docker network, isolated from other docker components.
Start your web-office
Open the Web browser and type in the IP address or hostname of your server in the address bar of the browser. Enter your email address and password to access your web-office next time. Set up the time zone, select the interface language and click Save. The Welcome page will open:
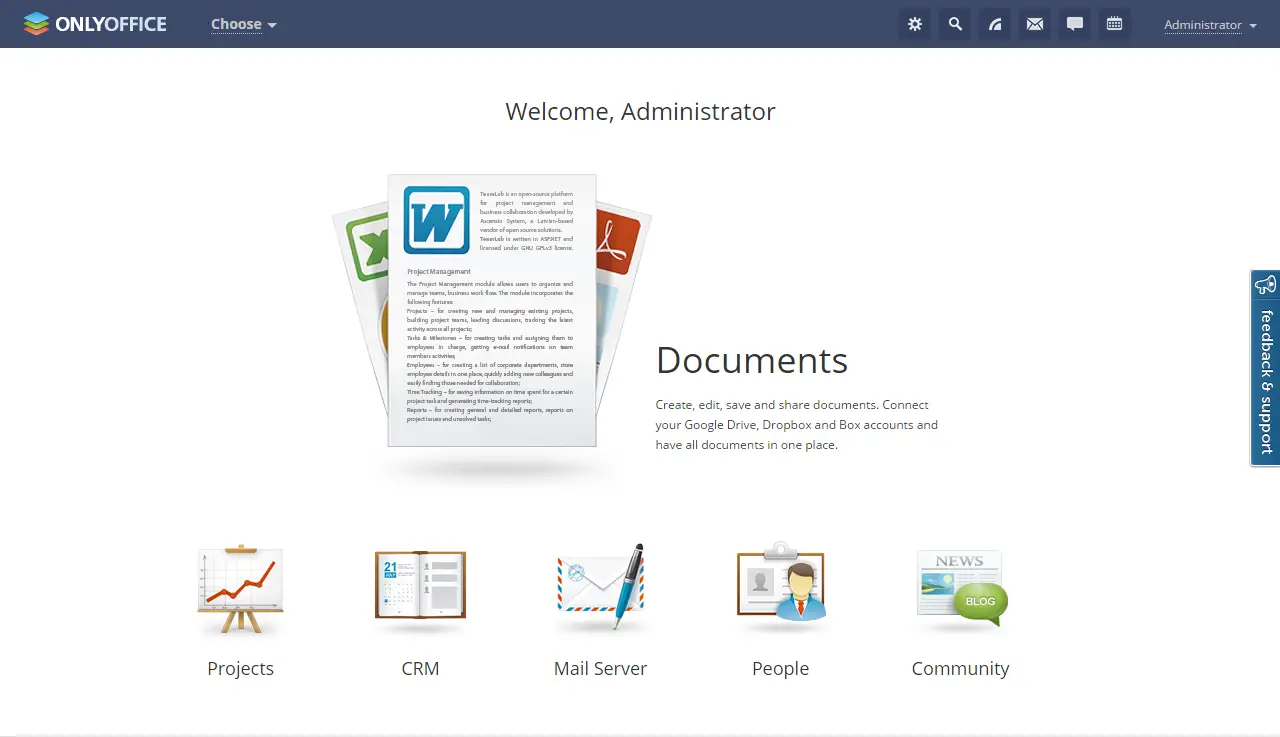
Select the tool you need and start working.
Links
- For more ONLYOFFICE installation and configuration tips refer to the official documentation.
- For virtual machines with ONLYOFFICE pre-installed, go to the official Download page.
- For source code and binary information, visit onlyoffice.org.
- For any support questions, refer to dev.onlyoffice.org.

