
If you travel with sensitive data, you know there are always risks that your information could be lost or stolen. Depending on the nature of your data, that could be a disaster. To that end, you might want to consider encrypting those flash drives. Once encrypted, a passphrase will be required to gain access to said data. No passphrase, no data.
You might think this would be a challenge, or require extensive use of the command line. Fortunately (for those that prefer the GUI way of things), there are two tools that make this process incredibly simple. I’m going to introduce you to those tools, so that you can encrypt your flash drives with ease.
This process can also be used on any drive. You might even consider encrypting all of your external backup drives, in the event of theft. When you encrypt external drives, modern Linux file platforms will prompt you for their password when the devices are automatically or manually mounted. This makes for a very clean and hassle-free system.
Now, let’s get to the encryption. I’ll be using Ubuntu 16.04 to demonstrate the encryption of a pre-existing and a new partition.
Installing the necessary tools
The first thing you must do is install two tools. The first tool is, depending upon your distribution, already located on your platform. That tool is gnome-disk-utility. This is the GUI that we’ll be using to create and encrypt partitions on our flash drive. The second tool is the cryptsetup tool. Cryptsetup is a utility for for setting up encrypted filesystems with the help of Device Mapper and dm-crypt.
Both of these tools are found in the standard repositories, so installation can be done with a single command. To install both gnome-disk-utility and cryptsetup, open up a terminal window and issue the following command:
sudo apt-get install -y gnome-disk-utility cryptsetup
Type your sudo password and hit the Enter key. The installation should go off without a hitch. Now that you have everything installed, let’s encrypt.
Encrypting an existing partition
The first process we’ll undertake is the encryption of a pre-existing partition. The tool we will use is gnome-disks. Before we begin this particular process, it is crucial that you back up the data on your external drive. Do not continue on until the data has been backed up (otherwise, you run the risk of losing your data).
With your data backed up, unmount the external drive, but leave it plugged in.
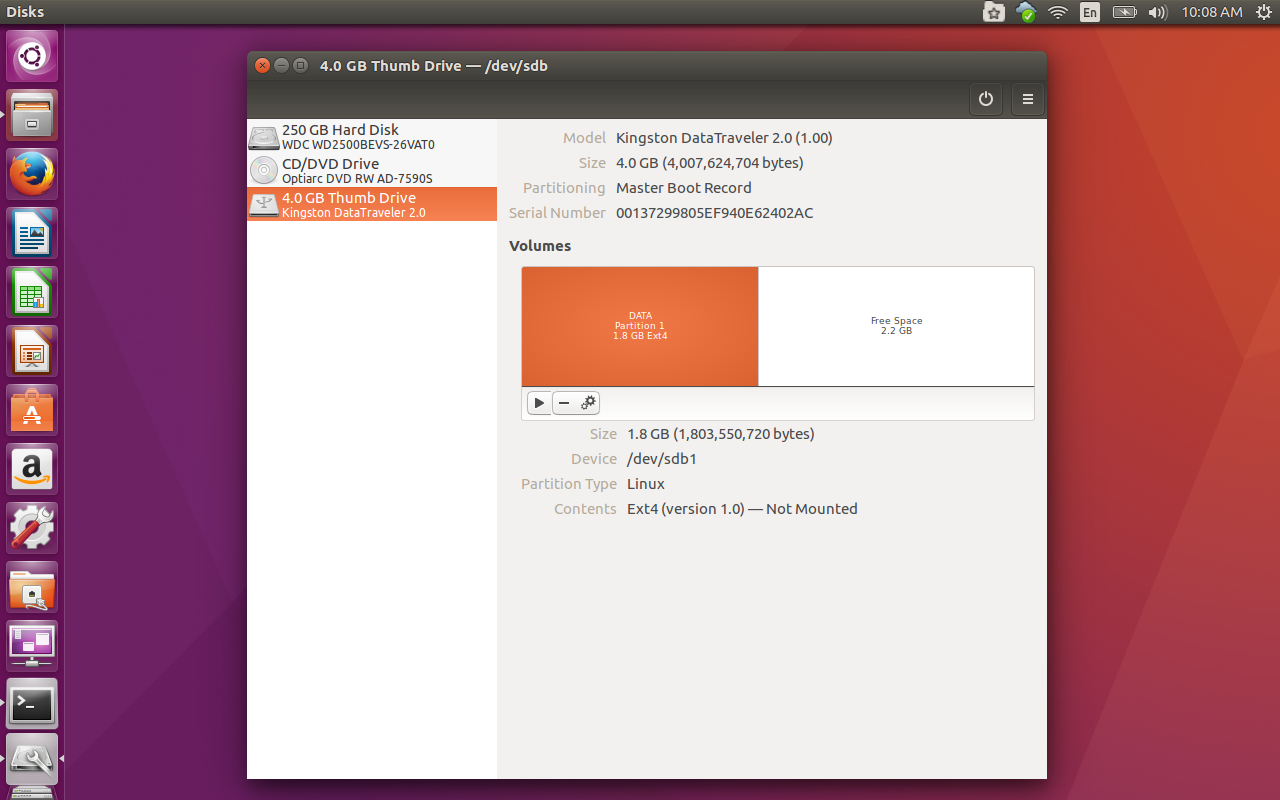
From your desktop menu, search for (and launch) the app labeled Disks. You can also issue the command gnome-disks from a terminal window. When the utility starts, you can select the flash drive in question from the left navigation pane (Figure 1).
Once you’ve selected the correct external (in this case flash) drive, you then click on the partition you want to encrypt. With the partition selected, click on the gear icon and then select Format Partition. In the resultant window (Figure 2), select these two options:
-
Don’t overwrite existing data
-
Encrypted, compatible with Linux systems
You’ve probably figured out the one limitation for this process already. If not, know this: The encryption you’re about to apply will only be readable from other Linux systems. If you need to read the encrypted data from the Windows platform, you will be out of luck. One other caveat is that any machine used to read the encrypted device will need to have cryptsetup installed as well (otherwise, it won’t be able to mount the encrypted partition).
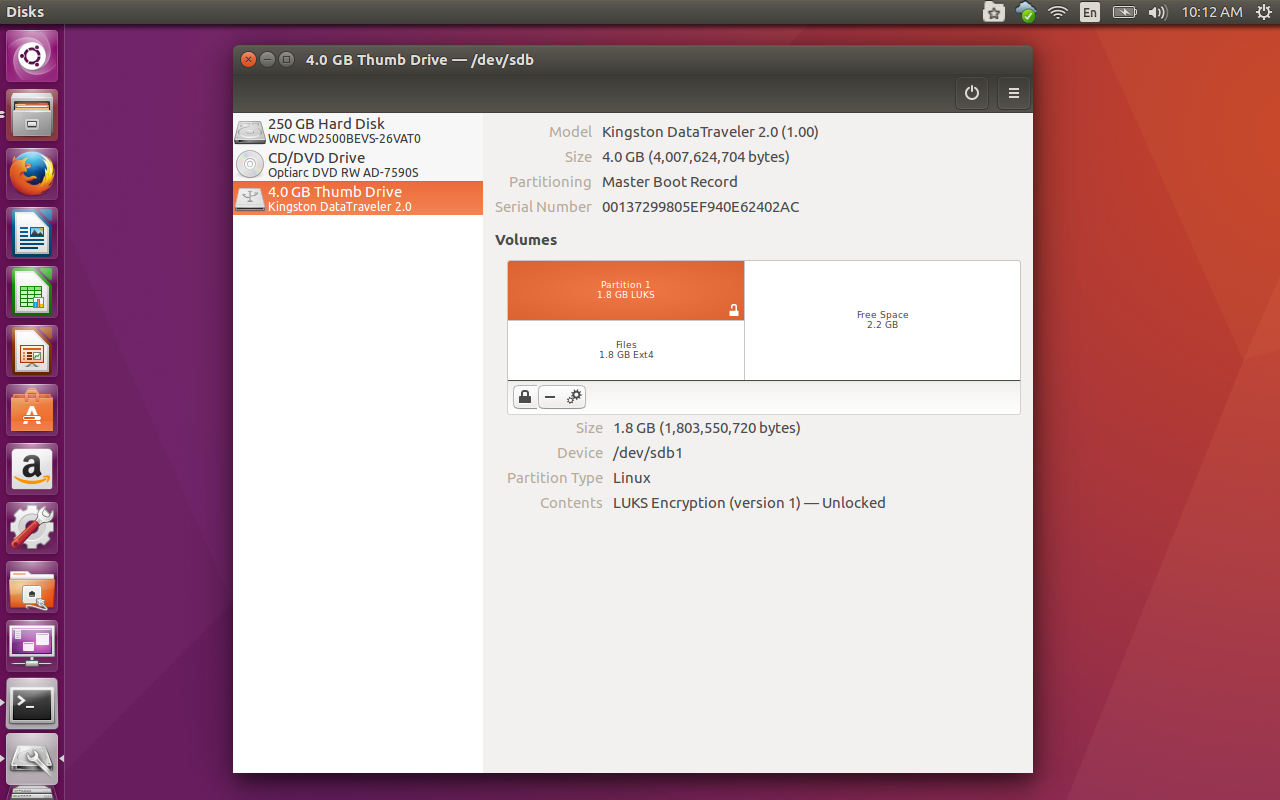
Give the encrypted partition a name and enter (and verify) the encryption passphrase. Make sure the passphrase is strong and then click Format. You will be prompted again to verify the action and click Format a second time. Depending upon the size of the drive (and the data it houses), this can take some time. When the process completes, the partition will appear with a lock icon in the lower right corner (Figure 3).
Remember when I mentioned backing up the data on your drive? Now is when you’re going to be glad you did. I’ve tested this numerous times and, even when selecting Don’t overwrite existing data, the data is always overwritten. Because of this, you’ll now need to copy that data back onto your now-encrypted drive.
Encrypting a new partition
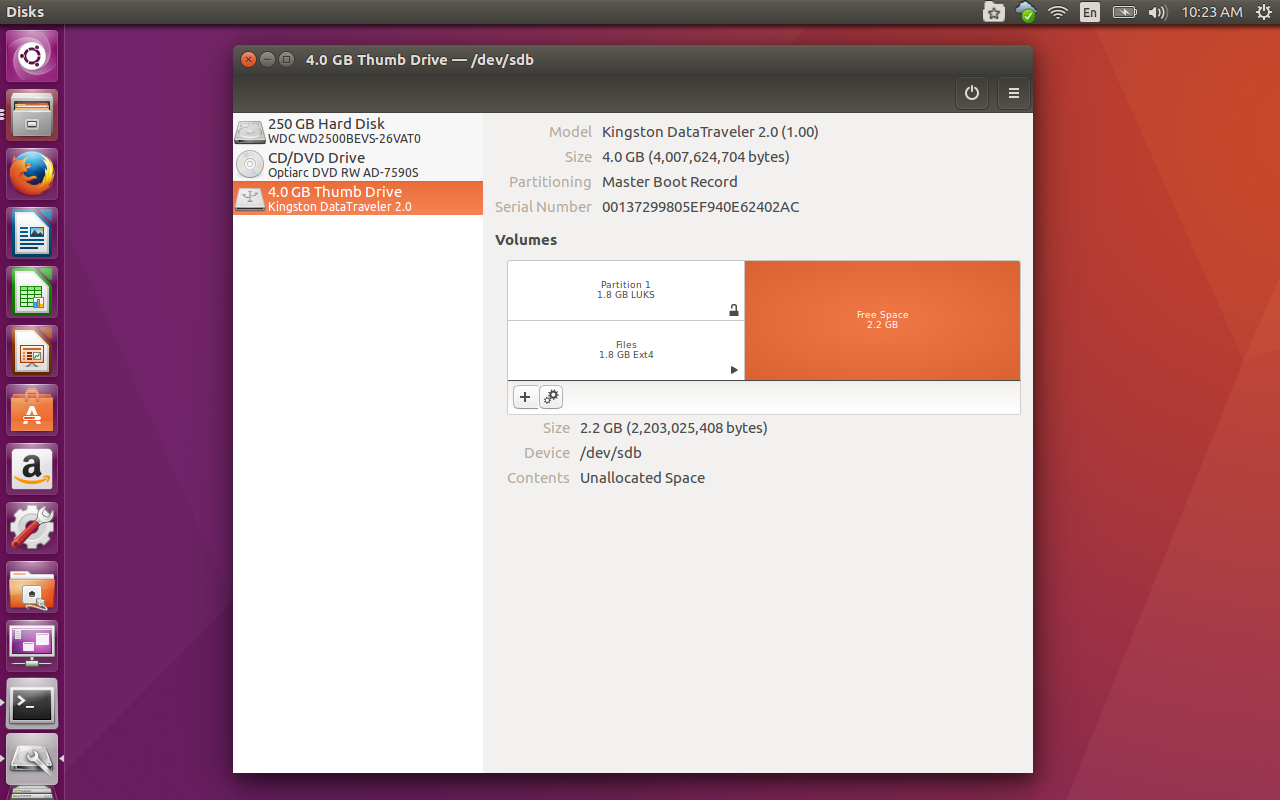
Let’s return to GNOME Disks and create a brand new, encrypted filesystem on our flash drive. To do this, insert the drive in question and then open Disks. Select the flash drive from the left navigation and then select the free space on the drive. Click the + button and then, in the resulting window (Figure 4), set the following options:
-
Partition size: Set the desired size for your new partition
-
Erase: Don’t overwrite existing data
-
Type: Encrypted, compatible with Linux systems
-
Name: Give the new partition a name
-
Passphrase: Set the encryption passphrase
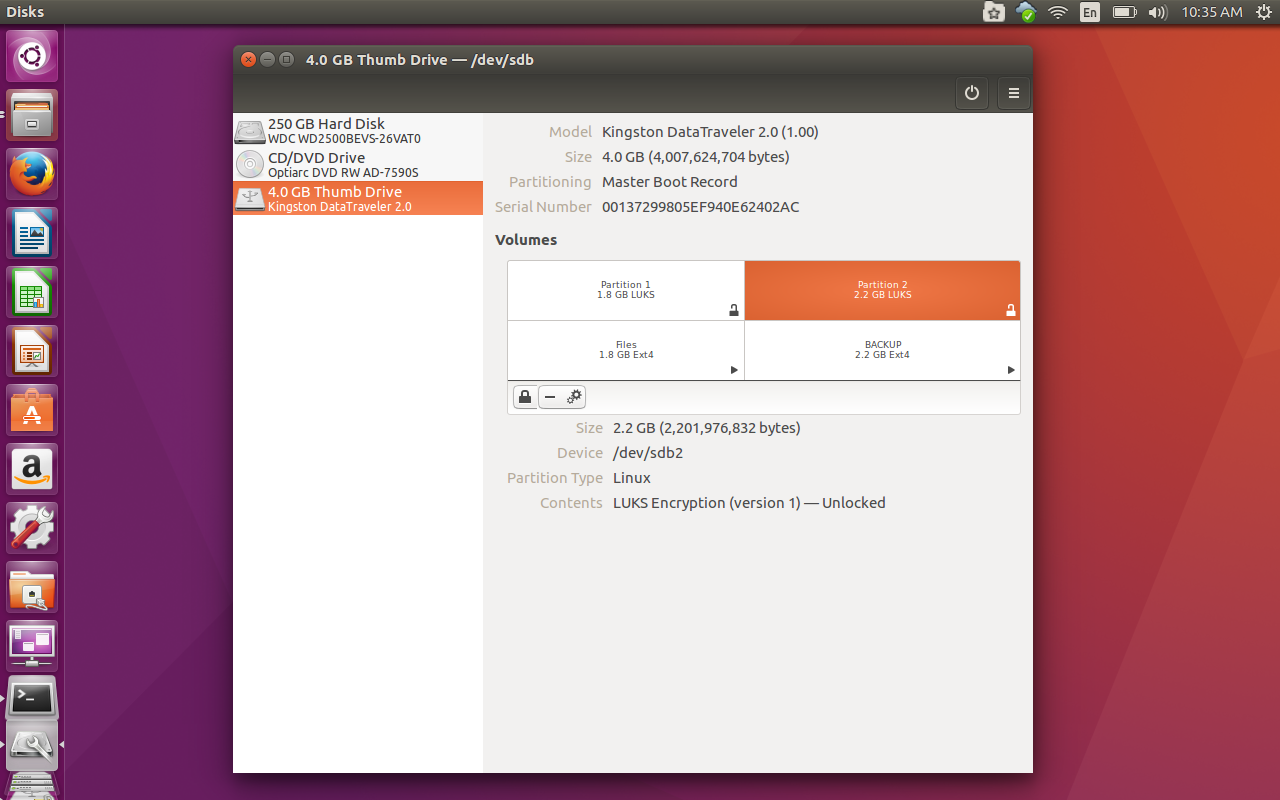
Click Create and the new, encrypted partition will be formatted.
Congratulations, your flash drive (or external drive) is now encrypted. You can view that data on any Linux machine that has cryptsetup installed. Do note, when you plug in that encrypted drive, you will be prompted for the passphrase as well as how long to remember the passphrase (Figure 5). I highly recommend selecting Forget password immediately. By selecting that option, the passphrase will not be retained in the keyring once you’ve ejected the drive. Otherwise, you could leave yourself open to someone slipping the drive in and gaining access to your data.
Your encryption awaits
Although this method does have it’s drawbacks (only readable on a Linux system that happens to also include cryptsetup), this process makes encrypting partitions on external drives incredibly simple.
Remember to back up your data before undertaking these steps; otherwise, you run the risk of losing said data. Now, you can enjoy having your data secured under a layer of encryption.
Learn more about security and system administration with the Essentials of System Administration course from The Linux Foundation.


