Compilation and Installation of PSAD for IPFire Firewall
Introduction
This article is about compilation and installation of PSAD (Port Scan Attack Detector) for IPFire (Linux based firewall). However, a development environment for the IPFire will be setup for the compilation of new plugin (PSAD in this case). Details about the configuration and usage of PSAD tool is available in our previous article.
Setting IPFire Development Environment
Prerequisites for the development environment of IPFire includes:
- Ubuntu 16.04 LTS OS with latest updates
- Installation of following required packages
git gcc g++ make bzip2 realpath
- Hardware resources such as 5-6 GB disk space & 6 GB RAM to reduce compilation time.
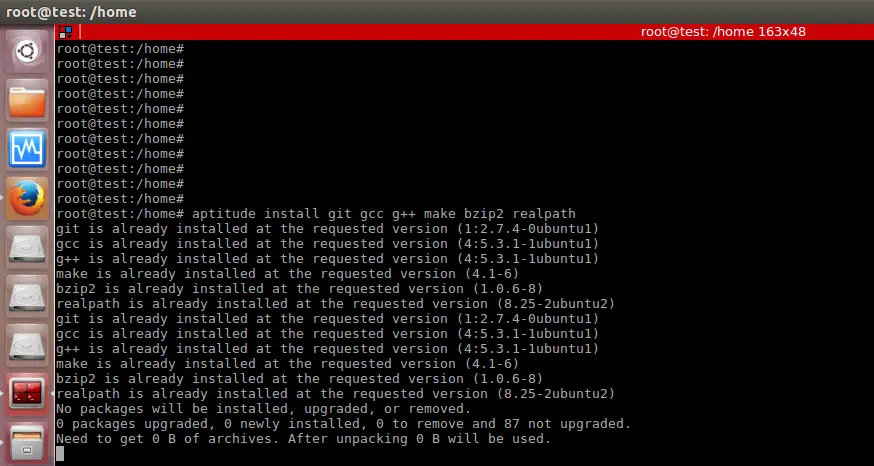
Similarly, IPFire development environment can be setup on other Linux distributions. Install following packages which are required for the compilation of source code on Ubuntu distribution. Git tool is used to clone source code on the development system.
aptitude install git gcc g++ make bzip2 realpath
IPFire Source Tree
Currently, following two repositories of IPFire source code are available on the github site.
- IPFire 2.x (stable released)
- IPFire 3.x
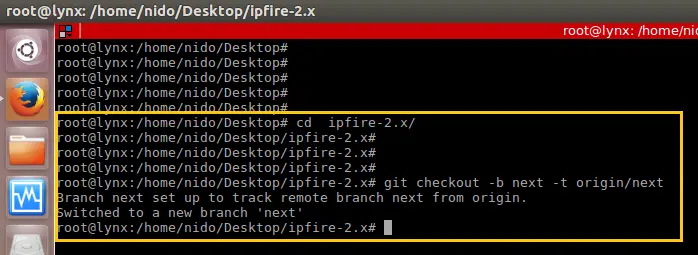
In this tutorial, we have considered IPfire 2.x source code repository for the compilation of new plugin.
git clone git://git.ipfire.org/ipfire-2.x.git
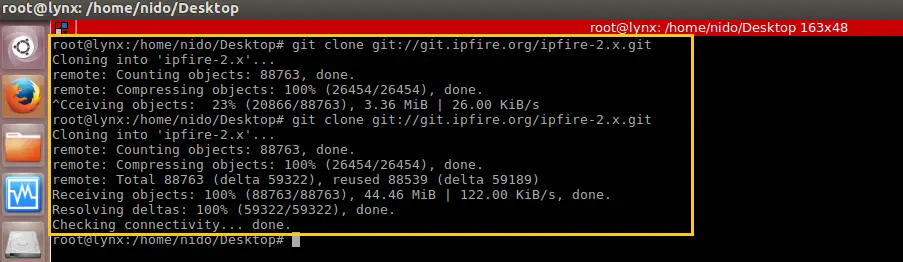
The following snapshot shows the latest updates in the IPFire-2.x repository
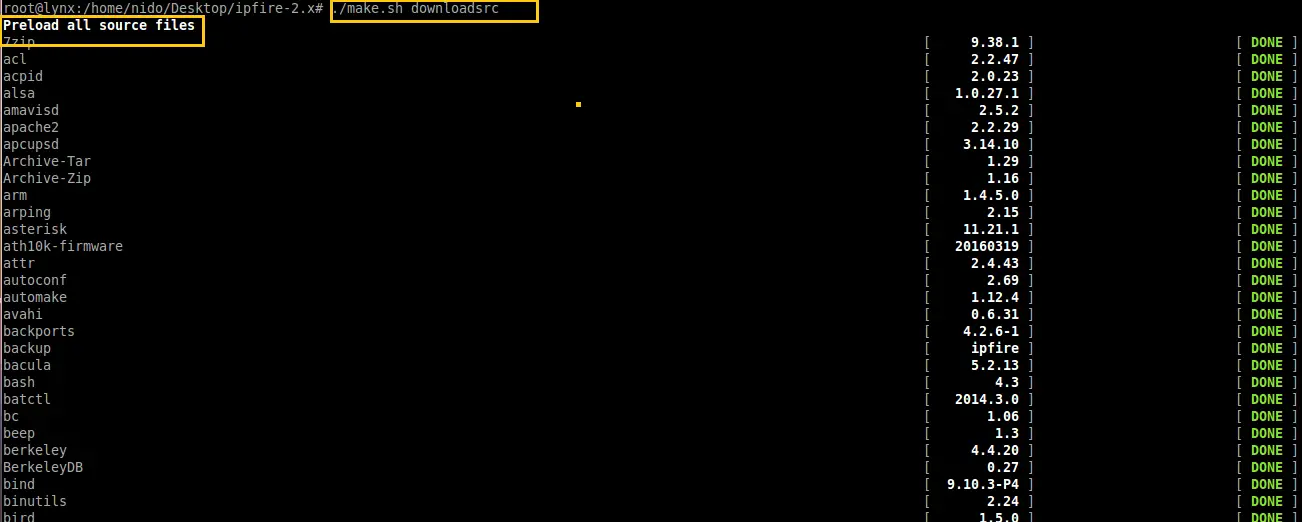
In the next step, run the following command to download the source code of IPFire packages.
./make.sh downloadsrc
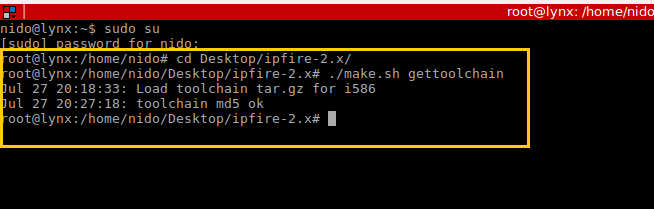
Current machine is 64 bit so now pre-compiled tool chain will be download to compile the source. The following command is used to download toolchain on the development system.
./make.sh gettoolchain
After successful cloning of IPFire, downloading of source packages and toolchain, next step is to start build process. First, IPFire firewall will be compiled without any changes. After that desired plugin will be included and re-compiled to create PSAD package for IPFire environment. Newly created a package with ipfire extension will be moved to IPFire VM for the installation of PSAD package.
Compilation of IPFire
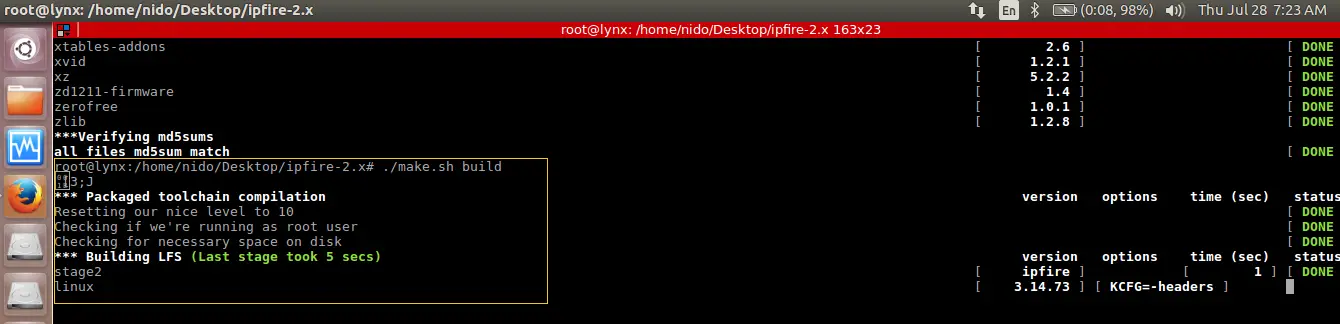
The last step is to run the following command to build the source code. Make sure enough disk space should be on the development system and build command is run under user root.
./make.sh build
For 32-bit system.
linux32 ./make.sh build
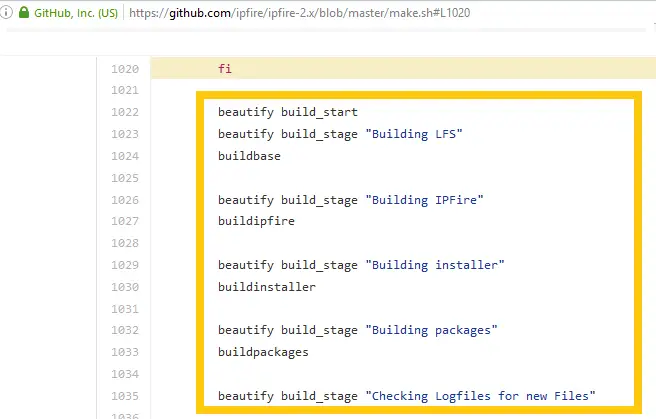
The first-time build process will take few hours to complete. However, it can be reduced using good hardware resources on the development system. Build script of IPFire performs following four stages.
- Building LFS (Building Linux From Scratch system) and it contains scripts for the installation of packages.
- Building IPFire
- Building installer
- Building Packages
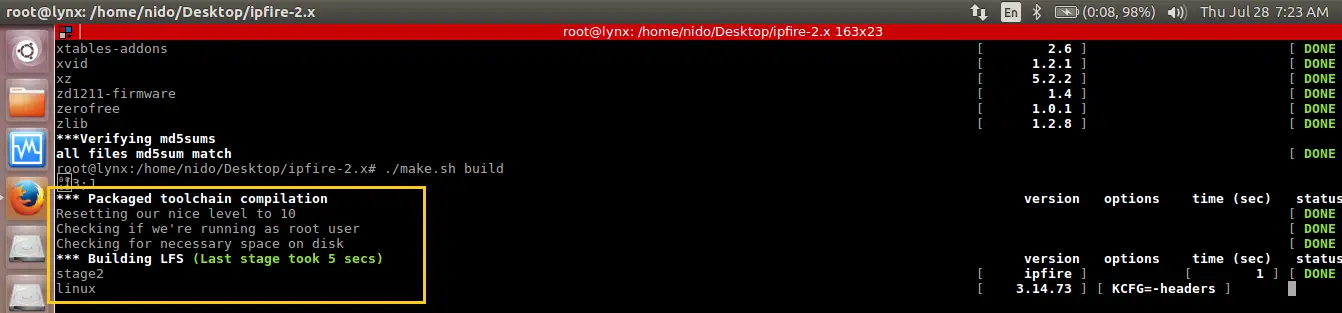
The following snapshot shows the Building LFS step.
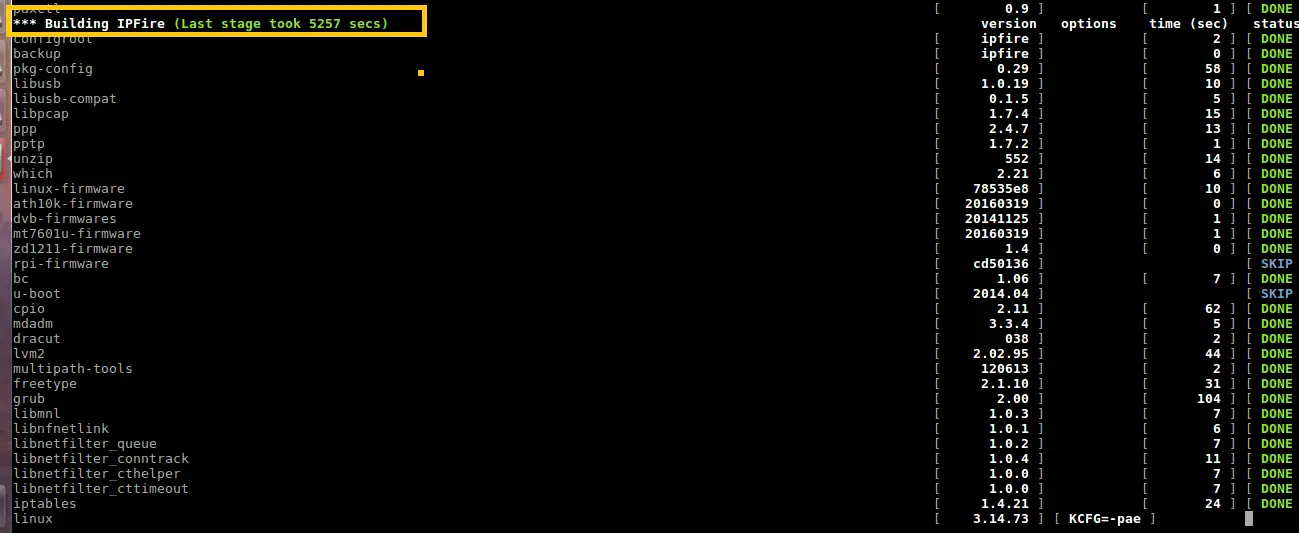
Building IPFire step is shown below.
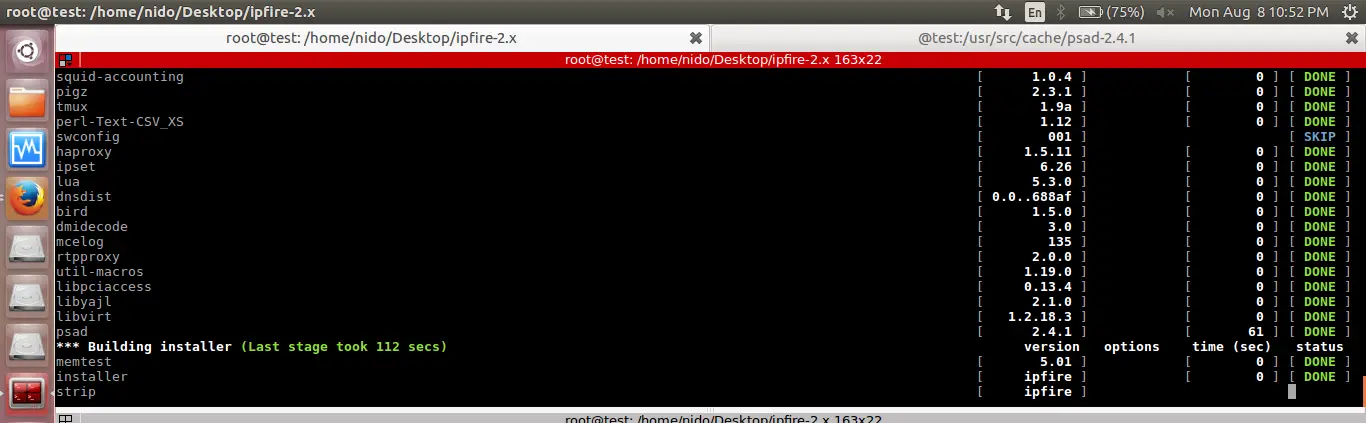
The following snapshot shows the Installer building step.

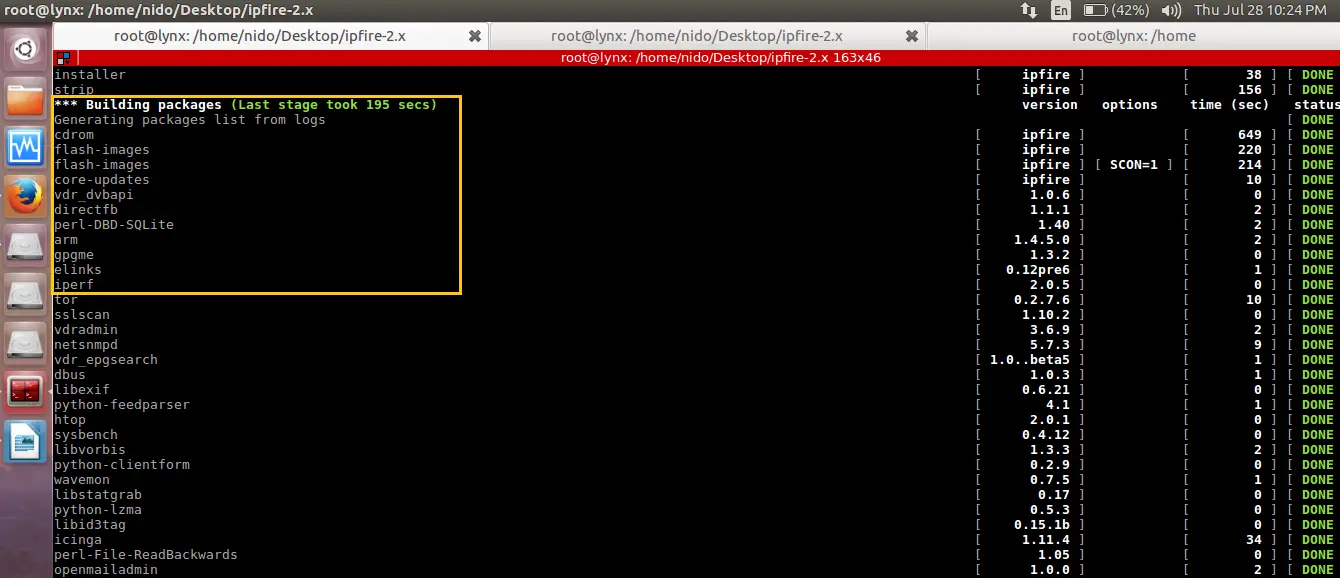
Finally, packages compilation process of the build process.
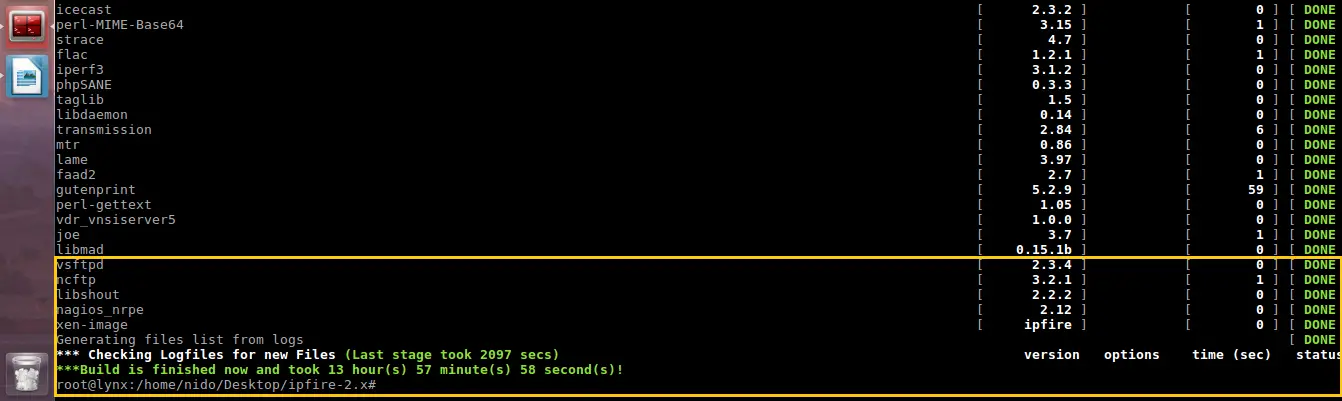
IPFire compilation will take many hours (13 hours in this case) as shown in the following screenshot.
In the end, IPFire build script generates iso, xen and img output files as shown below. Build script also calculates the md5 checksum of generated iso file.
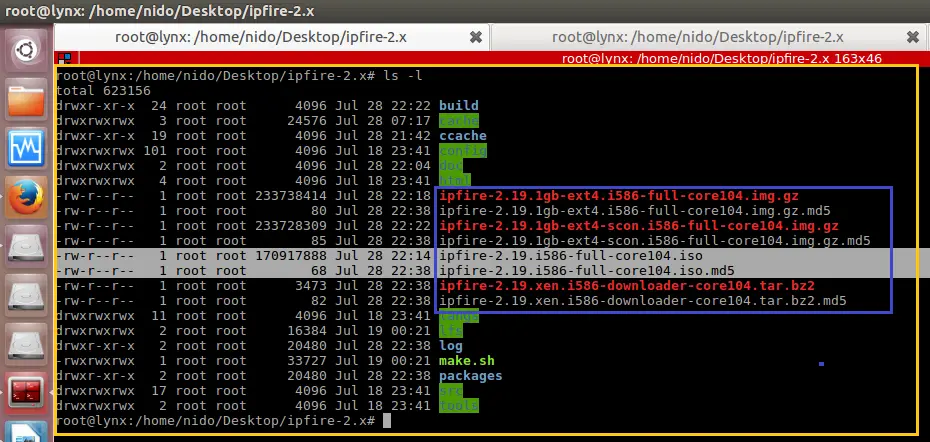
Finally, the compilation of IPfire from the source code is completed and ready to install in the VM. It is recommended to login as a root on development system to run build process.
Installation of IPFire
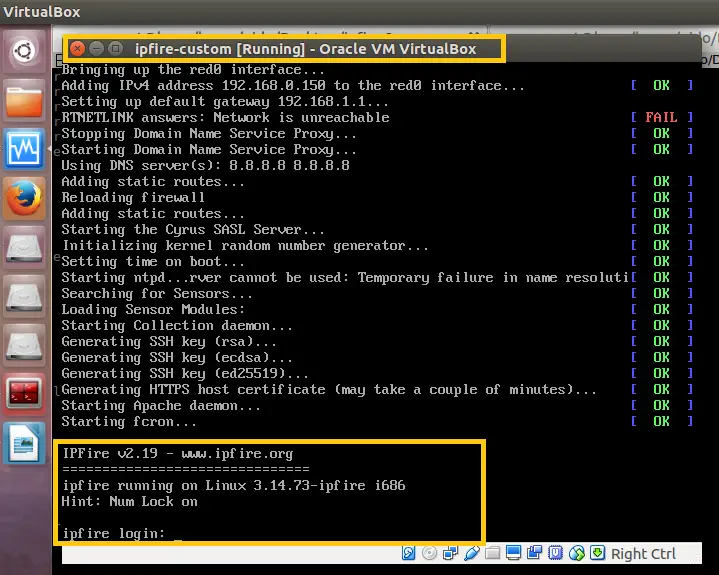
IPFire firewall can be setup using iso which is generated by the build script. Detailed steps on the IPFire installation is not included in this tutorial. After installation, following windows appear which shows the version of Linux Kernel (3.14.73-ipfire 1686).
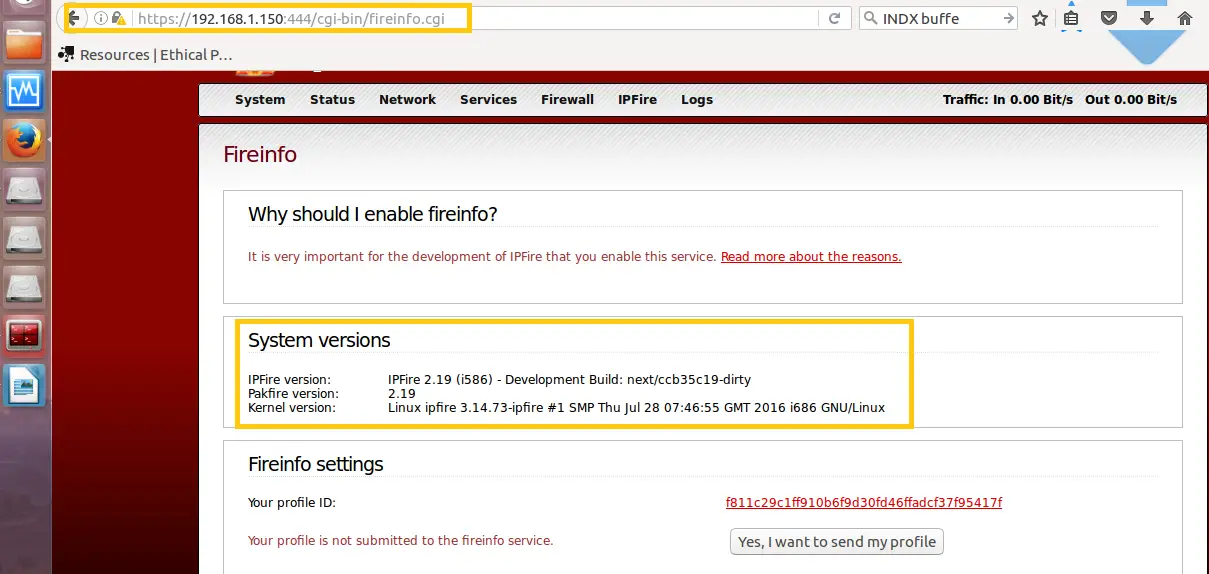
The web interface of IPFire device accessed using IP address (192.168.1.150:444) of the green interface. IPFire version info is also given on the Fireinfo sub menu.
Building PSAD addon
Directly, PSAD tool cannot be compiled on the IPFire. So development system is required to compile the source code of new addon for IPFire platform. Development environment of IPFire is already setup in the above section.
Following are the requirements for the compilation of new source code on IPFire development environment.
-
Create a compilation script for the desired addon or package and place it in the lfs\ directory (under ipfire-2.x\lfs\)
-
Addition of addon script in the build script
make.sh
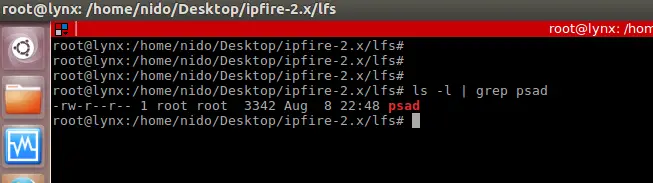
Compilation script for PSAD is created for package psad-2.4.1.tar.gz. Download the lfs script and place it under lfs directory inside the ipfire-2.x and MD5 checksum is created for psad-2.4.1.tar.gz in the lfs script.
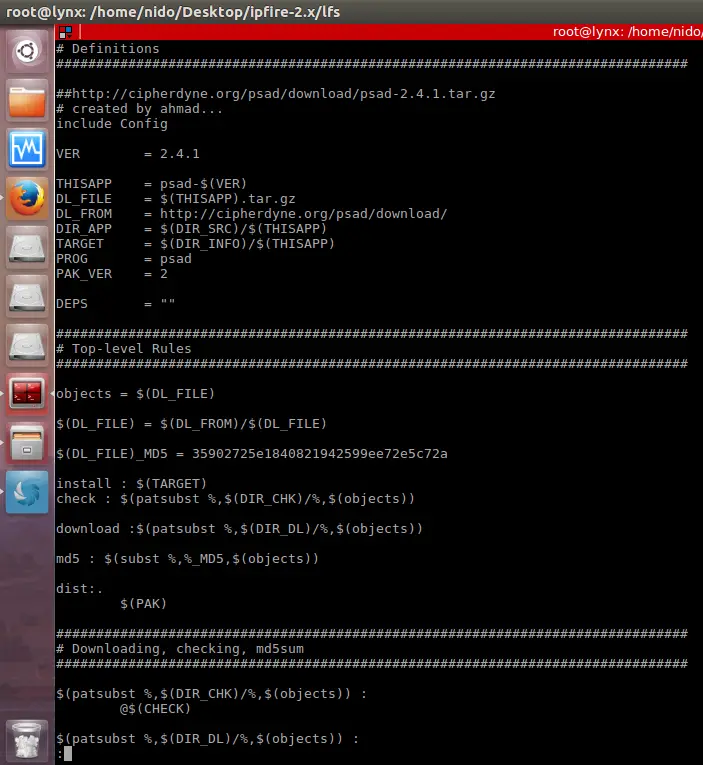
PSAD lfs script is shown in following snapshots.
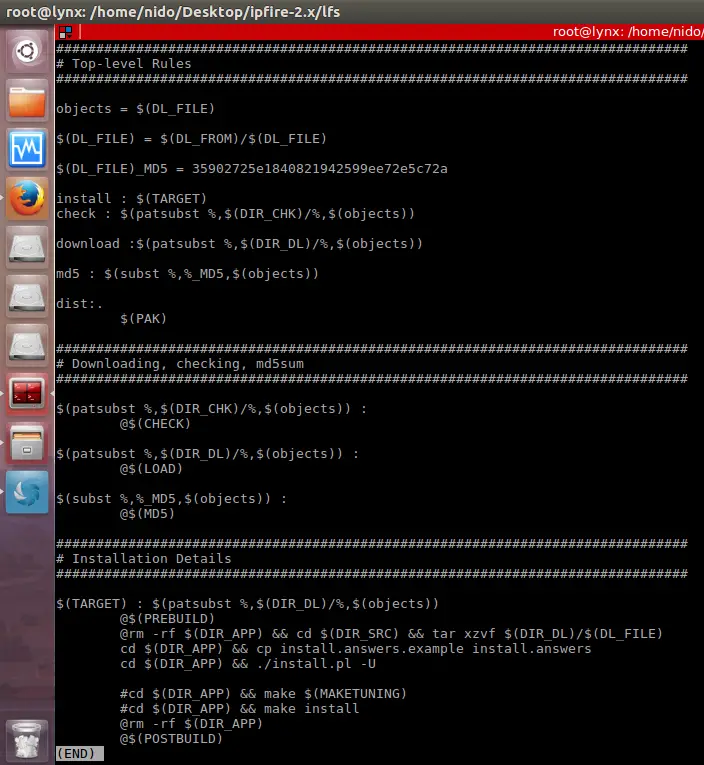
Modification in the make.sh build script for PSAD addon is shown below.
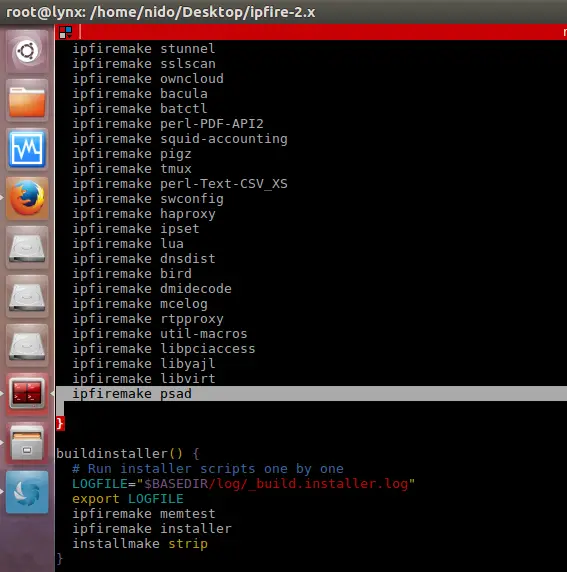
For the compilation of new addon, following build command will be run two times. As shown in the screenshot that psad is successfully included in the build script.
./make build
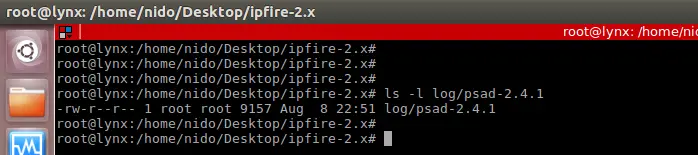
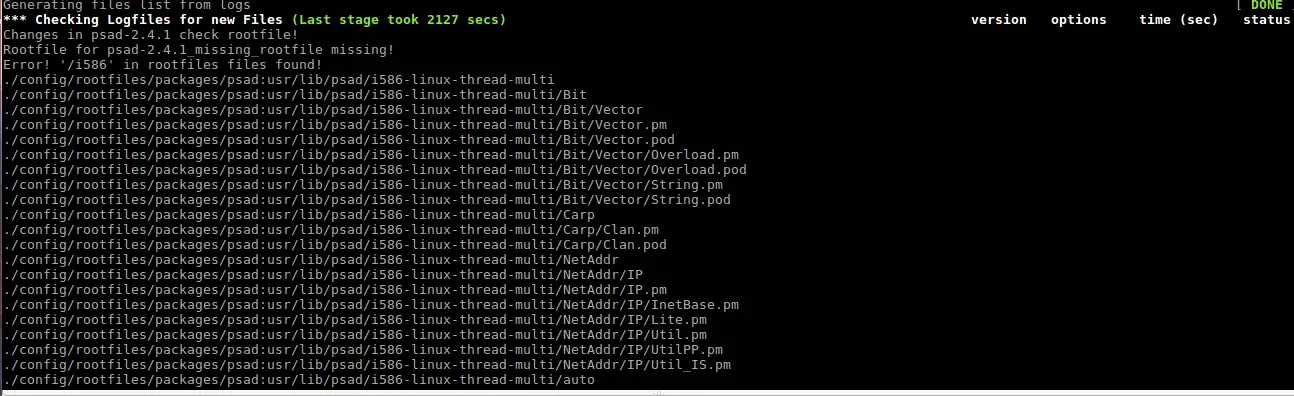
The output of first build command is shown in the following figure that rootfile for PSAD is missing.
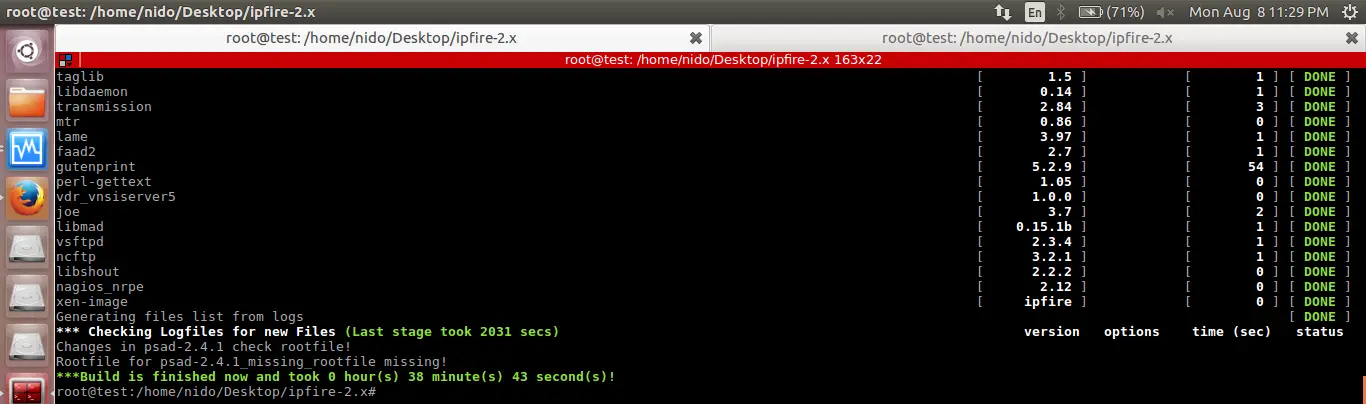
The name of addon rootfile is same as package/file name (psad-2.41) and exists inside the log directory.
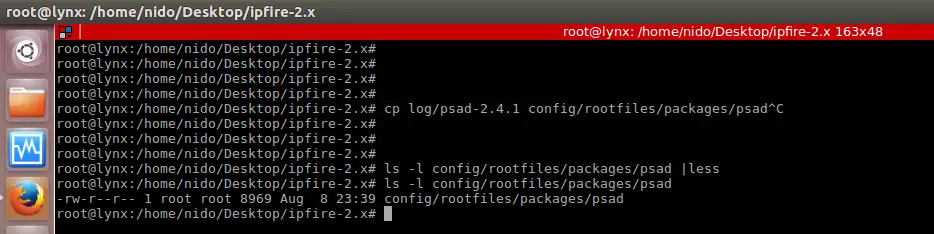
As shown in the following figure, copy the psad-2.4.1 file into config/rootfiles/packages path and rename it as lfs of package/file name which is placed in the lfs directory.
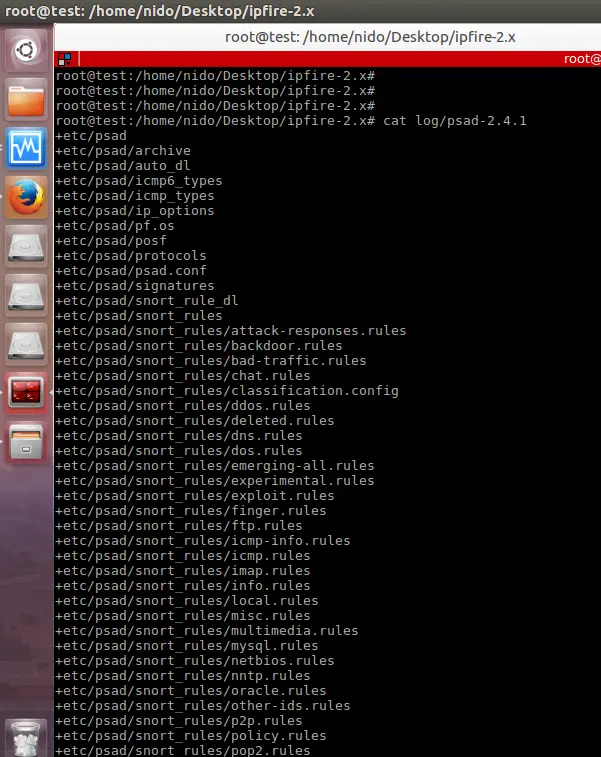
cp log/psad-2.4.1 config/rootfiles/packages/psad
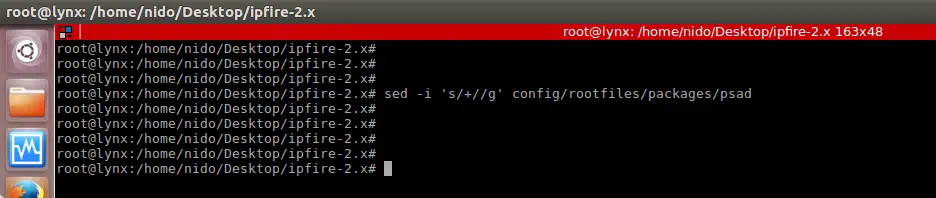
Rootfile of the addon contains a list of all files removed, changed or added by the install script.Run the following command to remove "+" from the rootfile of PSAD as shown below.
sed -i 's/+//g' config/rootfiles/packages/psad
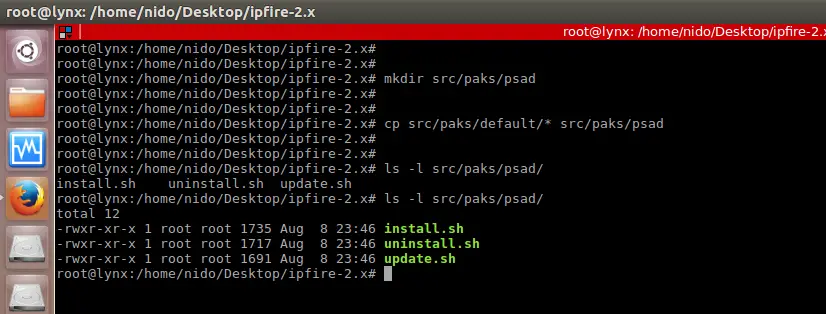
It is required to include PakFire (IPFire package management system) routine such as install,uninstall and update in the new addon. First of all, create a directory (psad) inside the src/paks same as lfs of the package name. Copy default routine from src/paks/default/* into the src/paks/psad and customize it accordingly.
Again run the build command for the compilation of source code of PSAD.
./make build

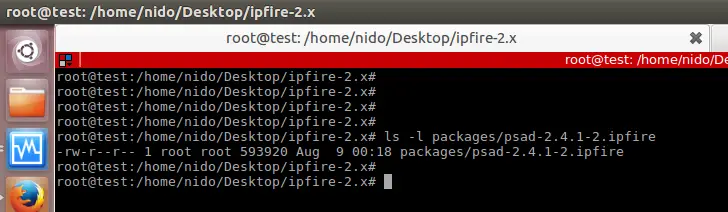
As shown below, PSAD addon (psad-2.4.1-2.ipfire) is successfully compiled on the IPFire environment and placed in the packages directory.
PSAD installation on IPFire
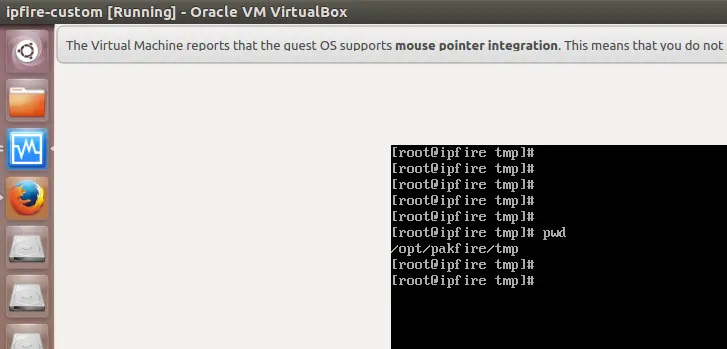
Now, PSAD package will be installed on the IPFire. As shown below, compiled package is copied on the already installed IPFire.
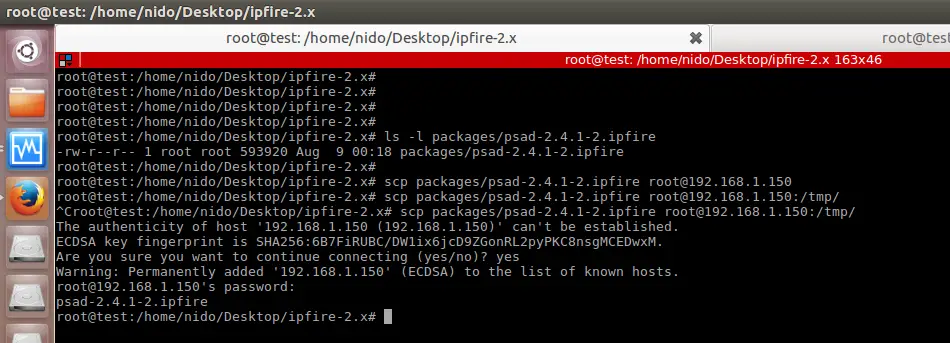
Make sure that compiled package must be under /opt/pakfire/tmp path.
The package is extracted for installation using the following command.
tar -xvf psad-2.4.1-2.ipfire
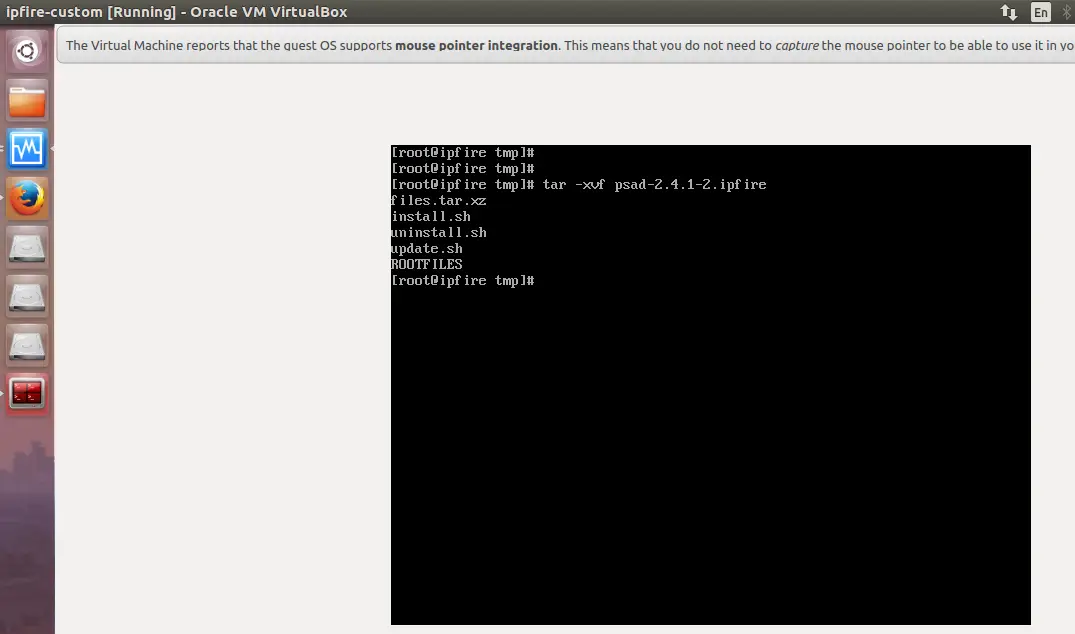
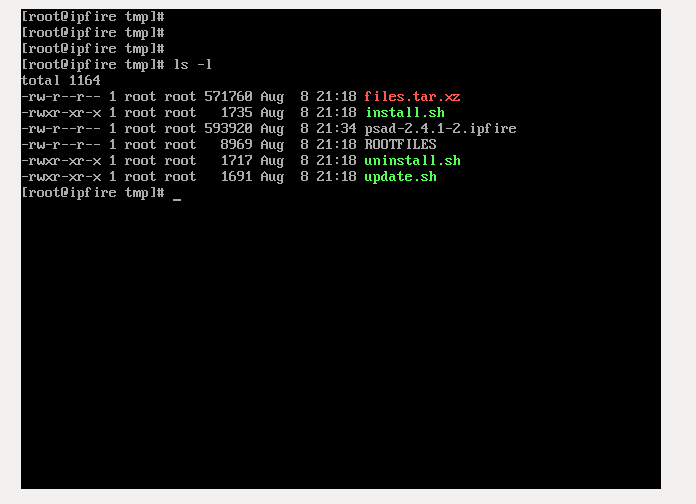
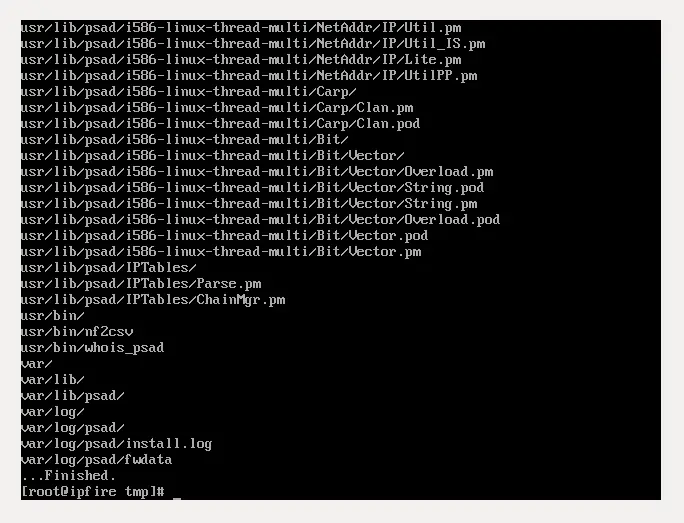
List of PSAD addon files is shown below.
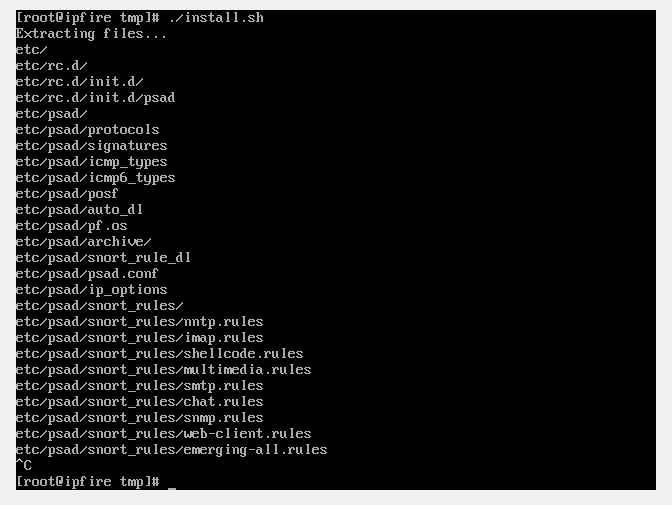
Following windows shows the installation of PSAD addon on the IPFire.
./install.sh
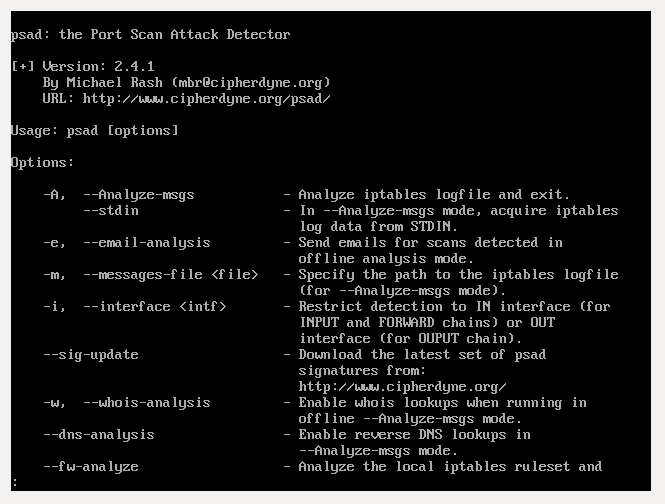
Following figure shows the PSAD tool help on IPFire environment.
In this article, new feature or addon is included the well-known Linux-based firewall "IPFire". PSAD tool is used to automatically block the malicious traffic using IPtables. Compilation of PSAD for IPFire environment is our contribution.

