How to Install Seafile Self-Hosted Cloud Storage with Nginx on Ubuntu 22.04
This tutorial exists for these OS versions
- Ubuntu 22.04 (Jammy Jellyfish)
- Ubuntu 20.04 (Focal Fossa)
- Ubuntu 18.04 (Bionic Beaver)
- Ubuntu 16.04 (Xenial Xerus)
- Ubuntu 15.04 (Vivid Vervet)
On this page
- Prerequisites
- Step 1 - Configure Firewall
- Step 2 - Installing Seafile Dependencies
- Step 3 - Install MySQL
- Step 4 - Configure MySQL
- Step 5 - Create a Seafile directory and user
- Step 6 - Download and Install Seafile
- Step 7 - Start Seafile Server
- Step 8 - Configure Seafile
- Step 9 - Create Systemd Service
- Step 10 - Install Nginx
- Step 11 - Install SSL
- Step 12 - Configure Nginx
- Step 13 - Access Seafile
- Conclusion
Seafile is an open-source, self-hosted file synchronization and sharing platform. It allows users to store and encrypt data on their servers without relying on third-party cloud providers. Seafile allows you to share files and folders using cross-platform syncing and password-protected links to files with expiration dates. Seafile also versions files which allow a user to restore deleted and modified files or folders.
In this tutorial, you will learn to install Seafile on a Ubuntu 22.04 server, MySQL, and Nginx as a reverse-proxy server.
Prerequisites
-
A server running Ubuntu 22.04 with a minimum of 2 CPU Cores and 2GB of RAM.
-
A non-root user with sudo privileges.
-
A fully qualified domain name (FQDN) like
seafile.example.com. -
Make sure everything is updated.
$ sudo apt update $ sudo apt upgrade -
Few packages that your system needs.
$ sudo apt install wget curl nano software-properties-common dirmngr apt-transport-https gnupg2 ca-certificates lsb-release ubuntu-keyring unzip -ySome of these packages may already be installed on your system.
Step 1 - Configure Firewall
The first step is to configure the firewall. Ubuntu comes with ufw (Uncomplicated Firewall) by default.
Check if the firewall is running.
$ sudo ufw status
You should get the following output.
Status: inactive
Allow SSH port so the firewall doesn't break the current connection on enabling it.
$ sudo ufw allow OpenSSH
Allow HTTP and HTTPS ports as well.
$ sudo ufw allow http
$ sudo ufw allow https
Enable the Firewall
$ sudo ufw enable
Command may disrupt existing ssh connections. Proceed with operation (y|n)? y
Firewall is active and enabled on system startup
Check the status of the firewall again.
$ sudo ufw status
You should see a similar output.
Status: active

To                         Action      From
--                         ------      ----
OpenSSH                    ALLOW       Anywhere
80/tcp                     ALLOW       Anywhere
443                        ALLOW       Anywhere
OpenSSH (v6)               ALLOW       Anywhere (v6)
80/tcp (v6)                ALLOW       Anywhere (v6)
443 (v6)                   ALLOW       Anywhere (v6)
Step 2 - Installing Seafile Dependencies
Since Seafile is written in the Python Django framework, you need to install its dependencies and Python packages to make it work.
Run the following command to install Python tools, Pip package manager, SQL libraries, and Memcached.
$ sudo apt install -y python3 python3-setuptools python3-pip libmysqlclient-dev memcached libmemcached-dev
Run the following command to install Python dependencies.
$ sudo pip3 install --timeout=3600 django==3.2.* future==0.18.* mysqlclient==2.1.* \
    pymysql pillow==9.3.* pylibmc captcha==0.4 markupsafe==2.0.1 jinja2 sqlalchemy==1.4.3 \
    psd-tools django-pylibmc django_simple_captcha==0.5.* djangosaml2==1.5.* pysaml2==7.2.* pycryptodome==3.16.* cffi==1.15.1 lxml
Step 3 - Install MySQL
Ubuntu 22.04 ships with the latest version of MySQL. You can install it with a single command.
$ sudo apt install -y mysql-server
Check the version of MySQL.
$ mysql --version
mysql  Ver 8.0.32-0ubuntu0.22.04.2 for Linux on x86_64 ((Ubuntu))
This step is necessary for MySQL versions 8.0.28 and above. Enter the MySQL Shell.
$ sudo mysql
Run the following command to set the password for your root user. Make sure it has a mix of numbers, uppercase, lowercase, and special characters.
mysql> ALTER USER 'root'@'localhost' IDENTIFIED WITH mysql_native_password BY 'YourPassword12!';
Exit the shell.
mysql> exit
Run the MySQL secure install script.
$ sudo mysql_secure_installation
First, you will be asked for your root password. Enter it. Next, you will be asked to install the Validate Password Component. It checks the strength of passwords used in MySQL. Press Y to install it. Next, you will be asked to set the level of the password validation policy. Choose 2 as it is the strongest one.
Securing the MySQL server deployment.

Enter password for user root:

VALIDATE PASSWORD COMPONENT can be used to test passwords
and improve security. It checks the strength of password
and allows the users to set only those passwords which are
secure enough. Would you like to setup VALIDATE PASSWORD component?

Press y|Y for Yes, any other key for No: Y

There are three levels of password validation policy:

LOW    Length >= 8
MEDIUM Length >= 8, numeric, mixed case, and special characters
STRONG Length >= 8, numeric, mixed case, special characters and dictionary                  file

Please enter 0 = LOW, 1 = MEDIUM and 2 = STRONG: 2
Using existing password for root.

Estimated strength of the password: 100
Next, enter N to refuse to change your root password. Also, enter Y to remove anonymous users, disallow remote root logins, remove the test database, and reload the privilege tables.
Change the password for root ? ((Press y|Y for Yes, any other key for No) : N

 ... skipping.
By default, a MySQL installation has an anonymous user,
allowing anyone to log into MySQL without having to have
a user account created for them. This is intended only for
testing, and to make the installation go a bit smoother.
You should remove them before moving into a production
environment.

Remove anonymous users? (Press y|Y for Yes, any other key for No) : Y
Success.


Normally, root should only be allowed to connect from
'localhost'. This ensures that someone cannot guess at
the root password from the network.

Disallow root login remotely? (Press y|Y for Yes, any other key for No) : Y
Success.

By default, MySQL comes with a database named 'test' that
anyone can access. This is also intended only for testing,
and should be removed before moving into a production
environment.


Remove test database and access to it? (Press y|Y for Yes, any other key for No) : Y
 - Dropping test database...
Success.

 - Removing privileges on test database...
Success.

Reloading the privilege tables will ensure that all changes
made so far will take effect immediately.

Reload privilege tables now? (Press y|Y for Yes, any other key for No) : Y
Success.

All done!
Step 4 - Configure MySQL
Log in to the MySQL shell. Enter your root password when prompted.
$ sudo mysql -u root -p
Create the following three databases.
mysql> CREATE DATABASE ccnet_db CHARACTER SET utf8;
mysql> CREATE DATABASE seafile_db CHARACTER SET utf8;
mysql> CREATE DATABASE seahub_db CHARACTER SET utf8;
Create an SQL user account for accessing these databases. Seafile only works with the mysql_native_password authentication plugin and since MySQL 8 doesn't use it by default, therefore you need to specify it while creating.
mysql> CREATE USER 'seafile'@'localhost' IDENTIFIED WITH mysql_native_password BY 'Your_password2';
Grant all privileges on the three databases to the user.
mysql> GRANT ALL PRIVILEGES ON `ccnet_db`.* to `seafile`@localhost;
mysql> GRANT ALL PRIVILEGES ON `seafile_db`.* to `seafile`@localhost;
mysql> GRANT ALL PRIVILEGES ON `seahub_db`.* to `seafile`@localhost;
Flush user privileges.
mysql> FLUSH PRIVILEGES;
Exit the shell.
mysql> exit
Step 5 - Create a Seafile directory and user
Create the directory for Seafile's program files.
$ sudo mkdir /opt/seafile
Create the user for Seafile.
$ sudo adduser --home /opt/seafile --shell /bin/bash seafile
Change the ownership of the directory to the new user.
$ sudo chown -R seafile: /opt/seafile
Step 6 - Download and Install Seafile
Log in as the Seafile user. Enter your user password when prompted.
$ su seafile
Visit the Seafile download page and grab the download link for Seafile's latest version. At the time of writing this tutorial, the latest version is 10.0.1.
Download the Seafile server archive.
$ wget https://s3.eu-central-1.amazonaws.com/download.seadrive.org/seafile-server_10.0.1_x86-64.tar.gz
Extract the archive.
$ tar xf seafile-server_10.0.1_x86-64.tar.gz
Switch to the Seafile directory.
$ cd seafile-server-10.0.1/
Run the Seafile installation script.
$ ./setup-seafile-mysql.sh
The installer script will start. Press the ENTER key to continue.
Checking python on this machine ...

-----------------------------------------------------------------
This script will guide you to setup your seafile server using MySQL.
Make sure you have read seafile server manual at

        https://download.seafile.com/published/seafile-manual/home.md

Press ENTER to continue
-----------------------------------------------------------------
Next, configure your Seafile server by providing a name for your server, a domain name (seafile.example.com), and the port. You can leave the port field empty for Seafile to stick to the 8082 as the default port. Once configured, press the ENTER key to continue.
What is the name of the server? It will be displayed on the client.
3 - 15 letters or digits
[ server name ] Howtoforge

What is the ip or domain of the server?
For example: www.mycompany.com, 192.168.1.101
[ This server's ip or domain ] seafile.example.com

Which port do you want to use for the seafile fileserver?
[ default "8082" ]
Next, you will be asked to choose a way to initialize Seafile databases. Since we have already created the database, choose the 2nd option.
-------------------------------------------------------
Please choose a way to initialize seafile databases:
-------------------------------------------------------

[1] Create new ccnet/seafile/seahub databases
[2] Use existing ccnet/seafile/seahub databases

[ 1 or 2 ] 2
Next, you will be asked to enter the database details for Seafile. Leave the host and port fields empty for Seafile to select the default values. Enter the other values as configured in Step 4.
What is the host of mysql server?
[ default "localhost" ]

What is the port of mysql server?
[ default "3306" ]

Which mysql user to use for seafile?
[ mysql user for seafile ] seafile

What is the password for mysql user "seafile"?
[ password for seafile ]

verifying password of user seafile ...  done

Enter the existing database name for ccnet:
[ ccnet database ] ccnet_db

verifying user "seafile" access to database ccnet_db ...  done

Enter the existing database name for seafile:
[ seafile database ] seafile_db

verifying user "seafile" access to database seafile_db ...  done

Enter the existing database name for seahub:
[ seahub database ] seahub_db

verifying user "seafile" access to database seahub_db ...  done
Next, you will be shown your Seafile configurations. Press the ENTER key to continue the installation.
---------------------------------
This is your configuration
---------------------------------

    server name:            Howtoforge
    server ip/domain:       seafile.example.com

    seafile data dir:       /opt/seafile/seafile-data
    fileserver port:        8082

    database:               use existing
    ccnet database:         ccnet_db
    seafile database:       seafile_db
    seahub database:        seahub_db
    database user:          seafile


---------------------------------
Press ENTER to continue, or Ctrl-C to abort
---------------------------------
You will see the following screen if the installation was successful.
Generating ccnet configuration ...

Generating seafile configuration ...

done
Generating seahub configuration ...

----------------------------------------
Now creating ccnet database tables ...

----------------------------------------
----------------------------------------
Now creating seafile database tables ...

----------------------------------------
----------------------------------------
Now creating seahub database tables ...

----------------------------------------

creating seafile-server-latest symbolic link ...  done


-----------------------------------------------------------------
Your seafile server configuration has been finished successfully.
-----------------------------------------------------------------

run seafile server:     ./seafile.sh { start | stop | restart }
run seahub  server:     ./seahub.sh  { start <port> | stop | restart <port> }

-----------------------------------------------------------------
If you are behind a firewall, remember to allow input/output of these tcp ports:
-----------------------------------------------------------------

port of seafile fileserver:   8082
port of seahub:               8000

When problems occur, Refer to

        https://download.seafile.com/published/seafile-manual/home.md

for information.
Step 7 - Start Seafile Server
Switch to the /opt/seafile/seafile-server-latest directory.
$ cd /opt/seafile/seafile-server-latest
Run the following command to start the Seaf-server.
$ ./seafile.sh start
You will get the following output.
Starting seafile server, please wait ...
** Message: 04:42:32.937: seafile-controller.c(621): No seafevents.

Seafile server started

Done.
Run the following command to start Seahub.
$ ./seahub.sh start
The first time Seahub starts, you will be prompted for the administrator account details.
LC_ALL is not set in ENV, set to en_US.UTF-8
Starting seahub at port 8000 ...

----------------------------------------
It's the first time you start the seafile server. Now let's create the admin account
----------------------------------------

What is the email for the admin account?
[ admin email ] [email protected]

What is the password for the admin account?
[ admin password ]

Enter the password again:
[ admin password again ]


----------------------------------------
Successfully created seafile admin
----------------------------------------


Seahub is started

Done.
Stop the Seafile and Seahub servers.
$ ./seafile.sh stop
$ ./seahub.sh stop
Step 8 - Configure Seafile
Open the file /opt/seafile/conf/seafile.conf for editing.
$ nano /opt/seafile/conf/seafile.conf
Add the parameter host = 127.0.0.1 under the [fileserver] section.
[fileserver]
host = 127.0.0.1
port = 8082
Save the file by pressing Ctrl + X and entering Y when prompted.
Open the file /opt/seafile/conf/seahub_settings.py for editing.
$ nano /opt/seafile/conf/seahub_settings.py
Modify the value of the SERVICE_URL to reflect HTTPS protocol.
SERVICE_URL = "https://seafile.example.com/"
Add the following line below it.
FILE_SERVER_ROOT = "https://seafile.example.com/seafhttp"
Add the following code at the end of the file.
CACHES = {
    'default': {
        'BACKEND': 'django_pylibmc.memcached.PyLibMCCache',
        'LOCATION': '127.0.0.1:11211',
    },
}
Save the file by pressing Ctrl + X and entering Y when prompted.
Exit the Seafile user shell.
$ exit
Step 9 - Create Systemd Service
To make sure Seafile starts automatically at boot and can withstand reboots, you need to create Systemd service unit files for it.
Create and open the /etc/systemd/system/seafile.service file for editing.
$ sudo nano /etc/systemd/system/seafile.service
Paste the following code in it.
[Unit]
Description=Seafile
# add mysql.service or postgresql.service depending on your database to the line below
After=network.target mysql.service

[Service]
Type=forking
ExecStart=/opt/seafile/seafile-server-latest/seafile.sh start
ExecStop=/opt/seafile/seafile-server-latest/seafile.sh stop
LimitNOFILE=infinity
User=seafile
Group=seafile

[Install]
WantedBy=multi-user.target
Save the file by pressing Ctrl + X and entering Y when prompted.
Create and open the /etc/systemd/system/seahub.service file for editing.
$ sudo nano /etc/systemd/system/seahub.service
Paste the following code in it.
[Unit]
Description=Seafile hub
After=network.target seafile.service

[Service]
Type=forking
# change start to start-fastcgi if you want to run fastcgi
ExecStart=/opt/seafile/seafile-server-latest/seahub.sh start
ExecStop=/opt/seafile/seafile-server-latest/seahub.sh stop
User=seafile
Group=seafile

[Install]
WantedBy=multi-user.target
Save the file by pressing Ctrl + X and entering Y when prompted.
Reload the Systemctl daemon.
$ sudo systemctl daemon-reload
Run the following commands to enable and start Seafile and Seahub services.
$ sudo systemctl enable --now seafile
$ sudo systemctl enable --now seahub
Check the status of both services.
$ sudo systemctl status seafile
? seafile.service - Seafile
     Loaded: loaded (/etc/systemd/system/seafile.service; enabled; vendor preset: enabled)
     Active: active (running) since Wed 2023-04-19 07:20:38 UTC; 24s ago
      Tasks: 19 (limit: 1026)
     Memory: 11.6M
        CPU: 102ms
     CGroup: /system.slice/seafile.service
             ??3601 /opt/seafile/seafile-server-10.0.1/seafile/bin/seafile-controller -c /opt/seafile/ccnet -d /opt/seafile/seafile-data -F /opt/seafile/conf
Next, check the status of Seahub.
$ sudo systemctl status seahub
? seahub.service - Seafile hub
     Loaded: loaded (/etc/systemd/system/seahub.service; enabled; vendor preset: enabled)
     Active: active (running) since Wed 2023-04-19 07:20:54 UTC; 19s ago
    Process: 3655 ExecStart=/opt/seafile/seafile-server-latest/seahub.sh start (code=exited, status=0/SUCCESS)
   Main PID: 3668 (python3)
      Tasks: 6 (limit: 1026)
     Memory: 85.8M
        CPU: 1.177s
     CGroup: /system.slice/seahub.service
             ??3668 python3 /opt/seafile/seafile-server-10.0.1/seahub/thirdpart/bin/gunicorn seahub.wsgi:application -c /opt/seafile/conf/gunicorn.conf.py --preload
Step 10 - Install Nginx
Ubuntu 22.04 ships with an older version of Nginx. To install the latest version, you need to download the official Nginx repository.
Import Nginx's signing key.
$ curl https://nginx.org/keys/nginx_signing.key | gpg --dearmor \
| sudo tee /usr/share/keyrings/nginx-archive-keyring.gpg >/dev/null
Add the repository for Nginx's stable version.
$ echo "deb [signed-by=/usr/share/keyrings/nginx-archive-keyring.gpg arch=amd64] \
http://nginx.org/packages/ubuntu `lsb_release -cs` nginx" \
| sudo tee /etc/apt/sources.list.d/nginx.list
Update the system repositories.
$ sudo apt update
Install Nginx.
$ sudo apt install nginx
Verify the installation.
$ nginx -v
nginx version: nginx/1.24.0
Start the Nginx server.
$ sudo systemctl start nginx
Step 11 - Install SSL
We need to install Certbot to generate the SSL certificate. You can either install Certbot using Ubuntu's repository or grab the latest version using the Snapd tool. We will be using the Snapd version.
Ubuntu 22.04 comes with Snapd installed by default. Run the following commands to ensure that your version of Snapd is up to date.
$ sudo snap install core && sudo snap refresh core
Install Certbot.
$ sudo snap install --classic certbot
Use the following command to ensure that the Certbot command can be run by creating a symbolic link to the /usr/bin directory.
$ sudo ln -s /snap/bin/certbot /usr/bin/certbot
Run the following command to generate an SSL Certificate.
$ sudo certbot certonly --nginx --agree-tos --no-eff-email --staple-ocsp --preferred-challenges http -m [email protected] -d seafile.example.com
The above command will download a certificate to the /etc/letsencrypt/live/seafile.example.com directory on your server.
Generate a Diffie-Hellman group certificate.
$ sudo openssl dhparam -dsaparam -out /etc/ssl/certs/dhparam.pem 4096
Check the Certbot renewal scheduler service.
$ sudo systemctl list-timers
You will find snap.certbot.renew.service as one of the services scheduled to run.
NEXT                        LEFT          LAST                        PASSED        UNIT                       ACTIVATES
Wed 2023-04-19 10:31:47 UTC 2h 55min left Wed 2023-04-19 03:31:58 UTC 4h 3min ago   ua-timer.timer             ua-timer.service
Wed 2023-04-19 12:02:42 UTC 4h 26min left Wed 2023-04-19 03:19:20 UTC 4h 16min ago  motd-news.timer            motd-news.service
Wed 2023-04-19 18:19:56 UTC 10h left      Wed 2023-04-19 07:19:52 UTC 16min ago     apt-daily.timer            apt-daily.service
Wed 2023-04-19 22:51:00 UTC 15h left      n/a                         n/a           snap.certbot.renew.timer   snap.certbot.renew.service
Do a dry run of the process to check whether the SSL renewal is working fine.
$ sudo certbot renew --dry-run
If you see no errors, you are all set. Your certificate will renew automatically.
Step 12 - Configure Nginx
Create and open the file /etc/nginx/conf.d/seafile.conf for editing.
$ sudo nano /etc/nginx/conf.d/seafile.conf
Paste the following code in it.
log_format seafileformat '$http_x_forwarded_for $remote_addr [$time_local] "$request" $status $body_bytes_sent "$http_referer" "$http_user_agent" $upstream_response_time';

server {
    listen       80;
    listen       [::]:80;
    server_name  seafile.example.com;
    rewrite ^ https://$http_host$request_uri? permanent;    # Forced redirect from HTTP to HTTPS

    server_tokens off;      # Prevents the Nginx version from being displayed in the HTTP response header
}

server {
    listen 443 ssl http2;
    listen [::]:443 ssl http2;

    ssl_certificate /etc/letsencrypt/live/seafile.example.com/fullchain.pem;
    ssl_certificate_key /etc/letsencrypt/live/seafile.example.com/privkey.pem;
    ssl_trusted_certificate /etc/letsencrypt/live/seafile.example.com/chain.pem;
    ssl_session_timeout  5m;
    ssl_session_cache shared:MozSSL:10m;
    ssl_session_tickets off;
    ssl_protocols TLSv1.2 TLSv1.3;
    ssl_prefer_server_ciphers on;
    ssl_ciphers ECDHE-ECDSA-AES128-GCM-SHA256:ECDHE-RSA-AES128-GCM-SHA256:ECDHE-ECDSA-AES256-GCM-SHA384:ECDHE-RSA-AES256-GCM-SHA384:ECDHE-ECDSA-CHACHA20-POLY1305:ECDHE-RSA-CHACHA20-POLY1305:DHE-RSA-AES128-GCM-SHA256:DHE-RSA-AES256-GCM-SHA384;
    ssl_ecdh_curve X25519:prime256v1:secp384r1:secp521r1;
    ssl_stapling on;
    ssl_stapling_verify on;
    ssl_dhparam /etc/ssl/certs/dhparam.pem;
    resolver 8.8.8.8;

    server_name seafile.example.com;
    server_tokens off;

    location / {
        proxy_pass         http://127.0.0.1:8000;
        proxy_set_header   Host $host;
        proxy_set_header   X-Real-IP $remote_addr;
        proxy_set_header   X-Forwarded-For $proxy_add_x_forwarded_for;
        proxy_set_header   X-Forwarded-Host $server_name;
        proxy_read_timeout 1200s;

        proxy_set_header   X-Forwarded-Proto https;

        # used for view/edit office file via Office Online Server
        client_max_body_size 0;

        access_log      /var/log/nginx/seahub.access.log seafileformat;
        error_log       /var/log/nginx/seahub.error.log;
    }

    location /seafhttp {
        rewrite ^/seafhttp(.*)$ $1 break;
        proxy_pass http://127.0.0.1:8082;
        client_max_body_size 0;
        proxy_set_header   X-Forwarded-For $proxy_add_x_forwarded_for;

        proxy_connect_timeout  36000s;
        proxy_read_timeout  36000s;
        proxy_send_timeout  36000s;

        send_timeout  36000s;

        # Uncomment the following line if you want to support uploads > 4GB
        # proxy_request_buffering off;

        access_log      /var/log/nginx/seafhttp.access.log seafileformat;
        error_log       /var/log/nginx/seafhttp.error.log;
    }

    location /media {
        root /opt/seafile/seafile-server-latest/seahub;
    }
}
Save the file by pressing Ctrl + X and entering Y when prompted once finished.
Open the file /etc/nginx/nginx.conf for editing.
$ sudo nano /etc/nginx/nginx.conf
Add the following line before the line include /etc/nginx/conf.d/*.conf;.
server_names_hash_bucket_size 64;
Save the file by pressing Ctrl + X and entering Y when prompted.
Verify the Nginx configuration file syntax.
$ sudo nginx -t
nginx: the configuration file /etc/nginx/nginx.conf syntax is ok
nginx: configuration file /etc/nginx/nginx.conf test is successful
Restart the Nginx service.
$ sudo systemctl restart nginx
Step 13 - Access Seafile
Open the URL https://seafile.example.com in your browser and you will get the following login screen.
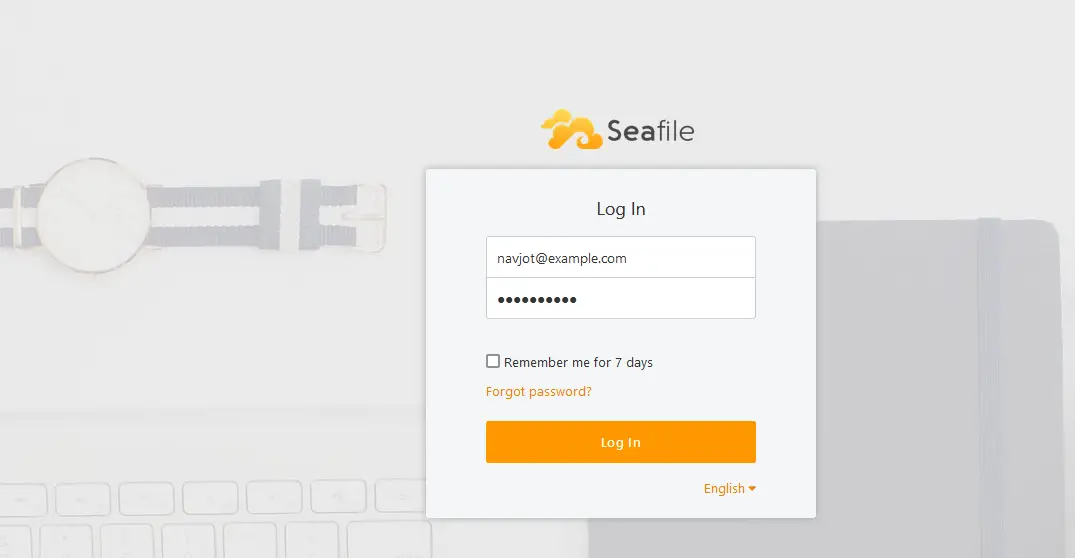
Enter the credentials you created in step 7 and click the Log in button to proceed. You will be greeted by the following page.
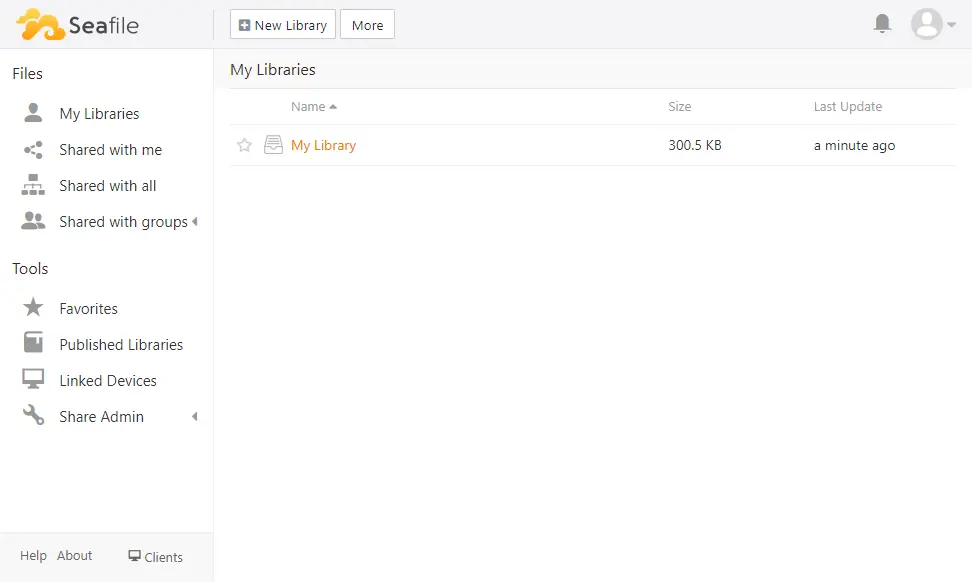
Click the My Library to open the default library.
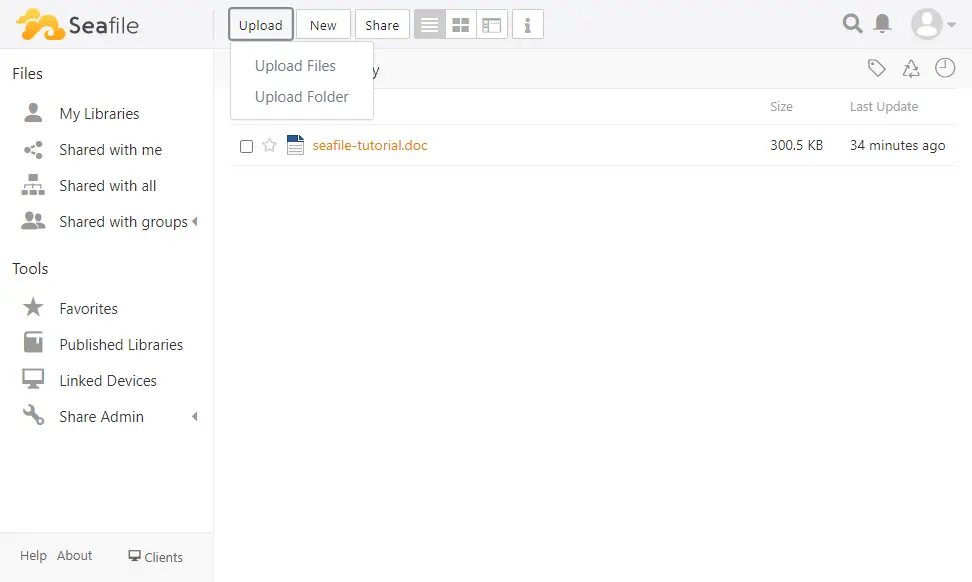
Click the Upload button and select the Upload files option. Select the file you want to upload and click the Open button.
The progress bar will load and your file will be soon uploaded.

To access the Administration panel, click the profile picture icon on the top right area.
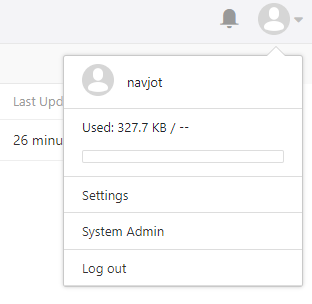
Select the System Admin option to open the administration panel.
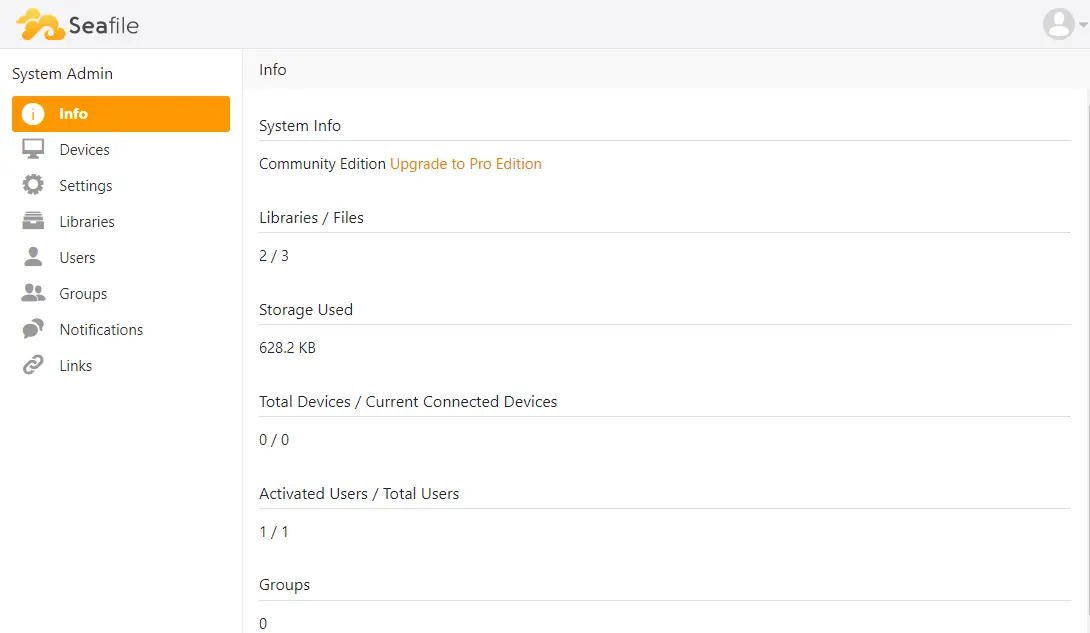
From here on, you can change your site's branding, enable stronger passwords, and two-factor authentication, disable registrations, and manage multiple users among other options.
Conclusion
This concludes our tutorial on installing Seafile self-hosted cloud storage on a Ubuntu 22.04 server. If you have any questions, post them in the comments below.

