Server Monitoring with Shinken on Ubuntu 16.04
Shinken is an open source computer and network monitoring framework written in python and compatible with Nagios. Shinken can be used on all operating systems that can run python applications like Linux, Unix, and Windows. Shinken was written by Jean Gabes as proof of concept for a new Nagios architecture, but it was turned down by the Nagios author and became an independent network and system monitoring tool that stays compatible with Nagios.
In this tutorial, I will show you how to install Shinken from source and add a Linux host to the monitoring system. I will use Ubuntu 16.04 Xenial Xerus as the operating system for the Shinken server and monitored host.
Step 1 - Install Shinken Server
Shinken is a python framework, we can install it with pip or install it from source. In this step, we will install Shinken from source.
There are some tasks that have to be completed before we start installing Shinken.
Install some new python packages and create Linux user with the name "shinken":
sudo apt-get install python-setuptools python-pip python-pycurl
useradd -m -s /bin/bash shinken
Download the Shinken source from GitHub repository:
git clone https://github.com/naparuba/shinken.git
cd shinken/
Then install Shinken with the command below:
git checkout 2.4.3
python setup.py install
Next, for better results, we need to install 'python-cherrypy3' from the ubuntu repository:
sudo apt-get install python-cherrypy3
Now Shinken is installed, next we add Shinken to start at boot time and start it:
update-rc.d shinken defaults
systemctl start shinken
Step 2 - Install Shinken Webui2
Webui2 is the Shinken web interface available from shinken.io. The easiest way to install Sshinken webui2 is by using the shinken CLI command (which has to be executed as shinken user).
Login to the shinken user:
su - shinken
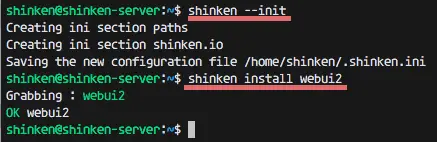
Initialize the shinken configuration file - The command will create a new configuration .shinken.ini:
shinken --init
And install webui2 with this shinken CLI command:
shinken install webui2
Webui2 is installed, but we need to install MongoDB and another python package with pip. Run command below as root:
sudo apt-get install mongodb
pip install pymongo>=3.0.3 requests arrow bottle==0.12.8
Next, go to the shinken directory and add the new webui2 module by editing the 'broker-master.cfg' file:
cd /etc/shinken/brokers/
vim broker-master.cfg
Add a new option inside module on line 40:
modules webui2
Save the file and exit the editor.
Now go to the contacts directory and edit the file 'admin.cfg' for the admin configuration.
cd /etc/shinken/contacts/
vim admin.cfg
Change the values shown below:
contact_name    admin       # Username 'admin'
password        yourpass    # Pass 'mypass'
Save and exit.
Step 3 - Install Nagios-plugins and Shinken Packages
In this step, we will install Nagios-plugins and some Perl module. Then install additional shinken packages from shinken.io to perform the monitoring.
Install Nagios-plugins and cpanminus which is required for building and installing the Perl modules:
sudo apt-get install nagios-plugins* cpanminus
Install these Perl modules with the cpanm command:
cpanm Net::SNMP
cpanm Time::HiRes
cpanm DBI
Now create new link for utils.pm file to shinken the directory and create a new directory for Log_File_Health:
chmod u+s /usr/lib/nagios/plugins/check_icmp
ln -s /usr/lib/nagios/plugins/utils.pm /var/lib/shinken/libexec/
mkdir -p /var/log/rhosts/
touch /var/log/rhosts/remote-hosts.log
Next, install the shinken packages ssh and linux-snmp for monitoring SSH and SNMP sources from shinken.io:
su - shinken
shinken install ssh
shinken install linux-snmp
Step 4 - Add a New Linux Host/host-one
We will add a new Linux host that shall be monitored by using an Ubuntu 16.04 server with IP address 192.168.1.121 and hostname 'host-one'.
Connect to the Linux host-one:
ssh [email protected]
Install the snmp and snmpd packages from the Ubuntu repository:
sudo apt-get install snmp snmpd
Next, edit the configuration file 'snmpd.conf' with vim:
vim /etc/snmp/snmpd.conf
Comment line 15 and uncomment line 17:
#agentAddress  udp:127.0.0.1:161
agentAddress udp:161,udp6:[::1]:161
Comment line 51 and 53, then add new line configuration below:
#rocommunity mypass  default    -V systemonly
#rocommunity6 mypass  default   -V systemonly

rocommunity mypass
Save and exit.
Now start the snmpd service with the systemctl command:
systemctl start snmpd
Go to the shinken server and define the new host by creating a new file in the 'hosts' directory.
cd /etc/shinken/hosts/
vim host-one.cfg
Paste configuration below:
define host{
        use                 generic-host,linux-snmp,ssh
        contact_groups      admins
        host_name           host-one
        address             192.168.1.121
        _SNMPCOMMUNITY      mypass        # SNMP Pass Config on snmpd.conf
    }
Save and exit.
Edit the SNMP configuration on the Shinken server:
vim /etc/shinken/resource.d/snmp.cfg
Change 'public' to 'mypass' - must be the same password that you used in the snmpd configuration file on the client host-one.
$SNMPCOMMUNITYREAD$=mypass
Save and exit.
Now reboot both servers - Shinken server and the monitored Linux host:
reboot
The new Linux host has been added successfully to the Shinken server.
Step 5 - Access Shinken Webui2
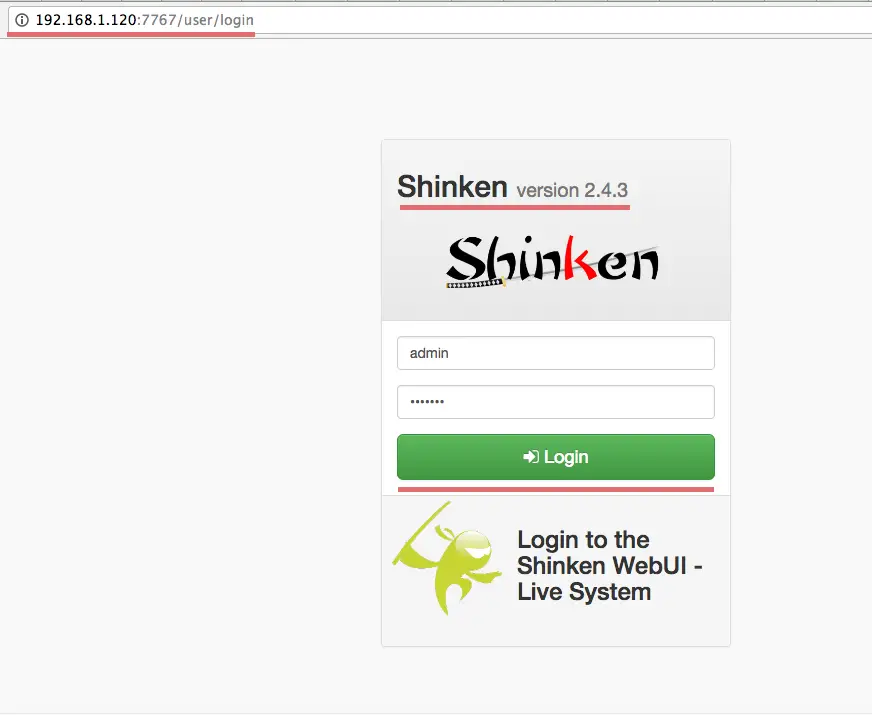
Visit the Shinken webui2 on port 7677 (replace the IP in the URL with your IP):
Log in with user admin and your password (the one that you have set in the admin.cfg configuration file).
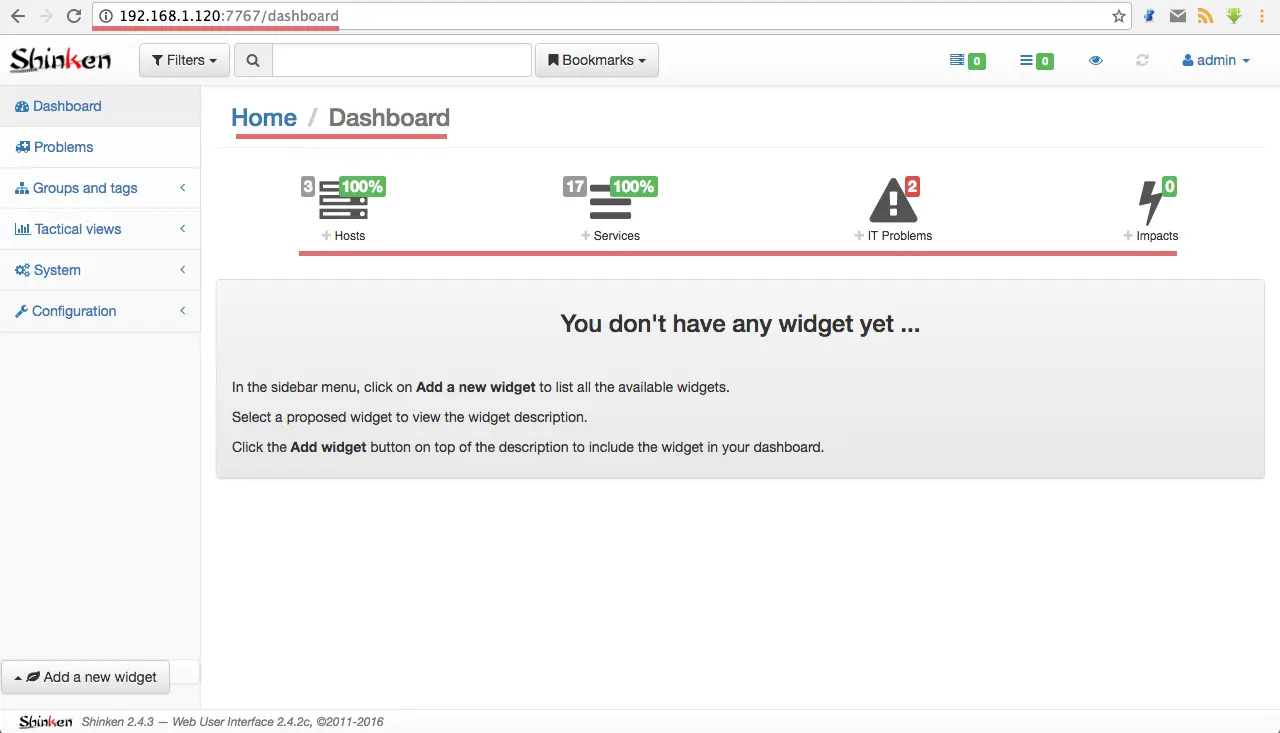
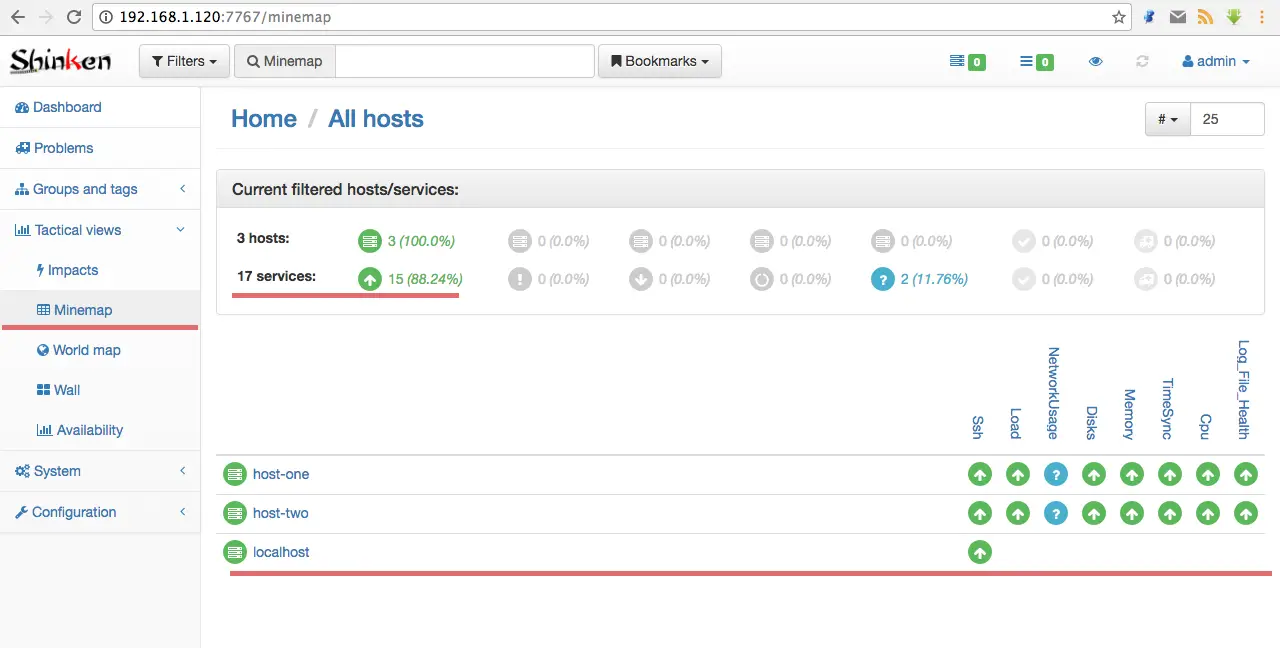
Shinken Dashboard in Webui2.
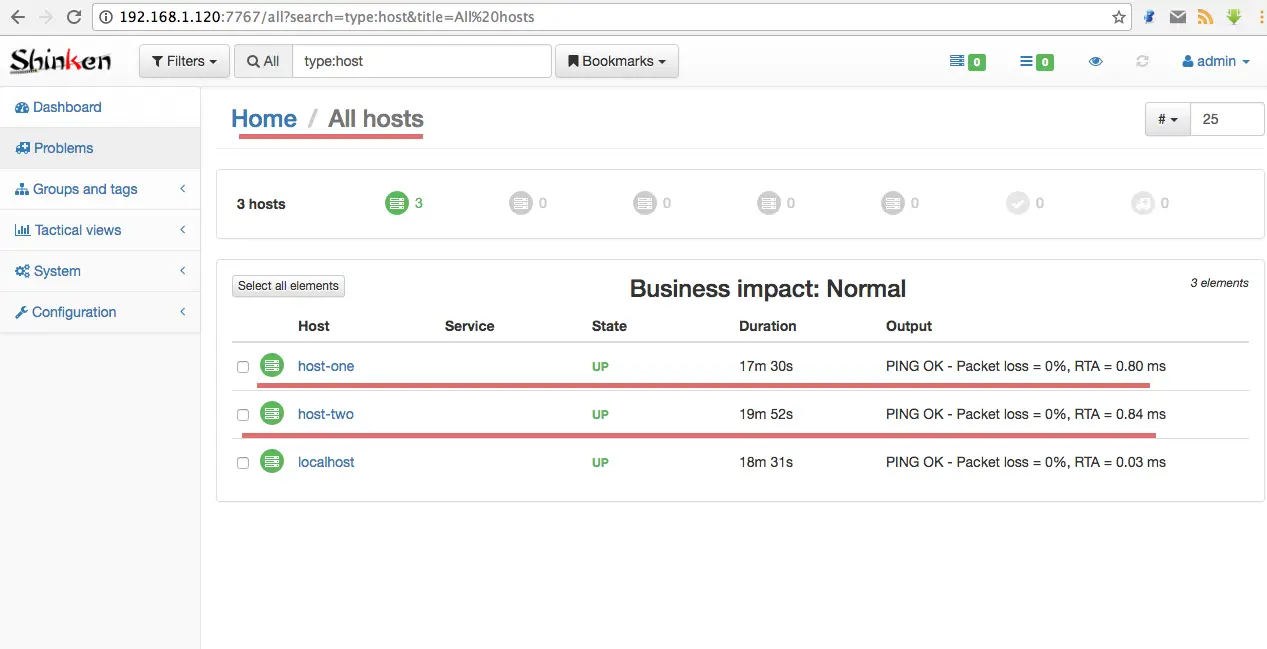
Our 2 servers are monitored with Shinken.
List all services that are monitored with linux-snmp.
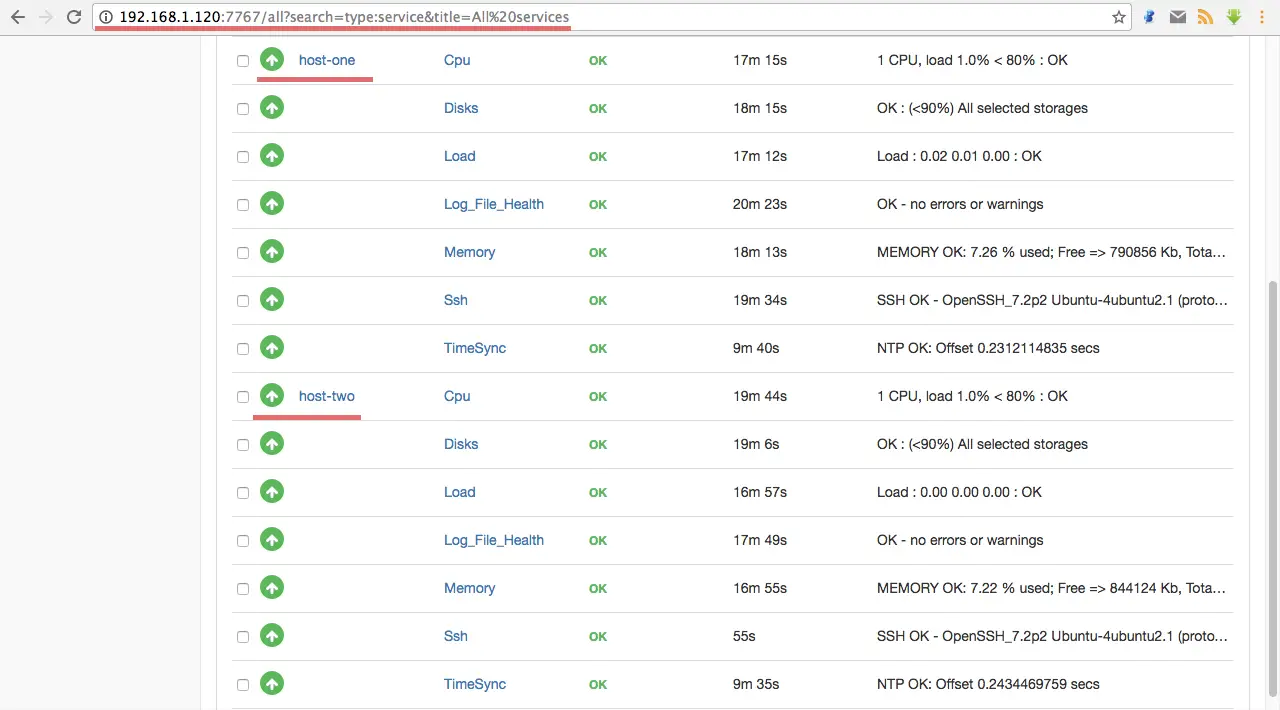
Status of all hosts and services.
Step 6 - Common Problems with Shinken
- Problems with the NTP server
When you get this error with NTP.
TimeSync - CRITICAL ( NTP CRITICAL: No response from the NTP server)
TimeSync - CRITICAL ( NTP CRITICAL: Offset unknown )
To solve this problem, install ntp on all Linux hosts.
sudo apt-get install ntp ntpdate
Edit the ntp configuration:
vim /etc/ntp.conf
Comment all the pools and replace it with:
#pool 0.ubuntu.pool.ntp.org iburst
#pool 1.ubuntu.pool.ntp.org iburst
#pool 2.ubuntu.pool.ntp.org iburst
#pool 3.ubuntu.pool.ntp.org iburst

pool 0.id.pool.ntp.org
pool 1.asia.pool.ntp.org
pool 0.asia.pool.ntp.org
Next, add a new line inside restrict:
# Local users may interrogate the ntp server more closely.
restrict 127.0.0.1
restrict 192.168.1.120 #shinken server IP address
restrict ::1
NOTE: 192.168.1.120 is the Shinken server IP address.
Save and exit.
Start ntp and check the Shinken dashboard:
ntpd
- Problem check_netint.pl Not Found
Download the source from the github repository to the shinken lib directory:
cd /var/lib/shinken/libexec/
wget https://raw.githubusercontent.com/Sysnove/shinken-plugins/master/check_netint.pl
chmod +x check_netint.pl
chown shinken:shinken check_netint.pl
- Problem with NetworkUsage
There is error message:
ERROR : Unknown interface eth\d+
Check your network interface and edit the linux-snmp template.
On my Ubuntu server, the network interface is 'enp0s8', not eth0, so I got this error.
Edit the linux-snmp template packs with vim:
vim /etc/shinken/packs/linux-snmp/templates.cfg
Add the network interface to line 24:
_NET_IFACES eth\d+|em\d+|enp0s8
Save and exit.

