
In today’s article, we will install Hiawatha on a Linux VPS. Hiawatha is an advanced, light and high-performance open source web server designed by Hugo Leisink with special emphasis on security.
Hiawatha boasts many security features as standard which would normally be included as modules (or not at all) in other webservers, features that cover prevention of SQL-injection, cross-site scripting (XSS), cross-site request forgery (CSRF) prevention, denial-of-service protection, control external image linking, banning of potential hackers and limiting the runtime of CGI applications.
It has a lot of features few of which are the ones listed below:
- CGI and load balancing FastCGI support
- Large file support
- Reverse proxy functionality
- Chroot support
- URL toolkit which supports URL rewriting
- SSL and TLS support
- Basic and digest HTTP authentication
- Upload speed control by traffic shaping
- Internal file caching
- IPv6 support
- HTTP compression using gzip
- Virtual hosting
- Support for WebDAV applications
- Support for Server Name Indication included in v8.6
More info can be found on the Hiawatha official site.
So, let’s start now.
REQUIREMENTS
We will be using our SSD 1 Linux VPS hosting plan for this tutorial. The operating systems on which we will do the Hiawatha installations are Ubuntu 16.04, Debian 8 and CentOS 7.
UBUNTU
LOG IN TO YOUR SERVER VIA SSH
# ssh root@server_ip
You can check whether you have the proper Ubuntu version installed on your server with the following command:
# lsb_release -a
You should get this output:
Distributor ID: Ubuntu
Description:    Ubuntu 16.04.1 LTS
Release:        16.04
Codename:       xenial
UPDATE THE SYSTEM
Make sure your server is fully up to date using:
# apt-get update && apt-get upgrade
Install the appropriate repository key:
# apt-key adv --recv-keys --keyserver keys.gnupg.net 79AF54A9
Edit the sources.list file:
# nano /etc/apt/sources.list
and add this line:
deb http://mirror.tuxhelp.org/debian/ squeeze main
Save and close the file. Update the package index, install and start Hiawatha with the following three commands:
# apt-get update

# apt-get install hiawatha

# service hiawatha start
CENTOS
First check if you have the proper CentOS version installed on your server:
# cat /etc/redhat-release
You should get this output:
CentOS Linux release 7.2.1511 (Core)
Now install the respective repo:
# yum install http://anku.ecualinux.com/20/x86_64/anku-release-8-1.noarch.rpm
Install and start Hiawatha:
# yum --enablerepo=anku install hiawatha

# service hiawatha start
DEBIAN
Verify that you have the proper Debian version installed on your VPS:
# lsb_release -a
Which will give you:
Distributor ID: Debian
Description:    Debian GNU/Linux 8.5 (jessie)
Release:        8.5
Codename:       jessie
The Debian 8 version that we are installing Hiawatha on is 64 bit and therefore we will download the appropriate deb package with the underneath command:
# wget https://files.tuxhelp.org/hiawatha/hiawatha_10.3_amd64.deb
Before installing Hiawatha from the .deb package you’ve just downloaded, you need to install the XSLT 1.0 processing library because it is a dependency for the installation.
# apt-get install libxslt1.1
Now install and start Hiawatha:
# dpkg -i hiawatha_10.3_amd64.deb

# /etc/init.d/hiawatha start
You can access Hiawatha for all these operating systems by opening your favorite web browser and navigating to http://your_server_IP where you will see a page as the image below:
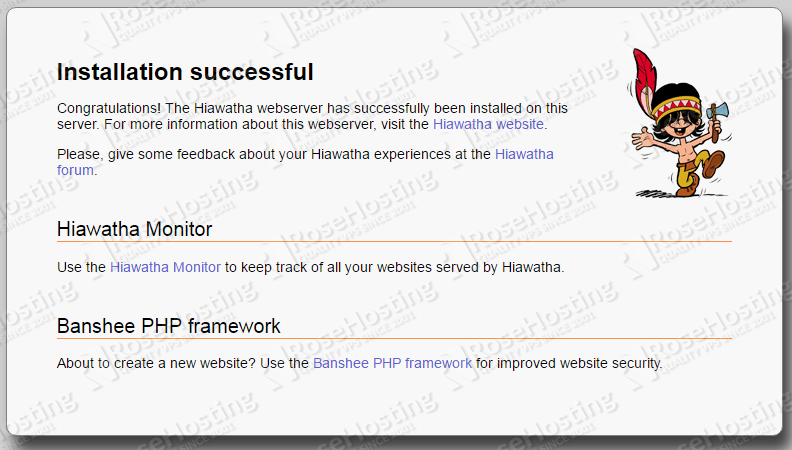
The configuration files for Hiawatha are in the /etc directory. The correct path is: /etc/hiawatha/
Of course, you don’t have to Install Hiawatha on a Linux VPS, if you use one of our Managed Linux VPS Hosting services, in which case you can simply ask our expert Linux admins to install Hiawatha for you. They are available 24×7 and will take care of your request immediately.
PS. If you liked this post, on how to Install Hiawatha on a Linux VPS, please share it with your friends on the social networks using the buttons on the left or simply leave a reply below. Thanks.
tuxhelp.org seems to be down – is there any other repository to download Hiawatha?
You can download it at https://www.hiawatha-webserver.org/download