
Let’s define Node.js in simple terms: Node.js allows you to run JavaScript on your server without a web browser. That’s it. Put like that, it sounds pretty dry, doesn’t it?
There’s more to it, of course. Node.js is actually JavaScript on steroids and has been expanded and enhanced to make building frameworks for complex, interactive websites easy. It also comes with a huge number of modules that let you effortlessly do you stuff that otherwise would be very difficult (like building custom web servers for your apps).
You can use Node.js to create anything from a simple webchat to an app that turns your mobile phone into a game controller. If you are using a videoconferencing utility over the web, the host is probably running on Node.js. If you are accessing your email and day planner through a web browser or playing online games, Node.js is sure to be somewhere in the mix, too.
Combine the mountain of modules mentioned above, a client-side framework (i.e., JavaScript that runs in the browser and makes your pages actually dynamic) like jQuery or AngularJS, and a database engine like MongoDB or Redis, and Node.js becomes a killer. But let’s not get ahead of ourselves.
Installing Node.js
Download the Node.js package from the Node.js home page and decompress it somewhere. As far as installation goes, that is basically it. You will find executable node and npm (Node Package Manager) programs in the bin/ subdirectory.
To access these tools from anywhere in your filesystem, you can add Node.js’s bin/ directory to your $PATH environment variable, or you could soft-link the node and npm programs into an existing directory in your $PATH. I linked mine into the bin/ directory in my home directory.
As I said earlier, at its simplest, Node.js is a JavaScript interpreter. As with Python, Perl, and others, you can run a node shell into which you can type JavaScript/node commands:
node
> for (i=10; i>0; i--) {
... console.log(i);
... }
10
9
8
7
6
5
4
3
2
1
undefined
>
(The console object shown above prints messages to stdout and stderr). You could also write scripts and execute them from Bash. Type the following into a text file:
#!/path/to/bin/node

for (i=10; i>0; i--)
{
   console.log(i);
}
console.log("Booom!");
Save it as consoledemo.js and make it executable with chmod a+x consoledemo.js. Now you can run it like any other script.
This is all well and good, but with Bash, Perl, Python and so on, who needs a console interpreter for JavaScript? Where Node.js comes into its own is when it’s generating web pages and running the back end of web applications. So, let’s do a bit of that.
Web Applications
The most basic application, I suppose, is to pipe a text into a web page:
var http = require("http");

http.createServer(function (request, response) {
  response.writeHead(200, {'Content-Type': 'text/html'});
  for (i=10;i>0;i--){
      response.write(String(i)+"<br />");
  }
  response.end('Boom!!!');
}).listen(8081);

console.log('Server running at http://127.0.0.1:8081/');
Type that into a text file, save it as server.js, and run it with
> node server.js
Server running at http://127.0.0.1:8081/
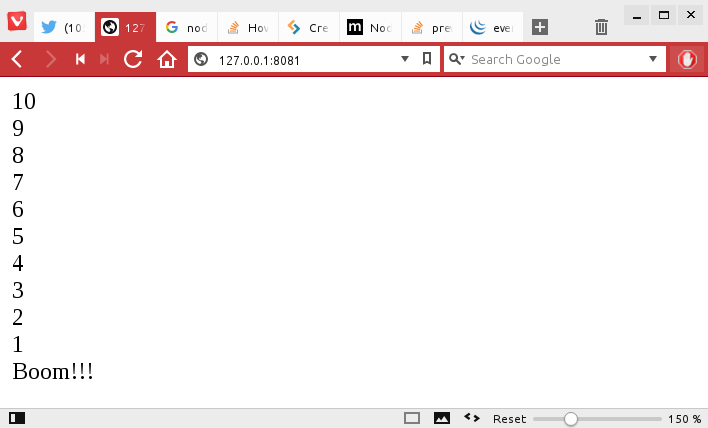
Now point your web browser to http://127.0.0.1:8081 and you will see what is shown in Figure 1.
Let’s deconstruct that script to see what’s going on:
-
var http = require(“http”); loads in Node.js’s http module and creates an http object. You can then use this object to create a web server. http is a core module that comes by default with Node.js, so you don’t have to install it separately.
-
http.createServer(function (request, response) { actually starts the server. The callback function (a function that is passed as an argument to another function) tells the server what the content is going to be and how it has to respond to petitions from clients…
-
… like the line response.writeHead(200, {‘Content-Type’: ‘text/html’});, which tells the server to serve up text formatted with HTML tags.
-
The for (i=10; i>0; i–) { response.write(String(i) + “<br />”); } loop prints out the count down in a similar way we saw above on the console, but formatted with HTML tags. Notice you have to convert it into a String.
-
response.end(‘Boom!!!’); tells the server that, with whatever is included within the brackets, it has reached the end of the data to push out to the page.
-
}).listen(8081); tells the server to listen on port 8081.
-
You have already seen what the likes of console.log(‘Server running at http://127.0.0.1:8081/’); does. In this case, it just reminds you what IP and port to visit.
I know, I know! This is like PHP but in reverse — instead of having code peppered in your HTML, you have HTML peppered in your code. I realize this is terrible and that you wouldn’t usually write an app like this. You would do your darnedest to keep your design separate from your programming.
To get rid of the sloppiness, you could do something like this:
var http = require("http"),
   fs = require("fs");

fs.readFile('./head.html', function (err, head) {
   if (err) {
       response.writeHead(500);
       response.end();
   }
   fs.readFile('./foot.html', function (err, foot) {
       if (err) {
           response.writeHead(500);
           response.end();
       }
       http.createServer(function (request, response) {
           response.writeHead(200, {'Content-Type': 'text/html'});

           response.write(head);
           for (i=10;i>0;i--){
               response.write(String(i)+"<br />");
           }
           response.write('Boom!!!');
           response.end(foot);

       }).listen(8081);
   });
});

console.log('Server running at http://127.0.0.1:8081/');
This does the same as the previous listing, but by using the Node.js fs (filesystem) module, you can read in HTML from files, head.html and foot.html, and dump the contents into variables (head and foot), thus keeping design separate from code.
After making sure reading the file doesn’t bork on you — if (err) { … } — output the contents of the variables through a response.write() and response.end(). If you make head.html look like this:
<html>
   <head>
   </head>
   <body>
       <div style="padding:1em;font-family:Sans-serif;background:blue;color:white">
       <h1>My Beautiful Header</h1>
       </div>
… and foot.html look like this:
       <div style="padding:1em;font-family:Sans-serif;background:red;color:white">
       <h1>My Spectacular Footer</h1>
       </div>
   </body>
</html>
then you will end up with a web page like that shown in Figure 2.
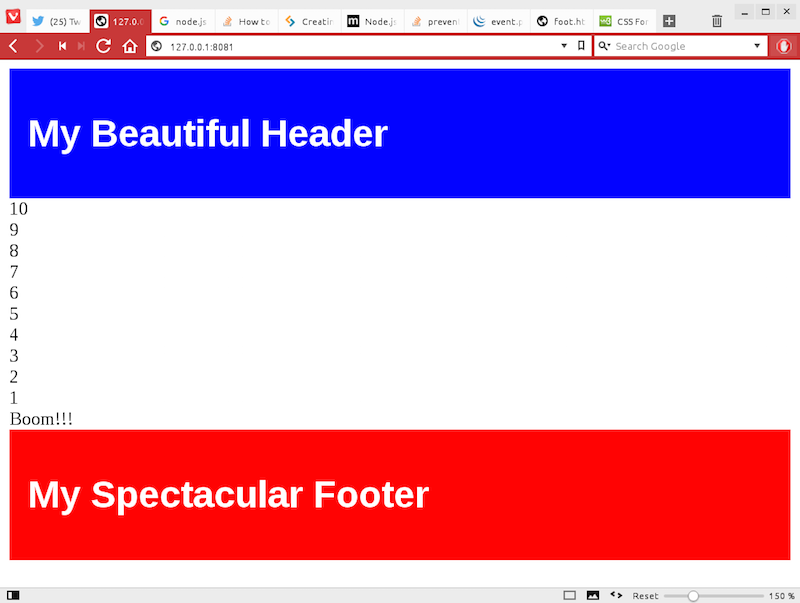
Again, this is not a terribly convenient way of creating templates for your pages. To see how to do templating right, you will want to look into Node.js’s pug and ejs modules.
You should also look into installing the express module, a web framework for Node.js. Where Node.js does JavaScript applications for the command line and the web, express only does web, but it does it very, very well. So much so that, once you get into Node.js programming, you will see it used again and again.
In the next article, I’ll explain more about npm, install some modules, and see what that brings to the table.
Want to learn more about developing applications? Check out the “Developing Applications with Linux” course from The Linux Foundation.


