How to Install Gitlab on Debian 8 (Jessie)
Gitlab is a web-based management and collaboration software for GIT servers similar to GitHub. It contains features like issue tracking, file browser, change tracking and a project wiki. Gitlab is used by many large technology companies like IBM, StackExchange, NASA, Alibaba and Red Hat. The Gitlab project provides packages for all Major Linux Distributions including Debian, Ubuntu, CentOS, and OpenSuSE.
Gitlab is available in two flavors, the free Community Edition (CE) and the Gitlab Enterprise Edition (EE).
In this tutorial, I will install Gitlab CE on a Debian 8 server behind a Nginx proxy. The Nginx proxy improves scalability and security of the system.
System Requirements
- Debian 8 (Jessie) - 64bit.
- CPU 2 Cores - recommendation from gitlab site.
- 4 GB RAM/Memory - recommendation from gitlab site.
- Root privileges.
Install the prerequisites
Login as root user to your server with SSH or open a terminal as root user. In this step, I will install some packages that are required by Gitlab with apt.
apt-get -y install curl openssh-server ca-certificates postfix
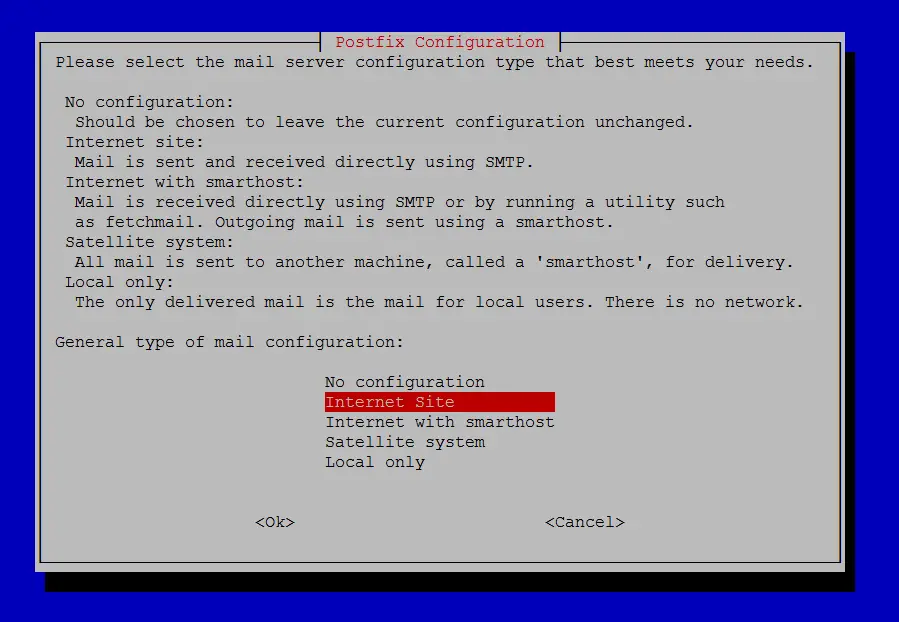
The postfix installer will ask you the following questions. The general type of mail configuration is "Internet Site" when the server is connected to the internet directly (e.g. a server or vserver in a datacenter). If the server is running in your local network and shall send emails trough another mail server, then select "Internet with Smarthost" as option. In my case, I will use "Internet Site" here.
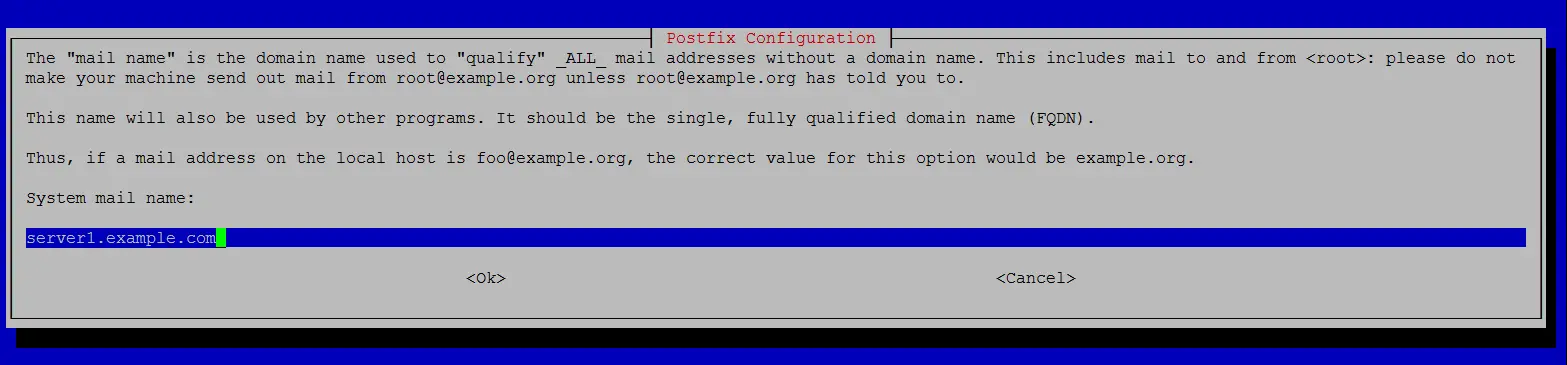
In the next step you'll have to enter the hostname of the mail server. In my case I will use "server1.example.com" here for this test installation. For your live installation, use a server hostname that exists in your own domain name.
Add the Gitlab repository
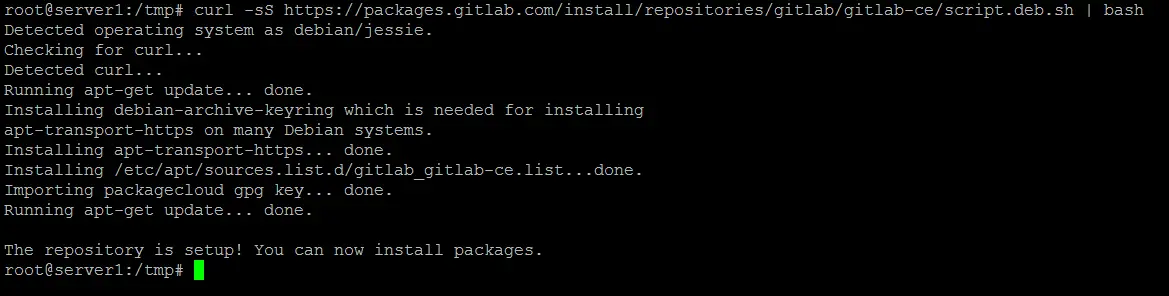
Run the following command to add the Gitlab Debian repository to the server. Gitlab provides a handy script for that, so I will use it here instead of adding the repository manually.
curl -sS https://packages.gitlab.com/install/repositories/gitlab/gitlab-ce/script.deb.sh | bash
The benefit in using the Gitlab repository server instead of installing the .deb file manually is that updates can be installed with "apt-get update && apt-get upgrade" easily then.
Install Gitlab on Debian
Install the Gitlab CE package with apt.
apt-get -y install gitlab-ce
Configure Gitlab
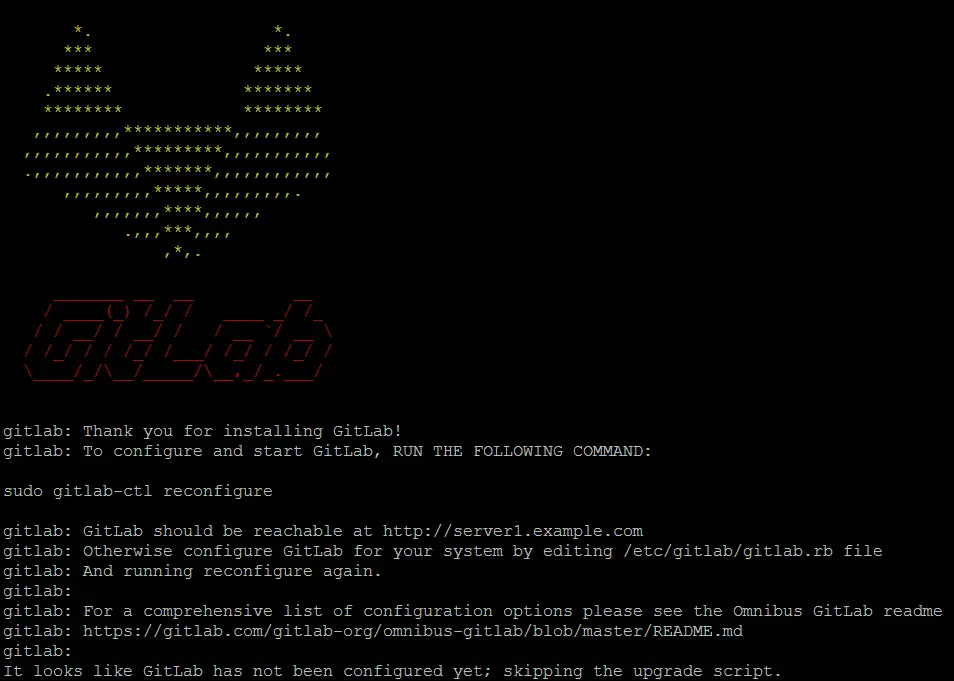
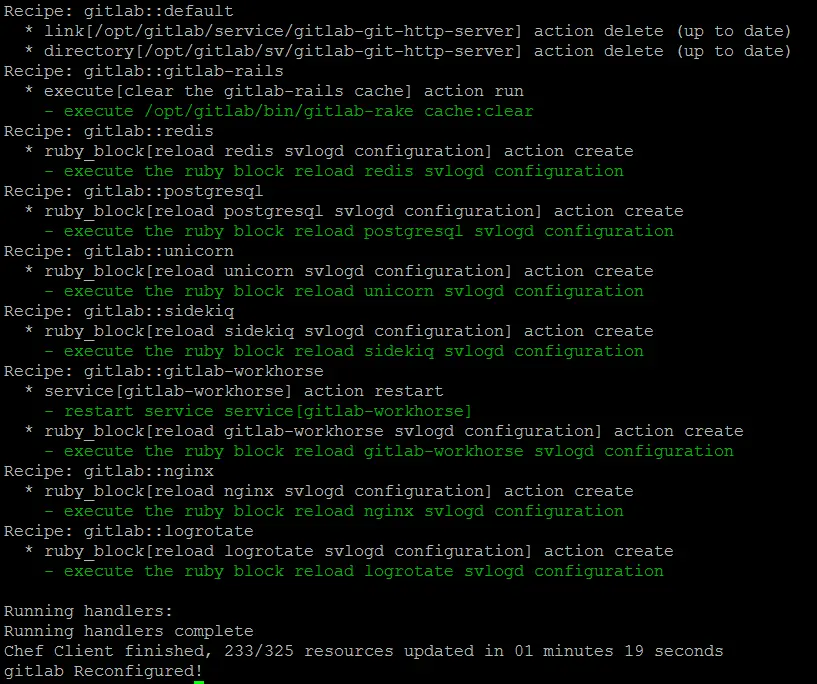
Run this command on the shell to configure and start Gitlab. The gitlab-ctl command uses a set of chef scripts to setup the Gitlab system components.
gitlab-ctl reconfigure
Use the netstat command to verify that all Gitlab components are running:
netstat -ntap
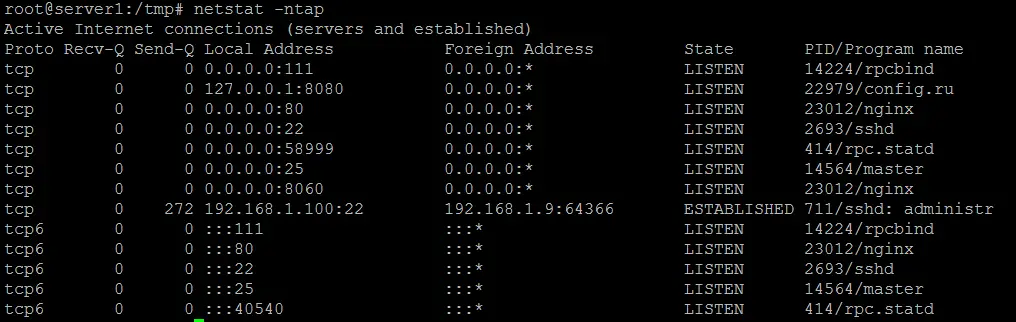
The result should be similar to the screenshot above. Nginx is listening on port 80 and forwards the incoming requests to the gitlab http server on port 8080.
Gitlab - The first login
Open the hostname or IP address of your server in a web browser. In my case, the URL is http://server1.example.com. You will get redirected to a page where you have to change the Gitlab admin password.
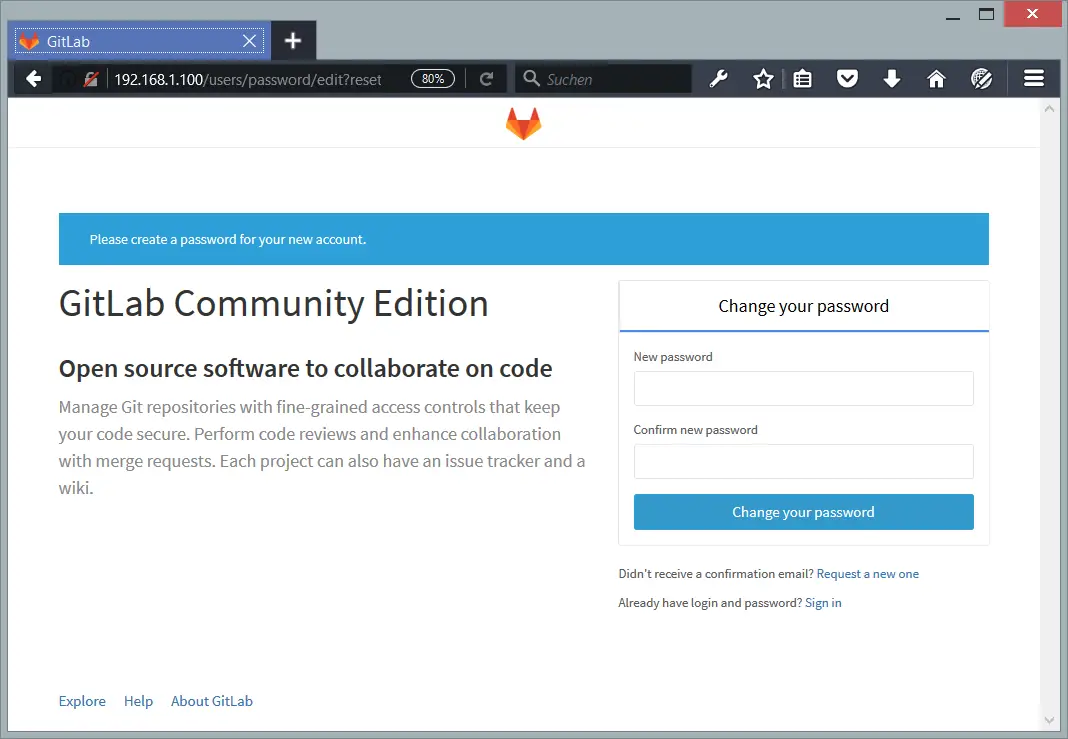
Enter your new password twice and press the "Change your password" button. You will get redirected to the login page.
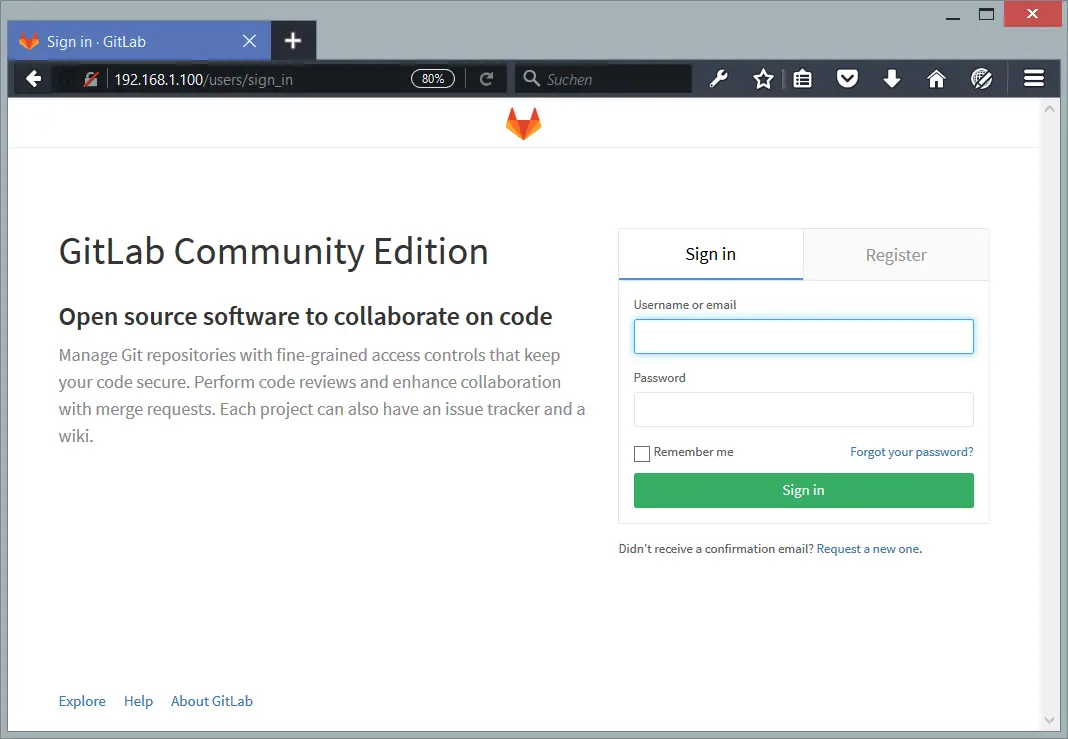
Login with the username "root" and the password that you have set.
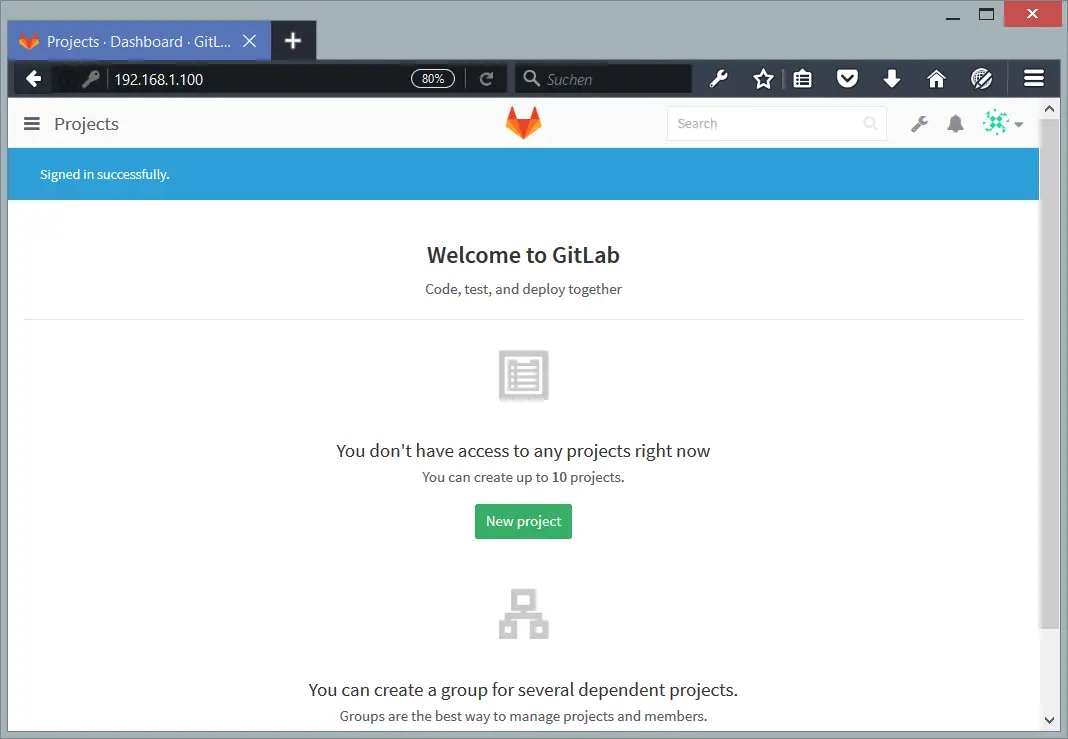
You will see the Gitlab administrator dashboard. Here you can create your first project or a group of projects.
Virtual machine image download of this tutorial
This tutorial is available as ready to use virtual machine image in ovf/ova format that is compatible with VMWare and Virtualbox. You can find the download link in the right menu at the top. The virtual machine image uses the following login details:
SSH / Shell Login
Username: administrator
Password: howtoforge
and
Username: root
Password: howtoforge
Gitlab Login
Username: root
Password: howtoforge
The IP of the VM is 192.168.1.100, it can be changed in the file /etc/network/interfaces. Please change all the above passwords to secure the virtual machine.
Conclusion
Gitlab is one of the best solutions to build your own git server, it is easy to install and configure with a nice interface. Gitlab is written in Ruby and used by more 100.000 technology companies to organize their software development.

