A comprehensive guide to taking screenshots in Linux using gnome-screenshot
On this page
- About Gnome-screenshot
- Gnome-screenshot Installation
- Gnome-screenshot Usage/Features
- Capturing current active window
- Window border
- Adding effects to window borders
- Screenshot of a particular area
- Include mouse pointer in snapshot
- Delay in taking screenshots
- Run the tool in interactive mode
- Directly save your screenshot
- Copy to clipboard
- Screenshot in case of multiple displays
- Automate the screen grabbing process
- Getting help
- Conclusion
There are several screenshot taking tools available in the market but most of them are GUI based. If you spend time working on the Linux command line, and are looking for a good, feature-rich command line-based screen grabbing tool, you may want to try out gnome-screenshot. In this tutorial, I will explain this utility using easy to understand examples.
Please note that all the examples mentioned in this tutorial have been tested on Ubuntu 16.04 LTS, and the gnome-screenshot version we have used is 3.18.0.
About Gnome-screenshot
Gnome-screenshot is a GNOME tool which - as the name suggests - is used for capturing the entire screen, a particular application window, or any other user defined area. The tool provides several other features, including the ability to apply beautifying effects to borders of captured screenshots.
Gnome-screenshot Installation
The gnome-screenshot tool is pre-installed on Ubuntu systems, but if for some reason you need to install the utility, you can do that using the following command:
sudo apt-get install gnome-screenshot
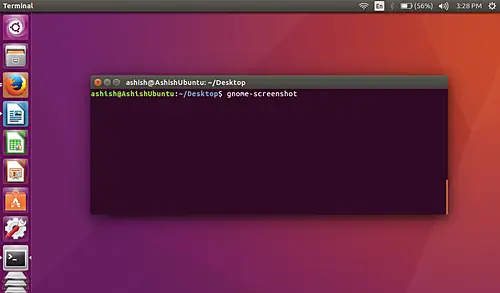
Once the tool is installed, you can launch it by using following command:
gnome-screenshot
Gnome-screenshot Usage/Features
In this section, we will discuss how the gnome-screenshot tool can be used and what all features it provides.
By default, when the tool is run without any command line options, it captures the complete screen.
Capturing current active window
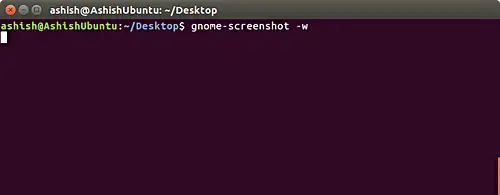
If you want, you can limit the screenshot to the current active window by using the -w option.
gnome-screenshot -w
Window border
By default, the utility includes the border of the window it captures, although there's also a specific command line option -b that enables this feature (in case you want to use it somewhere). Here's how it can be used:
gnome-screenshot -wb
Of course, you need to use the -w option with -b so that the captured area is the current active window (otherwise, -b will have no effect).
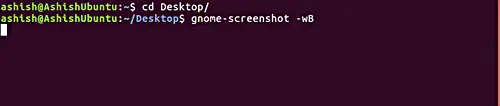
Moving on and more importantly, you can also remove the border of the window if you want. This can be done using the -B command line option. Following is an example of how you can use this option:
gnome-screenshot -wB
Here is an example snapshot:
Adding effects to window borders
With the help of the gnome-screenshot tool, you can also add various effects to window borders. This can be done using the --border-effect option.
You can add any of the effects provided by the utility such as 'shadow' effect (which adds drop shadow to the window), 'border' effect (adds rectangular space around the screenshot), and 'vintage' effect (desaturating the screenshot slightly, tinting it and adding rectangular space around it).
gnome-screenshot --border-effect=[EFFECT]
For example, to add the shadow effect, run the following command
gnome-screenshot –border-effect=shadow
Here is an example snapshot of the shadow effect:
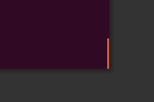
Please note that the above screenshot focuses on a corner of the terminal to give you a clear view of the shadow effect.
Screenshot of a particular area
If you want, you can also capture a particular area of your computer screen using the gnome-screenshot utility. This can be done by using the -a command line option.
gnome-screenshot -a
When the above command is run, your mouse pointer will change into a ‘+’ sign. In this mode, you can grab a particular area of your screen by moving the mouse with left-click pressed.
Here is an example screenshot wherein I cropped a small area of my terminal window.

Include mouse pointer in snapshot
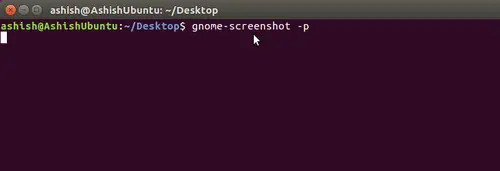
By default, whenever you take screenshot using this tool, it doesn’t include mouse pointer. However, the utility allows you to include the pointer, something which you can do using the -p command line option.
gnome-screenshot -p
Here is an example snapshot
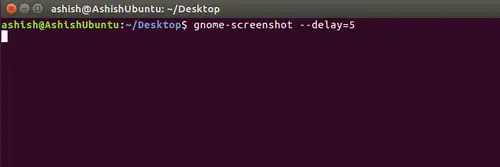
Delay in taking screenshots
You can also introduce time delay while taking screenshots. For this, you have to assign a value to the --delay option in seconds.
gnome-screenshot –delay=[SECONDS]
For example:
gnome-screenshot --delay=5
Here is an example screenshot
Run the tool in interactive mode
The tool also allows you to access all its features using a single option, which is -i. Using this command line option, user can select one or more of the tool’s features at run time.
$ gnome-screenshot -i
Here is an example screenshot
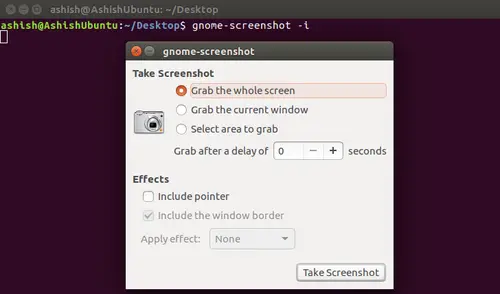
As you can see in the snapshot above, the -i option provides access to many features - such as grabbing the whole screen, grabbing the current window, selecting an area to grab, delay option, effects options - all in an interactive mode.
Directly save your screenshot
If you want, you can directly save your screenshot from the terminal to your present working directory, meaning you won't be asked to enter a file name for the captured screenshot after the tool is run. This feature can be accessed using the --file command line option which, obviously, requires a filename to be passed to it.
gnome-screenshot –file=[FILENAME]
For example:
gnome-screenshot --file=ashish
Here is an example snapshot:

Copy to clipboard
The gnome-screenshot tool also allows you to copy your screenshot to clipboard. This can be done using the -c command line option.
gnome-screenshot -c
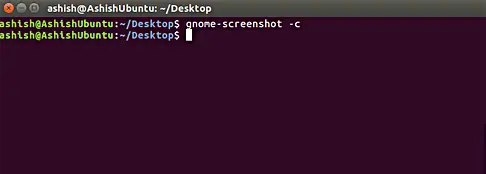
In this mode, you can, for example, directly paste the copied screenshot in any of your image editors (such as GIMP).
Screenshot in case of multiple displays
If there are multiple displays attached to your system and you want to take snapshot of a particular one, then you can use the --display command line option. This option requires a value which should be the display device ID (ID of the screen being grabbed).
gnome-screenshot --display=[DISPLAY]
For example:
gnome-screenshot --display=VGA-0
In the above example, VGA-0 is the id of the display that I am trying to capture. To find the ID of the display that you want to screenshot, you can use the following command:
xrandr --query
To give you an idea, this command produced the following output in my case:
$ xrandr --query
Screen 0: minimum 320 x 200, current 1366 x 768, maximum 8192 x 8192
VGA-0 connected primary 1366x768+0+0 (normal left inverted right x axis y axis) 344mm x 194mm
1366x768 59.8*+
1024x768 75.1 75.0 60.0
832x624 74.6
800x600 75.0 60.3 56.2
640x480 75.0 60.0
720x400 70.1
HDMI-0 disconnected (normal left inverted right x axis y axis)
Automate the screen grabbing process
As we have discussed earlier, the -a command line option helps us to grab a particular area of the screen. However, we have to select the area manually using the mouse. If you want, you can automate this process using gnome-screenshot, but in that case, you will have to use an external tool known as xdotool, which is capable of simulating key presses and even mouse events.
For example:
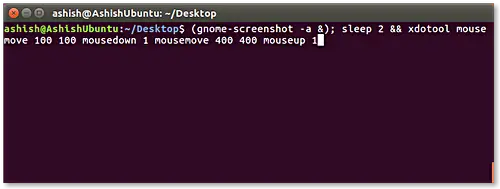
(gnome-screenshot -a &); sleep 0.1 && xdotool mousemove 100 100 mousedown 1 mousemove 400 400 mouseup 1
The mousemove sub-command automatically positions the mouse pointer at specified coordinates X and Y on screen (100 and 100 in the example above). The mousedown subcommand fires an event which performs the same operation as a click (since we wanted left-click, so we used the argument 1) , whereas the mouseup subcommand fires an event which performs the task of a user releasing the mouse-button.
So all in all, the xdotool command shown above does the same area-grabbing work that you otherwise have to manually do with mouse - specifically, it positions the mouse pointer to 100, 100 coordinates on the screen, selects the area enclosed until the pointer reaches 400,400 coordinates on then screen. The selected area is then captured by gnome-screenshot.
Here, is the screenshot of the above command:
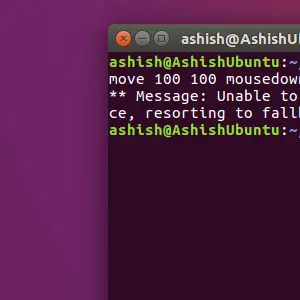
And this is the output:
For more information on xdotool, head here.
Getting help
If you have a query or in case you are facing a problem related to any of the command line options, then you can use the --help, -? or -h options to get related information.
gnome-screenshot -h
For more information on gnome-screenshot, you can go through the command’s manual page or man page.
man gnome-screenshot
Conclusion
I will recommend that you to use this utlity atleast once as it's not only easy to use for beginners, but also offers a feature-rich experience for advanced usage. Go ahead and give it a try.

