How to take screenshots on Linux using Scrot
On this page
Recently, we discussed about the gnome-screenshot utility, which is a good screen grabbing tool. But if you are looking for an even better command line utility for taking screenshots, then you must give Scrot a try. This tool has some extra features that are currently not available in gnome-screenshot. In this tutorial, we will explain Scrot using easy to understand examples.
Please note that all the examples mentioned in this tutorial have been tested on Ubuntu 16.04 LTS, and the scrot version we have used is 0.8.
About Scrot
Scrot (SCReenshOT) is a screenshot capturing utility that uses the imlib2 library to acquire and save images. Developed by Tom Gilbert, it's written in C programming language and is licensed under the BSD License.
Scrot Installation
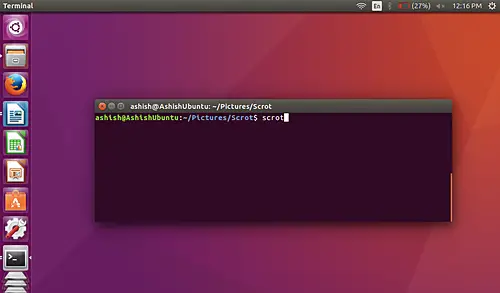
The scrot tool may be pre-installed on your Ubuntu system, but if that's not the case, then you can install it using the following command:
sudo apt-get install scrot
Once the tool is installed, you can launch it by using the following command:
scrot [options] [filename]
Note: The parameters in [] are optional.
Scrot Usage/Features
In this section, we will discuss how the Scrot tool can be used and what all features it provides.
When the tool is run without any command line options, it captures the whole screen.
By default, the captured file is saved with a date-stamped filename in the current directory, although you can also explicitly specify the name of the captured image when the command is run. For example:
scrot [image-name].png
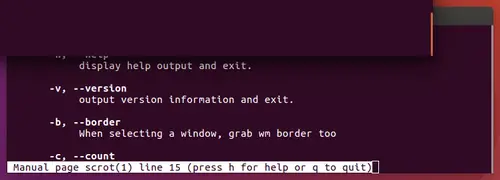
Get the application version
If you want, you can check the version of scrot using the -v command line option.
scrot -v
Here is an example:

Capturing current window
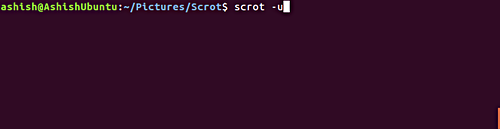
Using the utility, you can limit the screenshot to the currently focused window. This feature can be accessed using the -u command line option.
scrot -u
For example, here's my desktop when I executed the above command on the command line:
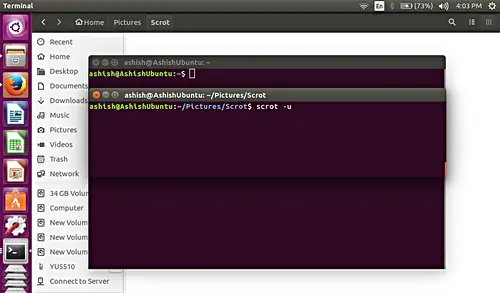
And here's the screenshot captured by scrot:
Selecting a window
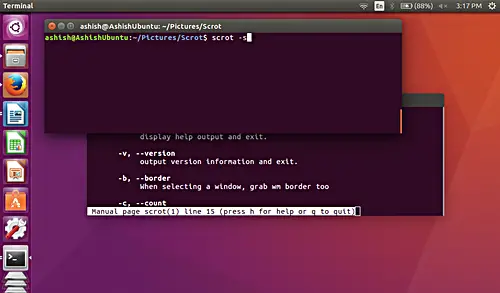
The utility allows you to capture any window by clicking on it using the mouse. This feature can be accessed using the -s option.
scrot -s
For example, as you can see in the screenshot below, I have a screen with two terminal windows overlapping each other. On the top window, I run the aforementioned command.
Now suppose, I want to capture the bottom terminal window. For that, I will just click on that window once the command is executed - the command execution won't complete until you click somewhere on the screen.
Here's the screenshot captured after clicking on that terminal:
Note: As you can see in the above snapshot, whatever area the bottom window is covering has been captured, even if that includes an overlapping portion of the top window.
Include window border in screenshots
The -u command line option we discussed earlier doesn't include the window border in screenshots. However, you can include the border of the window if you want. This feature can be accessed using the -b option (in conjunction with the -u option of course).
scrot -ub
Here is an example screenshot:
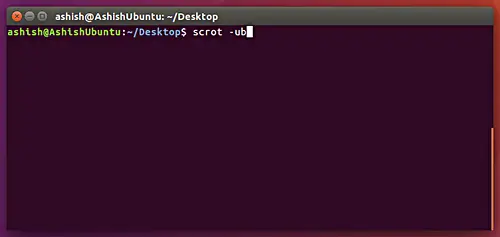
Note: Including window border also adds some of the background area to the screenshot.
Delay in taking screenshots
You can introduce a time delay while taking screenshots. For this, you have to assign a numeric value to the --delay or -d command line option.
scrot --delay [NUM]
scrot --delay 5
Here is an example:
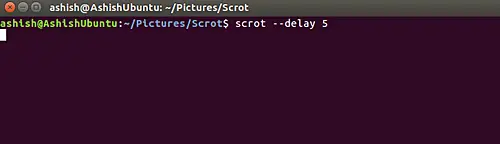
In this case, scrot will wait for 5 seconds and then take the screenshot.
Countdown before screenshot
The tool also allows you to display countdown while using delay option. This feature can be accessed using the -c command line option.
scrot –delay [NUM] -c
scrot -d 5 -c
Here is an example screenshot:

Image quality
Using the tool, you can adjust the quality of the screenshot image at the scale of 1-100. High value means high size and low compression. Default value is 75, although effect differs depending on the file format chosen.
This feature can be accessed using --quality or -q option, but you have to assign a numeric value to this option ranging from 1-100.
scrot –quality [NUM]
scrot –quality 10
Here is an example snapshot:
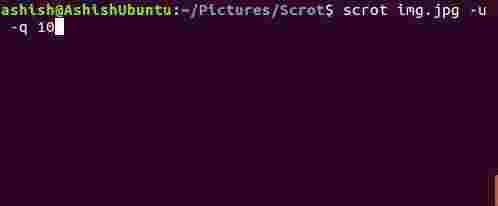
So you can see that the quality of the image degrades a lot as the -q option is assigned value closer to 1.
Generating thumbnails
The scrot utility also allows you to generate thumbnail of the screenshot. This feature can be accessed using the --thumb option. This option requires a NUM value, which is basically the percentage of the original screenshot size.
scrot --thumb NUM
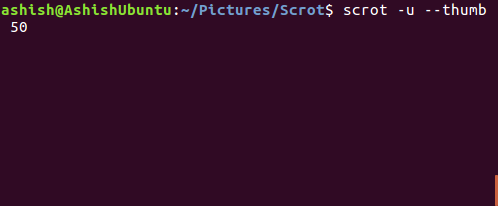
scrot --thumb 50
Note: The --thumb option makes sure that the screenshot is captured and saved in original size as well.
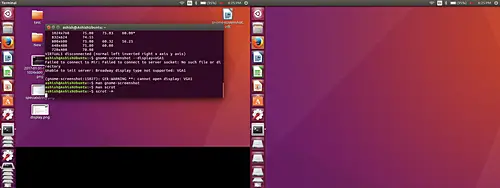
For example, here is the original screenshot captured in my case:
And following is the thumbnail saved:

Join multiple displays shots
In case your machine has multiple displays attached to it, scrot allows you to grab and join screenshots of these displays. This feature can be accessed using the -m command line option.
scrot -m
Here is an example snapshot:
Executing operations on saved images
Using the tool, we can execute various operations on saved images - for example, open the screenshot in an image editor like gThumb. This feature can be accessed using the -e command line option. Here's an example:
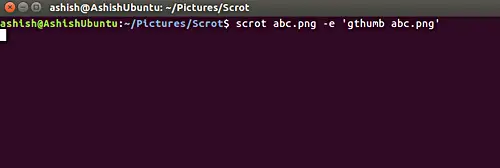
scrot abc.png -e ‘gthumb abc.png’
Here, gthumb is an image editor which will automatically launch after we run the command.
Following is the snapshot of the command:
And here is the output of the above command:
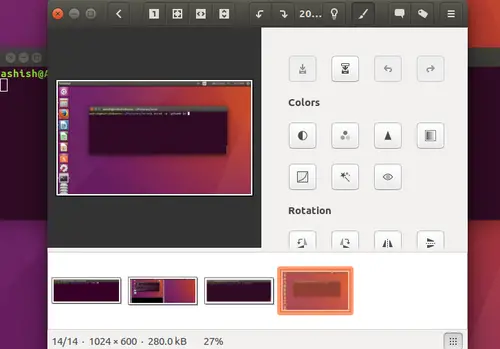
So you can see that the scrot command grabbed the screenshot and then launched the gThumb image editor with the captured image as argument.
If you don’t specify a filename to your screenshot, then the snapshot will be saved with a date-stamped filename in your current directory - this, as we've already mentioned in the beginning, is the default behaviour of scrot.
Here's an -e command line option example where scrot uses the default name for the screenshot:
scrot -e ‘gthumb $n’
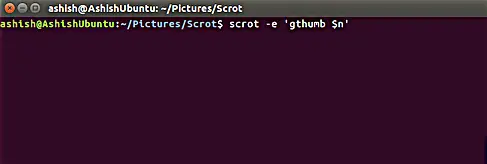
It's worth mentioning that $n is a special string, which provides access to the screenshot name. For more details on special strings, head to the next section.
Special strings
The -e (or the --exec ) and filename parameters can take format specifiers when used with scrot. There are two types of format specifiers. First type is characters preceded by ‘%’ that are used for date and time formats, while the second type is internal to scrot and are prefixed by ‘$’
Several specifiers which are recognised by the --exec and filename parameters are discussed below.
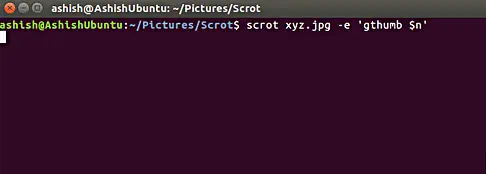
$f – provides access to screenshot path (including filename).
For example,
scrot ashu.jpg -e ‘mv $f ~/Pictures/Scrot/ashish/’
Here is an example snapshot:

If you will not specify a filename, then scrot will by-default save the snapshot in a date stamped file format. This is the by-default date-stamped file format used in scrot : %yy-%mm-%dd-%hhmmss_$wx$h_scrot.png.
$n – provides snapshot name. Here is an example snapshot:
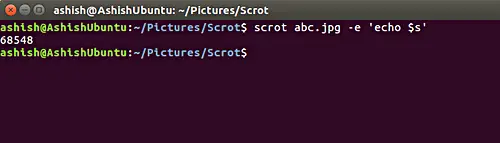
$s – gives access to the size of screenshot. This feature, for example, can be accessed in the following way.
scrot abc.jpg -e ‘echo $s’
Here is an example snapshot
Similarly, you can use the other special strings $p, $w, $h, $t, $$ and \n that provide access to image pixel size, image width, image height, image format, $ symbol, and give access to new line respectively. You can, for example, use these strings in the way similar to the $s example we have discussed above.
Conclusion
The utility is easy to install on Ubuntu systems, which is good for beginners. Scrot also provides some advanced features such as special strings that can be used in scripting by professionals. Needless to say, there is a slight learning curve associated in case you want to use them.

