
If you happen to administer one or more OpenLDAP servers, you know that they can be a challenge to work with. Working with LDAP itself can be a bit tricky; to that end, many opt to go the phpLDAPadmin route (which is an amazing tool for individual servers). However, when you’re managing numerous LDAP servers, you don’t want to have to log in and out of various instances of that tool. If that’s the case, what do you do? There’s one particular piece of software that does an outstanding job of managing multiple LDAP servers: Apache Directory Studio.
Apache Directory Studio is part of the Apache Directory project that strives to increase LDAP awareness, comfort and adoption to bring forth what we call the Modern LDAP Renaissance. The project includes:
-
Apache Directory Server — an extensible and embeddable directory server
-
Apache LDAP API — an enhanced LDAP API
-
Apache Mavibot — a Multi Version Concurrency Control (MVCC) BTree
-
Apache Kerby — a Java Kerberos binding
-
Apache Fortress — a standards-based Access Management System
And, of course, the Apache Directory Studio, which is a tool intended to be used with any LDAP platform.
I am going to walk you through the process of installing Apache Directory Studio as well as how to connect it to a working LDAP instance. I will demonstrating how to connect Apache Directory Studio to an OpenLDAP server on a separate virtual machine. I will assume you already have your OpenLDAP server up and running.
Installing Apache Directory Studio
I will be demonstrating the installation of Apache Directory Studio on an instance of Ubuntu Linux 16.04. If you are using a different distribution, you will have to adjust accordingly.
The first thing you must know is that Apache Directory Studio is a graphical application written in Java. To that end, you must first install the Java JDK8. To do this, follow these steps:
-
Open up a terminal window
-
Add the necessary repository with the command sudo add-apt-repository ppa:webupd8team/java
-
Update apt with the command sudo apt update
-
Install Java by issuing the command sudo apt install oracle-java8-installer
-
Accept the license agreement
-
Set the Java environment variables with the command sudo apt install oracle-java8-set-default
That’s it. You can now test to ensure Java is installed with the command javac -version (Figure 1).

Now you can move on to downloading and running the Apache Directory Studio. There is no actual installation from this point on. Instead, you download the file, unpack it, and run the executable. Because there is no installation process, you will want to save the file in a location that is convenient and offers your user read/write/execution privileges. Here are the steps:
-
Download the Apache Directory Studio tar file from the official Apache site
-
Save the file to the chosen location
-
Open a terminal window
-
Change into the chosen directory
-
Unpack the downloaded file with the command tar xvzf ApacheDirectoryStudio-XXX.yyy.tar.gz (where XXX is the release number and yyy is either 32 or 64 bit)
-
Change into the newly created ApacheDirectoryStudio directory with the command cd ApacheDirectoryStudio
-
Start the software with the command ./ApacheDirectoryStudio
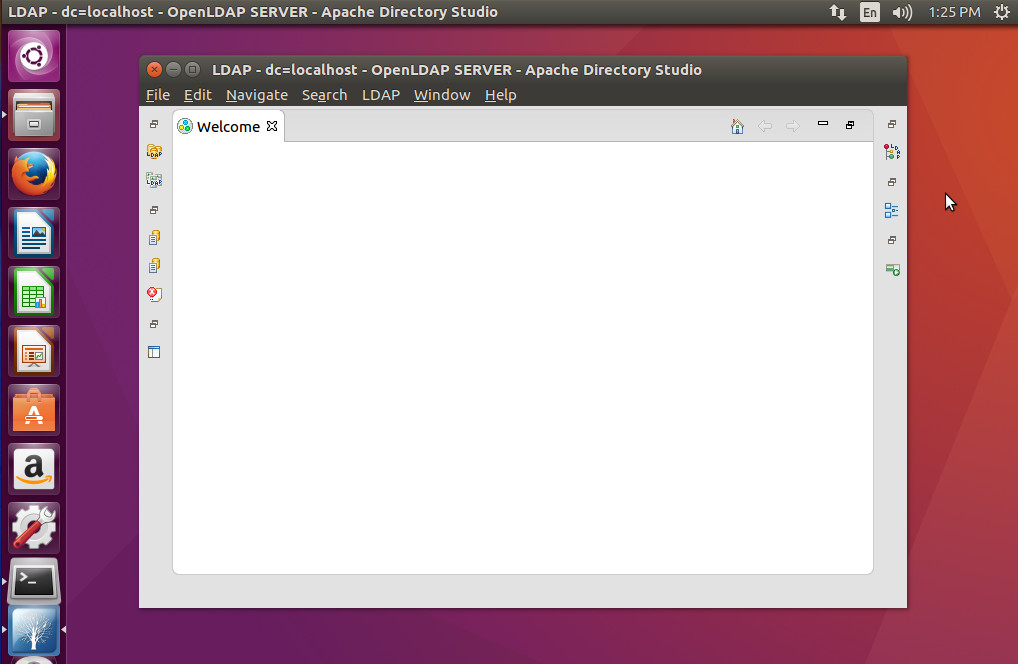
At this point, you should now see the Apache Directory Studio main window (Figure 2).
Connecting to an LDAP server
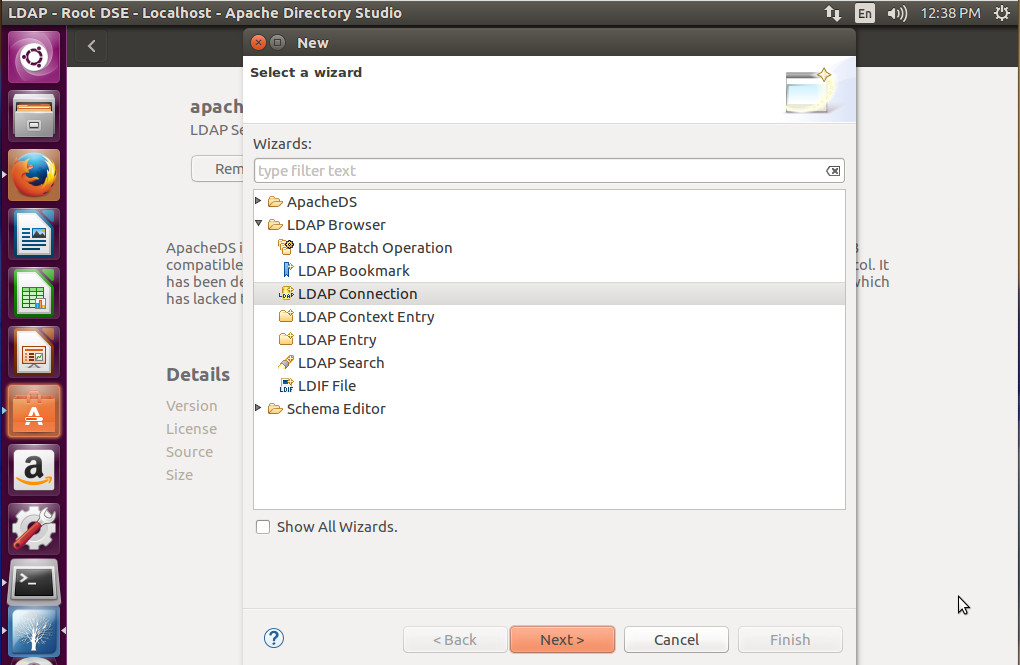
You are now ready to connect Apache Directory Studio to your LDAP server. Click File > New and then select LDAP Connection (Figure 3).
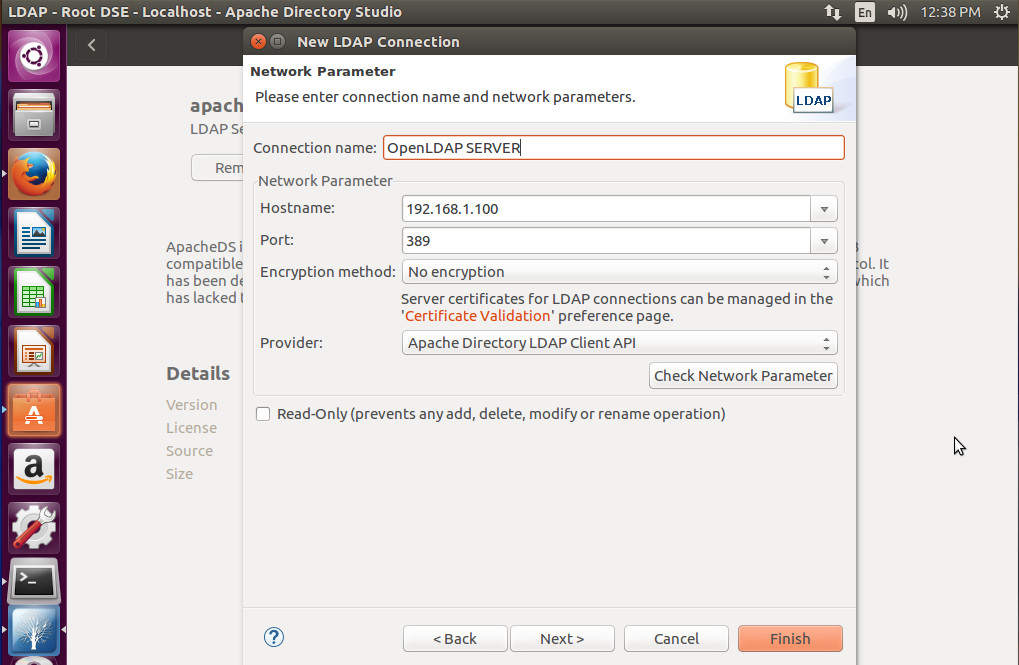
In the next window (Figure 4), you must enter the information for your LDAP server. Give it a name, enter the hostname (or IP address), port number, select the encryption method, and the provider. Once you’ve filled out that information, click Check Network Parameter to make sure everything is working properly.
Click Next and you will then be required to fill out the authentication information for your connection (Figure 5). Select the Authentication Method, Bind DN or user, Bind password, and then click Check Authentication.
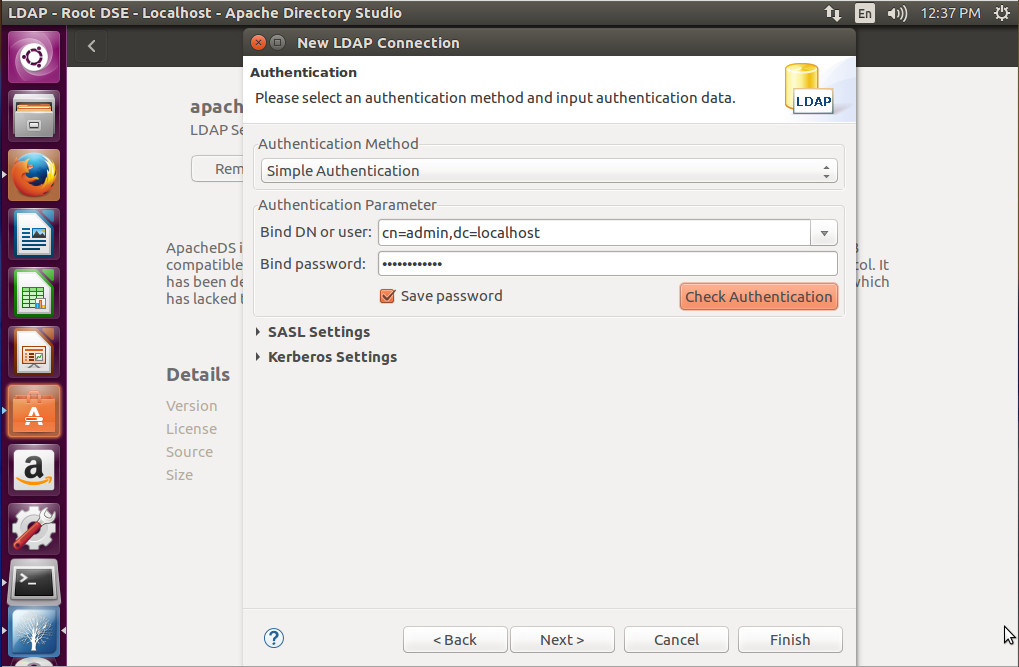
If your LDAP server requires SASL or Kerberos to be configured, expand those options and fill them out. Once you’ve completed this window, click Next.
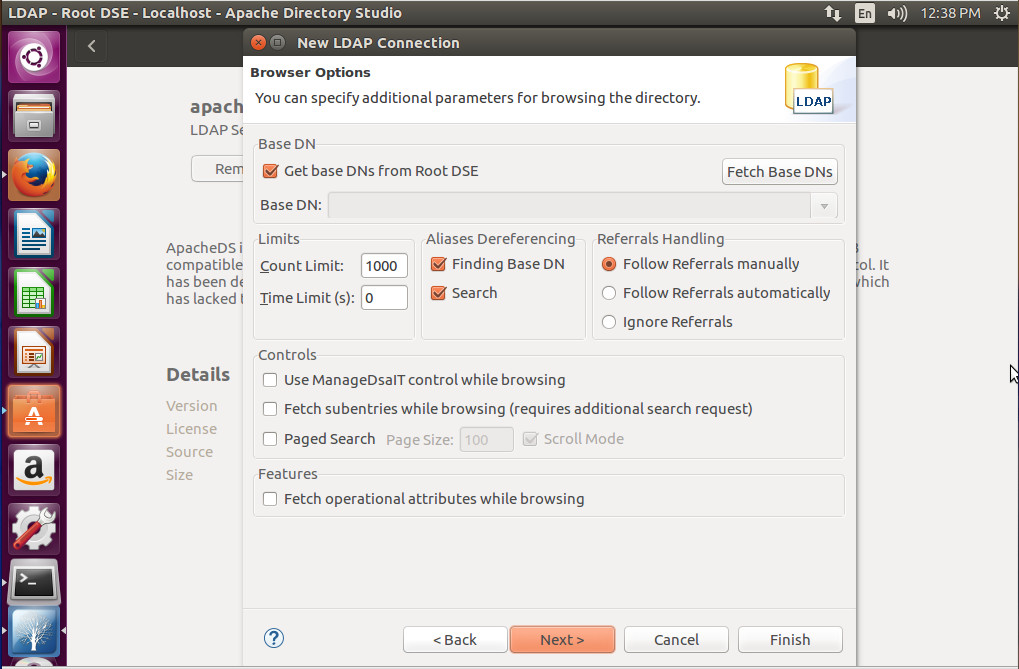
In the next window (Figure 6), you can specify additional parameters for browsing your LDAP directory. As with many of the other options, these will depend upon your needs and how your LDAP server was configured.
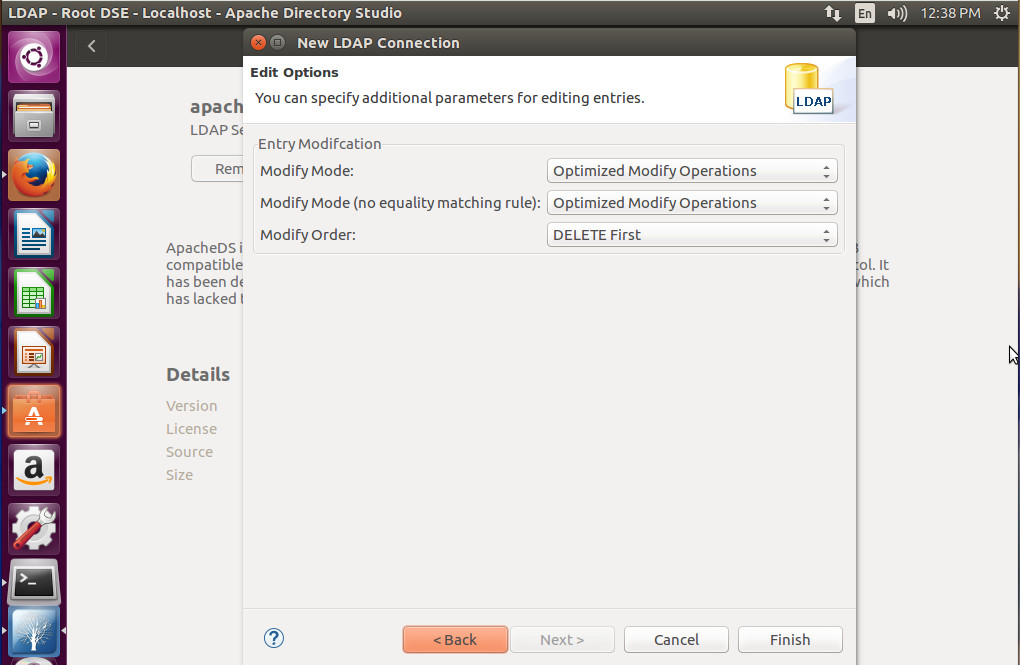
Finally you can specific parameters for editing entries on your LDAP server (Figure 7). Again, this will be determined by your needs and how you’ve setup your LDAP server.
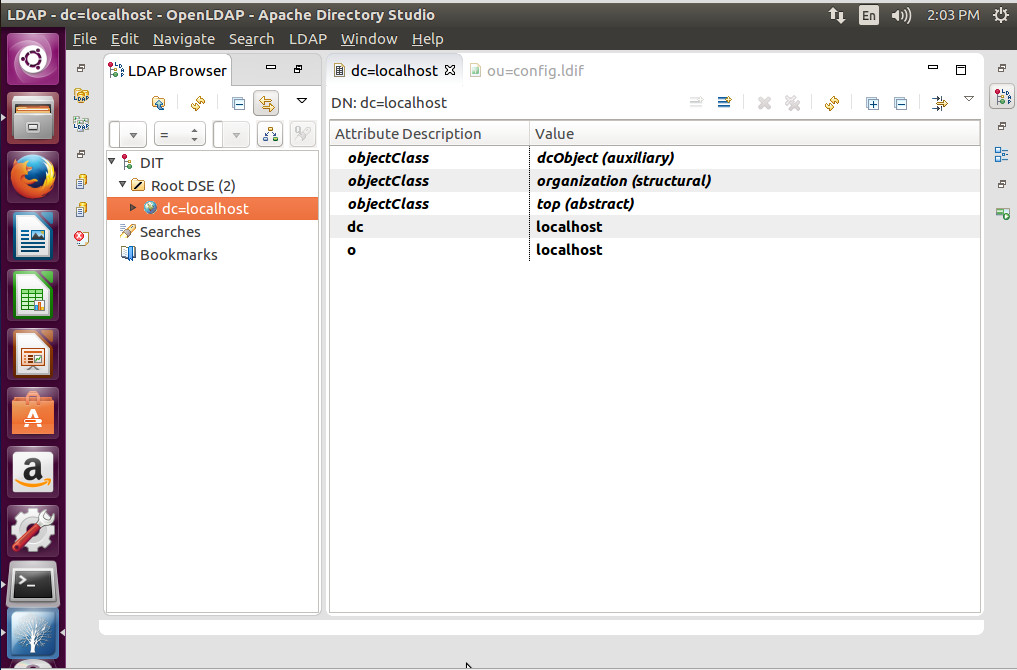
When the LDAP Browser window opens (Figure 8), you can then click on your dc entry and start working with LDAP.
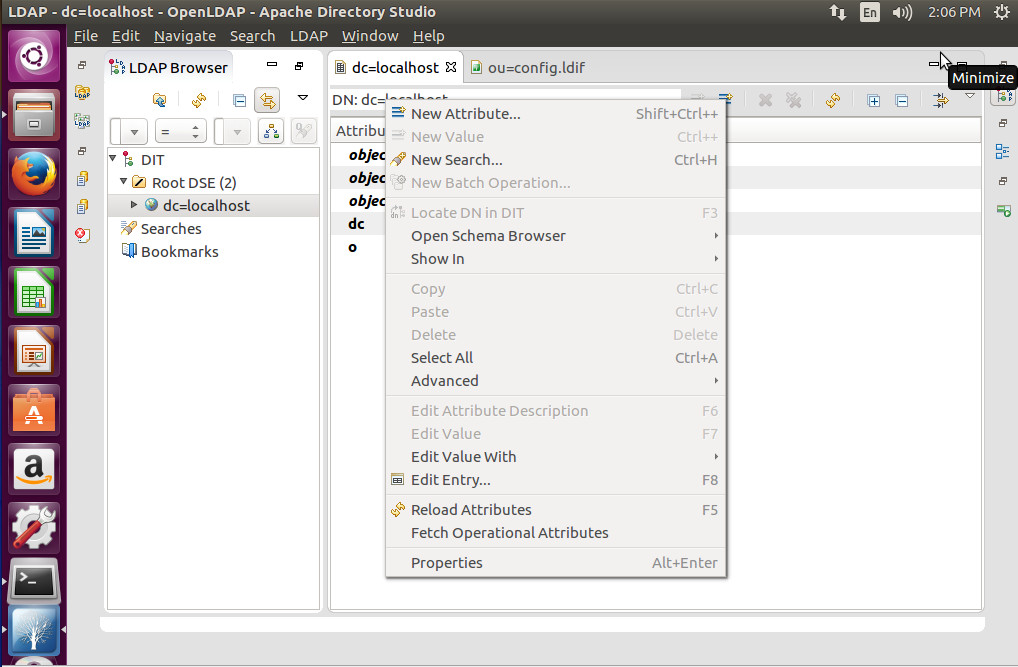
To work with LDAP, you will right-click on the right pane and select the option you want to use (such as creating a new Attribute — Figure 9).
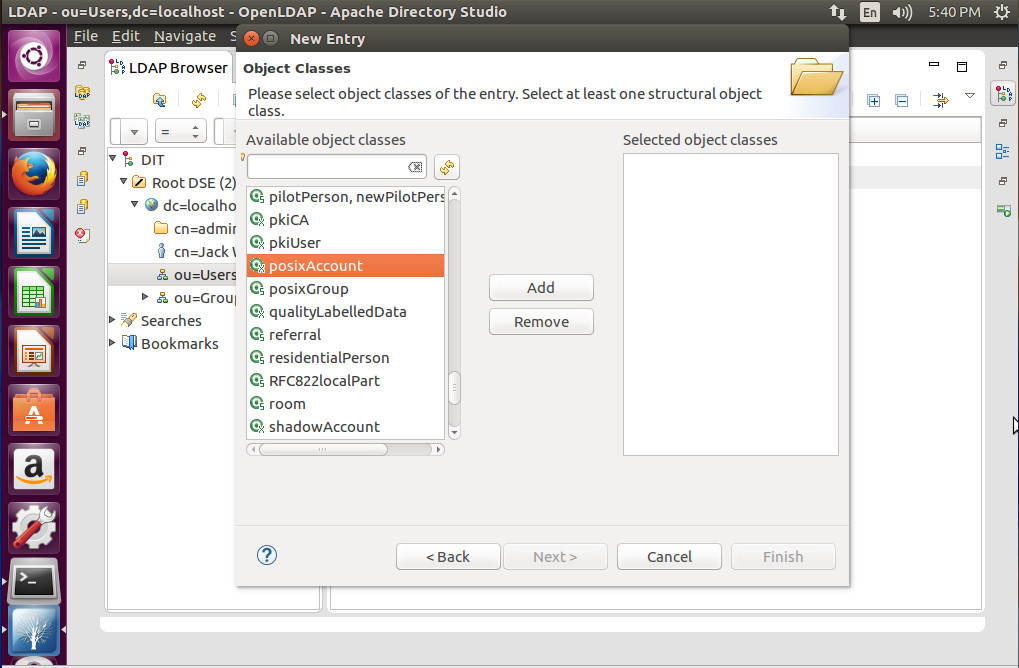
Expand the dc= entry (in the left pane) and you can then start adding Users and Groups. Click on Users and then right-click ou=Users, select New, and you can then create from a long list of available object classes (Figure 10).
There you have it. You’ve successfully, installed, connected, and used the Apache Directory Studio to work with your existing LDAP server. You can now connect Apache Directory Studio to any of your LDAP servers and manage them all from a single point of entry.
For more information on using the Apache Directory Studio, take a look at the official user documentation.
Learn more about Linux through the free “Introduction to Linux” course from The Linux Foundation and edX.


