How to setup a Linux server on Amazon AWS
AWS (Amazon Web Services) is one of the leading cloud server providers worldwide. You can setup a server within a minute using the AWS platform. On AWS, you can fine tune many techncal details of your server like the number of CPU's, Memory and HDD space, type of HDD (SSD which is faster or a classic IDE) and so on. And the best thing about the AWS is that you need to pay only for the services that you have used. To get started, AWS provides a special account called "Free tier" where you can use the AWS technology free for one year with some minor restrictions like you can use the server only upto 750 Hours a month, when you cross this theshold they will charge you. You can check all the rules related this on aws portal.
Since I am writing this post about creating a Linux server on AWS, having a "Free Tier" account is the main pre-requisite. To sign up for this account you can use this link. Kindly note that you need to enter your credit card details while creating the account.
So let's assume that you have created the "free tier" account.
Before we proceed, you must know some of the terminologies in AWS to understand the setup:
- EC2 (Elastic compute cloud): This term used for the virtual machine.
- AMI (Amazon machine image): Used for the OS instance.
- EBS (Elastic block storage): one of the type Storage environment in AWS.
Now login to AWS console at below location:
https://console.aws.amazon.com/
The AWS console will look like this:
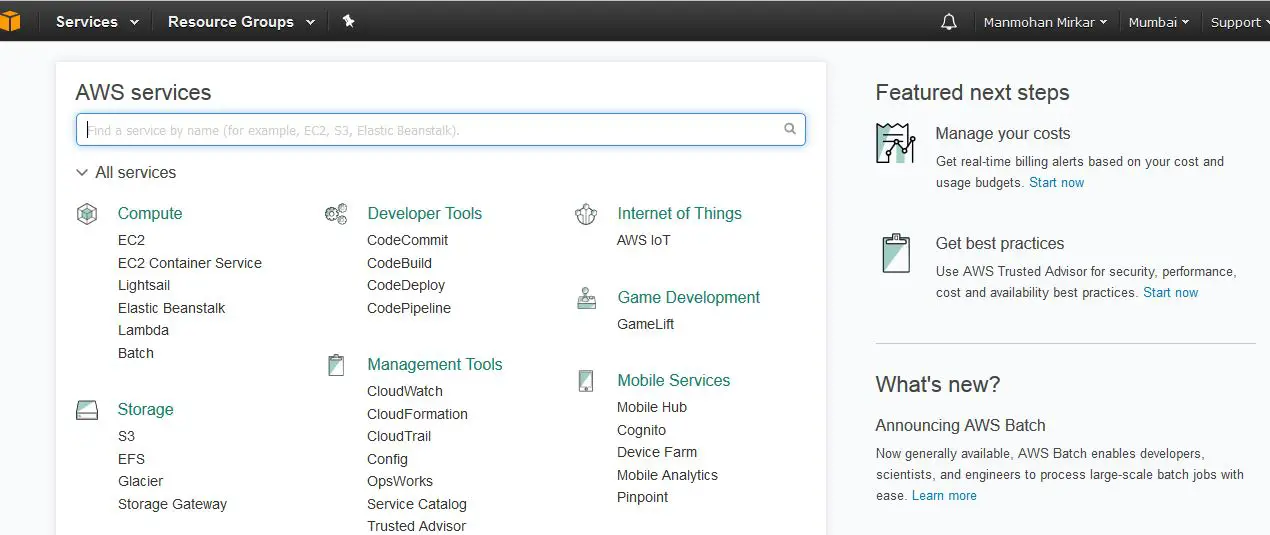
Setup a Linux VM in AWS
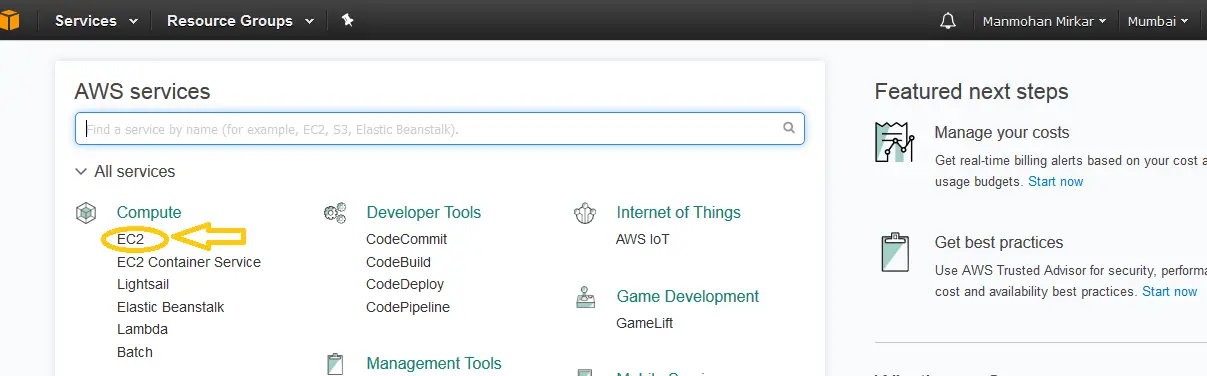
1: Create an EC2 (virtual machine) instance: Before installing the OS on you must create a VM in AWS. To create this, click on EC2 under compute menu:
2. Now click on "Launch Instance" Button under Create instance.

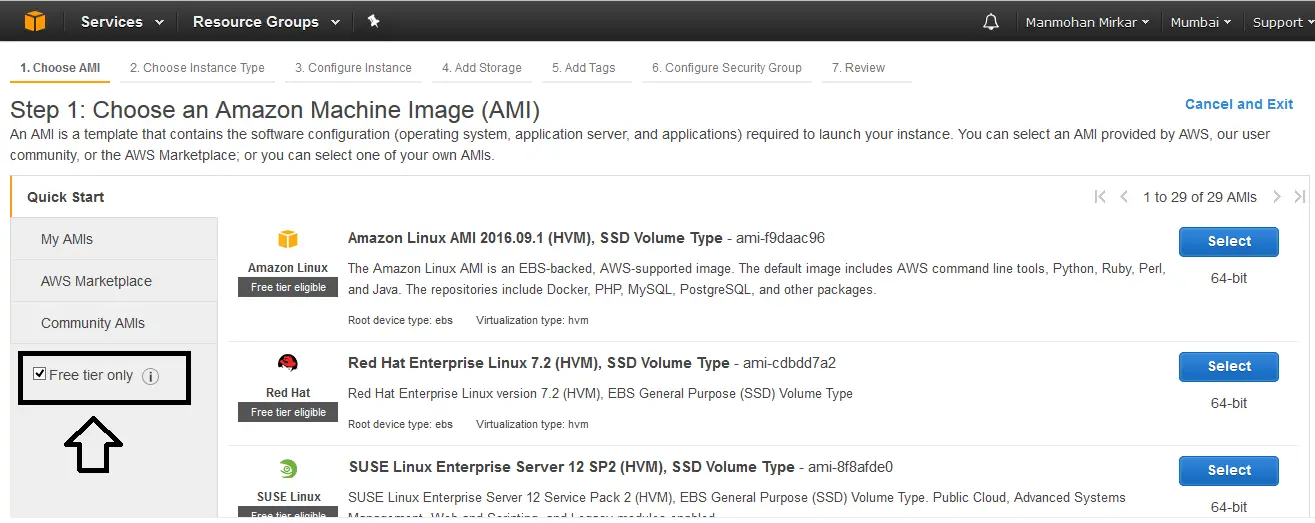
3. Now, when you are using a free tier account, then better select the Free Tier radio button so that AWS will filter the instances which are used for free usage. This will keep you aside from paying money to AWS for using billed resources under AWS.
4. To proceed further, select following options:
a. Choose an AMI in the classic instance wizard: selection --> I'll use Red Hat Enterprise Linux 7.2 (HVM), SSD Volume Type here
b. Select "t2.micro" for the instance details.
c. Configure Instance Details: Do not change anything simply click next.
d. Add Storage: Do not change anything simply click next as we will using default Size 10 (GiB) Hard disk in this case.
e. Add Tags: Do not change anything simply click next.
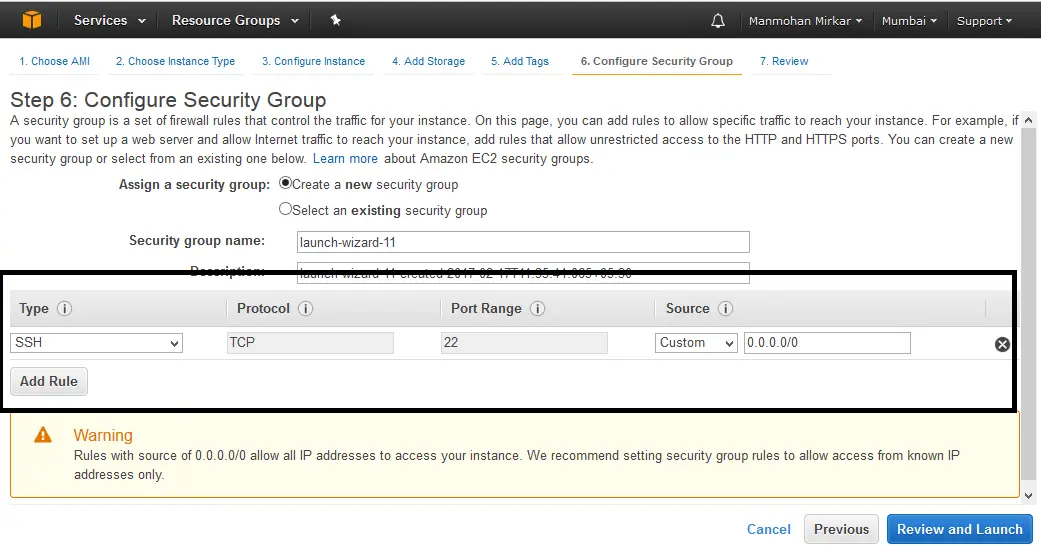
f. Configure Security Group: Now select port 22 which is used for ssh so that you can access this server from anywhere.
g. Select review and launch button
h. If all the details are Ok now press the "Launch" button,
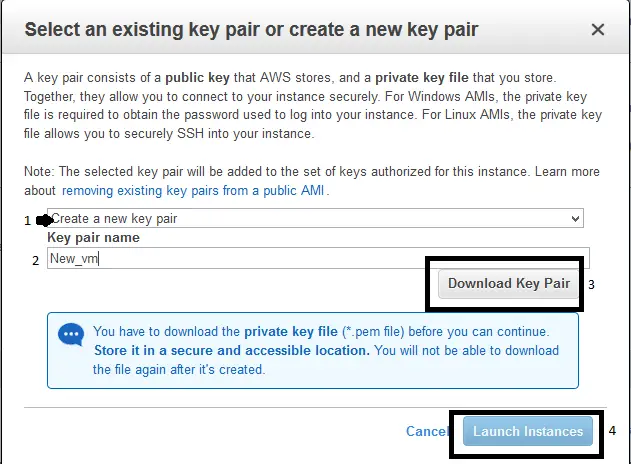
i. Once you clicked the Launch button, a popup window gets displayed to create a "Key pair" as shown below: Select the option "create a new key pair" and give a name to key pair. Then download the same. You require this key pair while connecting to the server using ssh. At the end, click the "Launch Instance" button.
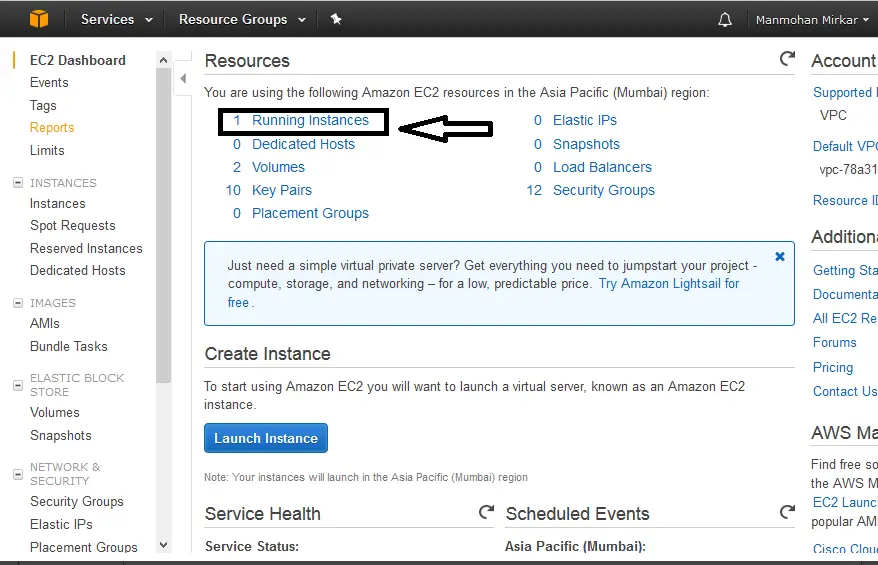
j. After clicking Launch instance Button, go to services at the left top side. Select Compute--> EC2. Now click on running instance link as below:
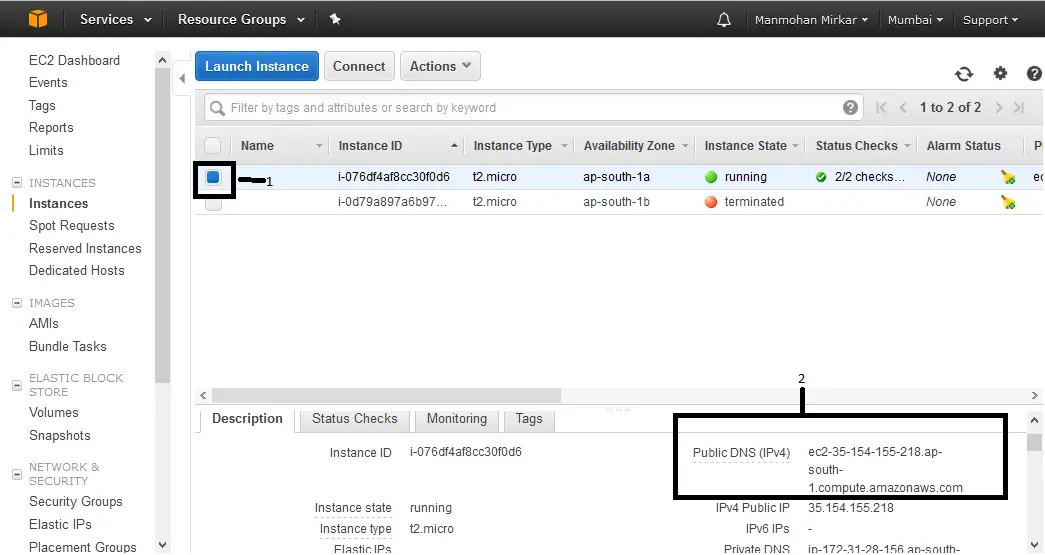
k. Now you can see that your new VM is ready with status "running" as shown below. Select the Instance and Please note down the "Public DNS value" which is required for logging on to the server.
Now you are done with creating a sample Linux installed VM. To connect to the server, follow below steps.
Connect to an EC2 instance from Windows
1. First of all, you need to have putty gen and Putty exe's for connecting to the server from Windows (or the SSH command on Linux). You can download putty by following this Link.
2. Now open the putty gen "puttygen.exe".
3. You need to click on the "Load button", browse and select the keypair file (pem file) that you downloaded above from Amazon.
4. You need to select the "ssh2-RSA" option and click on the save private key button. Kindly select yes on the next pop-up.
5. Save the file with the file extension .ppk.
6. Now you need to open Putty.exe. Go to connection at the left side menu then select "SSH" and then select "Auth". You need to click on the browse button to select the .ppk file that we created in the step 4.
7. Now click on the "session" menu and paste the DNS value captured during the 'k' step of this tutorial in the "host name" box and hit the open button.
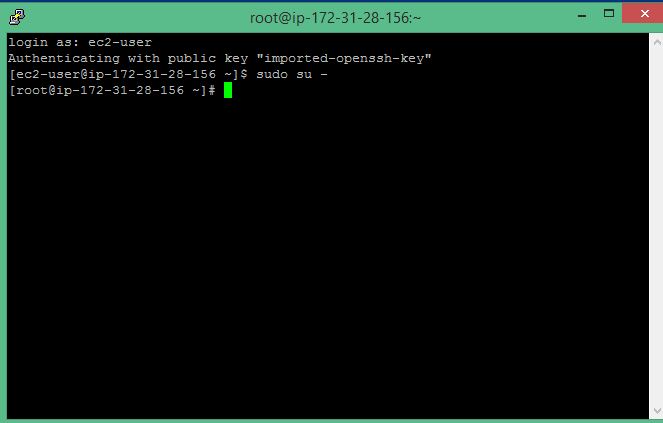
8. Upon asking for username and password, enter "ec2-user" and blank password and then give below command.
$sudo su -
Hurray, you are now root on the Linux server which is hosted on AWS cloud.