How to Install Mantis Bug Tracker on CentOS 7
Mantis is a free and open source issue tracker written in PHP language. It provides an easy to use web interface for tracking your applications. You can easily manage a project and track your application bugs using Mantis.
Mantis comes with lots of features, some of them are listed below:
- Supports email notification when changes being made to issues in the system.
- Easily customizable.
- Revision control of text fields and notes.
- Full-text search and anonymous access.
- Comes with over 50 plug-ins which extend the functionality of Mantis.
Here, we will explain how to install Mantis Bug Tracker on CentOS 7 server.
Requirements
- A CentOS 7 server installed on your system.
- A sudo user with root privileges.
1 Getting Started
Let's start by installing EPEL repo and updating the system with the latest stable version.
You can do this by running the following command:
sudo yum install epel-release -y
sudo yum update -y
2 Install LAMP Server
Before starting, Mantis requires Apache, PHP and MySQL/MariaDB to be installed on your server.
First, install Apache web server by running the following command:
sudo yum install httpd -y
Once Apache is installed, start the Apache service and enable it to start on boot with the following command:
sudo systemctl start httpd
sudo systemctl enable httpd
Next, install MariaDB server with the following command:
sudo yum install mariadb mariadb-server -y
Next, start MariaDB service and enable it to start on boot with the following command:
sudo systemctl start mariadb
sudo systemctl enable mariadb
Mantis supports PHP greater than 5.5, here we will install PHP version 7.
By default, PHP 7 is not available in CentOS repository, so you will need to install Webtatic repository first.
You can install it with the following command:
sudo rpm -Uvh https://mirror.webtatic.com/yum/el7/webtatic-release.rpm
Next, run the following command to install PHP7 with all required modules:
sudo yum install php71w php71w-cli php71w-mysqli -y
Once PHP7 is installed, check the version of the PHP with the following command:
php -v
You should see the following output:
PHP 7.1.1 (cli) (built: Jan 19 2017 20:35:16) ( NTS )
Copyright (c) 1997-2017 The PHP Group
Zend Engine v3.1.0, Copyright (c) 1998-2017 Zend Technologies
Configure Database for Mantis
By 3 default MariaDB installation is not secured, so you will need to secure MariaDB first. You can secure it by running mysql_secure_installation script.
sudo mysql_secure_installation
Answer all the questions as shown below:
Set root password? [Y/n] Y
New password:
Re-enter new password:
Remove anonymous users? [Y/n] Y
Disallow root login remotely? [Y/n] Y
Remove test database and access to it? [Y/n] Y
Reload privilege tables now? [Y/n] Y
Next, login to MariaDB shell and create a database and user for Mantis:
mysql -u root -p
Enter your root password and press Enter, then create a database and user with the following command:
MariaDB [(none)]> CREATE DATABASE mantisdb;
Next, grant privileges to the Mantis database with the following command:
MariaDB [(none)]> GRANT ALL PRIVILEGES ON mantisdb.* TO 'mantis'@'localhost' IDENTIFIED BY 'mantispassword';
Next, you will need to run the FLUSH PRIVILEGES command so that the privileges table will be reloaded by MySQL and we can use new credential:
MariaDB [(none)]> FLUSH PRIVILEGES;
Next, exit from the MariaDB console with the following command:
MariaDB [(none)]> \q
After configuring the database, you can proceed to download Mantis.
4 Install Mantis
First, download the latest stable version of the Mantis from sourceforge website. You can download it using the wget command:
wget https://excellmedia.dl.sourceforge.net/project/mantisbt/mantis-stable/2.4.0/mantisbt-2.4.0.zip
Once the download is complete, extract the downloaded file to the apache web root directory with the following command:
unzip mantisbt-2.4.0.zip
sudo mv mantisbt-2.4.0 /var/www/html/mantis
Next, change the ownership of the mantis directory with the following command:
chown -R apache:apache /var/www/html/mantis
Next, you will need to create an apache virtual host file for Mantis. You can do this by creating mantis.conf file inside /etc/httpd/conf.d/directory:
sudo nano /etc/httpd/conf.d/mantis.conf
Add the following lines:
<VirtualHost *:80>
ServerAdmin [email protected]
DocumentRoot "/var/www/html/mantis"
ServerName yourdomain.com
<Directory />
Options FollowSymLinks
AllowOverride All
</Directory>
<Directory "/var/www/html/mantis/">
Options MultiViews FollowSymlinks

AllowOverride All
Order allow,deny
Allow from all
</Directory>
TransferLog /var/log/httpd/mantis_access.log
ErrorLog /var/log/httpd/mantis_error.log
</VirtualHost>
Save and close the file, then restart the Apache web server using the following command.
sudo systemctl restart httpd
5 Access Mantis Web Interface
Before accessing Cerb web interface, you will need to allow HTTP traffic on port 80 through the system firewalld.
You can do this by running the following command:
sudo firewall-cmd --zone=public --permanent --add-service=http
sudo firewall-cmd --reload
Now open your web browser and type the URL http://yourdomain.com, you should see the following page:
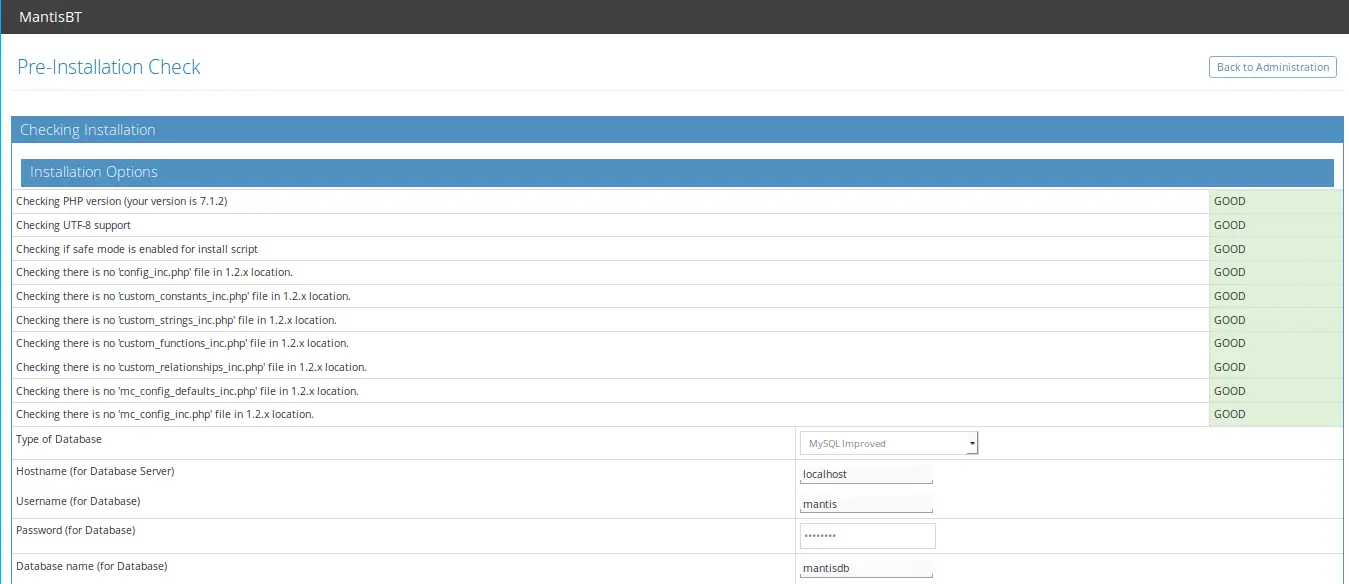
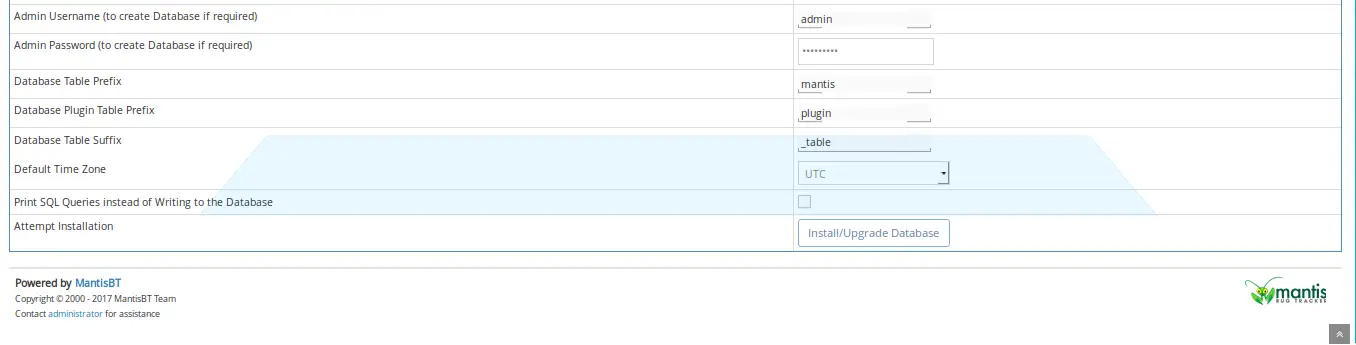
Here, provide all necessary details like Database Name, Username, Password, Admin username and Password. Then click on the "Install/Upgrade" Database button. Once the installation is completed, you should see the following page:
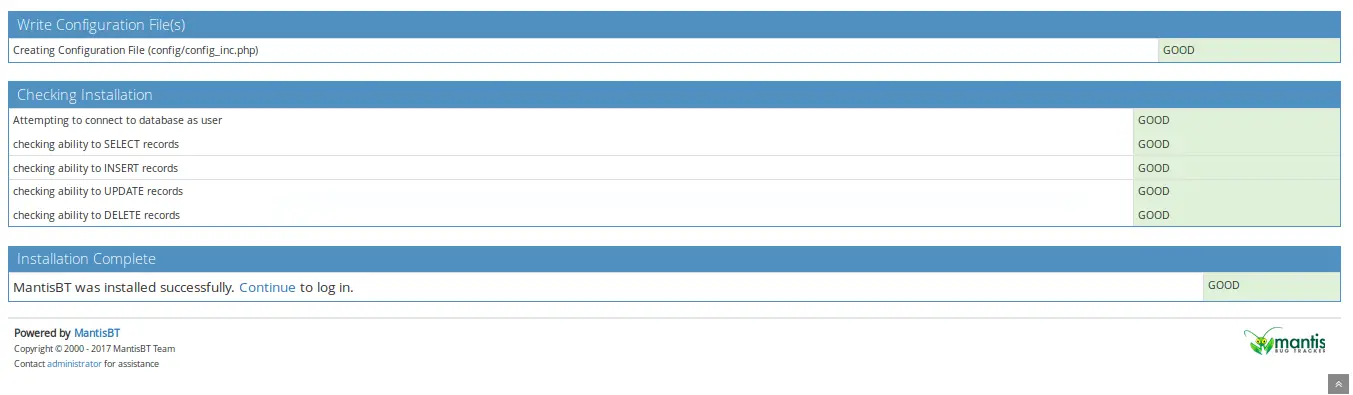
Next, click on the "Continue" button, you should see the mantis login page:
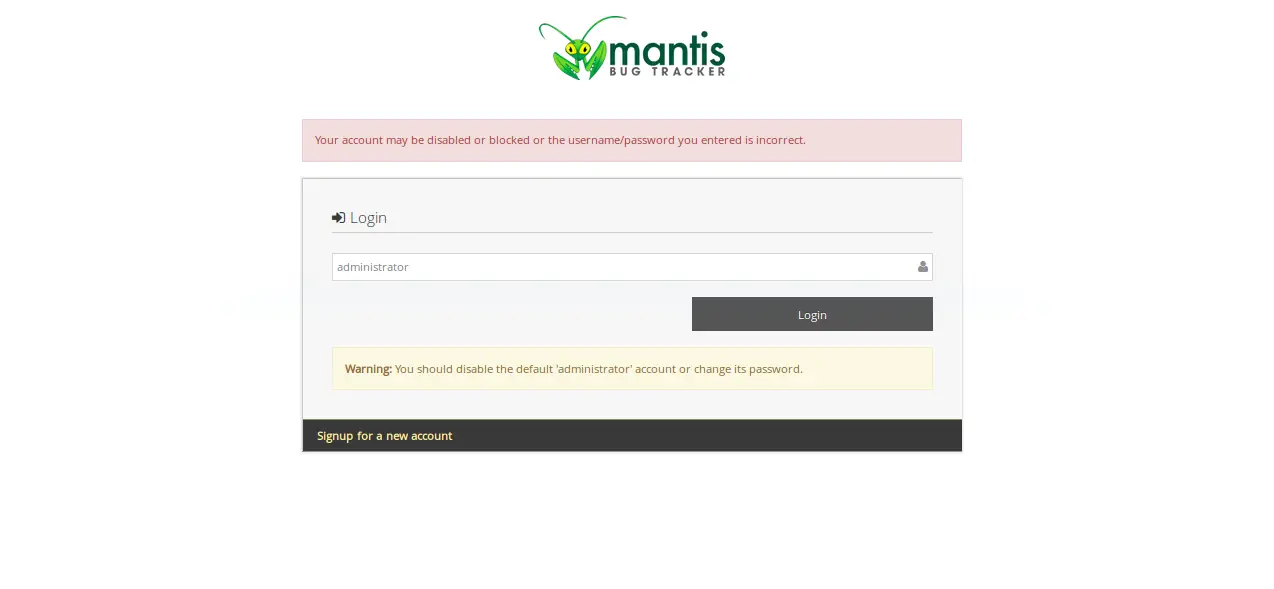
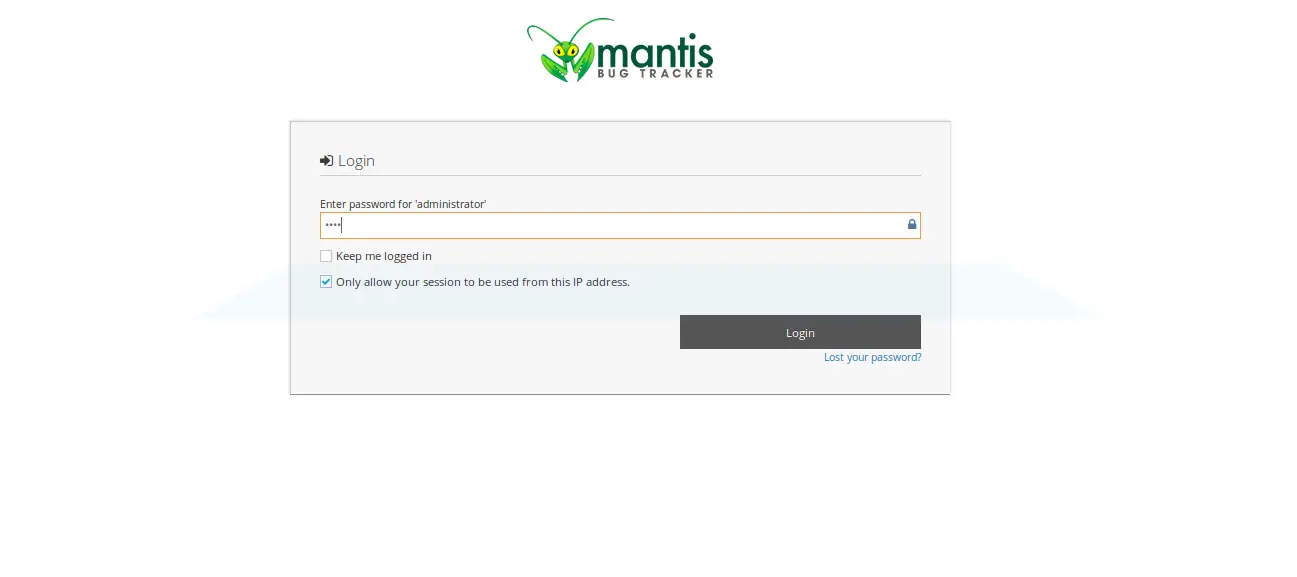
Here, provide username as "administrator" and password as "root", then click on "Login" button, you should see the Mantis default dashboard in following image:

Congratulations! you have successfully installed Mantis Bug Tracker on CentOS 7 server.

