How to Monitor Log Files with Graylog2 on Debian 9
This tutorial exists for these OS versions
- Debian 11 (Bullseye)
- Debian 10 (Buster)
- Debian 9 (Stretch)
On this page
Graylog is a free and open source log management tool based on Java, Elasticsearch and MongoDB that can be used to collect, index and analyze any server log from a centralized location. You can easily monitor the SSH logins and unusual activity for debugging applications and logs using Graylog. Graylog provides a powerful query language, alerting abilities, a processing pipeline for data transformation and much more. You can extend the functionality of Graylog through a REST API and Add-ons.
Graylog is made up of three components:
- Elasticsearch : It stores all the incoming messages and provide a searching facility.
- MongoDB : It is used for database, stores the configurations and meta information.
- Graylog server : It receives and processes messages from various inputs and provide a web interface for analysis and monitoring.
In this tutorial, we will explain how to install Graylog2 on Debian 9 Server.
Prerequisite
- A server running Debian 9.
- Minimum 4 GB RAM.
- A static IP address 192.168.0.187 setup on your server.
1 Install Required Packages
Before starting, you will need to install Java 8 and other required packages to your system. Not all required packages are available in Debian 9 standard repository, so you will need to add Debian Backports to the list of package source. First, login with root user and create a backport.list file:
nano /etc/apt/sources.list.d/backport.list
Add the following line:
deb http://ftp.debian.org/debian stretch-backports main
Save the file when you are finished, then update your system with the following command:
apt-get update -y
apt-get upgrade -y
Once your system is up-to-date, install all the packages with the following command:
apt-get install apt-transport-https openjdk-8-jre-headless uuid-runtime pwgen -y
Once all the required packages are installed, you can proceed to install MongoDB.
2 Install MongoDB
MongoDB is required to store the configuration and meta information. MongoDB is available in the Debian 9 default repository, so you can install MongoDB by just running the following command:
apt-get install mongodb-server -y
Once MongoDB is installed, you can proceed to install Elasticsearch.
3 Install Elasticsearch
Elasticsearch is acts as a search server that stores all the logs sent by the Graylog server and displays the messages whenever you request. Elasticsearch is not available in the Debian 9 default repository. You will need to add the Elasticsearch repository to the Debian package source.
First, download and add the Elasticsearch GPG key with the following command:
wget -qO - https://packages.elastic.co/GPG-KEY-elasticsearch | apt-key add -
Next, create an Elasticsearch repo file with the following command:
nano /etc/apt/sources.list.d/elasticsearch.list
Add the following line:
deb https://packages.elastic.co/elasticsearch/2.x/debian stable main
Save the file when you are finish, then update the repository by running the following command:
apt-get update -y
Next, install Elasticsearch by running the following command:
apt-get install elasticsearch -y
Once Elasticsearch is installed, you will need to modify the Elasticsearch main configuration file:
nano /etc/elasticsearch/elasticsearch.yml
Make the following changes:
cluster.name: graylog
network.host: 192.168.0.187
discovery.zen.ping.timeout: 10s
discovery.zen.ping.multicast.enabled: false
discovery.zen.ping.unicast.hosts: ["192.168.0.187:9300"]
Save and close the file when you are finished, then start the Elasticsearch service and enable it to start on boot:
systemctl start elasticsearch
systemctl enable elasticsearch
After a few seconds, run the following to test that Elasticsearch is running properly:
curl -XGET 'http://192.168.0.187:9200/_cluster/health?pretty=true'
Make sure the output shows the cluster status as "green":
{
  "cluster_name" : "graylog",
  "status" : "green",
  "timed_out" : false,
  "number_of_nodes" : 1,
  "number_of_data_nodes" : 1,
  "active_primary_shards" : 1,
  "active_shards" : 1,
  "relocating_shards" : 0,
  "initializing_shards" : 0,
  "unassigned_shards" : 1,
  "delayed_unassigned_shards" : 0,
  "number_of_pending_tasks" : 0,
  "number_of_in_flight_fetch" : 0,
  "task_max_waiting_in_queue_millis" : 0,
  "active_shards_percent_as_number" : 50.0
}
Once Elasticsearch is installed and working fine, you can proceed to the next step.
4 Install Graylog
Graylog is not available in the Debian 9 default repository, so you will need to download and install Graylog 2 repository first. You can do this by running the following command:
wget https://packages.graylog2.org/repo/packages/graylog-2.2-repository_latest.deb
dpkg -i graylog-2.2-repository_latest.deb
Once the repository is installed, update the repository and install Graylog server with the following command:
apt-get update -y
apt-get install graylog-server -y
After installing Graylog, you will need to set a secret to secure the user passwords and also set a hash (sha256) password for the root user.
First, generate password_secret with the following command:
pwgen -N 1 -s 96
You should see the following output:
TRXbNPoW4gGC8BN8Gzl4wH3jtfLoi06WCJqia18UtYyPaNLx4r8U7jUPRlIJHoGGxrCjZVqAvW2DcueI6N1zHoy2bKEWLyyC
Next, generate hash password for root user with the following command:
echo -n youradminpassword | sha256sum
You should see the following output:
e3c5925aa22abdfa18cf197a7b218fcad31acb6409d2e2dbebae807d3a9750ee
Note: Remember both password key, because both key will need to configured in the server.conf.
Next, you will need to modify the Graylog server main configuration file located in /etc/graylog/server/ directory:
nano /etc/graylog/server/server.conf
Make the following changes:
is_master = true
node_id_file = /etc/graylog/server/node-id
########past-your-password-secret-here#########
password_secret = TRXbNPoW4gGC8BN8Gzl4wH3jtfLoi06WCJqia18UtYyPaNLx4r8U7jUPRlIJHoGGxrCjZVqAvW2DcueI6N1zHoy2bKEWLyyC
root_username = admin
#######past-your-root-hash-password-here##########
root_password_sha2 = e3c5925aa22abdfa18cf197a7b218fcad31acb6409d2e2dbebae807d3a9750ee
root_timezone = UTC
plugin_dir = /usr/share/graylog-server/plugin
rest_listen_uri = http://0.0.0.0:9000/api/
rest_enable_cors = true
web_listen_uri = http://0.0.0.0:9000/
rotation_strategy = count
elasticsearch_max_docs_per_index = 20000000
elasticsearch_max_number_of_indices = 7
retention_strategy = delete
elasticsearch_shards = 4
elasticsearch_replicas = 1
elasticsearch_index_prefix = graylog
allow_leading_wildcard_searches = true
allow_highlighting = false
elasticsearch_cluster_name = graylog
elasticsearch_discovery_zen_ping_unicast_hosts = 192.168.0.187:9300
elasticsearch_http_enabled = false
elasticsearch_network_host = 0.0.00
elasticsearch_discovery_initial_state_timeout = 3s
elasticsearch_analyzer = standard
output_batch_size = 500
output_flush_interval = 1
output_fault_count_threshold = 5
output_fault_penalty_seconds = 30
processbuffer_processors = 5
outputbuffer_processors = 3
processor_wait_strategy = blocking
ring_size = 65536
inputbuffer_ring_size = 65536
inputbuffer_processors = 2
inputbuffer_wait_strategy = blocking
message_journal_enabled = true
message_journal_dir = /var/lib/graylog-server/journal
async_eventbus_processors = 2
lb_recognition_period_seconds = 3
alert_check_interval = 60
mongodb_uri = mongodb://localhost/graylog
mongodb_max_connections = 1000
mongodb_threads_allowed_to_block_multiplier = 5
content_packs_dir = /usr/share/graylog-server/contentpacks
content_packs_auto_load = grok-patterns.json
proxied_requests_thread_pool_size = 32
Save and close the file when you are finished, then start the Graylog service and enable it to start on boot:
systemctl start graylog-server
systemctl enable graylog-server
Once you are finished, you can proceed to the next step
5 Configure Firewall
By default, Graylog web interface is listening on port 9000, so you will need to allow port 9000 through UFW firewall. UFW firewall is not installed in Debian 9. So you will need to install it first. You can install it by running the following command:
apt-get install ufw -y
Once UFW is installed, enable it by running the following command;
ufw enable
Next, allow port 9000 through UFW firewall by running the following command:
ufw allow 9000
You can check the status of UFW firewall any time by running the following command.
ufw status
Once firewall is configured, you can proceed to the next step.
6 Access Graylog Web Interface
Graylog web interface is listening on port 9000. Now, open your web browser and type the URL http://192.168.0.187:9000, you should see the following screen:
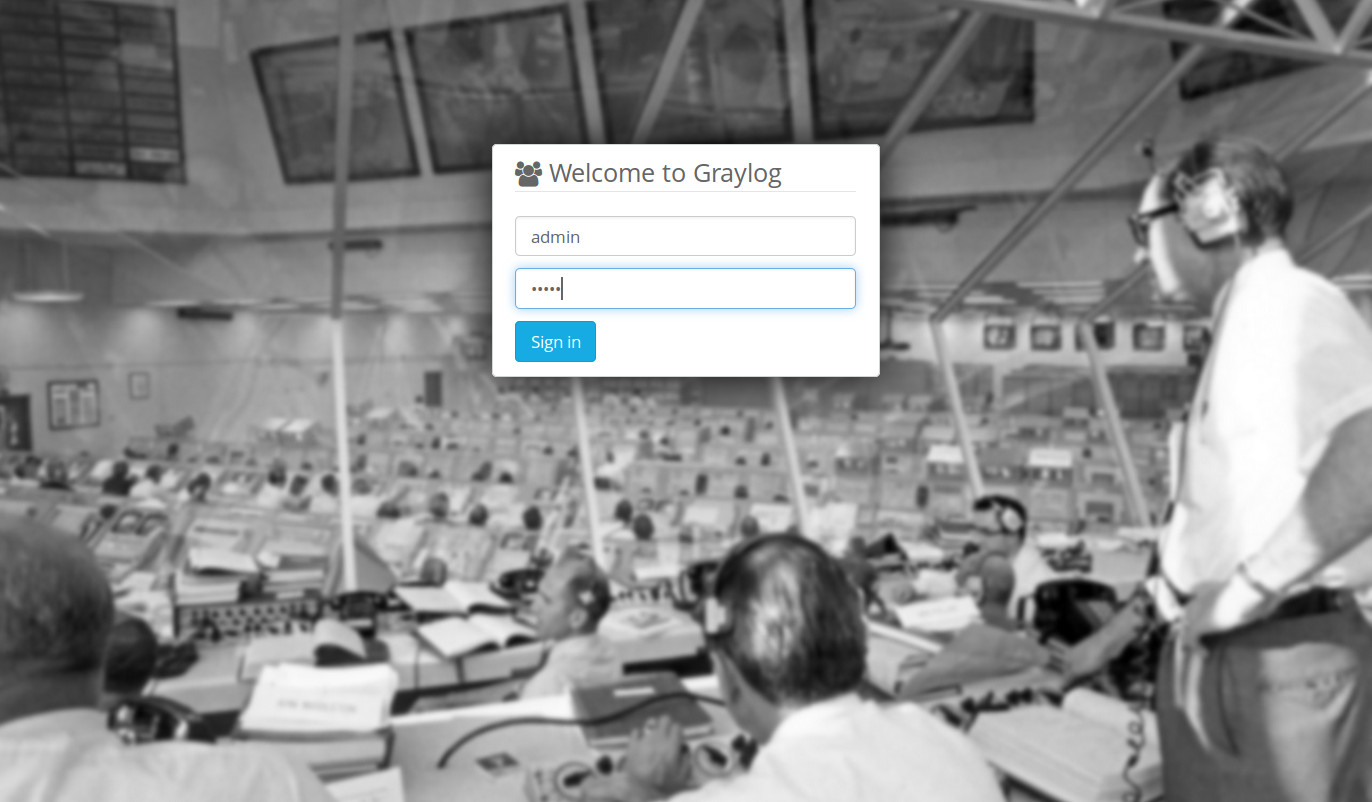
Login with username "admin" and the password you configured at root_password_sha2 on server.conf. You should see the following screen:
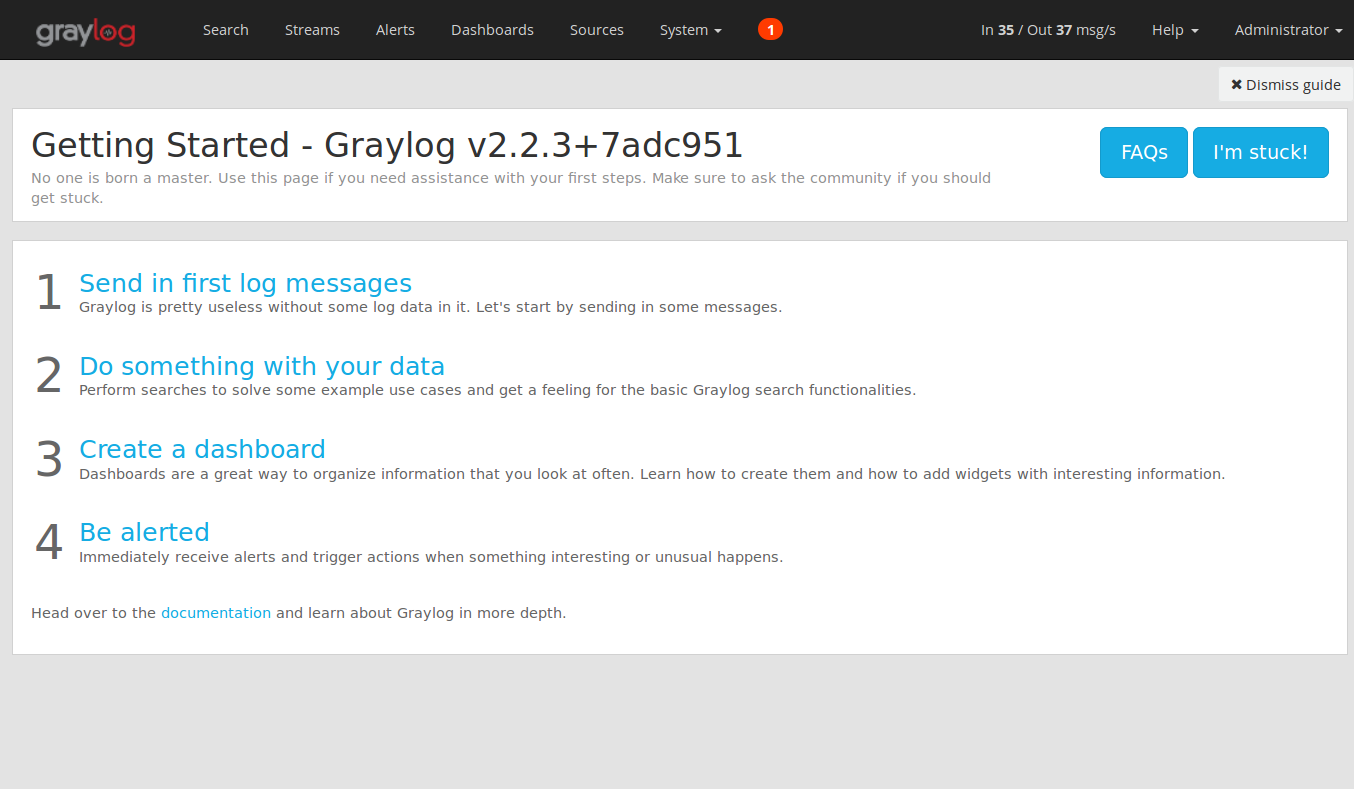
Next, you will need to add the input to receive the syslog message using the UDP. To add the input, Click on System -> select Inputs -> Syslog UDP -> click on Launch new input button, you should see the following screen:
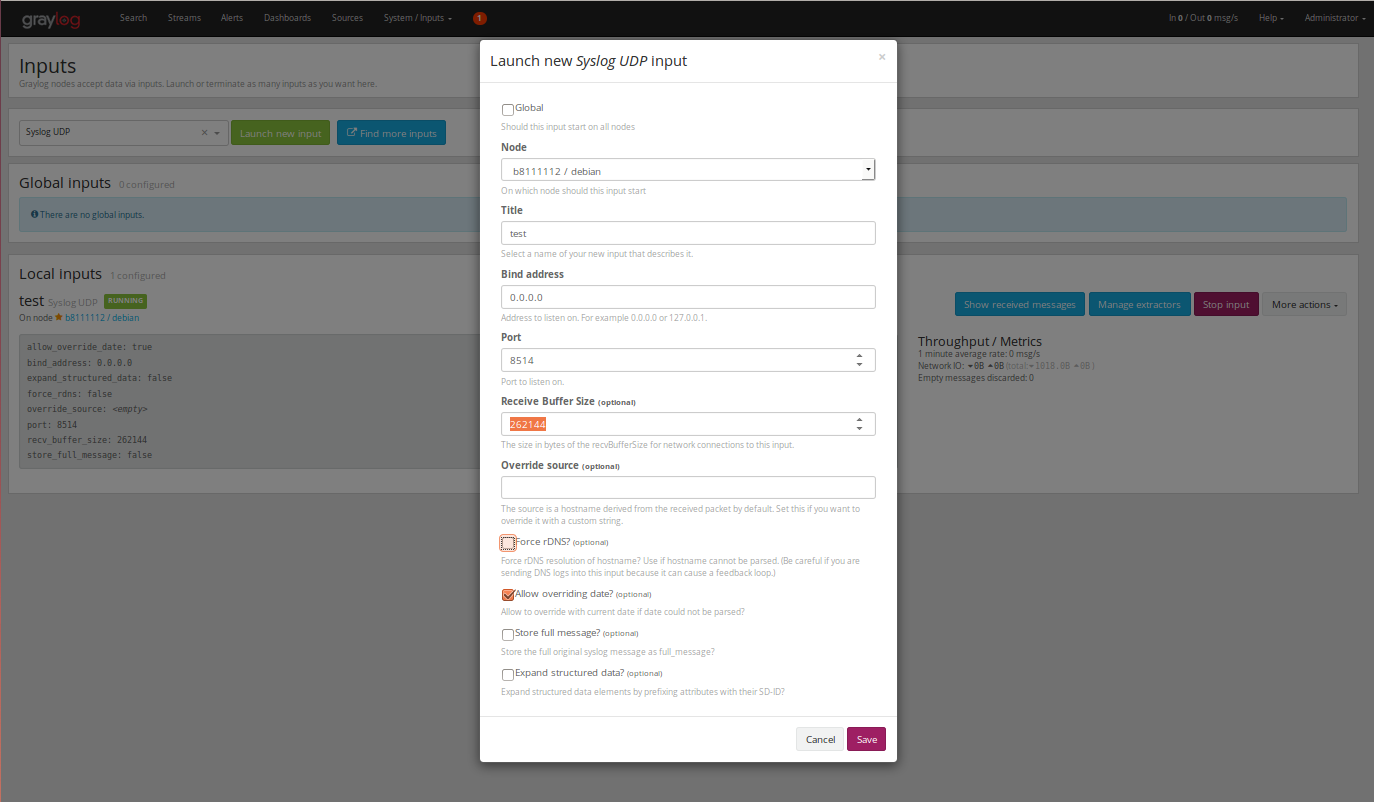
Fill up all the details such as Title, Port, Bind address and finally Click on Save button, you should see the following screen:
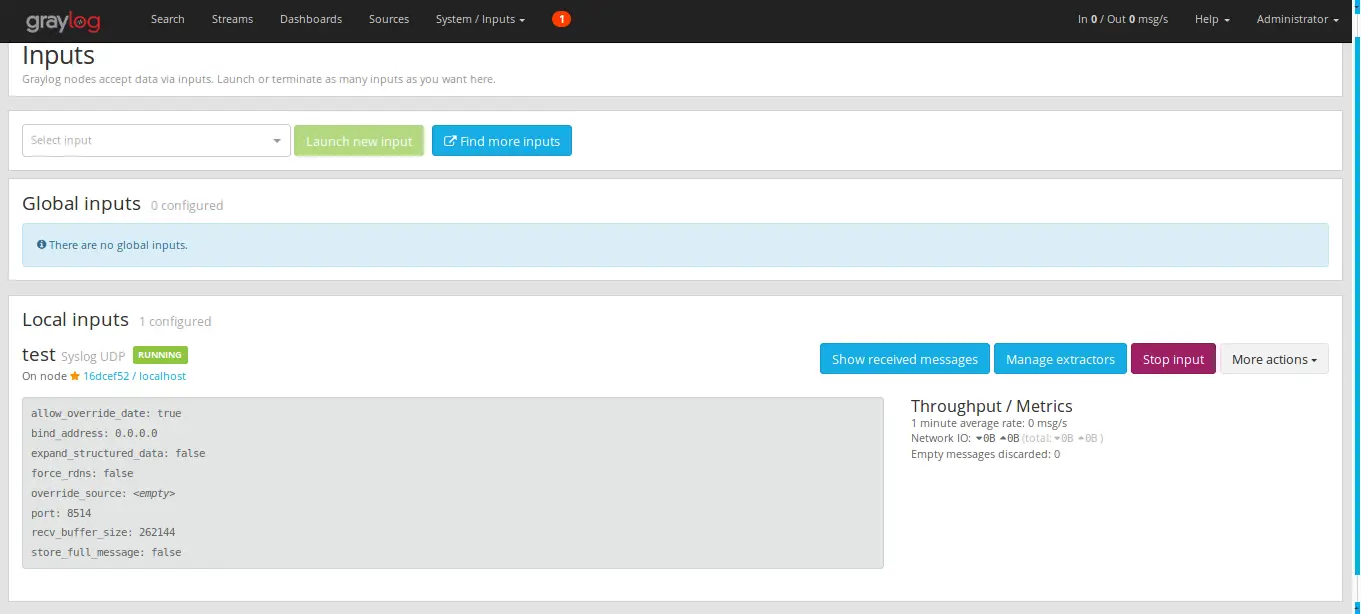
Now the Graylog server will receive the system logs using the port 8514 from the client or server.
On the Client system, you will need to configure rsyslog so that it will send the system logs messages to the Graylog server. You can do this by editing rsyslog.conf file:
nano /etc/rsyslog.conf
Add the following lines:
# provides UDP syslog reception
$ModLoad imudp
$UDPServerRun 8514
$template GRAYLOGRFC5424,"%protocol-version% %timestamp:::date-rfc3339% %HOSTNAME% %app-name% %procid% %msg%\n"
*.* @192.168.0.187:8514;GRAYLOGRFC5424
Save the file and restart rsyslog service to apply these changes:
systemctl restart rsyslog
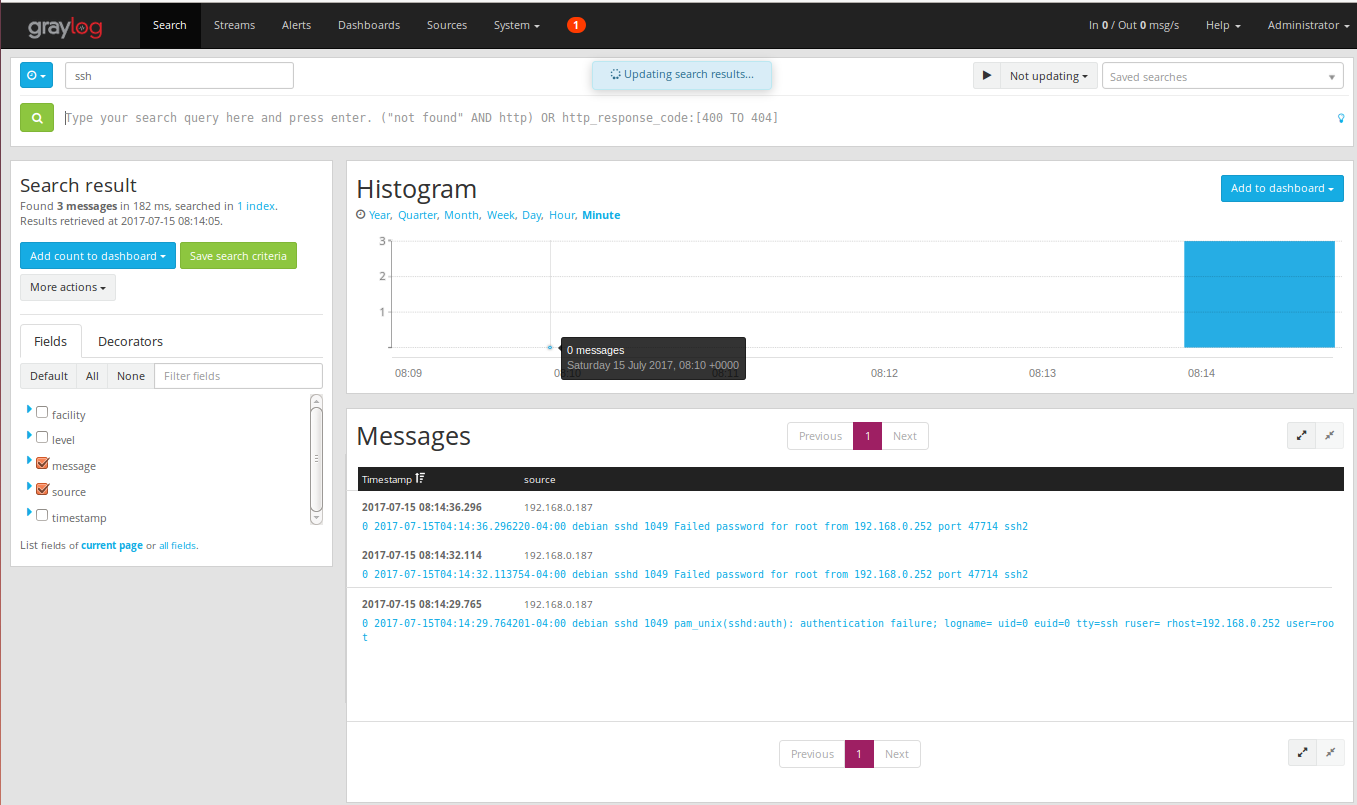
Next, on the Graylog server click on the "Graylog Sources" you can see the ssh log with failed login attempts in the following screen.
Conclusion
Congratulations! you have successfully installed and configured Graylog server on Debian 9. You can now easily see the logs and analysis of the system logs from the central location. You can also customize Graylog and send another type of logs as per your need. You can get more information from the Graylog documentation page http://docs.graylog.org/en/2.2/pages/getting_started.html. Feel free to comment me if you have any questions.

