How to Install and Configure Chef on Ubuntu 17.04
Chef is a free and open source configuration management tool. It is written in Ruby and Erlang. Chef can easily integrate with cloud based platforms such as AWS, OpenStack, or RackSpace, etc to automatically create and manage the servers. When an organization grows and the number of nodes increases, it becomes difficult for a system administrator to manage each node by himself. In this scenario, Chef comes to rescue. Chef eco system consists of three parts, Chef server, Chef workstations and Chef nodes. This DevOps tool allows a system administrator to manage the multiple nodes from a central location.
In this tutorial, we will install the latest version of Chef in Ubuntu 17.04 (Zesty Zapus).
Prerequisite
- Minimal Ubuntu 17.04 server.
- Root privileges. This guide is written as the root user, if you are logged in as sudo user, run sudo -i.
- a domain name pointed towards your server.
Update Base System
Before installing any package it is recommended that you update the packages and repository using the following command.
apt update && apt -y upgrade
Once your system is updated, proceed further.
Update Hostname
Chef requires a resolvable hostname set on the server. The hostname must be an FQDN or Full Qualified Domain Name, for example, chef.yourdomain.com. To set the hostname on your server, run the following command.
hostname 'chef.yourdomain.com'
Replace chef.yourdomain.com with your actual domain name. Also, update the hostname in /etc/hostname file.
echo "chef.yourdomain.com" | tee /etc/hostname
Add the IP address of your hostname in /etc/hosts file by running the following command.
echo "192.168.1.1 chef.yourdomain.com" >> /etc/hosts
Replace 192.168.1.1 with your actual public IP address.
Setup NTP
NTP of Network Time Protocol server is required to sync the clock of the server. Chef requires the system to which it is connected to run NTP as it is very sensitive to clock changes. NTP runs on port 123 on UDP. To install NTP on your server, run the following command.
apt install ntp
Start NTP by running the following command.
systemctl start ntp
To enable NTP to automatically start at boot time, run the following command.
systemctl enable ntp
You can verify if NTP has synced the clock by running the following command.
ntpq -p
You should see the following output:
root@chef:~# ntpq -p
     remote           refid      st t when poll reach   delay   offset  jitter
==============================================================================
 0.ubuntu.pool.n .POOL.          16 p    -   64    0    0.000    0.000   0.000
 1.ubuntu.pool.n .POOL.          16 p    -   64    0    0.000    0.000   0.000
 2.ubuntu.pool.n .POOL.          16 p    -   64    0    0.000    0.000   0.000
 3.ubuntu.pool.n .POOL.          16 p    -   64    0    0.000    0.000   0.000
 ntp.ubuntu.com  .POOL.          16 p    -   64    0    0.000    0.000   0.000
#hydrogen.consta 129.6.15.29      2 u   34   64   17  174.427   -9.145   0.751
#helium.constant 128.59.0.245     2 u   30   64   17  176.812   -8.253   0.726
#lithium.constan 18.26.4.105      2 u   33   64   17  175.435    0.357   0.684
#ntppublic.uzh.c 130.60.159.8     3 u   24   64   17  256.712    8.982   0.927
+x.ns.gin.ntt.ne 249.224.99.213   2 u   25   64   17    0.872   -1.636   0.805
-borris.netwurx. 144.92.9.22      2 u   22   64   17  163.284    0.848   1.141
-ns1.do.steersne 195.66.241.3     2 u   23   64   17  222.882   -3.528   0.965
-sircabirus.von- 36.224.68.195    2 u   28   64   17  266.005    3.502   1.173
*chobi.paina.net 131.113.192.40   2 u   26   64   17    1.280   -1.852   1.046
#213.251.53.11   193.62.22.74     2 u   27   64   17  246.940    9.920   1.405
-flightplandatab 210.240.96.206   2 u   27   64   17  258.052   -1.338   2.789
-time.platformni 118.211.218.186  2 u   27   64   17    1.592    3.394   1.127
Download and Install Chef
Download Chef Server package for Ubuntu by running the following command.
wget https://packages.chef.io/files/stable/chef-server/12.15.8/ubuntu/16.04/chef-server-core_12.15.8-1_amd64.deb
You can always find the link to the latest version of Chef by visiting Chef download pages. Now, Install the package by running the following command.
dpkg -i chef-server-*.deb
Chef is now installed on your system. You will need to configure the server before using it.
Configure Chef
You can now run the following command to start all the services required Chef to work.
chef-server-ctl reconfigure
The above command will take few minutes to complete as it installs and configures all the components of the chef server. Once successfully finished, you should get the following message at the end.
Chef Client finished, 491/1096 resources updated in 03 minutes 13 seconds
Chef Server Reconfigured!
You can check if the services are started successfully by running:
chef-server-ctl status
You should see the following output.
root@chef:~# chef-server-ctl status
run: bookshelf: (pid 6030) 87s; run: log: (pid 6047) 86s
run: nginx: (pid 5859) 91s; run: log: (pid 6387) 82s
run: oc_bifrost: (pid 5766) 92s; run: log: (pid 5842) 92s
run: oc_id: (pid 5849) 91s; run: log: (pid 5854) 91s
run: opscode-erchef: (pid 6244) 84s; run: log: (pid 6108) 85s
run: opscode-expander: (pid 5926) 88s; run: log: (pid 6010) 87s
run: opscode-solr4: (pid 5895) 89s; run: log: (pid 5912) 89s
run: postgresql: (pid 5718) 93s; run: log: (pid 5745) 92s
run: rabbitmq: (pid 5239) 101s; run: log: (pid 5099) 105s
run: redis_lb: (pid 5036) 121s; run: log: (pid 6361) 83s
Install Web Management Console
Chef provides a web based graphical user interface to administrator Chef server. You can use the GUI based console to manage data bags, attributes, run-lists, roles, environments, and cookbooks.
To install Chef Manage, run the following command:
chef-server-ctl install chef-manage
Reconfigure Chef server again by typing:
chef-server-ctl reconfigure
Finally, configure Chef Manage by running the following command.
chef-manage-ctl reconfigure
The above command will ask you to accept the licence agreement. You can choose to accept the licence agreement during the run or simply run the following command to auto accept the licence.
chef-manage-ctl reconfigure --accept-license
Create Administrator and Organization
Before you can log in and use the administrative console, you will need to create a user and organization. During user and organization creation, it automatically generates RSA private keys which are required to connect to workstations and client. You can create a new .chef directory to store the keys. Run the command to create a new directory to store private keys.
mkdir ~/.chef
Now create a new administrator by running the following command.
chef-server-ctl user-create admin Chef Administrator [email protected] StrongPassword -f ~/.chef/admin.pem
Replace admin with your preferred username, Chef with first name and Administrator with the last name, [email protected] with your email and admin.pem should be according to your username. Replace StrongPassword with a very strong password.
Now create a new organization by running the following command.
chef-server-ctl org-create my_org 'My Organization' --association_user admin -f ~/.chef/my_org.pem
Replace my_org with the short name of your organization, My Organization with the full name of your organization and admin with the administrative user you have created.
Access Web Console
Now that everything required to access the web console is installed and configured, you can access the console by browsing the following URL through your favourite browser.
http://Your-Server-IP
You can also use your domain name instead of server IP if you have the domain configured. You should see the following login screen.
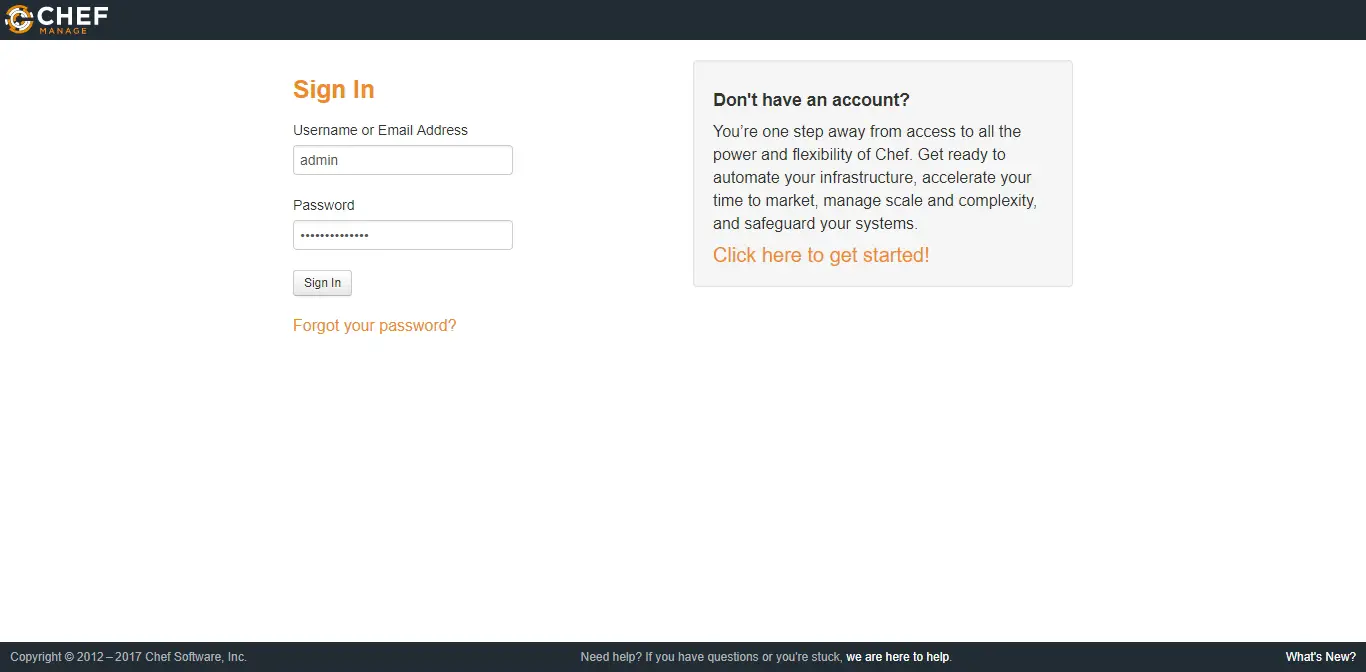
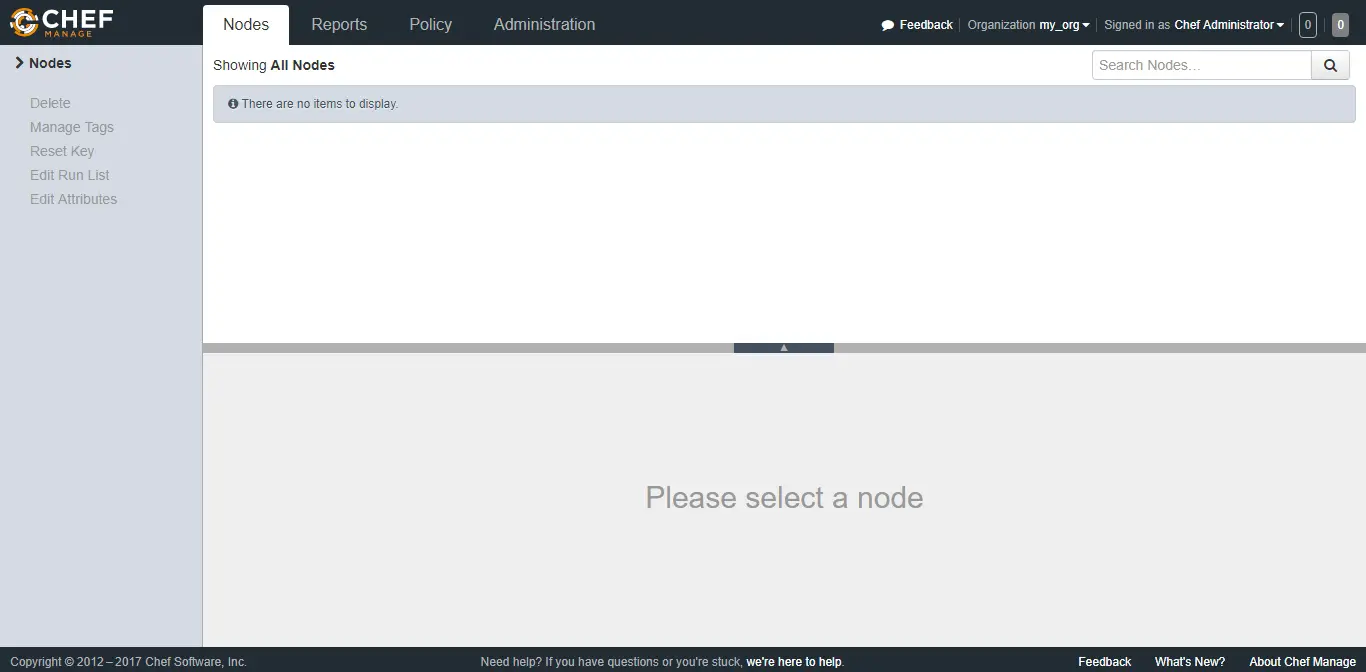
Log in using the username and password you have created. Once you are successfully logged in, you will see the following interface.
Install Optional Plugins
You can enable reporting to learn about the process occurring on all the chef-clients which are managed by the Chef server. You can run reporting via Chef management console to view reports on web console. Reports can be generated for the entire organization and they can be generated for specific nodes. To install reporting, run the following command.
chef-server-ctl install opscode-reporting
Reconfigure the Chef server by running:
chef-server-ctl reconfigure
Configure the reporting module by running:
opscode-reporting-ctl reconfigure
You can verify if the Reporting plugin is installad and working correctly by running:
opscode-reporting-ctl test
In a similar way, you can install Chef Push jobs to run jobs. Chef Push jobs allows Chef server to run jobs against nodes independently of a chef-client run. Chef push jobs uses the Chef server API and a Ruby client to initiate all connections to the Chef server. Install Push Jobs by running the following command.
chef-server-ctl install opscode-push-jobs-server
Reconfigure the Chef server by running:
chef-server-ctl reconfigure
Configure the Push Jobs module by running:
opscode-push-jobs-server-ctl reconfigure
Conclusion
In this tutorial, we have learnt to install the latest version of Chef on the latest release of Ubuntu. You can learn more about Chef by visiting the Chef website.

