How to Install SonarQube on Ubuntu 16.04
This tutorial exists for these OS versions
- Ubuntu 22.04 (Jammy Jellyfish)
- Ubuntu 20.04 (Focal Fossa)
- Ubuntu 18.04 (Bionic Beaver)
- Ubuntu 16.04 (Xenial Xerus)
On this page
SonarQube is a free and open source quality management system platform that can be used to automate code inspection. It can analyze source code files, calculate a set of metrics and show the result on the web based dashboard. It is written in Java language and also supports other languages like Perl, PHP, and Ruby. By default, SonarQube supports h2 database, but it's not scalable. So you can integrate SonarQube with other database servers like MSSQL, PostgreSQL, Oracle, and MySQL. SOnarQube comes with lots of plugins, which will integrate the source code automatically from the repositories. It allows developers to detect bugs and vulnerabilities as well as to decrease code smells, in more than 20 different languages. You can easily integrate SolarQube with Eclipse, Visual Studio and IntelliJ IDEA development environments through the SonarLint plugins.
In this tutorial, we will learn how to install SonarQube on an Ubuntu 16.04 server.
Prerequisites
- A fresh Ubuntu 16.04 server install on your system.
- Minimum 4 GB of RAM.
- A non-root user with sudo privileges.
Getting Started
Before starting, it is recommended to update your base system with the latest version. You can do this by running the following command:
sudo apt-get update -y
sudo apt-get upgrade -y
After updating your system, you can proceed to install Java.
1 Install Java
Sonarqube is a Java based application, so you will need to install Java 8 first. By default Java 8 is not available in the Ubuntu repository. You can install Java 8 by adding the webupd8team PPA repository to your system.
First, add the PPA by running the following command:
sudo add-apt-repository ppa:webupd8team/java
Next, update the repository with the following command:
sudo apt-get update -y
Once the repository is up to date, you can install Java 8 by running the following command:
sudo apt-get install oracle-java8-installer -y
After installing Java, you can check the version of Java with the following command:
java -version
You should see the following output:
Java version "1.8.0_91"
Java(TM) SE Runtime Environment (build 1.8.0_91-b14)
Java HotSpot(TM) 64-Bit Server VM (build 25.91-b14, mixed mode)
Once you are finished, you can proceed to the next step.
2 Install Apache and MariaDB
You will also need to install Apache and MariaDB, because we will use Apache for reverse proxy and MariaDB as a database. You can install both of them by running the following command:
sudo apt-get install apache2 mariadb-server -y
Once the installation is completed, start Apache and MariaDB service and enable them to start on boot with the following command:
sudo systemctl start apache2
sudo systemctl enable apache2
sudo systemctl start mysql
sudo systemctl enable mysql
Once Apache and MariaDB are installed and working, you can proceed to the next step.
3 Configure MariaDB
By default MariaDB installation is not secured, so you will need to secure MariaDB installation. You can do this by running the mysql_secure_installation script:
sudo mysql_secure_installation
In this process, you will be asked to set root password, remove anonymous users, disallow root login remotely and remove test database. Answer all the questions as shown below:
Enter current password for root (enter for none):
Change the root password? [Y/n] n
Remove anonymous users? [Y/n] Y
Disallow root login remotely? [Y/n] Y
Remove test database and access to it? [Y/n] Y
Reload privilege tables now? [Y/n] Y
Once MariaDB is secured, log in to the MariaDB shell with the following command:
mysql -u root -p
Enter your root password when prompt, then create a database for SonarQube:
MariaDB [(none)]> CREATE DATABASE sonardb;
Next, create a new database user and provide the appropriate privileges to your database user over the database you have created.
MariaDB [(none)]> GRANT ALL PRIVILEGES ON sonardb.* TO 'sonar'@'localhost' IDENTIFIED BY 'yourpassword';
Next, apply the changes to the database privileges with the following command:
MariaDB [(none)]> FLUSH PRIVILEGES;
Finally, exit from the MariaDB shell with the following command:
MariaDB [(none)]> \q
Once database is configured, you can proceed to the next step.
4 Install SonarQube
You can download the latest version of the SonarQube from their official website. You can download it with the wget command:
wget https://sonarsource.bintray.com/Distribution/sonarqube/sonarqube-6.4.zip
Once the download is completed, unzip the downloaded archive using the following command:
sudo unzip sonarqube-6.4.zip -d /opt
Next, rename the directory with the following command:
sudo mv /opt/sonarqube-6.4 /opt/sonar
Next, you will need to modify the SonarQube main configuration file sonar.properties:
sudo nano /opt/sonar/conf/sonar.properties
Make the following changes:
##Database User credentials:
sonar.jdbc.username=sonar
sonar.jdbc.password=yourpassword
sonar.jdbc.url=jdbc:mysql://localhost:3306/sonar?useUnicode=true&characterEncoding=utf8&rewriteBatchedStatements=true&useConfigs=maxPerformance&useSSL=false
Save and close the file, then create a systemd service file for SonarQube.
sudo nano /etc/systemd/system/sonar.service
Add the following lines:
[Unit]
Description=SonarQube service
After=syslog.target network.target

[Service]
Type=forking

ExecStart=/opt/sonar/bin/linux-x86-64/sonar.sh start
ExecStop=/opt/sonar/bin/linux-x86-64/sonar.sh stop

User=root
Group=root
Restart=always

[Install]
WantedBy=multi-user.target
Save the file when you are finished, then start the SonarQube service and enable it to start at boot with the following command:
sudo systemctl start sonar
sudo systemctl enable sonar
SonarQube process take some time to finish for creating database and populating data. You can check the status of SonarQube with the following command:
sudo systemctl status sonar
You can also monitor the process by looking into the contents of /opt/sonar/logs/sonar.log file. Once you are done, you can proceed to the next step.
5 Configure Apache as a Reverse Proxy
By default, SonarQube listens on port 9000. Here, we will use apache as a reverse proxy so that SonarQube can be accessed using port 80:
First, enable the apache proxy module with the following command:
sudo a2enmod proxy
sudo a2enmod proxy_http
Next, create a new virtual host file for SonarQube with the following command:
sudo nano /etc/apache2/sites-available/sonar.conf
Add the following lines:
<VirtualHost *:80>
    ServerName 192.168.15.189
    ServerAdmin [email protected]
    ProxyPreserveHost On
    ProxyPass / http://localhost:9000/
    ProxyPassReverse / http://localhost:9000/
    TransferLog /var/log/apache2/sonar_access.log
    ErrorLog /var/log/apache2/sonar_error.log
</VirtualHost>
Save and close the file, then enable new virtual host by running the following command:
sudo a2ensite sonar
Finally, restart apache service with the following command:
sudo systemctl restart apache2
6 Access SonarQube Web Interface
All the required components are installed and configure. Now it's time to access the SonarQube web interface.
Before accessing it, you will need to allow port 80 through UFW firewall. By default UFW is disabled in Ubuntu, so you will need to enable it first. You can enable it by running the following command:
sudo ufw enable
Once UFW firewall is enabled, you can allow port 80 through UFW by running the following command:
sudo ufw allow 80/tcp
You can now check the status of UFW firewall by running the following command:
sudo ufw status
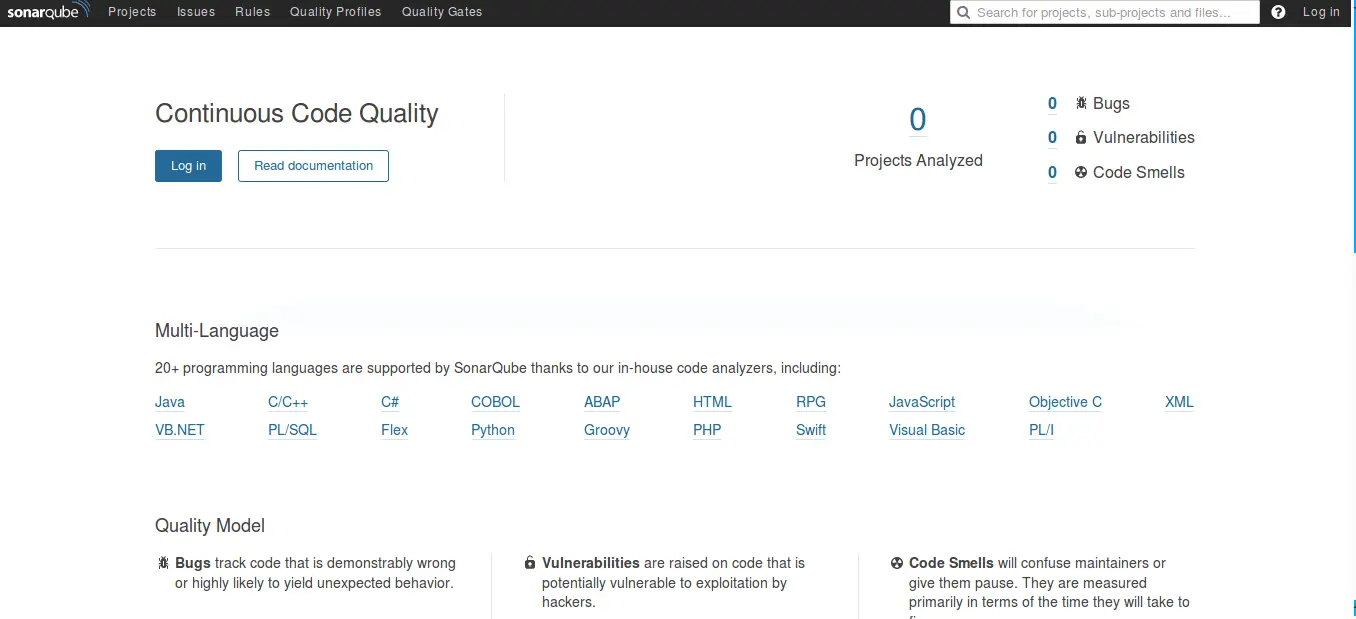
Now, Open your web browser and navigate to URL http://192.168.15.189, you should see the following screen:
Now, click on the "Log in" button, you should see the following screen:
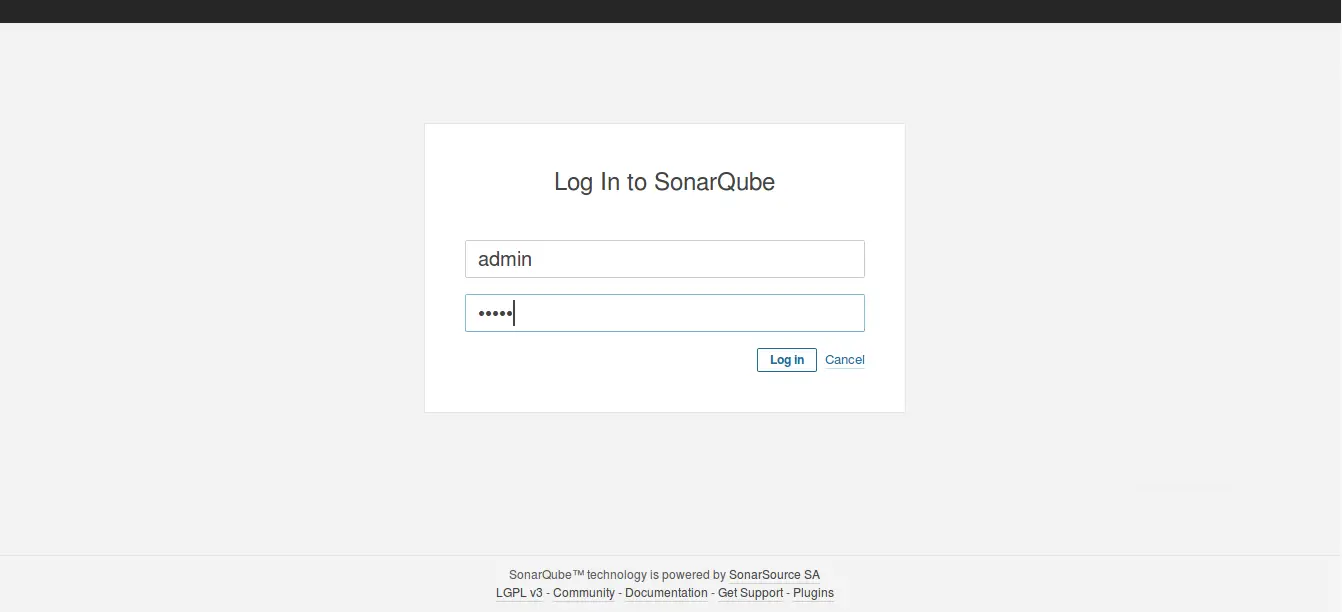
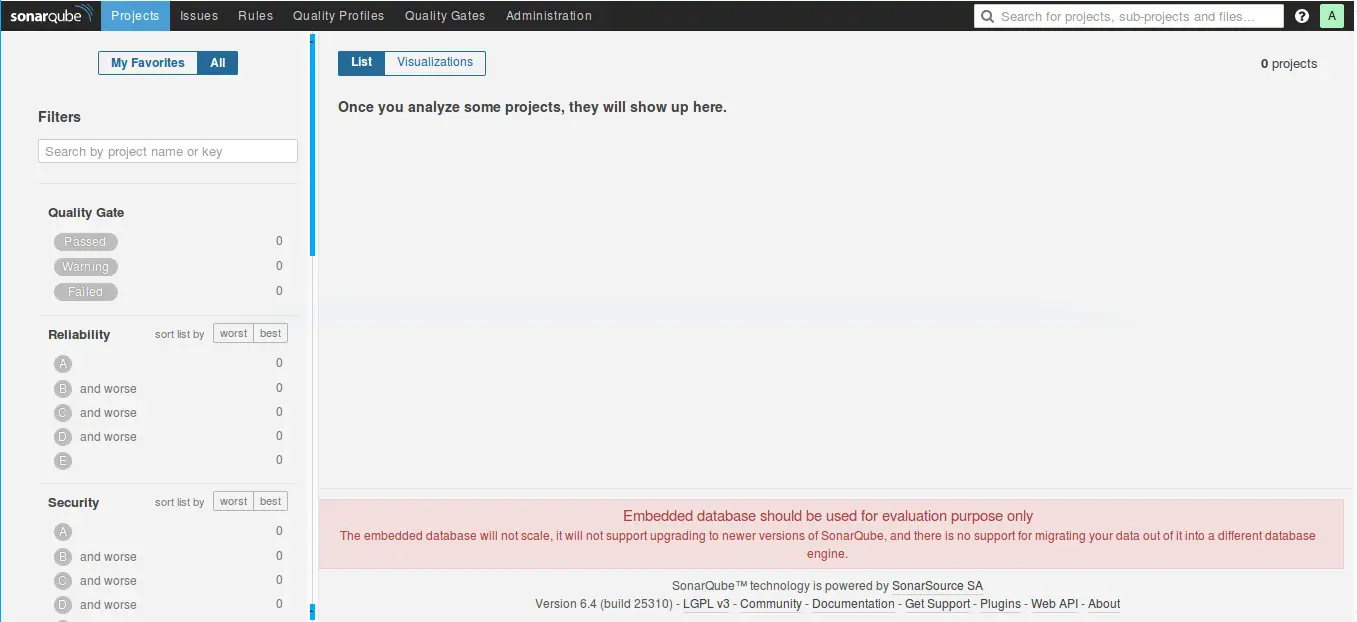
Login with the default username as "admin" and password as "admin", you should see the following screen:
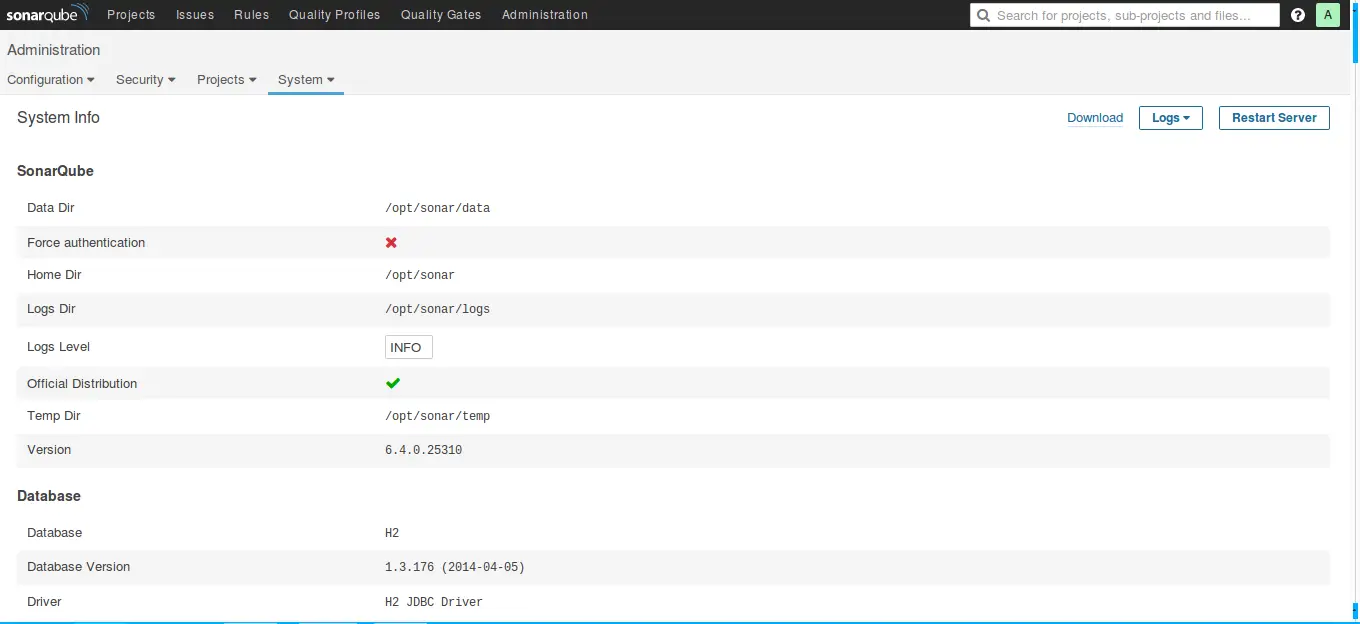
Once you logged in to the SonarQube dashboard, click on Administration > System > System Info button. You should see the current system information in the following screen:
Next, click on the Administration > System > Update Center button, you should see all the installed plugins in the following screen:
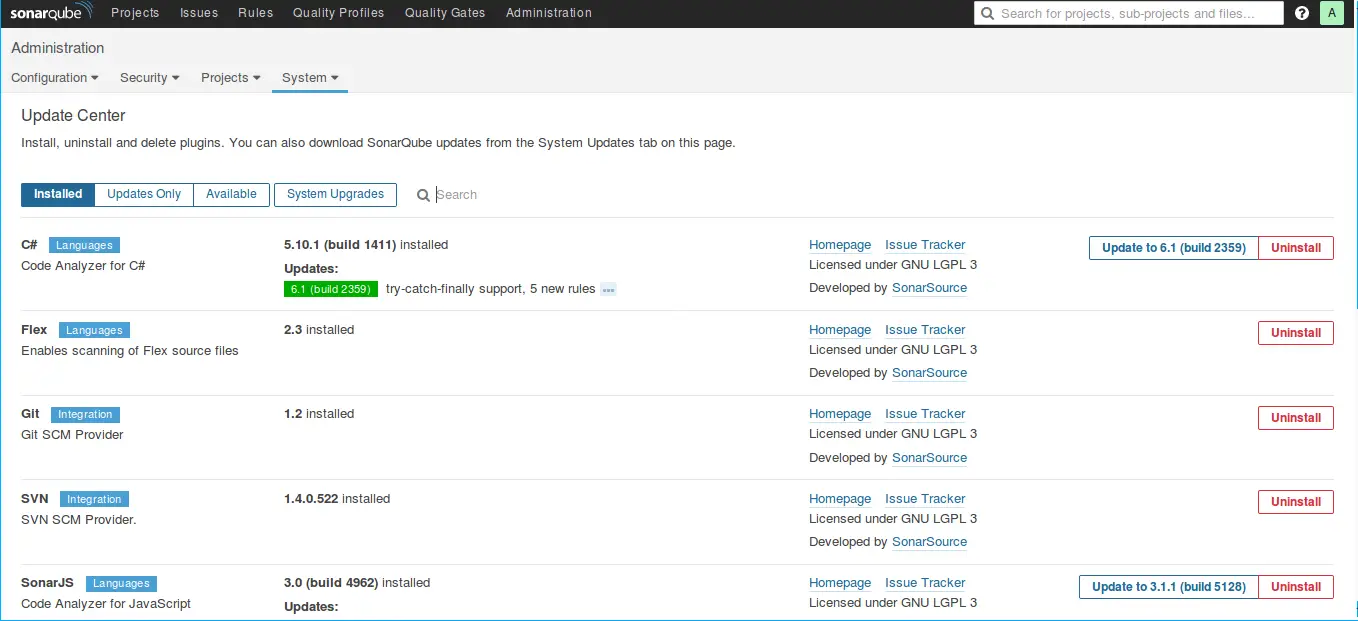
Here, you can update existing plugins and also install available plugins. After installing or updating the required plugins, you will need to click on "Restart" button to restart the system to update the changes.
Conclusion
In the above tutorial, we learned to install SonarQube on Ubuntu 16.04 and basic usage of SonarQube. You can now easily deploy it in the production environment. Feel free to comment me if you need any help.

