How to Install Nextcloud 13 Server on Debian 9
This tutorial exists for these OS versions
On this page
NextCloud is a free, open source and an alternative to another open source file hosting solution OwnCloud. The main difference of NextCloud from OwnCloud is that NextCloud is completely open source. NextCloud is a self-hosted file sharing application server that allows you to store your contacts, pictures and personal documents from a centralized location. NextCloud eliminates your need of using third-party cloud hosting software like Dropbox for storing your documents.
NextCloud comes with lots of features, some of them are listed below:
- Allow us to manage user and group using OpenID or LDAP.
- Allow us to access, sync and share your existing data on Dropbox, FTP, and NAS.
- List connected browsers/devices in the personal settings page. Allows the user to disconnect browsers/devices.
- Supports two Factor authentication plugins system.
- Allow us to share files with other users, create and send password protected public links.
- Notify you by phone and desktop when someone on server shares files directly with you.
- Supports monitoring capabilities, full-text search, Kerberos authentication and audio/video conferencing.
- Synchronize files with the Nextcloud server from Desktop clients and Mobile clients.
In this tutorial, we will explain how to install and configure NextCloud on Debian 9.
Requirements
- A server running Debian 9 on your system.
- A static IP 192.168.0.187 address setup on your system.
- Root password setup on your system.M
Getting Started
Let's start by updating your system with the latest stable version. You can do this by running the following command:
apt-get update -y
apt-get upgrade -y
After updating the system, restart your system to apply these changes:
reboot
Next, log in with root user and proceed to the next step.
1 Installing LAMP Server
NextCloud runs using Apache, MySQL, and PHP. So you will need to install all these components to your system.
First, install Apache and MariaDB server with the following command:
apt-get install apache2 mariadb-server -y
Once the installation is complete, start Apache and MariaDB service and enable them to start on boot time by running the following command:
systemctl start apache2
systemctl enable apache2
systemctl start mysql
systemctl enable mariadb
Next, you will also need to install PHP and other required modules to your system. You can install all of them by running the following command:
apt-get install libapache2-mod-php php7.0 php7.0-xml php7.0 php7.0-cgi php7.0-cli php7.0-gd php7.0-curl php7.0-zip php7.0-mysql php7.0-mbstring wget unzip -y
Once the installation is completed, you can proceed to the next step.
2 Configure MariaDB
By default MariaDB installation is not secure, so you will need to secure it. You can do this by running the following command:
mysql_secure_installation
Answer all the questions as follows:
NOTE: RUNNING ALL PARTS OF THIS SCRIPT IS RECOMMENDED FOR ALL MariaDB
      SERVERS IN PRODUCTION USE!  PLEASE READ EACH STEP CAREFULLY!

In order to log into MariaDB to secure it, we'll need the current
password for the root user.  If you've just installed MariaDB, and
you haven't set the root password yet, the password will be blank,
so you should just press enter here.

Enter current password for root (enter for none):
OK, successfully used password, moving on...

Setting the root password ensures that nobody can log into the MariaDB
root user without the proper authorisation.

You already have a root password set, so you can safely answer 'n'.

Change the root password? [Y/n] n
 ... skipping.

By default, a MariaDB installation has an anonymous user, allowing anyone
to log into MariaDB without having to have a user account created for
them.  This is intended only for testing, and to make the installation
go a bit smoother.  You should remove them before moving into a
production environment.

Remove anonymous users? [Y/n] Y
 ... Success!

Normally, root should only be allowed to connect from 'localhost'.  This
ensures that someone cannot guess at the root password from the network.

Disallow root login remotely? [Y/n] Y
 ... Success!

By default, MariaDB comes with a database named 'test' that anyone can
access.  This is also intended only for testing, and should be removed
before moving into a production environment.

Remove test database and access to it? [Y/n] Y
 - Dropping test database...
 ... Success!
 - Removing privileges on test database...
 ... Success!

Reloading the privilege tables will ensure that all changes made so far
will take effect immediately.

Reload privilege tables now? [Y/n] Y
 ... Success!

Cleaning up...

All done!  If you've completed all of the above steps, your MariaDB
installation should now be secure.

Thanks for using MariaDB!
Once MariaDB is secured, log in to MariaDB console with the following command:
mysql -u root -p
Enter your root password when prompt, then create a database for Nextcloud:
CREATE DATABASE nextclouddb;
Next, create a username and password for Nextcloud with the following command:
CREATE USER 'nextcloud'@'localhost' IDENTIFIED BY 'mypassword';
Replace 'mypassword' with your own secure password. Next, grant privileges to the Nextcloud database with the following command:
GRANT ALL PRIVILEGES ON nextclouddb.* TO 'nextcloud'@'localhost';
Next, run the FLUSH PRIVILEGES command so that the privileges table will be reloaded by MariaDB:
FLUSH PRIVILEGES;
Finally, exit from the MariaDB shell with the following command:
\q
Once your database is setup properly, you can proceed to the next step.
3 Install NextCloud
First, you will need to download the latest version of the NextCloud from their official website. You can do this with the following command:
wget https://download.nextcloud.com/server/releases/latest.zip
Once the file is downloaded, extract the downloaded file with the following command:
unzip latest.zip
Next, move the extracted directory to the Apache web root directory with the following command:
mv nextcloud /var/www/html/
Next, give proper permission to the nextcloud with the following command:
chown -R www-data:www-data /var/www/html/nextcloud
Next, you will need to create an apache virtual host file for NextCloud. You can do this by creating nextcloud.conf file as follows:
nano /etc/apache2/sites-available/nextcloud.conf
Add the following lines:
<VirtualHost *:80>
ServerAdmin [email protected]
DocumentRoot "/var/www/html/nextcloud"
ServerName 192.168.0.187
<Directory "/var/www/html/nextcloud/">
Options MultiViews FollowSymlinks

AllowOverride All
Order allow,deny
Allow from all
</Directory>
TransferLog /var/log/apache2/nextcloud_access.log
ErrorLog /var/log/apache2/nextcloud_error.log
</VirtualHost>
Save and close the file, then enable NextCloud virtual host file and disable default virtual host file with the following command:
a2dissite 000-default
a2ensite nextcloud
Finally, restart apache service to apply these changes:
systemctl restart apache2
4 Access NextCloud Web Interface
Once everything is configured properly, you will need to allow port 80 through UFW firewall.
To do so, first install ufw with the following command:
apt-get install ufw -y
Once UFW is installed, enable it with the following command:
ufw enable
Next, allow port 80 through UFW and port 22 SSH with the following command:
ufw allow 80
ufw allow 22
Open further ports in the firewall if you need them. Finally, open your web browser and navigate to URL http://192.168.0.187, you should see the following screen:
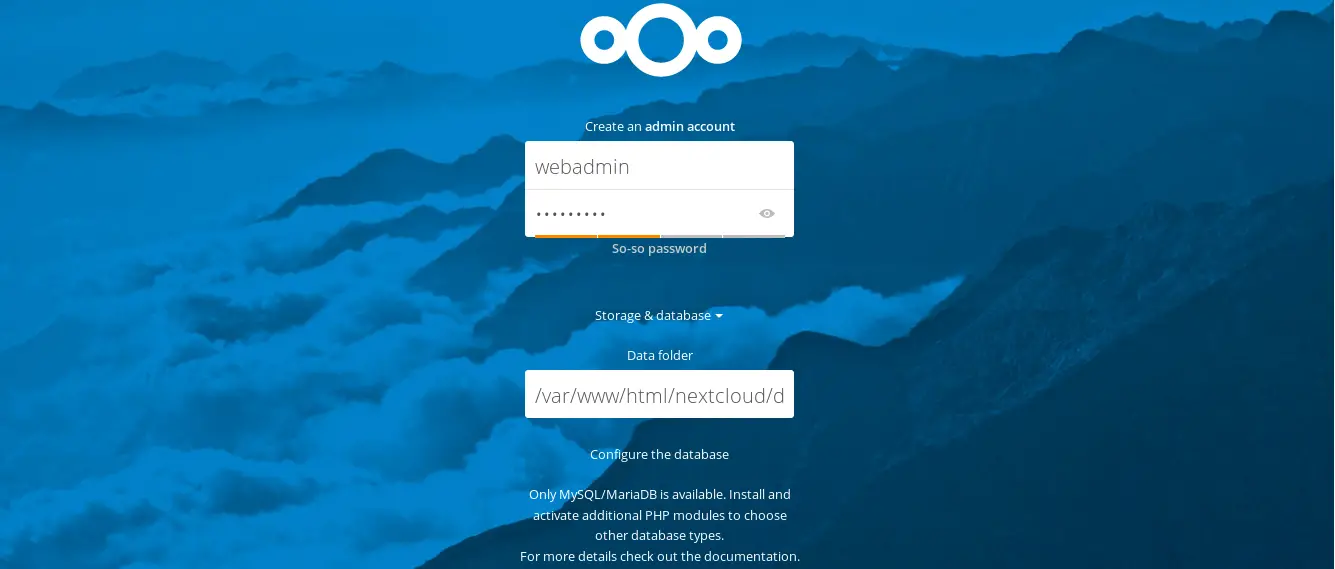
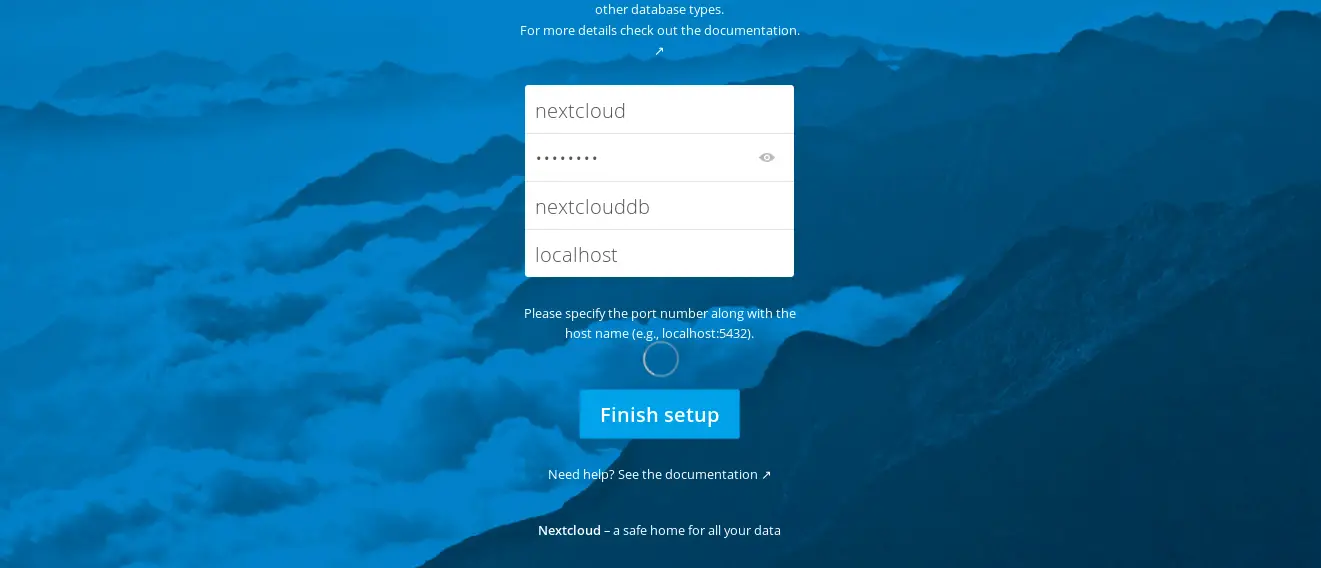
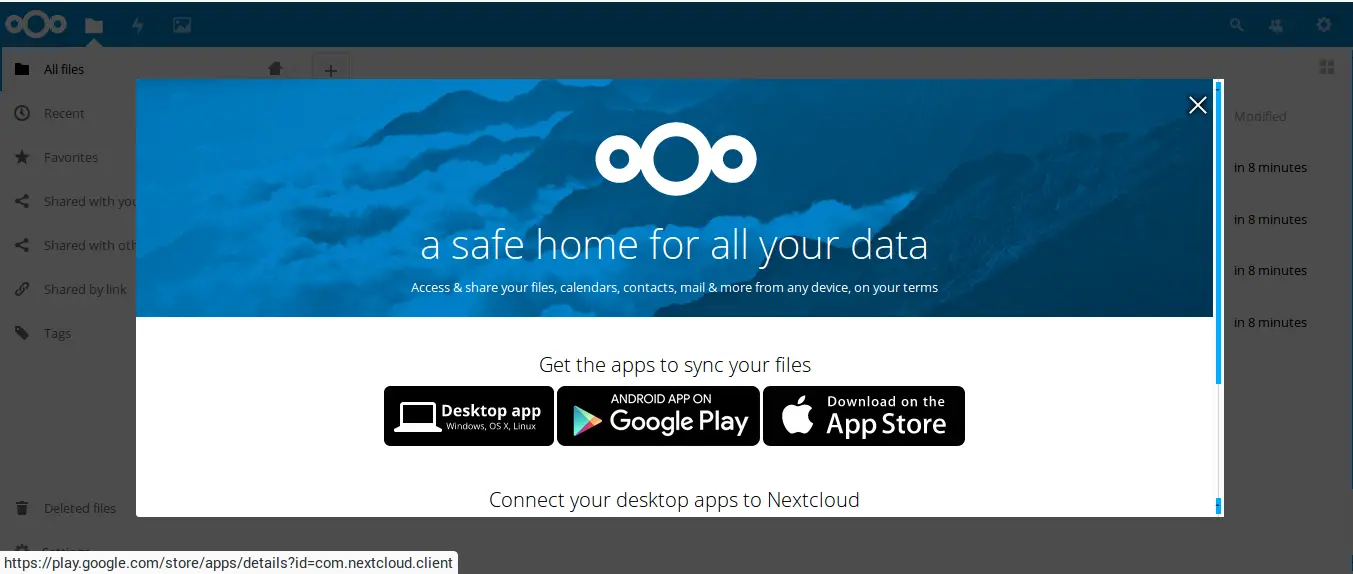
Provide all the required information such as admin username, password, database name, database username, and password, then click on the Finish Setup button. You should see the NextCloud Dashboard on the following screen:

5 Configure NextCloud Client
Here, we will install NextCloud client on Ubuntu Desktop and connect it to the NextCloud server.
To install NextCloud client, you will need to add the NextCloud repository to your system. You can do this by running the following command:
add-apt-repository ppa:nextcloud-devs/client
apt-get update -y
apt-get install nextcloud-client -y
Once, NextCloud client is installed, launch it from your Ubuntu Dash, you should see the following screen:
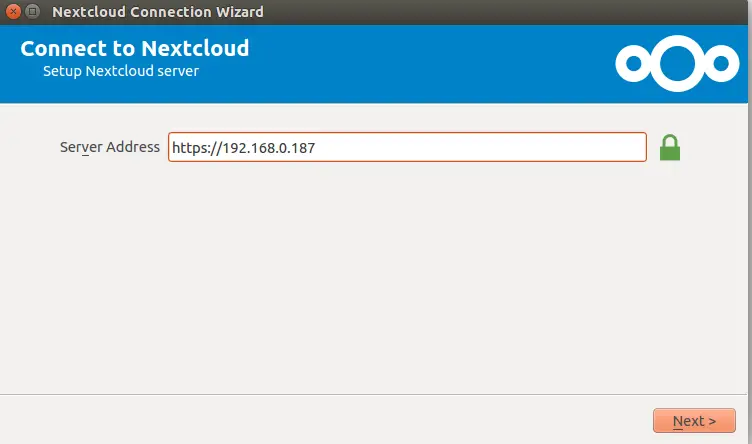
Here, provide your server address and click on the Next button, you should see the following screen:
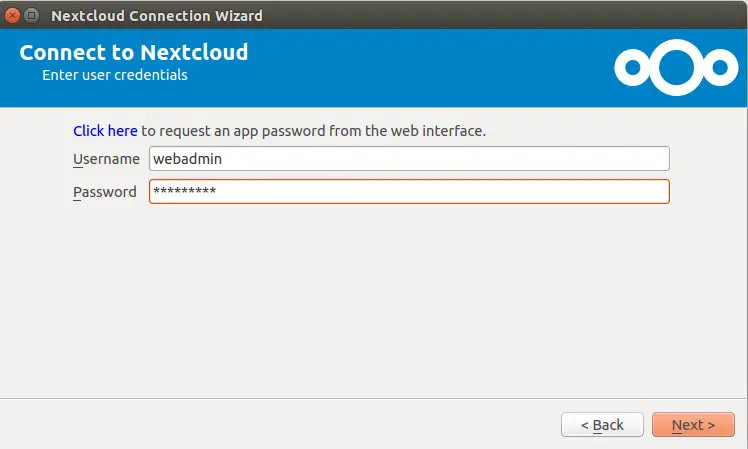
Provide your NextCloude server credential and click on the Next button, you should see the following screen:
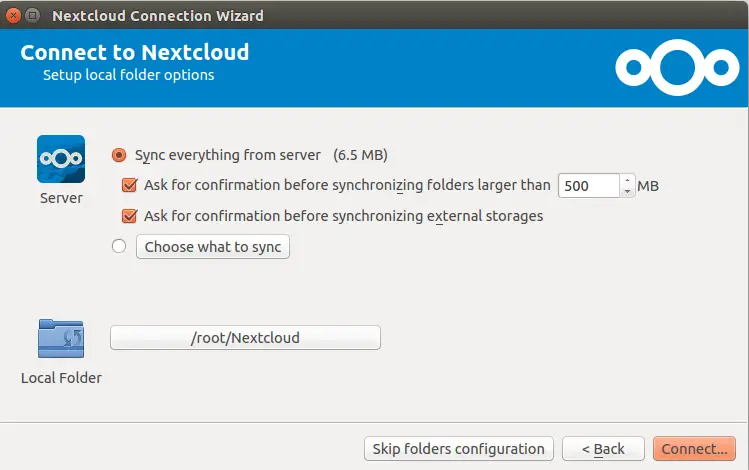
Now, click on Connect button, you should see the following screen:
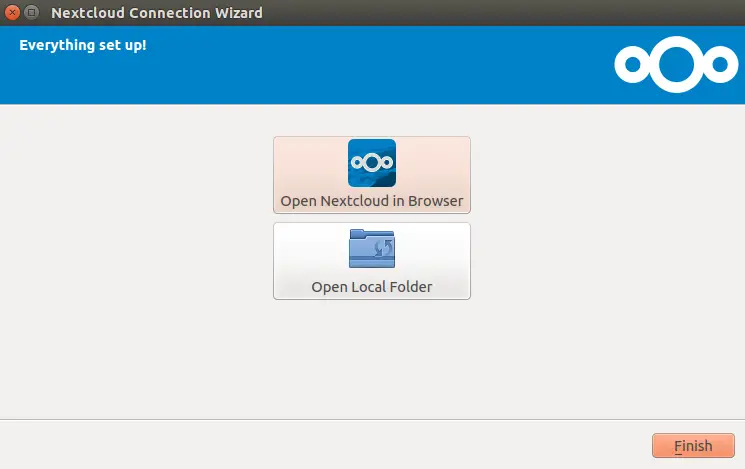
Here, click on Local Folder, you should see the following screen:

Congratulations! your NextCloud server and Client are installed and configured. You can now easily sync your data from your local NextCloud client to NextCloud server.

