How to Install Sensu Monitoring on Ubuntu 16.04
This tutorial exists for these OS versions
- Ubuntu 22.04 (Jammy Jellyfish)
- Ubuntu 20.04 (Focal Fossa)
- Ubuntu 16.04 (Xenial Xerus)
On this page
Sensu is a free and open source tool for composing the monitoring system you need. It is written in Ruby that uses RabbitMQ to handle messages and Redis to store data. Sensu provides a framework for monitoring infrastructure and application health. Sensu supports a number of platforms such as, IBM AIX, Ubuntu, Debian, RedHat, CentOS, FreeBSD, Mac OS, Solaris, Windows and much more. Sensu empowers organizations to compose comprehensive monitoring solutions that meet their unique business requirements. Sensu comes with hundreds of plugins that provide native instrumentation for the tools and services your business depends on, including, Web server and Proxy, Database, Message Queues, Log Aggregation, Indexing, Search, Cache, Network and System Resources, Configuration management and Discovery, General Purpose, Chef, Clack and much more.
In this tutorial, we will go through step by step installation of Redis, RabbitMQ and Sensu on Ubuntu 16.04.
Requirements
- Ubuntu 16.04 server installed on your system.
- Non-root user with sudo privileges setup on your system.
- A static IP address 192.168.0.227 configure on your system.
Update The System
Before starting, it is recommended to update your system to the latest stable version. You can update your system by running the following command:
sudo apt-get update -y
sudo apt-get upgrade -y
Once your system is updated, restart your system to apply all the updates with the following command:
sudo reboot
After rebooting, log in to your system with sudo user and proceed to the next step.
Install and Configure RabbitMQ
Before starting, RabbitMQ runs on Erlang, so you will need to install Erlang to your system.
First, add Erlang repository and Erlang public key to your trusted key list with the following command:
wget https://packages.erlang-solutions.com/erlang-solutions_1.0_all.deb
sudo dpkg -i erlang-solutions_1.0_all.deb
wget -O- https://packages.erlang-solutions.com/ubuntu/erlang_solutions.asc | sudo apt-key add -
Next, update the repository with the following command:
sudo apt-get update -y
Once the repository is updated, install Erlang by running the following command:
sudo apt-get install socat erlang-nox -y
Next, you will need to download and install the latest version of the RabbitMQ repository to your system. You can do this by running the following command:
wget http://www.rabbitmq.com/releases/rabbitmq-server/v3.6.10/rabbitmq-server_3.6.10-1_all.deb
sudo dpkg -i rabbitmq-server_3.6.10-1_all.deb
Once the repository is installed, update the repository with the following command:
sudo apt-get update -y
Finally, install RabbitMQ server by running the following command:
sudo apt-get install rabbitmq-server -y
Once the installation is complete, start RabbitMQ service and enable it to start on boot with the following command:
sudo systemctl start rabbitmq-server
sudo systemctl enable rabbitmq-server
Next, you will need to create a RabbitMQ vhost and user for Sensu. You can do this by running the following command:
sudo rabbitmqctl add_vhost /sensu
sudo rabbitmqctl add_user sensu your-password
sudo rabbitmqctl set_permissions -p /sensu sensu ".*" ".*" ".*"
Once you are done, you can proceed to install Redis server.
Install Redis Server
Sensu uses Redis server to store their data. By default, Sensu is available in Ubuntu repository. You can install Redis server by running the following command:
sudo apt-get install redis-server apt-transport-https -y
Once the installation is complete, start the Redis server and enable it to start on boot time by running the following command:
sudo systemctl start Redis-server
sudo systemctl enable Redis-server
Once you are done, you can proceed to the next step.
Install and Configure Sensu
By default, Sensu is not available in Ubuntu repository. So you will need to add public key and repository to your system.
First, add GPG key with the following command:
wget -O- https://sensu.global.ssl.fastly.net/apt/pubkey.gpg | sudo apt-key add -
Next, add the Sensu repository by creating sensu.list file inside /etc/apt/sources.list.d directory with the following command:
sudo nano /etc/apt/sources.list.d/sensu.list
Add the following line:
deb https://sensu.global.ssl.fastly.net/apt sensu main
Save the file and update the repository with the following command:
sudo apt-get update -y
Once the repository is updated, install Sensu with the following command:
sudo apt-get install sensu -y
After installing Sensu, you will need to configure Sensu for RabbitMQ and Redis. By default, Sensu will load configuration from /etc/sensu/conf.d/ directory. So you will need to create configuration files for RabbitMQ, Redi, and Api.
First, create a rabbitmq.json file inside /etc/sensu/conf.d directory by running the following command as follows:
sudo nano /etc/sensu/conf.d/rabbitmq.json
Add the following lines to connect the RabbitMQ instance:
{
  "rabbitmq": {
    "host": "127.0.0.1",
    "port": 5672,
    "vhost": "/sensu",
    "user": "sensu",
    "password": "your-password"
  }
}
Save and close the file when you are finished.
Next, create redis.json file with the following command:
sudo nano /etc/sensu/conf.d/redis.json
Add the following lines to include the connection information for Sensu to access Redis:
{
  "redis": {
    "host": "127.0.0.1",
    "port": 6379
  }
}
Save and close the file when you are finished.
Next, create a api.json file to include the connection information for Sensu to access API service by running the following command.
sudo nano /etc/sensu/conf.d/api.json
Add the following lines:
{
  "api": {
    "host": "localhost",
    "bind": "0.0.0.0",
    "port": 4567
  }
}
Save and close the file when you are finished, then you can proceed to the next step.
Install and Configure Sensu Dashboard
By default, Sensu does not comes with the Dashboard to monitor Sensu through web interface.
So, you will need to install an open source Dashboard Uchiwa to your system. By default, Uchiwa is not available in Ubuntu repository. So, you will need to add a Uchiwa repository to your system.
First, add the public key for Uchiwa with the following command:
wget -O- https://sensu.global.ssl.fastly.net/apt/pubkey.gpg | sudo apt-key add -
Next, add a Uchiwa repository by creaing uchiwa..list file inside /etc/apt/sources.list.d directory with the following command:
sudo nano /etc/apt/sources.list.d/uchiwa.list
Add the following lines:
deb https://sensu.global.ssl.fastly.net/apt sensu main
Save the file, then update the repository with the following command:
sudo apt-get update -y
Once the repository is updated, install Uchiwa with the following command:
sudo apt-get install uchiwa -y
Once Uchiwa is installed, create a configuration file for Uchiwa with the following command:
sudo nano /etc/sensu/conf.d/uchiwa.json
Add the following lines:
{
  "sensu": [
    {
      "name": "Sensu",
      "host": "localhost",
      "port": 4567,
      "timeout": 10
    }
  ],
  "uchiwa": {
    "host": "0.0.0.0",
    "port": 3000,
    "refresh": 10
  }
}
Save and close the file, when you are finished.
Finally, restart the Sensu and Uchiwa service and enable them to start on boot time with the following command:
sudo systemctl start sensu-server
sudo systemctl enable sensu-server
sudo systemctl start sensu-api
sudo systemctl enable sensu-api
sudo systemctl start sensu-client
sudo systemctl enable sensu-client
sudo systemctl start uchiwa
sudo systemctl enable uchiwa
Once you are done, you can proceed to the next step.
Access Sensu Dashboard
Before accessing Sensu dashboard, you will need to allow port 3000 through UFW firewall.
First, install UFW firewall by running the following command:
sudo apt-get install ufw -y
Once UFW is installed, enable UFW service with the following command:
sudo ufw enable
Next, allow port 3000 through UFW firewall with the following command:
sudo ufw allow 3000
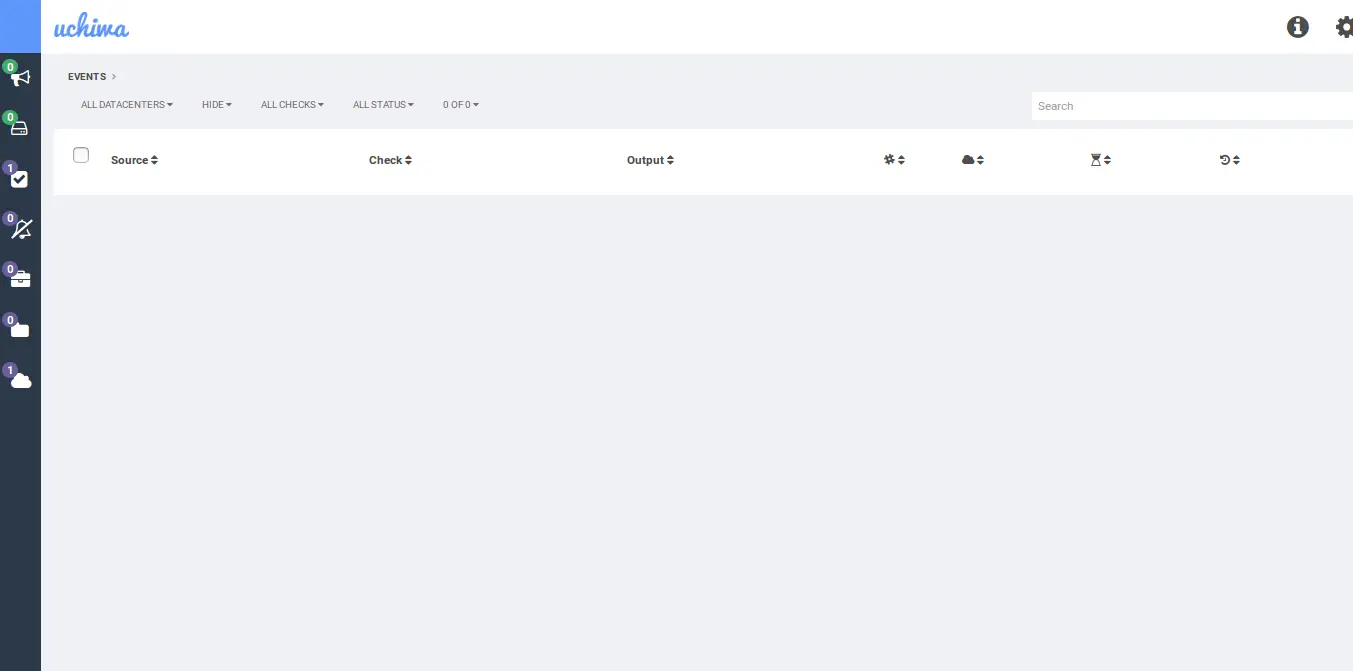
Once the firewall is configured, open your web browser and type the URL http://192.168.0.227:3000, you should see the following page:
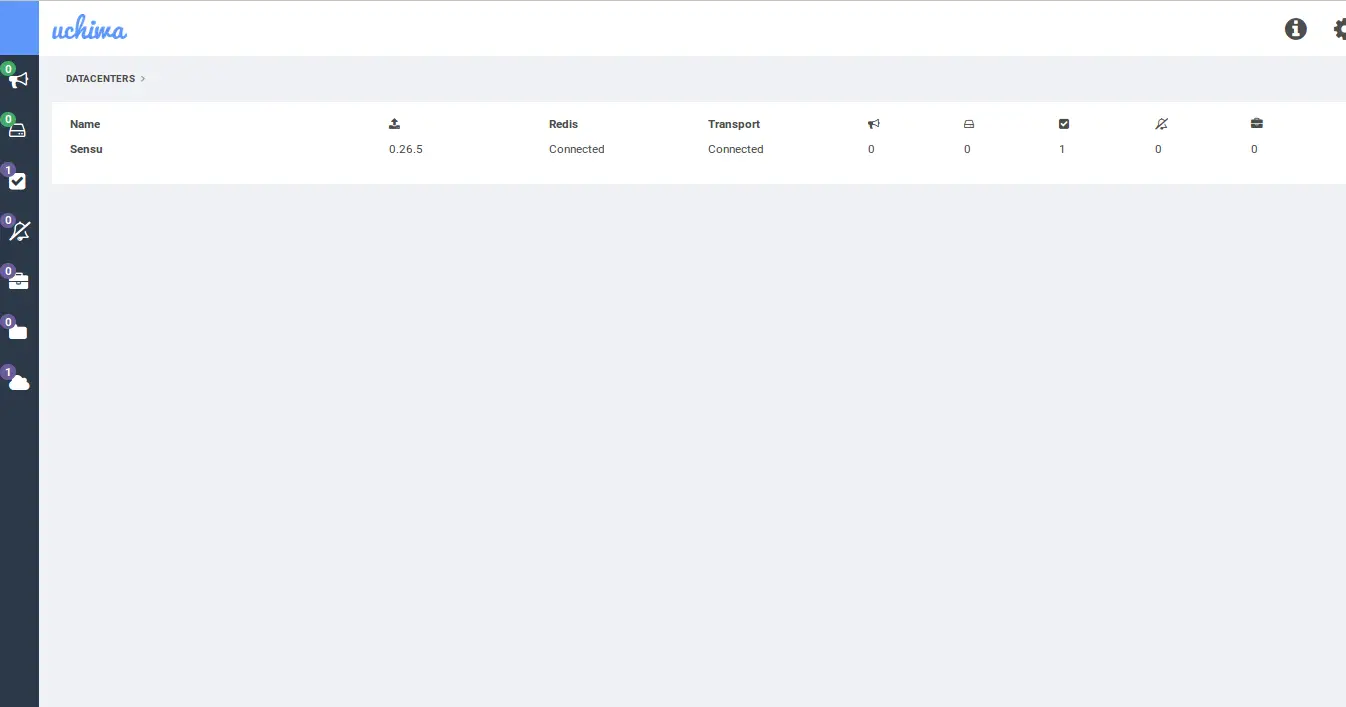
Next, click on the data center icon, you should see the Sensu server instance as follows:
Next, you will need to add the client to monitor Sensu server itself. You can do this by creating a client.json file:
sudo nano /etc/sensu/conf.d/client.json
Add the following lines:
{
  "client": {
    "name": "sensu-server",
    "address": "127.0.0.1",
    "environment": "management",
    "subscriptions": [
      "dev",
      "ubuntu"
   ],
    "socket": {
      "bind": "127.0.0.1",
      "port": 3030
    }
  }
}
Save and close the file when you are finished, then restart sensu-client service to apply these changes:
sudo systemctl restart sensu-client
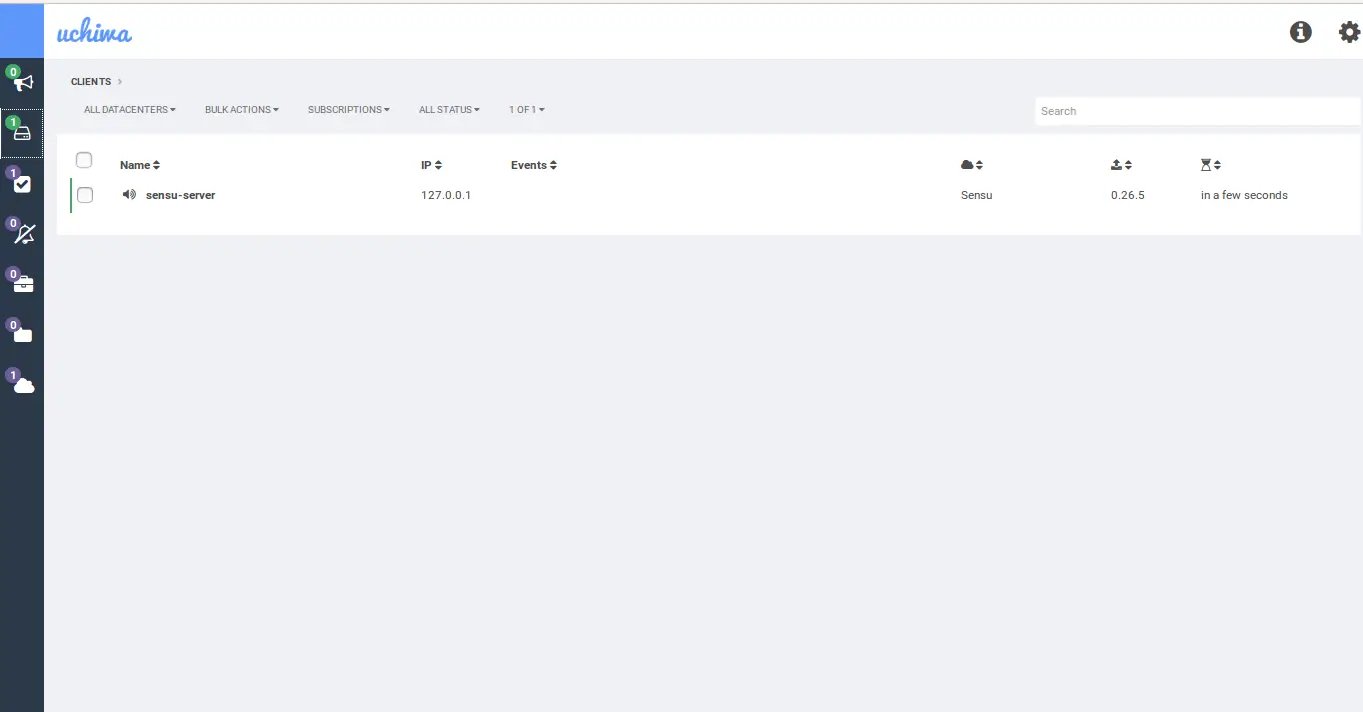
Finally, check the status of client by clicking on client icon as follows:
Conclusion
Congratulations! you have successfully installed and configured Sensu server on Ubuntu 16.04 server. You can now easily add more clients as per your need. Feel free to comment me if you have any questions.

