How to Install Mailtrain Newsletter Application on CentOS 7
Mailtrain is an open source self-hosted newsletter application written on Node.js. It uses a very popular Node.js library Nodemailer to send the emails. It offers outstanding automation and analytics at no cost at all. You can easily create or import an email list of a million email address using CSV file import. It also supports custom fields and forms. It provides automation through triggers, which can send specific messages to specific users when the action is triggered. You can use any email provider to send the newsletter which supports SMTP protocol along with support for Amazon SES, ZoneMTA, SendGrid and Mailgun etc. It provides multiple WYSIWYG editors to create beautiful templates for newsletters.
In this tutorial, we will install Mailtrain along with all the required dependencies on CentOS 7. We will also setup Nginx as a reverse proxy to serve the application on standard HTTP port.
Requirements
Metabase requires at least 1GB of RAM. All the required dependencies will be installed throughout the tutorial. You will need a minimal installation of CentOS 7 with root access on it. If you are logged in as a non-root user, you can run sudo -i to switch to root user.
Update Base System
Before installing any package it is recommended that you update the packages and repository using the following command.
yum -y update
Install Node.js
Node.js is required by Mailtrain as it is built using Nodemailer. Node.js is a very popular JavaScript runtime and Nodemailer is a module for Node.js applications to send emails.
Add Node.js 8.x repository:
curl --silent --location https://rpm.nodesource.com/setup_8.x | sudo bash -
Install Node.js.
yum -y install nodejs
Install MariaDB
To store Mailtrain database we will need to install MariaDB. MariaDB is a fork of MySQL
Install MariaDB repository into your system.
nano /etc/yum.repos.d/mariadb.repo
Add the following lines to the file.
[mariadb]
name = MariaDB
baseurl = http://yum.mariadb.org/10.2/centos7-amd64
gpgkey=https://yum.mariadb.org/RPM-GPG-KEY-MariaDB
gpgcheck=1
Now install the MariaDB by running.
yum -y install mariadb-server mariadb
To start MariaDB and enable it to start at boot time using the following commands.
systemctl start mariadb
 systemctl enable mariadb
Now run the following commands to secure your MySQL or MariaDB installation.
mysql_secure_installation
It will run a small script which asks you to provide the root password for MariaDB. As we have just installed MariaDB, the root password is not set, just press enter to proceed further. It will ask you if you want to set a root password for your MariaDB installation, choose y and set a strong password for the installation. It will also ask you for removing test databases and anonymous users. Most of the questions are self-explanatory and you should answer yes or y to all the questions.
Mailtrain requires two databases users to work, one for administering the Mailtrain database and another for generating the worker reports.
To create a database we will need to login to MySQL command line first. Run the following command for same.
mysql -u root -p
This will prompt you for the password, provide the root password of MySQL which you have set earlier. Now run the following query to create a new database for your Mailtrain installation.
CREATE DATABASE mailtrain CHARACTER SET utf8 COLLATE utf8_general_ci;
The above query will create a database named mailtrain. Make sure that you use semicolon at the end of each query as the query always ends with a semicolon. Once the database is created you can create a new user and grant all the permissions to the user for the database. Using root user is not recommended for the databases. To create a new database user, run the following query.
CREATE USER 'mailtrain'@'localhost' IDENTIFIED BY 'StrongPassword';
The above query will create a user with username mailtrain. You can use any preferred username instead of mailtrain. Replace StrongPassword with a strong password. Now provide the appropriate privileges to your database user over the database you have created. Run the following command.
GRANT ALL PRIVILEGES ON mailtrain.* TO 'mailtrain'@'localhost';
Now create a new user for Mailtrain RO.
CREATE USER 'mailtrain_ro'@'localhost' IDENTIFIED BY 'StrongROPassword';
Provide read access to the RO user over Mailtrain database.
GRANT SELECT ON mailtrain.* TO 'mailtrain_ro'@'localhost';
Now run the following command to immediately apply the changes on the database privileges.
FLUSH PRIVILEGES;
Exit from MySQL prompt using exit command.
EXIT;
Install Dependencies
Mailtrain requires few more dependencies to work. Install the dependencies by running:
yum -y install ImageMagick git python redis bind-utils gcc-c++ make
ImageMagick is a tool to process Bitmap images and Git will be used to clone the application project repository. Redis is a very popular session cache application and Python, bind-utils, gcc-c++ and make will be used to compile the applications files.
Start Redis and enable it to start automatically:
systemctl start redis
 systemctl enable redis
Download and Install Mailtrain
Clone the Mailtrain installation files using Git.
git clone git://github.com/Mailtrain-org/mailtrain.git /opt/mailtrain
Create a new Mailtrain user to run Mailtrain daemon. This will ensure that the Mailtrain is running in an isolated environment.
adduser mailtrain -d /opt/mailtrain
The above command will create a new user mailtrain and /opt/mailtrain will be used as the home directory.
Switch to the Mailtrain directory by running:
cd /opt/mailtrain
Before proceeding further, you should generate a random string which will be used to encrypt the session data. To generate the random string, you can use pwgen utility.
Run yum -y install pwgen to install pwgen utility. Run pwgen -1 64 to generate a string with length 64 characters. You will see:
[root@liptan-pc mailtrain]# pwgen -1 64
Poy0aeLalie5uew7eenanootehohLudiuleac5aigaekah1amokumeeg5aiG2ied
Create a new configuration file production.toml. The configuration provided in this file overrides the default configuration file default.toml. We should not modify the default configuration file. Create a new file production.toml to store overriding configuration.
nano config/production.toml
Populate the file with the following configuration.
language="en"

user="mailtrain"
group="mailtrain"
rouser="nobody"
rogroup="nobody"

[log]
level="error"

[www]
host="localhost"
port="3000"
secret="RandomString"
remember=604800
proxy=true
tmpdir="/tmp"

[mysql]
user="mailtrain"
password="StrongPassword"
database="mailtrain"
port=3306
charset="utf8"


[redis]
enabled=true

[queue]
processes=5

[reports]
enabled=true
The above configuration enables Mailtrain to run as the user mailtrain and Mailtrain Reports Worker user to run as user nobody. Further, it configures the built-in server to listen to localhost on port 3000. We will setup Nginx as a reverse proxy so that Mailtrain web interface can be accessed through standard HTTP port.
Replace RandomString in secret= with the random string generated above. Set proxy to true as we will be running Mailtrain built-in server behind Nginx proxy.
Set the username, password and database name of the database you have created to store Mailtrain data.
Also, create a new file to store the production configuration for the Worker Reports.
nano workers/reports/config/production.toml
Populate the file with the following configuration.
[log]
level="error"

[mysql]
host="localhost"
user="mailtrain_ro"
password="StrongROPassword"
database="mailtrain"
port=3306
charset="utf8"
timezone="local"
Now down the required Node.js dependencies and install the software:
npm install --production
Once the application is installed, you can immediately start it using:
NODE_ENV=production npm start
If the server is running, then you should see the following output.
[root@liptan-pc mailtrain]# NODE_ENV=production npm start

> [email protected] start /opt/mailtrain
> node index.js

info Using local auth
But instead of starting the application directly, we will use a systemd service. Stop the execution by pressing ctrl + C.
Provide the ownership of the files to the Mailtrain user and remove all the permissions over config from other non-root users of the system:
chown -R mailtrain:mailtrain /opt/mailtrain
 chmod o-rwx /opt/mailtrain/config
Setting Up Systemd Service
Create a new Systemd service file. Using Systemd instead of a direct command to run the server will ensure that the server is started automatically on failure and reboot. It makes managing the service very easy.
nano /etc/systemd/system/mailtrain.service
Populate the file with following configuration.
[Unit]
Description=Mailtrain Server
Requires=mariadb.service
After=syslog.target network.target

[Service]
user=mailtrain
group=mailtrain
Environment="NODE_ENV=production"
WorkingDirectory=/opt/mailtrain
ExecStart=/usr/bin/node index.js
Type=simple
Restart=always
RestartSec=10
StandardOutput=syslog
StandardError=syslog
SyslogIdentifier=mailtrain

[Install]
WantedBy=multi-user.target
Start Mailtrain and enable it to automatically start at boot time:
systemctl enable mailtrain
 systemctl start mailtrain
To check the status of the service, run:
systemctl status mailtrain
You should see that the service is running actively.
[root@liptan-pc ~]# systemctl status mailtrain
? mailtrain.service - Mailtrain Server
   Loaded: loaded (/etc/systemd/system/mailtrain.service; enabled; vendor preset: disabled)
   Active: active (running) since Mon 2017-10-09 11:15:40 UTC; 9s ago
 Main PID: 18092 (mailtrain)
   CGroup: /system.slice/mailtrain.service
           ??18092 mailtrain
           ??18105 /usr/bin/node /opt/mailtrain/services/executor.js
           ??18112 /usr/bin/node /opt/mailtrain/services/sender.js
           ??18117 /usr/bin/node /opt/mailtrain/services/sender.js
           ??18125 /usr/bin/node /opt/mailtrain/services/sender.js
           ??18131 /usr/bin/node /opt/mailtrain/services/sender.js
           ??18136 /usr/bin/node /opt/mailtrain/services/sender.js

Oct 09 11:15:40 liptan-pc systemd[1]: Started Mailtrain Server.
Oct 09 11:15:40 liptan-pc systemd[1]: Starting Mailtrain Server...
Oct 09 11:15:44 liptan-pc mailtrain[18092]: info Using local auth
Setup Logrotate
Logrotate is a very useful utility to refresh outdated logs. When a service is running continuously, it generates a huge amount of logs. The files containing the logs consume a lot of disk space. Logrotate periodically deletes the old logs so that the log entries can be replaced by new logs.
Create a new logrotate configuration file:
nano /etc/logrotate.d/mailtrain
Populate the file with the following configuration:
/var/log/mailtrain.log {
daily
rotate 12
compress
delaycompress
missingok
notifempty
copytruncate
nomail
}
Setup Nginx as Reverse Proxy
We have configured Mailtrain built-in web interface to listen to localhost on port 3000, as it is important to run a production web server to serve the website to users. In this tutorial, we will use Nginx as the reverse proxy so that the application can be access via standard HTTP port. Install Nginx web server:
yum -y install nginx
Create a new virtual host for server block file for Nginx:
nano /etc/nginx/conf.d/mailtrain.conf
Populate the file with:
server {
    listen 80;
    listen [::]:80;

    server_name news.example.com www.news.example.com ;
    access_log /var/log/nginx/mailtrain.log;

    location / {
        proxy_set_header X-Real-IP $remote_addr;
        proxy_set_header X-Forwarded-For $proxy_add_x_forwarded_for;
        proxy_set_header HOST $http_host;
        proxy_set_header X-NginX-Proxy true;

        proxy_pass http://127.0.0.1:3000;
        proxy_redirect off;
    }
}
Restart Nginx web server and enable it to start automatically at boot time:
systemctl restart nginx
 systemctl enable nginx
Configure Firewall and SELinux
If you are running a firewall on your server, you will need to configure the firewall to set an exception for HTTP service. Allow Nginx reverse proxy to connect from outside the network.
firewall-cmd --zone=public --permanent --add-service=http
 firewall-cmd --reload
If you have SELinux enabled on your system, then you will need to add few exceptions in SELinux policies.
To check if SELinux is enabled, run:
getenforce
If you have SELinux enabled, then run:
setsebool -P httpd_can_network_connect 1
Accessing Web Interface
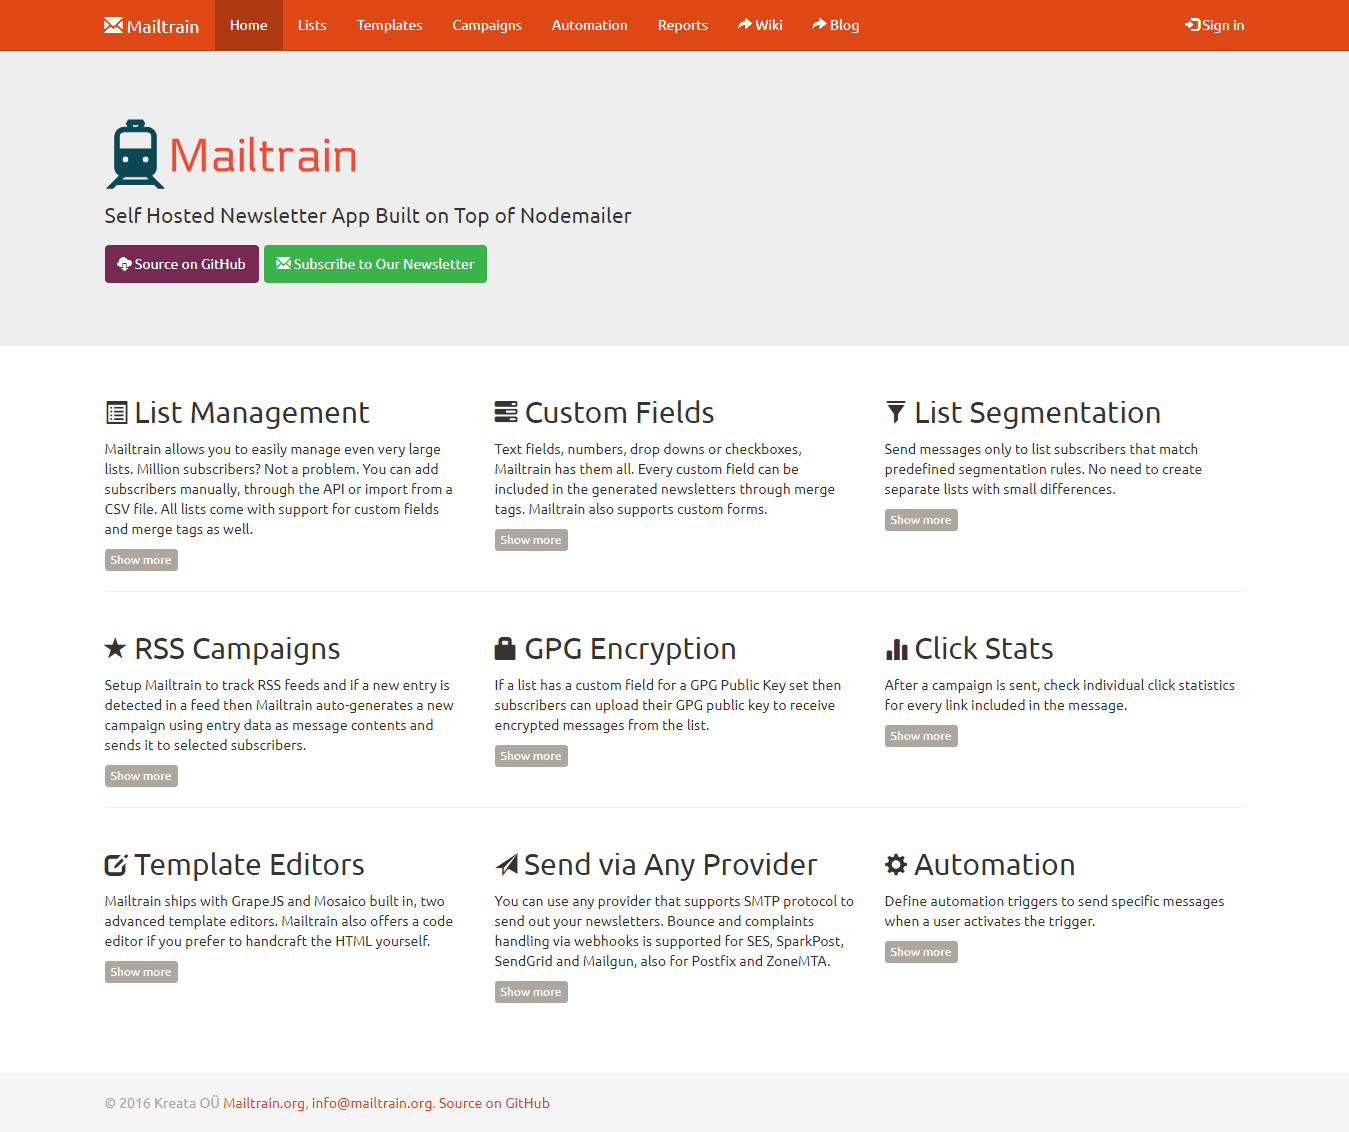
Installation Mailtrain is now finished. You can now access the Mailtrain server on http://news.example.com. You will see the following interface.
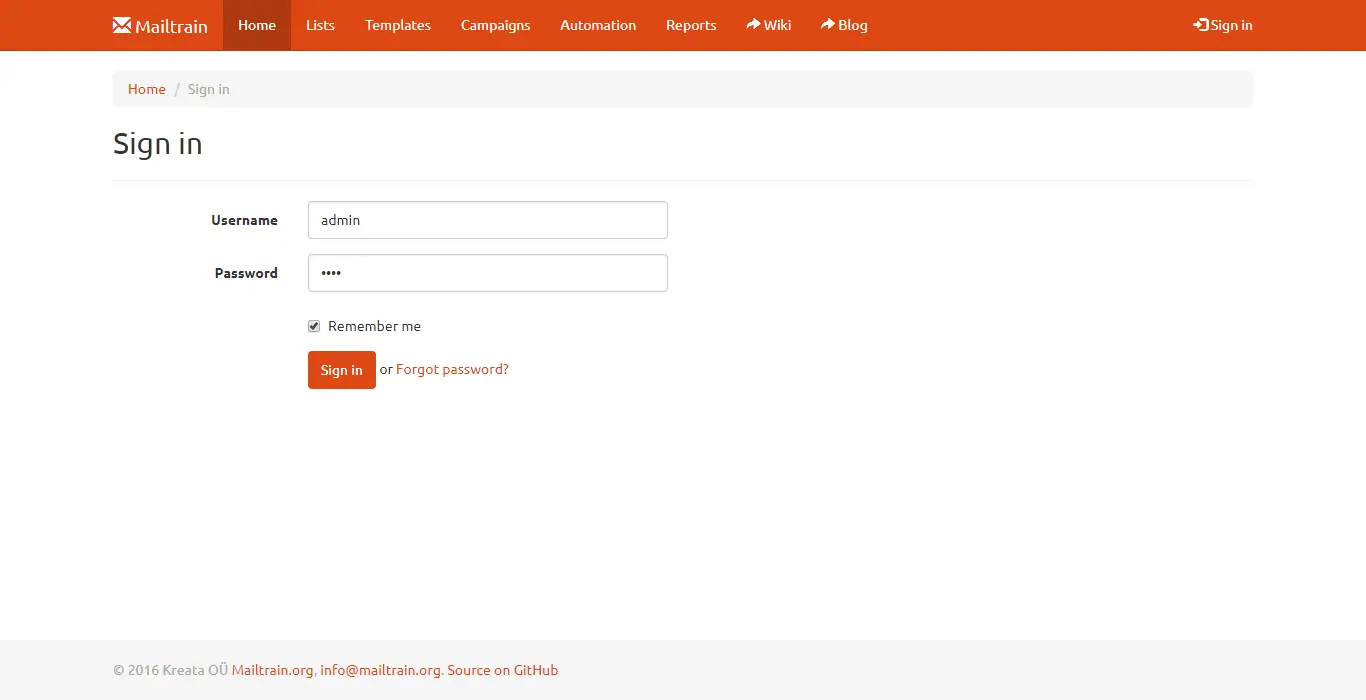
Click on the login button and log in using the username admin and the password test.
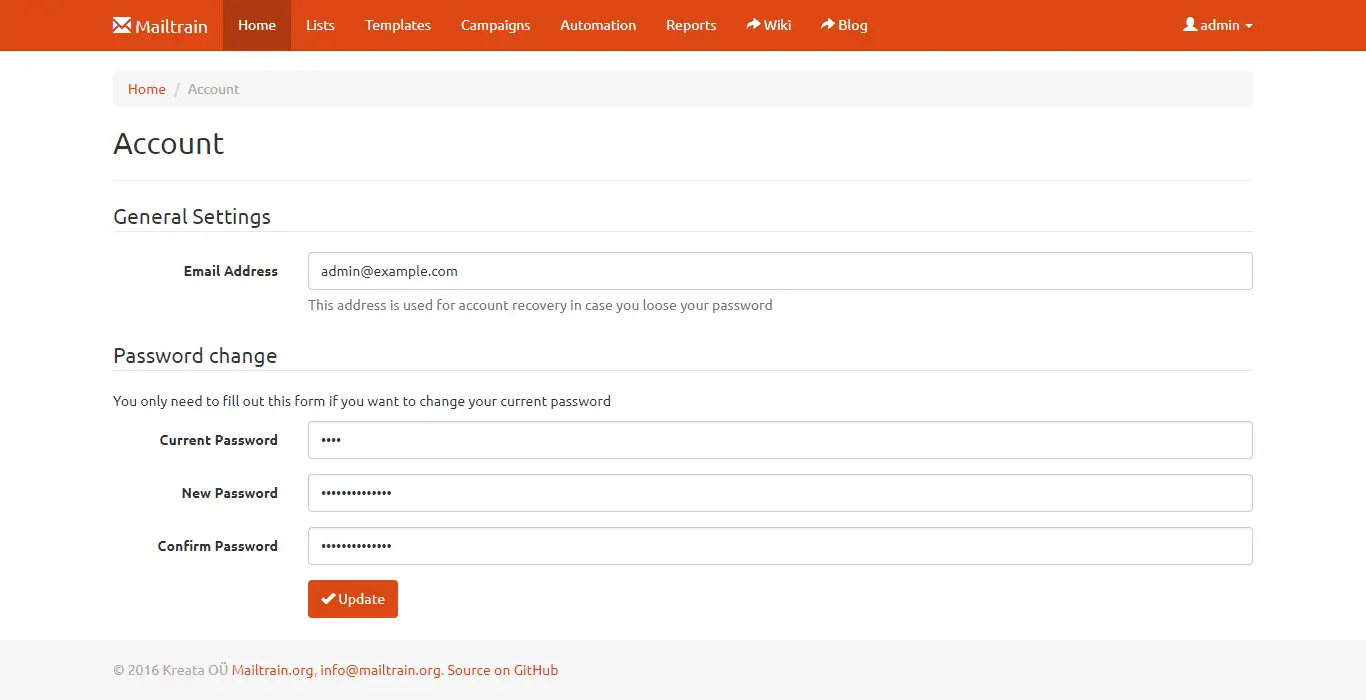
Browse Account section of the dashboard and update email address and password. It is very important to update the password as soon as possible.
Also, it is important to update the settings before you can use Mailtrain.
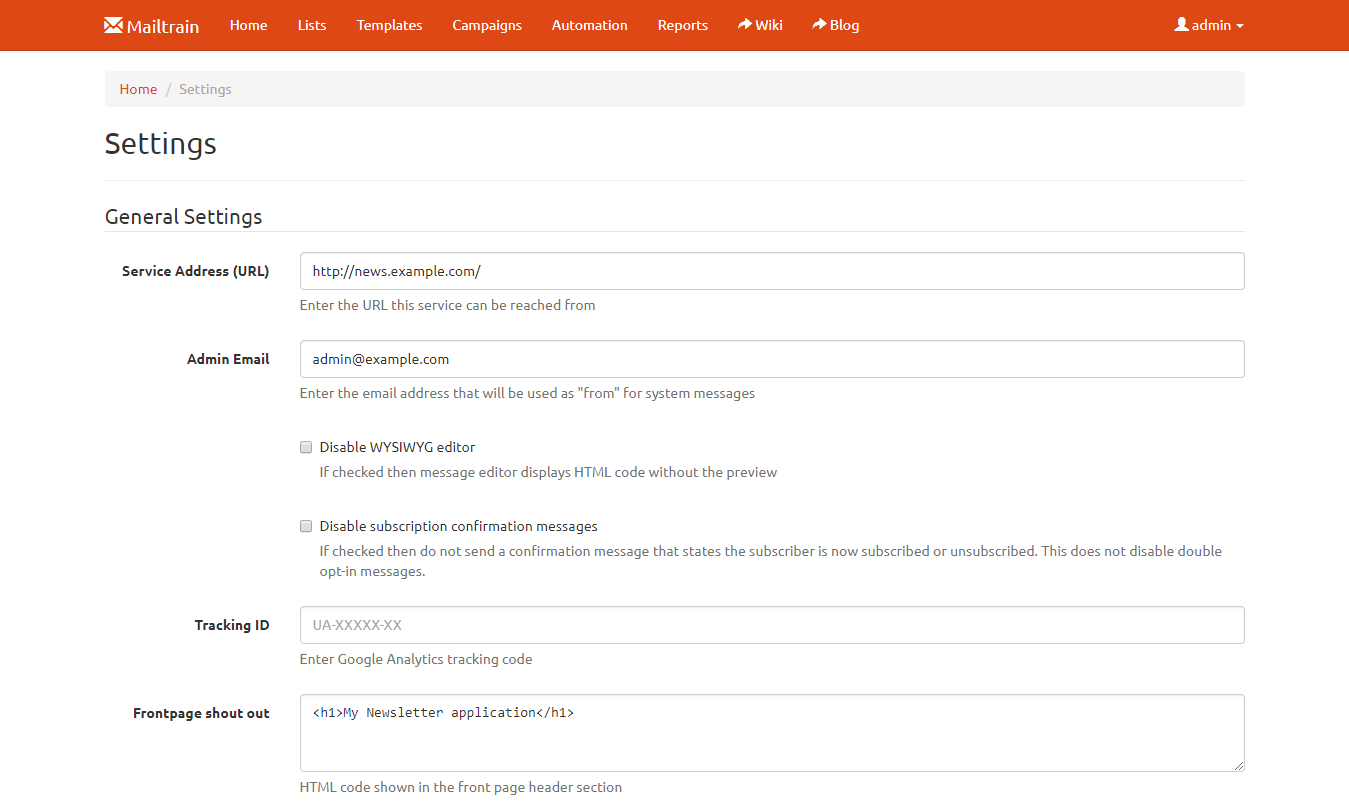
Update the Site URL and Admin email. You can also provide the Google Analytics tracking ID to track the insights via Google analytics. You can put some HTML code which will be displayed on the homepage of your server.
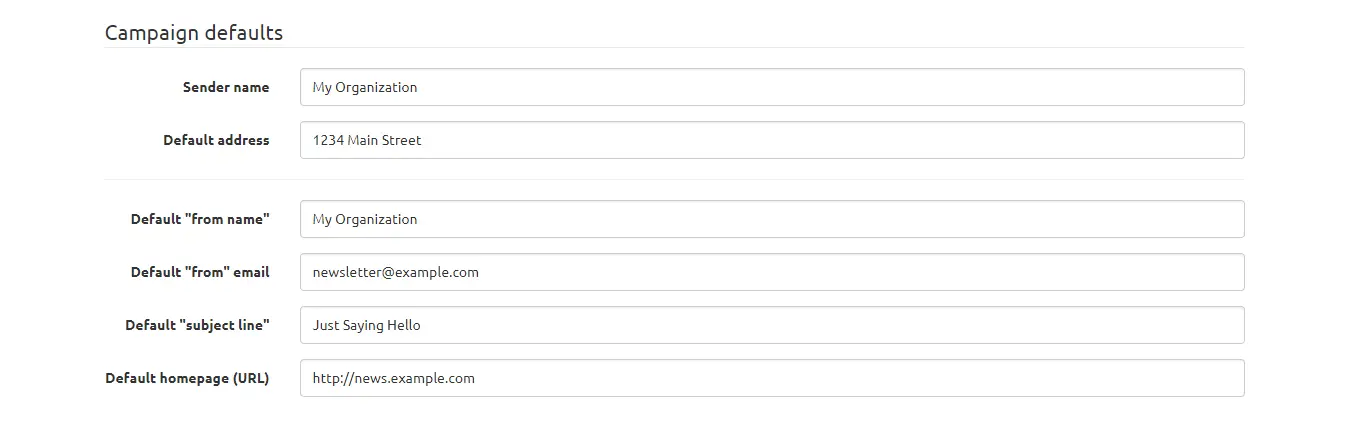
Set campaign defaults, such as your Sander name, Default address, Default from name, email and URL etc. While sending the emails, if these options are not configured, then the defaults will be used.
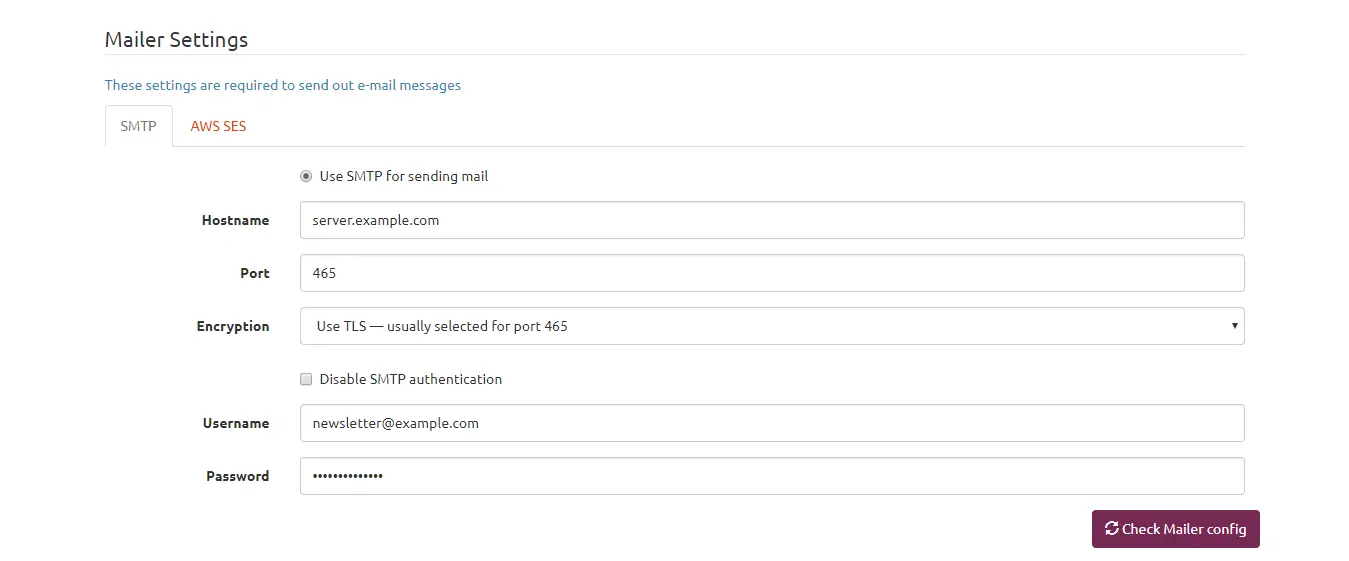
Finally, the most important configuration is to provide email server credentials. You can use any SMTP server or Amazon SES (Simple Email Service). If you are using SMTP than, provide the mail server hostname, port, username and password of your SMTP server. If you are using Amazon SES than provide the API key and other credentials.
You can also set up your own SMTP server. just follow any of these guides:
- How to Create a Fully Featured Mail Server using Postal
- Build A Full-Featured Mail Server On CentOS 6 With Postfix, Dovecot, PostgreSQL
- Setting Up A Mail Server Using Exim4, Clamav, Dovecot, SpamAssassin And Much More On Debian
You have a fully working Mailtrain server installed on your CentOS 7 server now. Create your first list and start sending newsletters to the subscribers. You can create an interactive template using the WYSIWYG editor and send the emails using the campaigns. Mailtrain also provides reports of the emails sent and opened. You can use the Automation tab to create triggers which send email when some specific action is done. You can also setup GPG encryption. If a list has a custom field for a GPG Public Key set then subscribers can upload their GPG public key to receive encrypted messages from the list.

