How to update ONLYOFFICE to version 9.5 with Docker
In this tutorial we'll learn how to easily update ONLYOFFICE Community Server to the latest version using Docker.
ONLYOFFICE is an open source solution that combines powerful online document editors and broad collaborative capabilities: mail, CRM, projects, calendar, and community among them. ONLYOFFICE Community Server is the collaborative open source system distributed under the GNU Affero General Public License.
This month developers updated Community Server with lots of new features released.
What's new in ONLYOFFICE Community Server 9.5:
- improved authentication security;
- multiple reports and exchange rate settings in the CRM module: now you can check e.g. all successfully closed opportunities for the certain time period for all managers or only for selected ones, make the sales forecast, build the summary for all CRM activities and more, and set currency rate in your invoices;
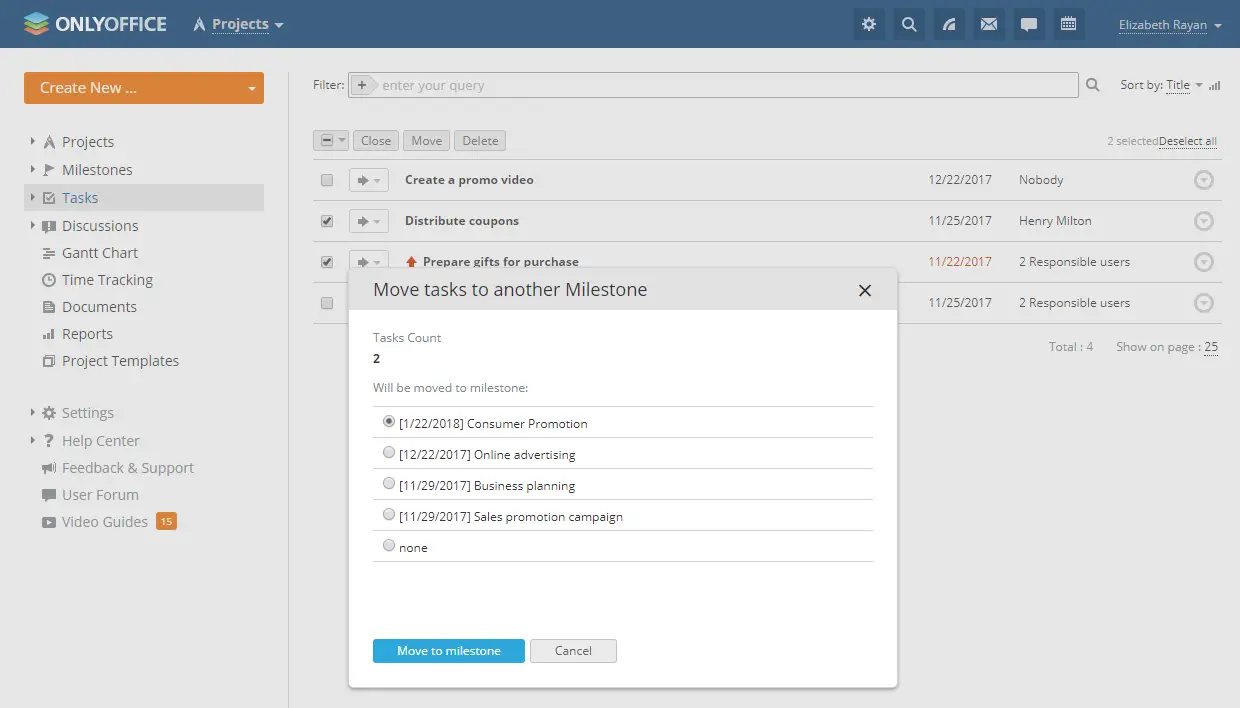
- ability to set group access rights in private projects and new types of bulk actions in the Projects module: "Delete", "Close" and "Move" for tasks and "Close" for milestones;
- the redesigned Talk module with option to delete the uploaded files;
- new interface languages: Dutch, Vietnamese, Turkish, Slovak, Czech.
Step 1: Backup your data
Before you begin the updating process, you will need to backup the folders containing your portal data to avoid any data loss.
If you have already mounted the folders for data storage outside the Docker container during the initial setup, you will need to backup the following folders:
/app/onlyoffice/CommunityServer/data
/app/onlyoffice/CommunityServer/logs
/app/onlyoffice/CommunityServer/mysql
In case you haven't mounted the folders during the installation, copy them from the Docker container to a folder on your host machine running these commands:
sudo docker cp {{COMMUNITY_SERVER_ID}}:var/www/onlyoffice/Data /home/user/Backup
sudo docker cp {{COMMUNITY_SERVER_ID}}:var/log/onlyoffice /home/user/Backup
sudo docker cp {{COMMUNITY_SERVER_ID}}:var/lib/mysql /home/user/Backup
{{COMMUNITY_SERVER_ID}} stands here for the Community Server container name or ID and /home/user/Backup stands for a path to any folder on your host machine.
It is also recommended to make the database dump and restore it in the new MySQL container, if you haven't used a separate container with MySQL 5.7 before:
mysqldump -u root onlyoffice > dumpfile.sql
sudo docker cp {{COMMUNITY_SERVER_ID}}:/dumpfile.sql /home/user/
Step 2: Remove the current Docker container and image
After the data backup is completed, use the following command to remove the current Docker container:
sudo docker rm -f $(sudo docker ps -aq)
and the current Docker image:
sudo docker rmi -f $(sudo docker images -aq)
Step 3: Install new version of Community Server
Install the latest Community Server version. We recommend to do it using the provided docker-compose script, that installs the whole Community Edition all at once.
wget http://download.onlyoffice.com/install/opensource-install.sh
bash opensource-install.sh -md yourdomain.com
yourdomain.com stands here for the specified mail server hostname.
If you don't have Docker Compose installed, you can download it from the official Docker website.
Step 4: Restore the backup data
Copy the backup data to the new mounted folders on the host that you have specified during the latest version installation:
sudo cp -a /home/user/Backup/Data/./app/onlyoffice/CommunityServer/data
sudo cp -a /home/user/Backup/onlyoffice/./app/onlyoffice/CommunityServer/logs
Restore the database dump in the MySQL container running:
sudo docker cp /home/user/dumpfile.sql {{MYSQL_SERVER_ID}}:/dumpfile.sql
sudo docker exec -it {{MYSQL_SERVER_ID}} bash
mysql -u root -p onlyoffice < dumpfile.sql
Once done, you have to enter MySQL root password specified during the MySQL installation. By default, my-secret-pw is used.
Exit from the container using the exit command.
Step 5: Restart Docker containers
The last step is to restart Docker containers with this command:
sudo docker restart {{COMMUNITY_SERVER_ID}} {{MYSQL_SERVER_ID}}
Now you can launch your portal, check everything works properly, and enjoy new features available.
Links
- Official ONLYOFFICE website
- Official documentation on ONLYOFFICE Community Server
- Support forum for any questions
- ONLYOFFICE on GitHub

