How to Install and Configure Nibbleblog on Ubuntu 16.04
Nibbleblog is a free, lightweight, very easy and powerful engine for creating blogs. It is written in PHP and uses XML to store its information. Nibbleblog comes with lots of features including, Multilanguage support, Quote post, Plugins support, Template and themes support and much more.
In this tutorial, we will learn how to install Nibbleblog on Ubuntu 16.04 server.
Prerequisites
- A server running Ubuntu 16.04.
- N non-root user with sudo privileges.
Getting Started
Let's start by updating your system to the latest version.
sudo apt-get update -y
sudo apt-get upgrade -y
Next, restart your system to apply the updates.
Install Apache and PHP
Nibbleblog runs on Apache and uses PHP language, so you will need to install Apache web server, PHP and other PHP libraries to your system. You can install all of them by just running the following command:
sudo apt-get install apache2 libapache2-mod-php7.0 php7.0 pkp7.0-cli php7.0-gd php7.0-mcrypt php7.0-xml wget nano unzip -y
Once all the packages are installed, start Apache service and enable it to start on boot with the following command:
sudo systemctl start apache2
sudo systemctl enable apache2
Install Nibbleblog
First, you will need to download the latest version of the Nibbleblog from its official website. You can do this using the wget command:
wget https://excellmedia.dl.sourceforge.net/project/nibbleblog/v4.0/nibbleblog-v4.0.5.zip
After downloading, extract the downloaded archive using the following command:
unzip nibbleblog-v4.0.5.zip
Next, copy extracted directory to the Apache web root directory:
sudo cp -r nibbleblog-v4.0.5 /var/www/html/nibbleblog
Next, give proper permissions to the nibbleblog directory:
sudo chown -R www-data:www-data /var/www/html/nibbleblog
sudo chmod -R 777 /var/www/html/nibbleblog
Configure Apache for Nibbleblog
Next, you will need to create a virtual host file for Nibbleblog. To do so create a nibbleblog.conf file:
sudo nano /etc/apache2/sites-available/nibbleblog.conf
add the following contents:
<VirtualHost *:80>
ServerAdmin [email protected]
ServerName yourdomain.com
DocumentRoot /var/www/html/nibbleblog
<Directory /var/www/html/nibbleblog>
Options -Indexes +FollowSymLinks +MultiViews
AllowOverride All
Require all granted
</Directory>
ErrorLog ${APACHE_LOG_DIR}/nibbleblog-error.log
CustomLog ${APACHE_LOG_DIR}/nibbleblog-access.log combined
</VirtualHost>
Save and close the file. Then disable the default virtual host file and enable the nibbleblog virtual host file with the following command:
sudo a2dissite 000-defaults
sudo a2ensite nibbleblog
Next, restart the Apache service to read the new virtual host configuration:
sudo systemctl restart apache2
Once you are done, you can proceed to access Nibbleblog web interface.
Access Nibbleblog
Nibbleblog listening on port 80. So you will need to allow port 80 through UFW firewall. By default UFW is disabled on your system, so you need to enable it first. You can enable it with the following command:
sudo ufw enable
Once UFW firewall is enabled, you can allow port 80 by running the following command:
sudo ufw allow tcp/80
You can now check the status of UFW firewall by running the following command:
sudo ufw status
Now, open your favorite web browser and access the URL http://yourdomain.com, you will be redirected to the Nibbleblog web installation wizard as shown in below image.
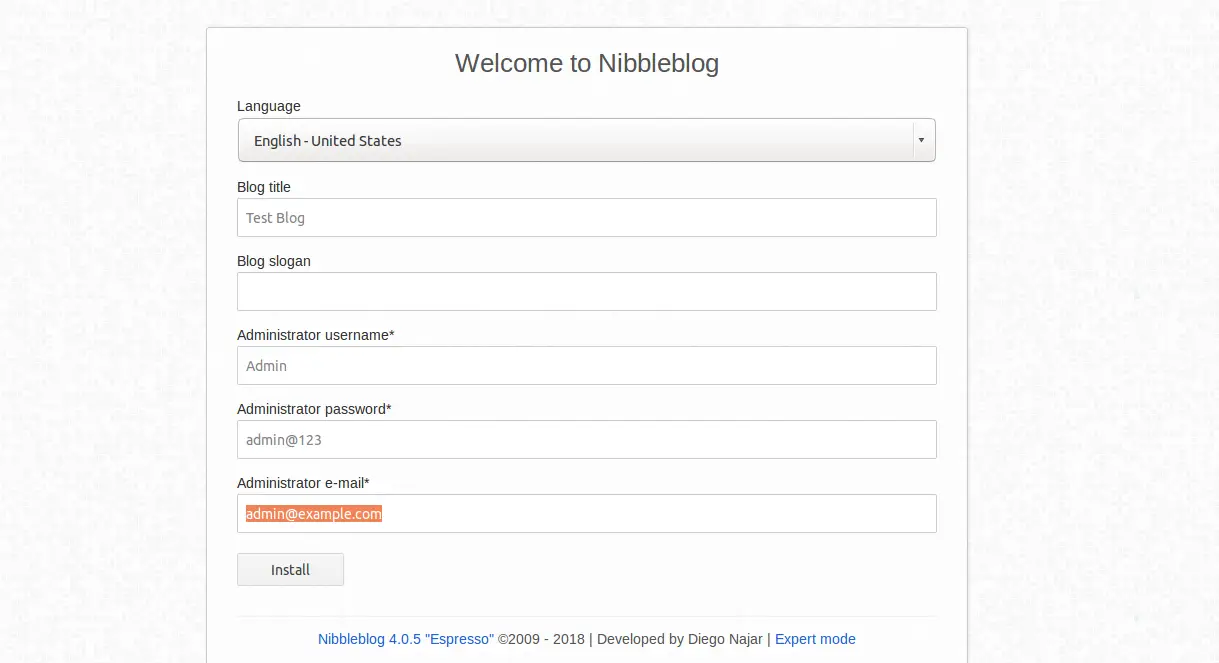
Provide the Blog Title, Administrator username, password and Email, then click on the Install button. Once the installation is completed, you should see the following page:

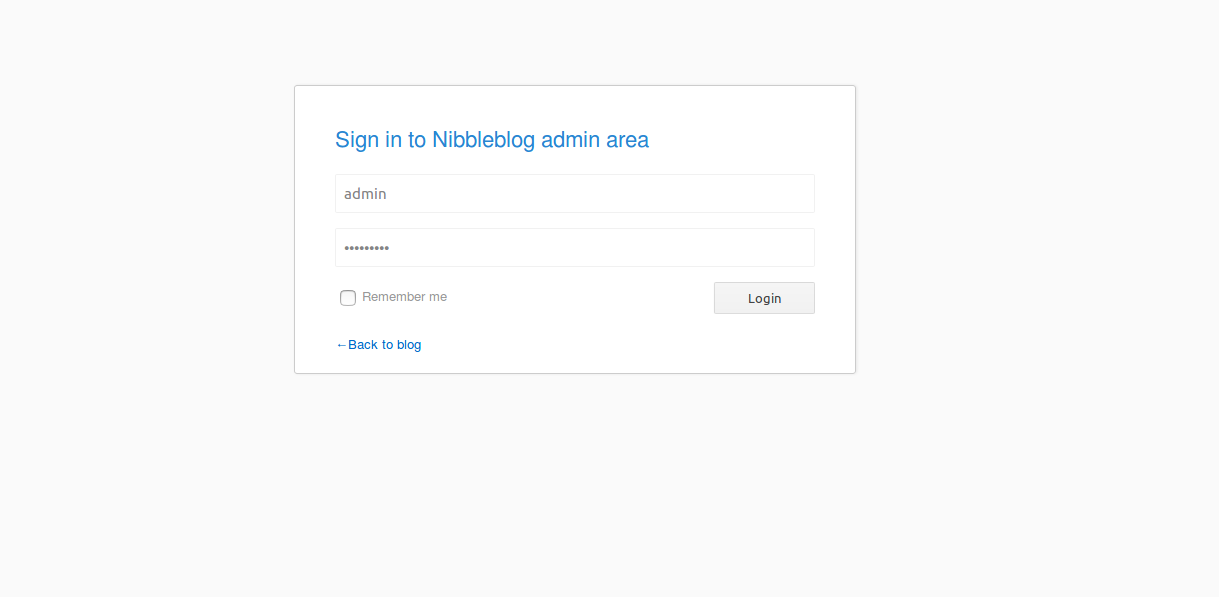
If you want to manage your blog, open your web browser and type the URL http://yourdomain.com/admin.php, you will be redirected to the following page:
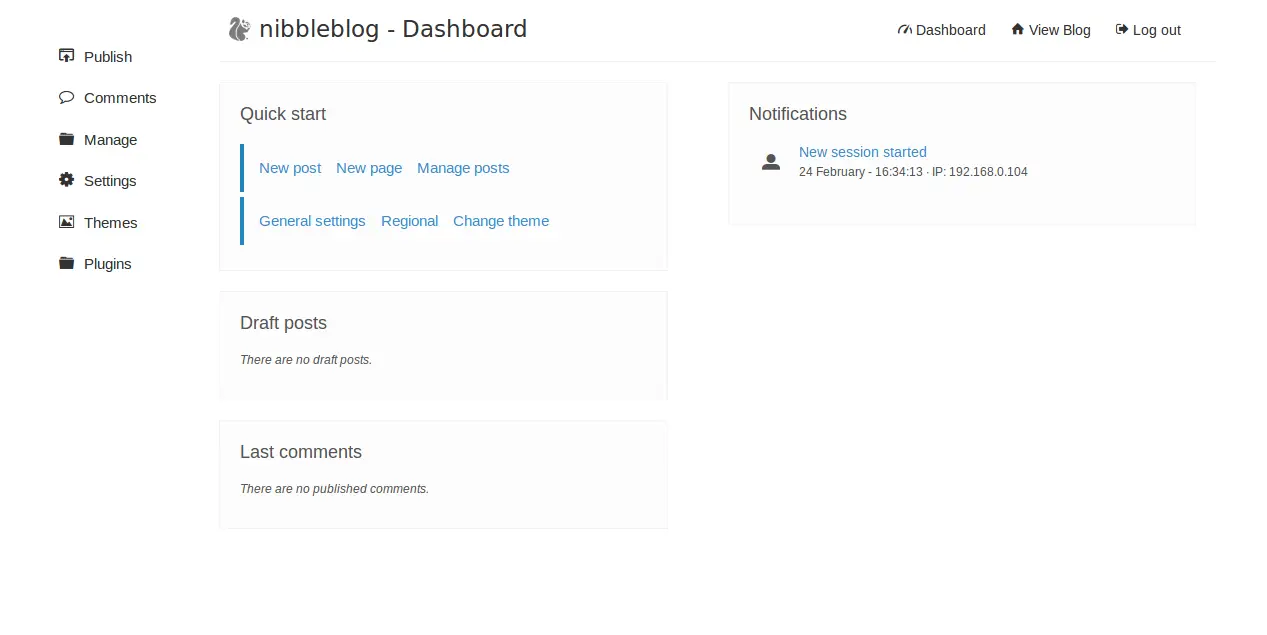
Here, provide your admin username and password, then click on the Login button, you should see the Nibbleblog default dashboard: