How to Install Rancher Docker Container Manager on Debian
On this page
Rancher is a free and open source project that provides a management platform for Docker containers. Rancher allows us to operate Docker in production at large scale. Rancher comes with modular infrastructure services such as multi-host networking, global and local load balancing, monitoring, recovering and volume snapshots.
In this tutorial, we will learn how to install Rancher on Debian 9.
Requirements
- A server running Debian 9.
- A non-root user with sudo privileges.
Getting Started
Before starting, it is recommended to update your APT repository to the latest version. You can do this with the following command.
sudo apt-get update -y
sudo apt-get upgrade -y
Next, restart the system to apply all the changes. Next, install required packages with the following command:
sudo apt-get install apt-transport-https ca-certificates curl software-properties-common -y
Once all the required packages are installed, you can proceed to the next step.
Install Docker
Rancher is based on Docker, so you will need to install Docker to your system. By default, the latest version of the Docker is not available in Debian 9 repository. So you will need to add the Docker repository to your system.
First, download and add the GPG key using the following command:
curl -fsSL https://download.docker.com/linux/debian/gpg | sudo apt-key add -
Next, add the Docker repository using the following command:
echo "deb [arch=amd64] https://download.docker.com/linux/debian $(lsb_release -cs) stable" | sudo tee -a /etc/apt/sources.list.d/docker.list
Next, update the apt database with the following command:
sudo apt-get update -y
Finally, install Docker by running the following command:
sudo apt-get install docker-ce -y
Once the Docker is installed, you can verify it with the following command:
Install Rancher
Docker is now up and running, it's time to install Rancher.
You can launch Rancher server with the following command:
sudo docker run -d --restart=unless-stopped -p 8080:8080 rancher/server:stable
The above command will take a couple of minutes for Rancher server to start up. Once the Rancher image is downloaded and started successfully, you should see the following output:
stable: Pulling from rancher/server
bae382666908: Pull complete
29ede3c02ff2: Pull complete
da4e69f33106: Pull complete
8d43e5f5d27f: Pull complete
b0de1abb17d6: Pull complete
422f47db4517: Pull complete
79d37de643ce: Pull complete
69d13e08a4fe: Pull complete
2ddfd3c6a2b7: Pull complete
bc433fed3823: Pull complete
b82e188df556: Pull complete
dae2802428a4: Pull complete
a6247572ea3c: Pull complete
884c916ebae4: Pull complete
85517c9c5365: Pull complete
02dded9fe690: Pull complete
fd9f433c3bc6: Pull complete
44d91b3fea45: Pull complete
0d463387dfeb: Pull complete
60753c4d26f0: Pull complete
a003892966fe: Pull complete
Digest: sha256:42441f0128fae4d72d51f92de2049392427d462356282a46f28434332967c7e4
Status: Downloaded newer image for rancher/server:stable
dd9b5fcfb019d233e8e269756c6cc790d8196c6e1711135a3a8fcb351e56cdd9
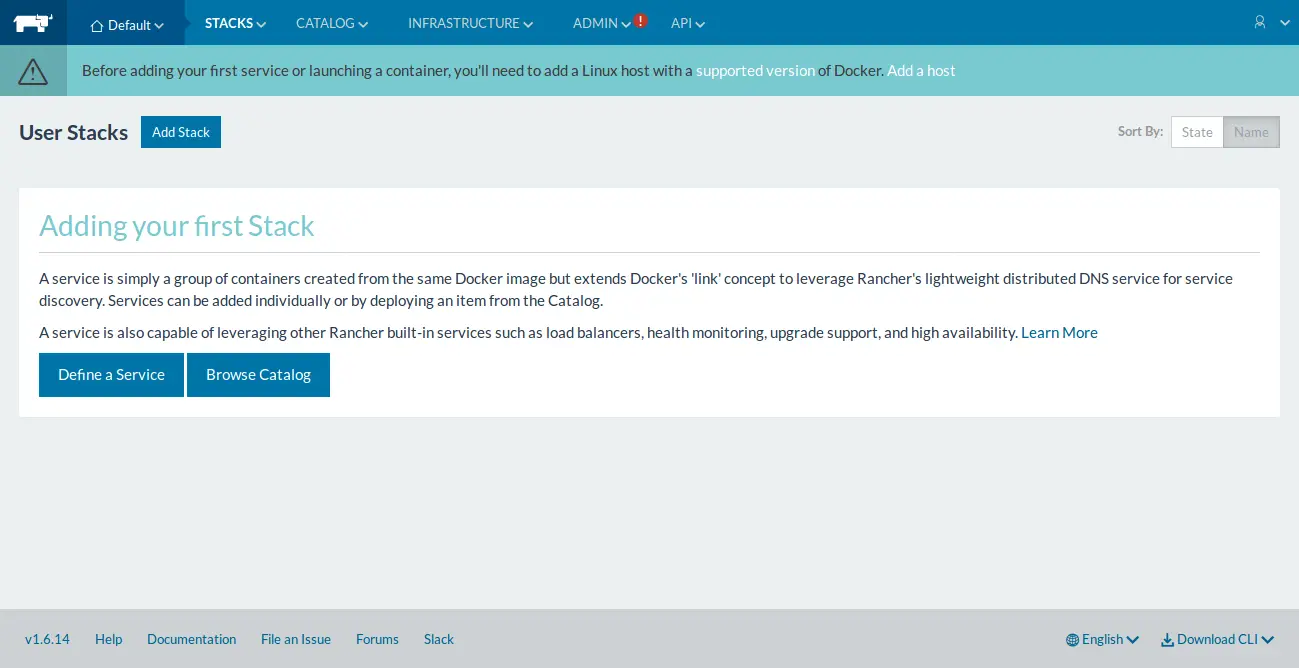
Now, open your web browser and type the URL http://your-server-ip:8080, you will be redirected to the Rancher admin page as shown below:
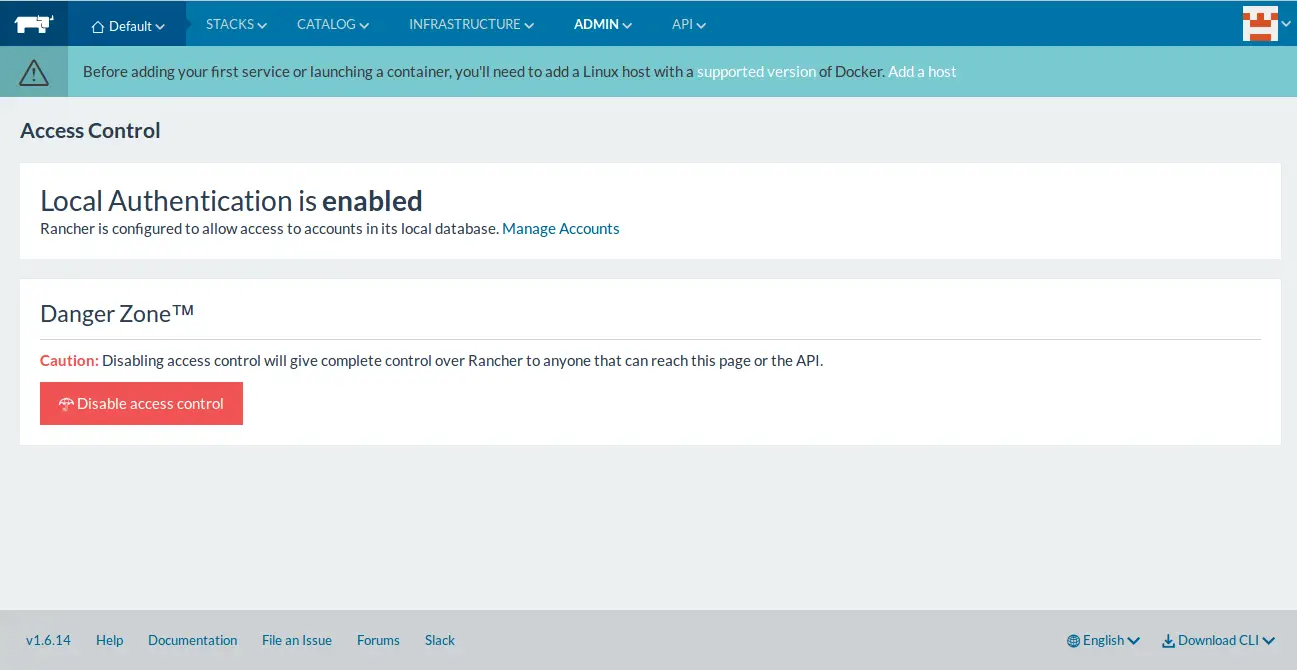
Rancher doesn't configure access control by default. To configure Access control, go to the ADMIN tab and click on the Access Control, you should see the following page:
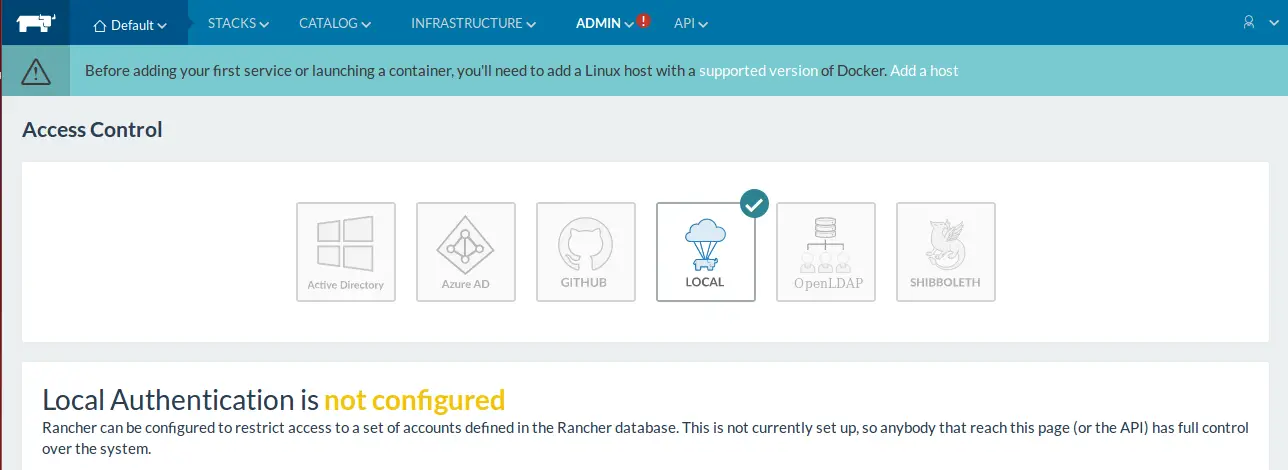
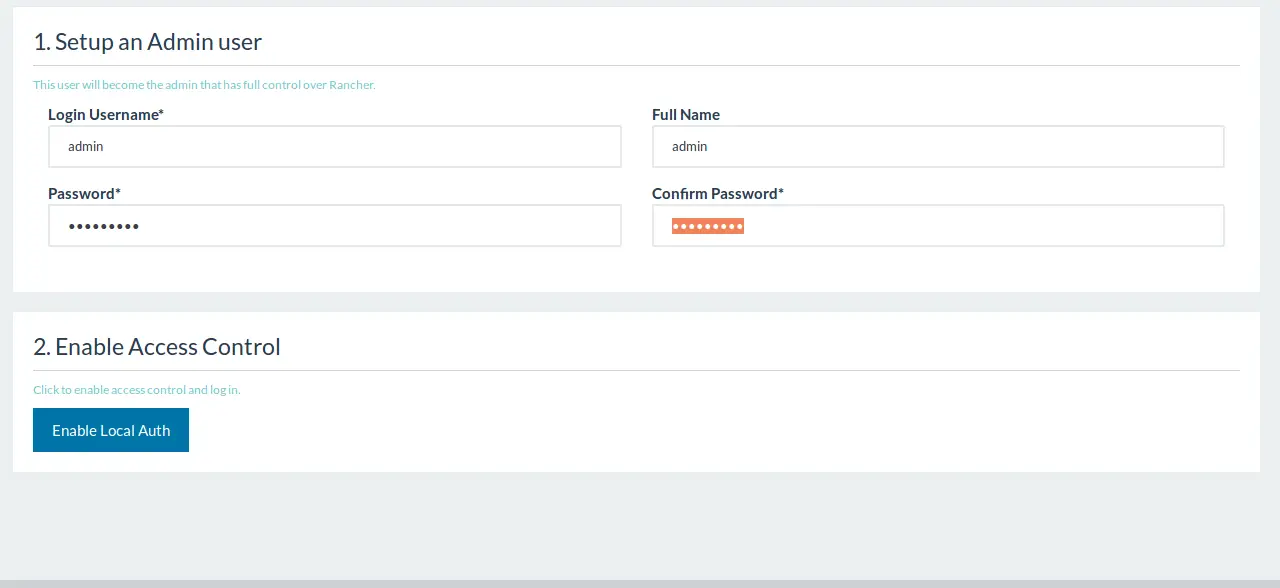
Here, click on the LOCAL, provide your Admin username and password, then click on the Enable Local Auth button, you should see the following page: