How to Install Ansible AWX on CentOS 8
AWX stands for "Ansible Web eXecutable" is a free and open-source project that allows you to manage and control your Ansible project easily. It provides a web-based user interface and task engine built on top of Ansible. It provides a powerful REST API and allows you to manage or sync inventory with other cloud sources, control access and integrate with LDAP.
In this tutorial, we will show you how to install Ansible AWX with Docker on CentOS 8.
Prerequisites
- A server running CentOS 8 with minimum 4 GB RAM.
- A root password is configured on your server.
Getting Started
Before starting, you will need to install the EPEL repository in your system. You can install it with the following command:
dnf install epel-release -y
Next, you will need to install some additional packages required to run AWX on your system. You can install all of them with the following command:
dnf install git gcc gcc-c++ ansible nodejs gettext device-mapper-persistent-data lvm2 bzip2 python3-pip -y
Once all the packages are installed, you can proceed to the next step.
Install Docker and Docker Compose
Next, you will need to install Docker to run AWX inside Docker container. By default, the latest version of Docker is not available in the CentOS 8 default repository. So you will need to add Docker repository in your system. You can add the Docker repository with the following command:
dnf config-manager --add-repo=https://download.docker.com/linux/centos/docker-ce.repo
Once added, install the latest stable version of Docker with the following command:
dnf install docker-ce-3:18.09.1-3.el7 -y
Once the Docker has been installed, check the installed version of Docker with the following command:
docker --version
You should get the following output:
Docker version 19.03.7, build 7141c199a2
Next, start the Docker service and enable it to start after system reboot with the following command:
systemctl start docker
 systemctl enable docker
You can verify the status of Docker service with the following command:
systemctl status docker
You should get the following output:
? docker.service - Docker Application Container Engine
   Loaded: loaded (/usr/lib/systemd/system/docker.service; disabled; vendor preset: disabled)
   Active: active (running) since Wed 2020-03-11 02:36:04 EDT; 23min ago
     Docs: https://docs.docker.com
 Main PID: 5882 (dockerd)
    Tasks: 101
   Memory: 2.6G
   CGroup: /system.slice/docker.service
           ??5882 /usr/bin/dockerd -H fd://
           ??5899 containerd --config /var/run/docker/containerd/containerd.toml --log-level info
           ??8815 containerd-shim -namespace moby -workdir /var/lib/docker/containerd/daemon/io.containerd.runtime.v1.linux/moby/4b91575d64b1b>
           ??8847 containerd-shim -namespace moby -workdir /var/lib/docker/containerd/daemon/io.containerd.runtime.v1.linux/moby/0f36c9784f748>
           ??8894 /usr/bin/docker-proxy -proto tcp -host-ip 0.0.0.0 -host-port 80 -container-ip 172.18.0.5 -container-port 8052
           ??8899 containerd-shim -namespace moby -workdir /var/lib/docker/containerd/daemon/io.containerd.runtime.v1.linux/moby/47300ec1c26ff>
           ??8923 containerd-shim -namespace moby -workdir /var/lib/docker/containerd/daemon/io.containerd.runtime.v1.linux/moby/9827b9831fa5b>
           ??9631 containerd-shim -namespace moby -workdir /var/lib/docker/containerd/daemon/io.containerd.runtime.v1.linux/moby/166b153faa275>
Next, install the Docker compose using the following command:
pip3 install docker-compose
Once installed, verify the Docker compose version using the following command:
docker-compose --version
You should see the following output:
docker-compose version 1.25.4, build unknown
Finally, run the following command to set python command to use python 3:
alternatives --set python /usr/bin/python3
Install Ansible AWX
First, download the latest version of Ansible AWX from the Git Hub repository using the following command:
git clone https://github.com/ansible/awx.git
Next, generate a secret key for encryption of the inventory file with the following command:
openssl rand -base64 30
You should get the following output:
R+kbcDEUS8DlAftAbfWafVqLZ0lUy+Paqo4fEtgp
Note: Remember the above secretes, you will need to paste it in the inventory file.
Next, change the directory to awx/installer/ and edit the inventory file:
cd awx/installer/
 nano inventory
Change the following lines:
[all:vars]
dockerhub_base=ansible
awx_task_hostname=awx
awx_web_hostname=awxweb
postgres_data_dir="/var/lib/pgdocker"
host_port=80
host_port_ssl=443
docker_compose_dir="~/.awx/awxcompose"
pg_username=awx
pg_password=awxpass
pg_database=awx
pg_port=5432
pg_admin_password=password
rabbitmq_password=awxpass
rabbitmq_erlang_cookie=cookiemonster
admin_user=admin
admin_password=password
create_preload_data=True
secret_key=R+kbcDEUS8DlAftAbfWafVqLZ0lUy+Paqo4fEtgp
awx_official=true
awx_alternate_dns_servers="8.8.8.8,8.8.4.4"
project_data_dir=/var/lib/awx/projects
Save and close the file when you are finished. Then, create a directory for Postgres:
mkdir /var/lib/pgdocker
Finally, run the following command to install AWX:
ansible-playbook -i inventory install.yml
Once the installation has been completed successfully, you should get the following output:
skipping: [localhost]

TASK [local_docker : Load web image] **********************************************************************************************************
skipping: [localhost]

TASK [local_docker : Load task image] *********************************************************************************************************
skipping: [localhost]

TASK [local_docker : Set full image path for local install] ***********************************************************************************
skipping: [localhost]

TASK [local_docker : Set DockerHub Image Paths] ***********************************************************************************************
ok: [localhost]

TASK [local_docker : Create ~/.awx/awxcompose directory] **************************************************************************************
changed: [localhost]

TASK [local_docker : Create Docker Compose Configuration] *************************************************************************************
changed: [localhost] => (item=environment.sh)
changed: [localhost] => (item=credentials.py)
changed: [localhost] => (item=docker-compose.yml)
changed: [localhost] => (item=nginx.conf)

TASK [local_docker : Render SECRET_KEY file] **************************************************************************************************
changed: [localhost]

TASK [local_docker : Start the containers] ****************************************************************************************************
changed: [localhost]

TASK [local_docker : Update CA trust in awx_web container] ************************************************************************************
changed: [localhost]

TASK [local_docker : Update CA trust in awx_task container] ***********************************************************************************
changed: [localhost]

PLAY RECAP ************************************************************************************************************************************
localhost                  : ok=14   changed=6    unreachable=0    failed=0    skipped=95   rescued=0    ignored=0
The above command will create and start all the required Docker containers for AWX. You can verify the running containers with the following command:
docker ps
You should see the following output:
CONTAINER ID        IMAGE                        COMMAND                  CREATED              STATUS              PORTS                                                 NAMES
4b91575d64b1        ansible/awx_task:9.2.0       "/tini -- /bin/sh -c…"   About a minute ago   Up About a minute   8052/tcp                                              awx_task
9827b9831fa5        ansible/awx_web:9.2.0        "/tini -- /bin/sh -c…"   About a minute ago   Up About a minute   0.0.0.0:80->8052/tcp                                  awx_web
47300ec1c26f        postgres:10                  "docker-entrypoint.s…"   About a minute ago   Up About a minute   5432/tcp                                              awx_postgres
166b153faa27        ansible/awx_rabbitmq:3.7.4   "docker-entrypoint.s…"   About a minute ago   Up 58 seconds       4369/tcp, 5671-5672/tcp, 15671-15672/tcp, 25672/tcp   awx_rabbitmq
0f36c9784f74        memcached:alpine             "docker-entrypoint.s…"   About a minute ago   Up About a minute   11211/tcp                                             awx_memcached
Configure SELinux and Firewall
By default, SELinux is enabled in CentOS 8. It is recommended to disable it to work AWX in the Docker environment. You can disable it by editing the following file:
nano /etc/sysconfig/selinux
Find the following line:
SELINUX=enforcing
And, replace it with the following line:
SELINUX=disabled
Save and close the file when you are finished. Then, restart your system to implement the changes. Next, you will need to allow http and https service through firewalld. You can allow them with the following command:
firewall-cmd --zone=public --add-masquerade --permanent
 firewall-cmd --permanent --add-service=http
 firewall-cmd --permanent --add-service=https
Next, restart the firewalld service to apply the changes:
firewall-cmd --reload
Access AWX Web Interface
Now, open your web browser and type the URL http://your-server-ip. You will be redirected to the AWX login page:
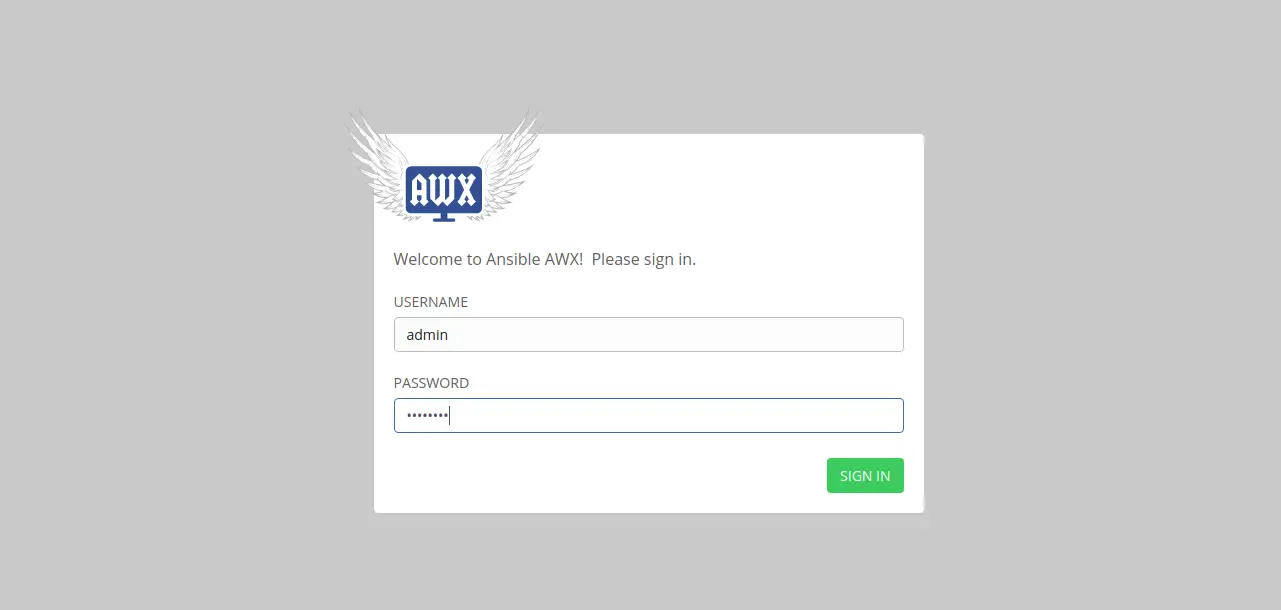
Provide your admin username and password which you have defined in the inventory file and click on the SIGN IN button. You should see the AWX default dashboard in the following page:

Conclusion
Congratulations! you have successfully installed AWX with Docker on CentOS 8. You can now manage and control your Ansible project easily using the AWX web interface.

