How to Create Your Own Video Conference Server using Jitsi Meet on Ubuntu 18.04 LTS
This tutorial exists for these OS versions
- Ubuntu 22.04 (Jammy Jellyfish)
- Ubuntu 18.04 (Bionic Beaver)
On this page
Jitsi is a set of open source projects that allow you to build a secure video conference system for your team. The core components of the Jitsi project are Jitsi VideoBridge and Jitsi Meet. There are free and premium services that based on Jitsi projects, such as HipChat, Stride, Highfive, Comcast.
Jitsi Meet is the heart of the Jitsi family, its an open source JavaScript WebRTC application that allows you to build and deploy scalable video conference. Its build on top of some jitsi projects, including jitsi videobridge, jifoco, and jigasi.
It has featured video conference, such as desktop and presentation sharing, invite a new member to join a video conference with just a link, and enable collaboration editing using the Etherpad.
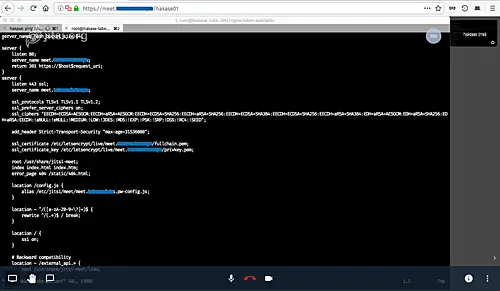
In this tutorial, I will show you how to install your own video conference server using Jitsi meet on Ubuntu 18.04 LTS. We will install jitsi meet from the official jitsi repository and make the Nginx web server as a reverse proxy for jitsi services and then secure our jitsi installation using SSL HTTPS.
Prerequisites
- Ubuntu 18.04 server
- Root privileges
- A domain or sub-domain - meet.hakase-labs.io
What we will do?
- Install Java OpenJDK
- Install Nginx
- Install Jitsi Meet
- Generate Letsencrypt SSL Certificate
- Setup UFW Firewall
- Testing
Step 1 - Install Java OpenJDK
The first step we need to do before deploying jitsi meet to our server is by installing java OpenJDK to the system. At least, we need to get the java version 1.8 for jitsi applications installation, and we will install the Java OpenJDK packages from the PPA repository.
Add the OpenJDK PPA repository and install the Java OpenJDK using the apt command below.
sudo add-apt-repository ppa:openjdk-r/ppa
sudo apt install openjdk-8-jre-headless -y

Now check the Java OpenJDK version when all installation is complete.
java -version
And you will get the java OpenJDK 1.8 installed on the Ubuntu 18.04 server.

Step 2 - Install Nginx
In this tutorial, the Nginx web server will be used as a reverse proxy for the jitsi meet application.
Install Nginx web server using the apt command below.
sudo apt install nginx -y
Now start the nginx service and enable it to launch every time on system boot.
systemctl start nginx
systemctl enable nginx
The Nginx web server installation has been completed - it's running on default HTTP port 80.

Step 3 - Install Jitsi Meet
In this step, we will install jitsi meet packages from the official jitsi repository. We will be using a domain named 'meet.hakase-labs.io' for our installation.
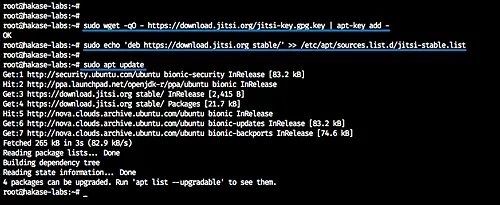
Add jitsi key and repository to the system using the command below.
sudo wget -qO - https://download.jitsi.org/jitsi-key.gpg.key | apt-key add -
sudo echo 'deb https://download.jitsi.org stable/' >> /etc/apt/sources.list.d/jitsi-stable.list
Now update the repository and install jitsi meet packages.
sudo apt update
sudo apt install jitsi-meet -y
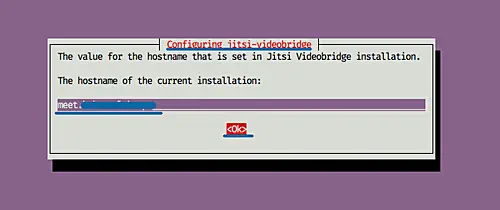
Through the jitsi meet installation, you will be asked about two things:
- jitsi videobridge domain name - type the domain name for jitsi installation 'meet.hakase-labs.io'.
- SSL certificate for jitsi meet instance - Chose the 'generate a new self-signed certificate'.

Now we're done for the jitsi meet installation. All packages including jitsi videobridge, jicofo, and nginx virtual host have been automatically installed and setup.
Step 4 - Generate Letsencrypt SSL Certificate
Jitsi meet provides an automatic script for SSL Letsencrypt installation and configuration.
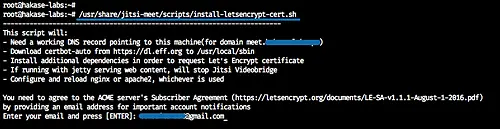
Run the letsencrypt script provided by jitsi meet.
/usr/share/jitsi-meet/scripts/install-letsencrypt-cert.sh
The script will install the letsencrypt tool on the server, generate SSL certificates for the jitsi meet domain name 'meet.hakase-labs.io' etc. you need to enter an email address for the Letsencrypt expired notification.
And it will generate all SSL certificates for the jitsi meet domain name in the '/etc/letsencrypt/live' directory.

Step 5 - Setup UFW Firewall
In this step, we will configure the UFW firewall for the jitsi meet installation. We will open the SSH, HTTP, HTTPS service ports, and open the other range port that needed by jitsi meet 10000/20000 UDP port.
Open those ports by running UFW commands.
ufw allow ssh
ufw allow http
ufw allow https
ufw allow in 10000:20000/udp

Now enable the UFW firewall and reload all configuration.
ufw enable
ufw status

The UFW firewall configuration is complete.
Step 6 - Testing
We will do two testing through the web browser and an android application that can be downloaded from Google Play.
Test from the web browser.
Open the jitsi meet installation domain name meet.hakase-labs.io and you can see the jitsi meet default home page.
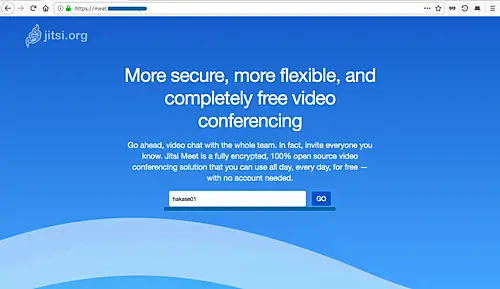
Type the room name you want to create and click the 'GO' blue button.
And your browser will ask you for the microphone and camera use permission.

Click 'Allow'.
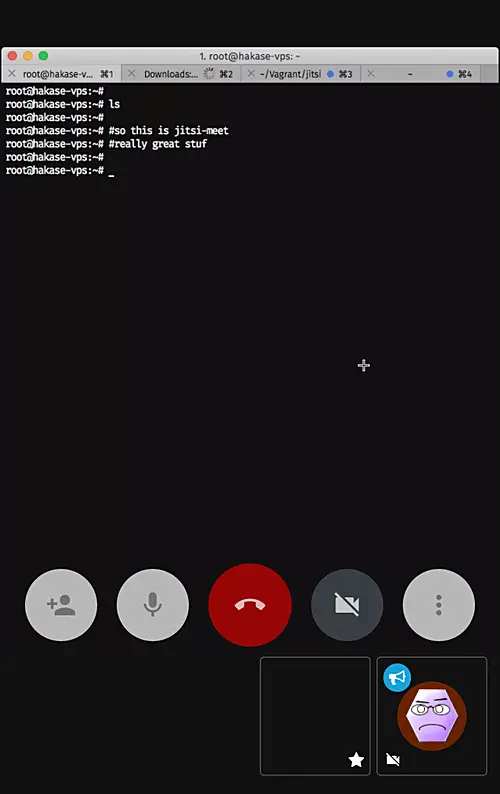
Now you've already joined to the room.

Another screenshot: the Desktop sharing between all members.
Test from Android Device
Download the jitsi meet application from Google Play and join the room.
Following is jitsi meet on android.
Jitsi Meet installation with Nginx web server on Ubuntu 18.04 has been completed successfully.

