How to Install OpenMeetings on Ubuntu 18.04 LTS
OpenMeetings is a free and open-source web-based application written in Java that can be used for presenting, online training, web conferencing, collaborative whiteboard drawing and document editing, and user desktop sharing. Openmeetings provides video conferencing, instant messaging, whiteboard, collaborative document editing and other groupware tools using API functions of the Red5 Streaming Server for Remoting and Streaming. OpenMeetings provides lots of features like Audio and Video Conferencing, Meeting recording and Screen sharing, File Explorer, Moderating System, Multi-Whiteboard and Chat, User and room management, Private message center, Polls and Votes, Backup and much more.
In this tutorial, we will be going to explain how to install the OpenMeetings software on Ubuntu 18.04 LTS server.
Requirements
- A server running Ubuntu 18.04.
- A non-root user with sudo privileges.
Install Java
OpenMeetings is written in Java. So you will need to install Java on your system. By default, the latest version of Java is not av*ailable in the Ubuntu 18.04 default repository. So you will need to add the Java repository to your system. You can add it by running the following command:
sudo add-apt-repository --yes ppa:webupd8team/java
Next, update the repository and install Java with the following command:
sudo apt-get install oracle-java8-installer -y
After installing Java, you can verify the Java version with the following command:
java -version
Output:
java version "1.8.0_171"
Java(TM) SE Runtime Environment (build 1.8.0_171-b11)
Java HotSpot(TM) 64-Bit Server VM (build 25.171-b11, mixed mode)
Install Required Dependencies
Next, you will need to install some dependencies on your system. You can install all of them by running the following command:
sudo apt-get install imagemagick ghostscript libxt6 libxrender1 ffmpeg sox -y
Install and Configure MariaDB
Next, you will need to install MariaDB Server to your system. You can install it by running the following command:
sudo apt-get install mariadb-server -y
Once the MariaDB is installed, log in to M*ariaDB shell:
mysql -u root -p
Enter your root password and press Enter, then create a database and user with the following command:
MariaDB [(none)]> CREATE DATABASE openmeetings;
MariaDB [(none)]> CREATE USER openmeetings;
Next, grant privileges to the Openmeetings database with the following command:
MariaDB [(none)]> GRANT ALL PRIVILEGES ON openmeetings.* TO 'openmeetings'@'localhost' IDENTIFIED BY 'password';
Next, you will need to run the FLUSH PRIVILEGES command so that the privileges table will be reloaded by MySQL and we can use new credentials:
MariaDB [(none)]> FLUSH PRIVILEGES;
Next, exit from the MariaDB console with the following command:
MariaDB [(none)]> \q
Install OpenMeetings
You can download the latest version of the OpenMeetings from the Apache OpenMeetings download page:
wget http://www-eu.apache.org/dist/openmeetings/4.0.4/bin/apache-openmeetings-4.0.4.tar.gz
Once the download is completed extract the downloaded file with the following command:
sudo tar xvf apache-openmeetings-4.0.4.tar.gz -C /opt/openmeetings
Next, start the application with the following command:
cd /opt/openmeetings
sudo sh red5.sh openmeetings
OpenMeetings is now started and listening on port 5080.
Access OpenMeetings Web Interface
Open your web browser and type the URL http://your-server-ip:5080/openmeetings. You will be redirected to the following page:
Here, click on the > button. You should see the following page:
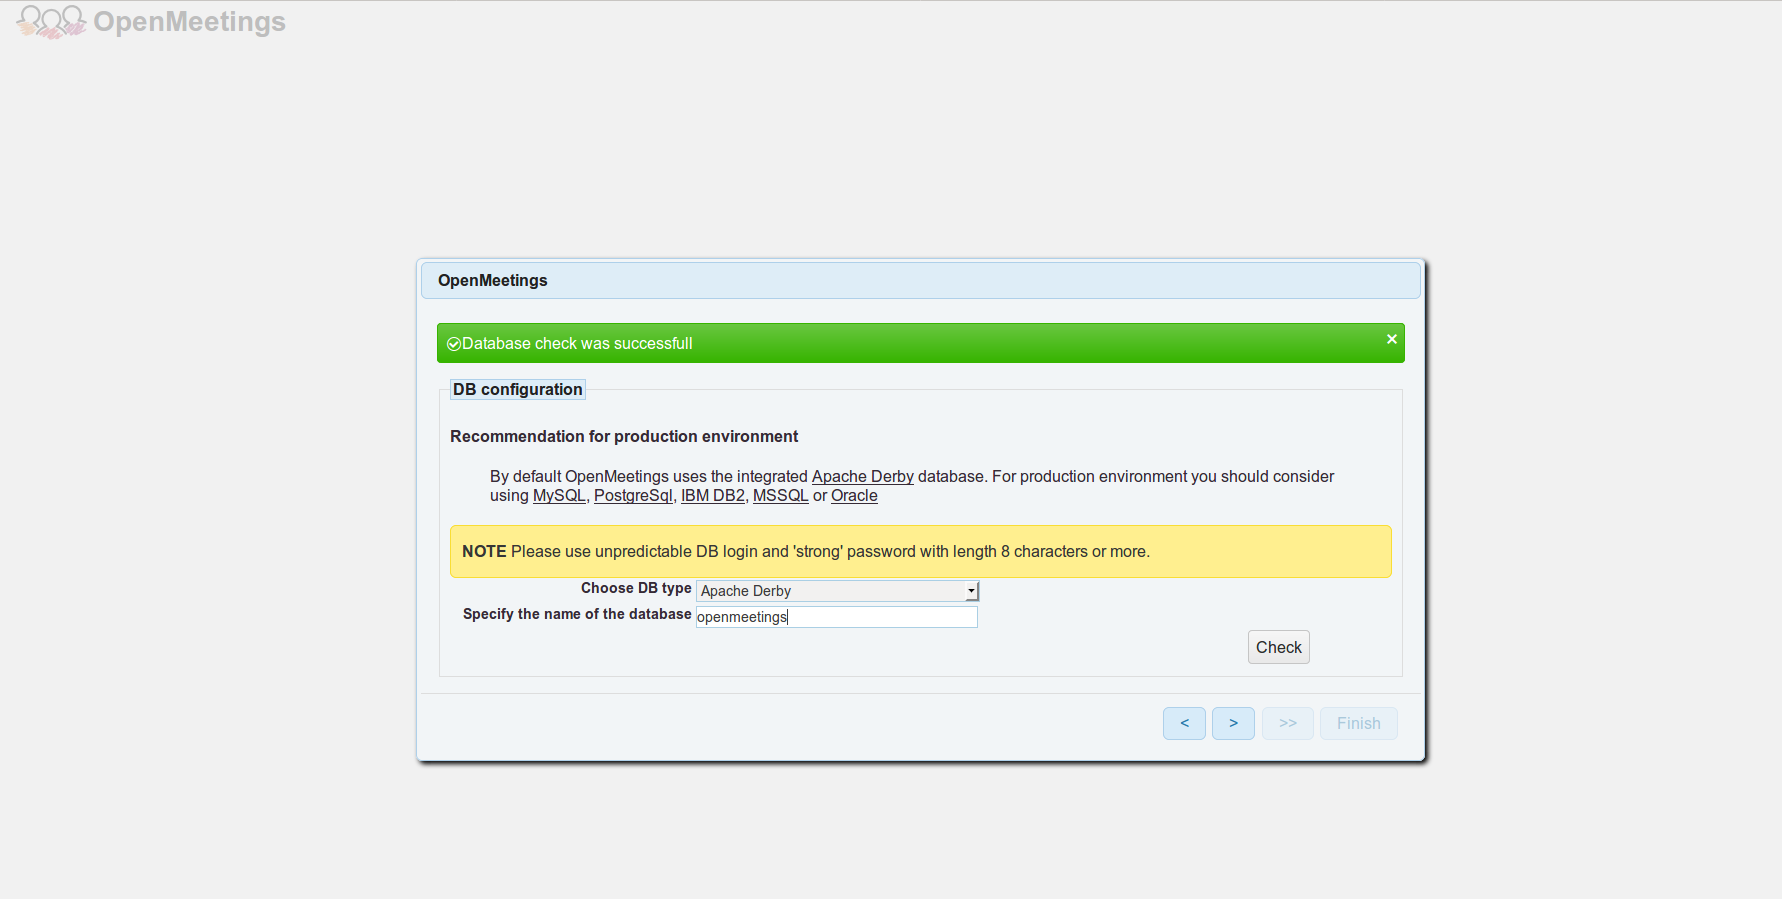
Here, select your database type and provide the database name, then click on the > button. You should see the following page:
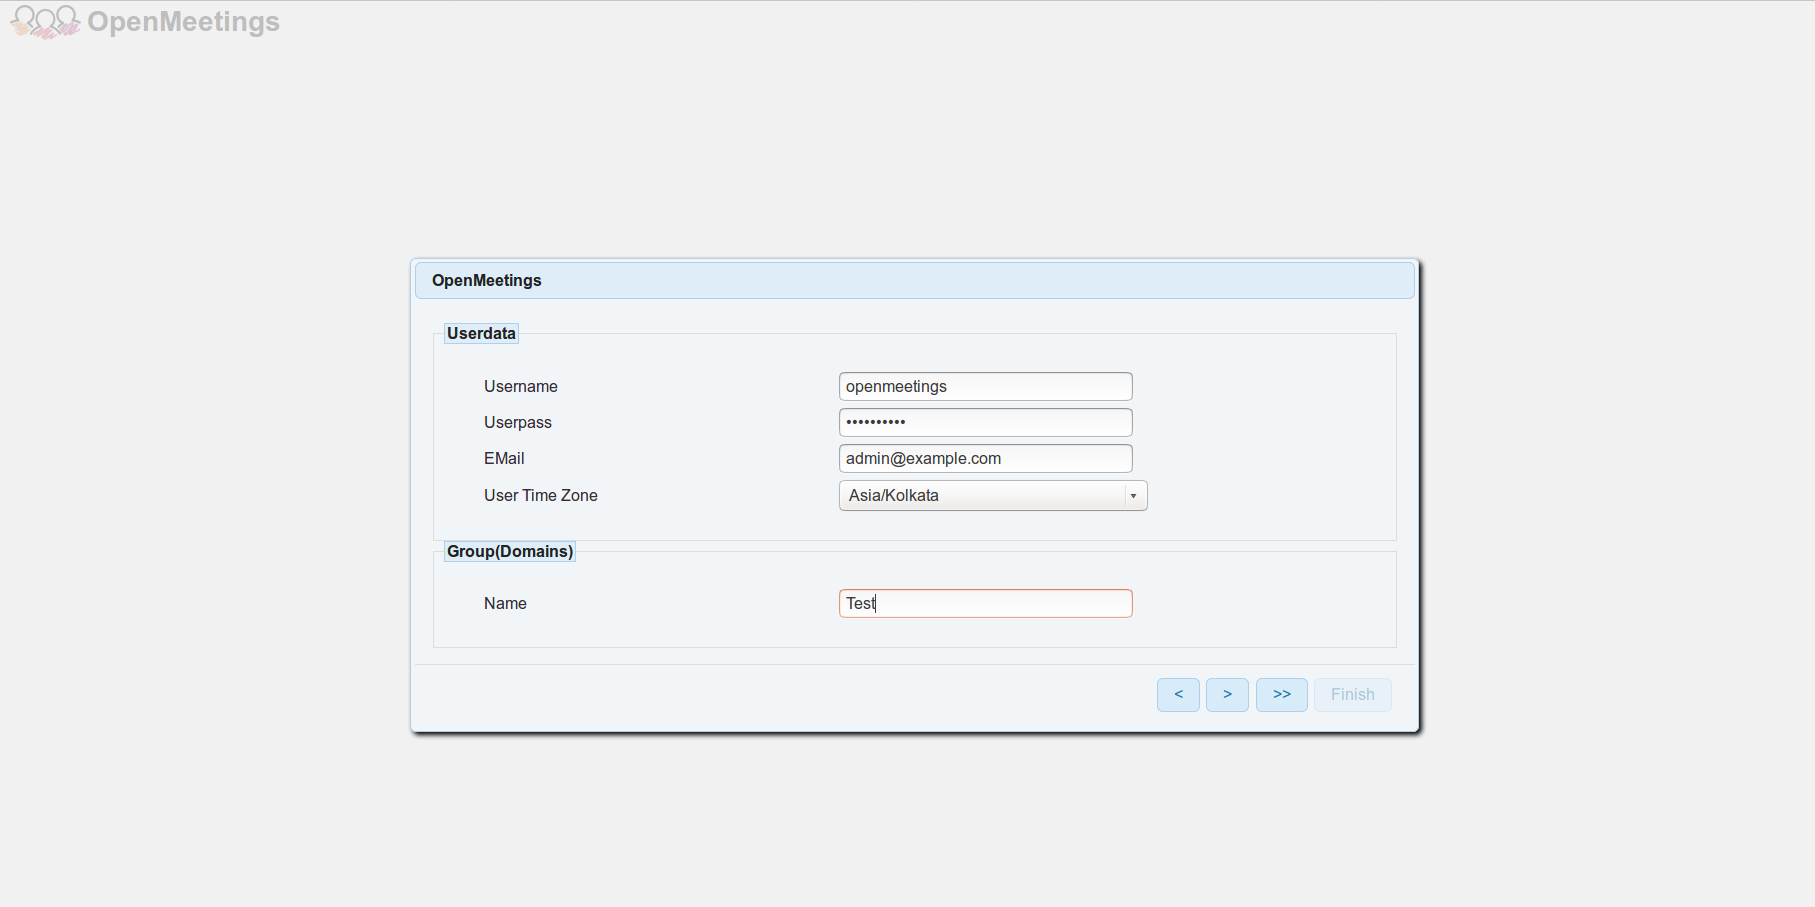
Here, provide your username, password and email, then click on the > button. You should see the following page:
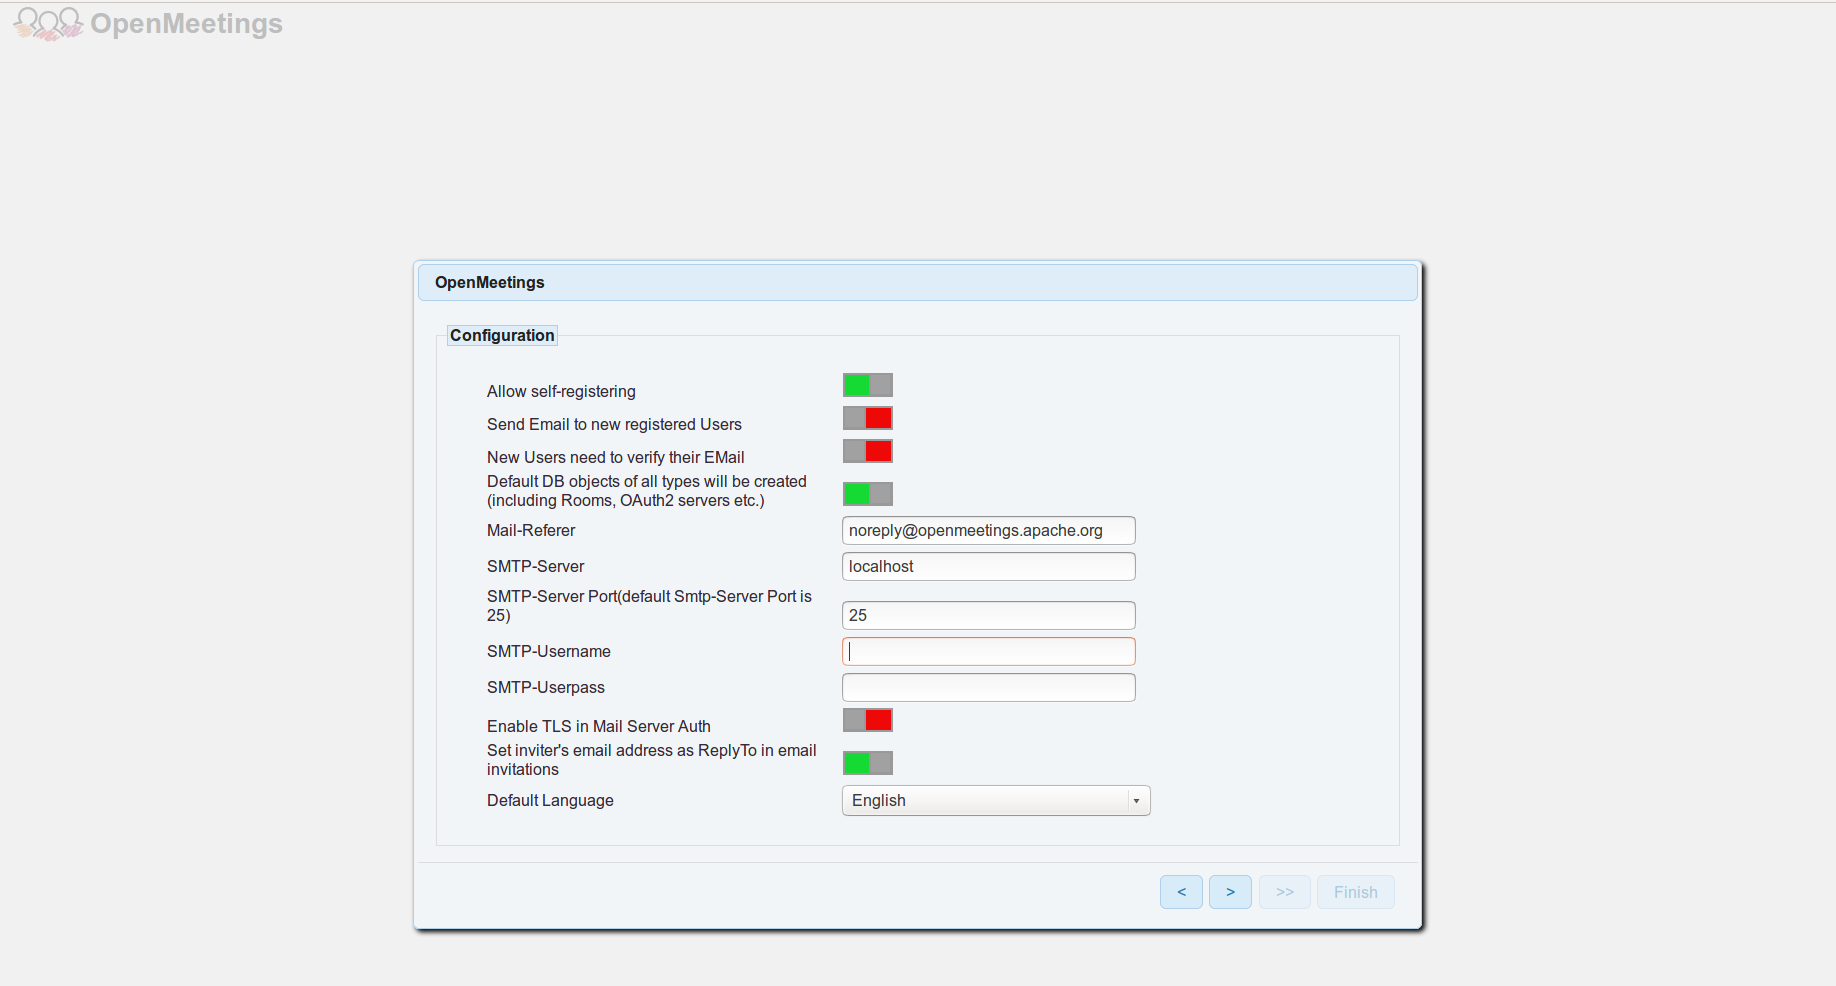
Now, provide your SMTP details, then click on the > button. You should see the following page:
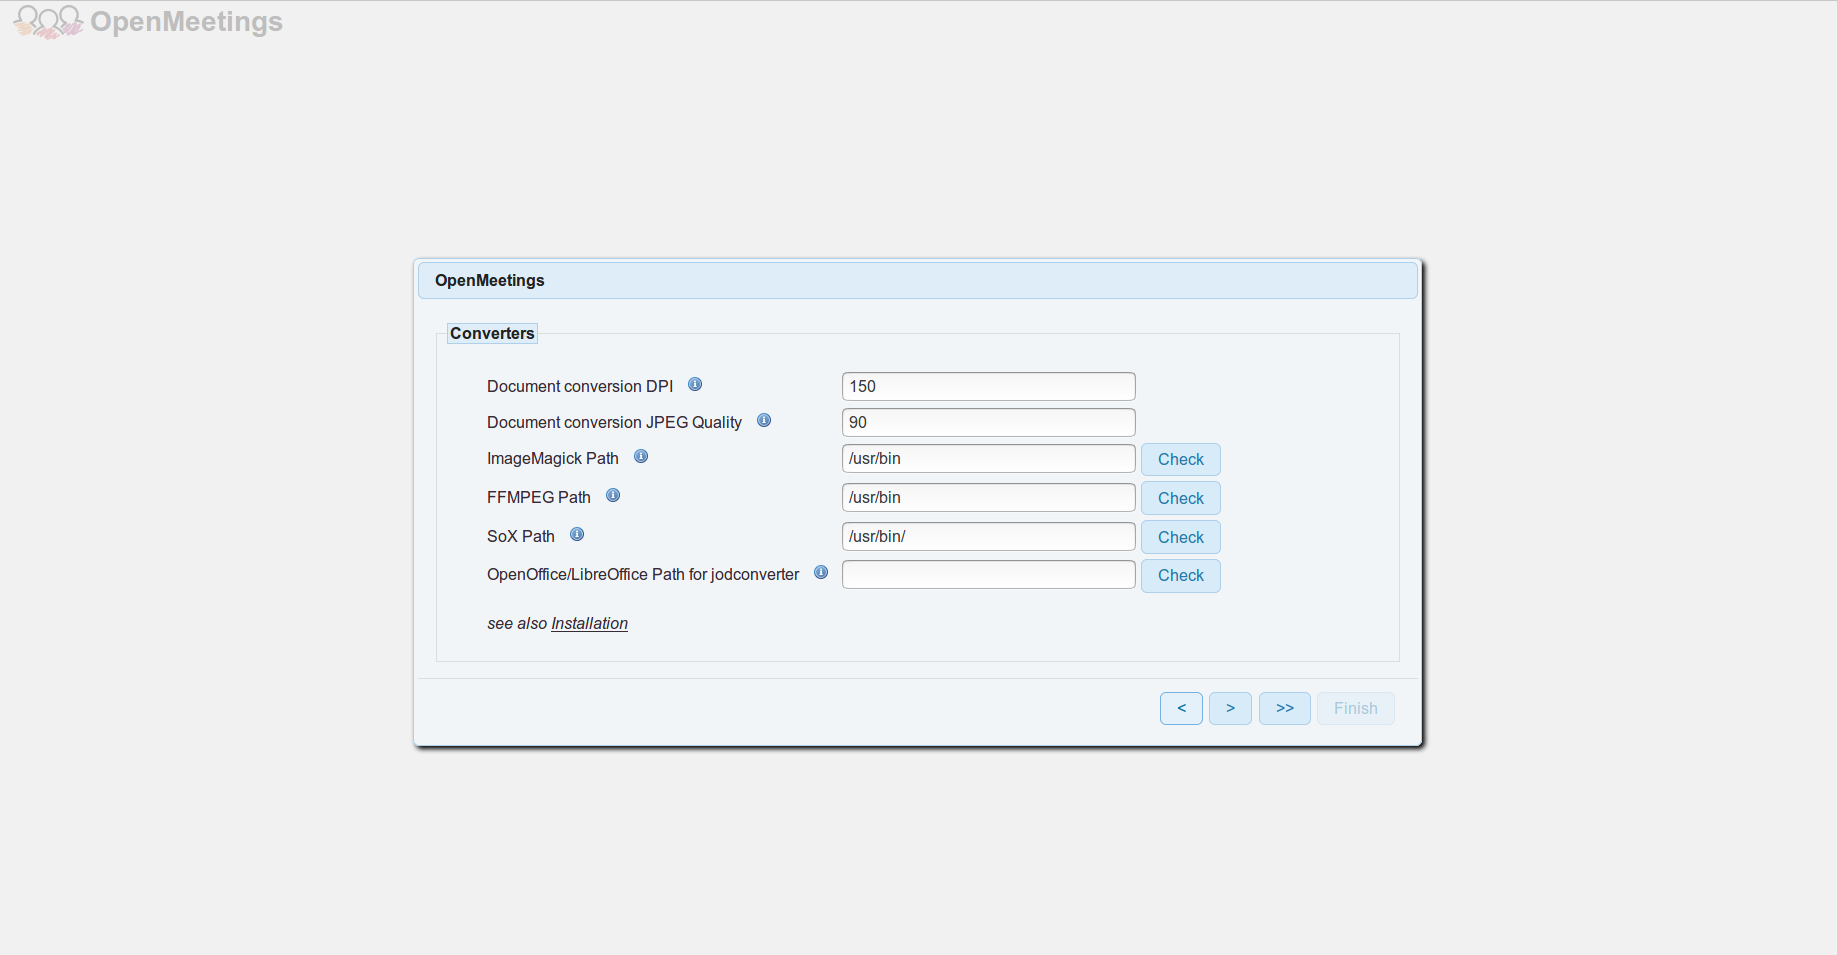
Here, provide ImageMagick, sox and FFmpeg path, then click on the > button. You should see the following page:

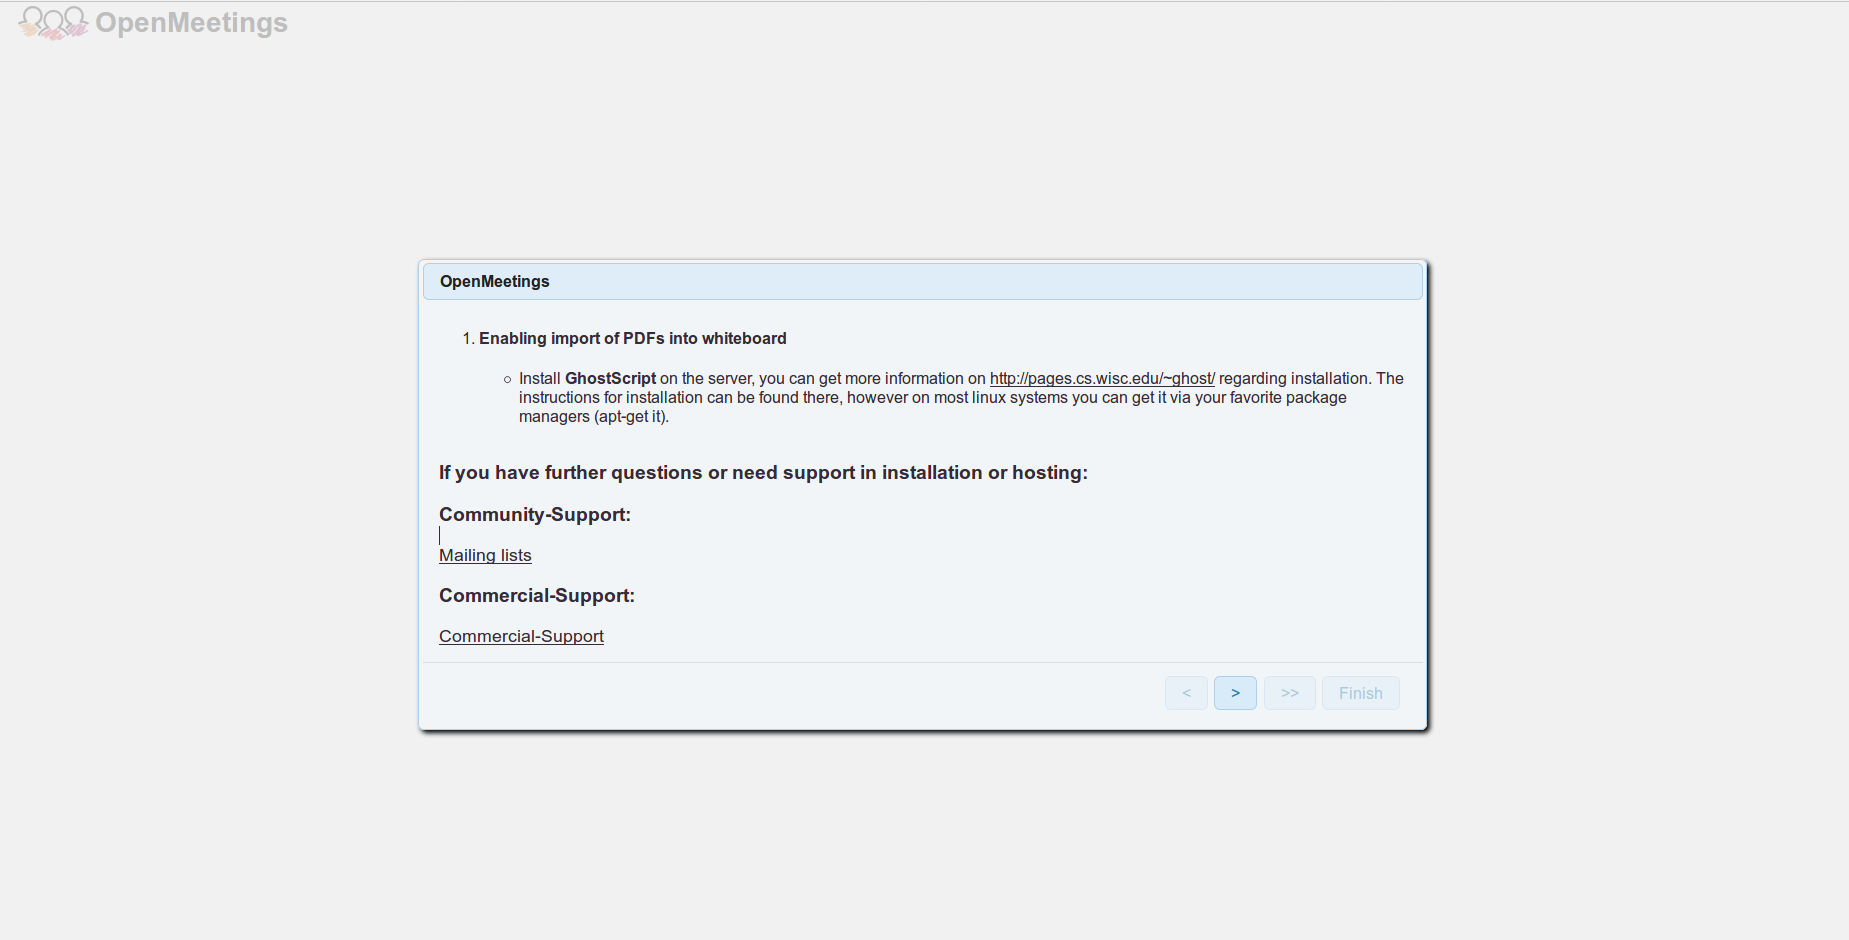
Here, select default value and click on the > button. You should see the following page:

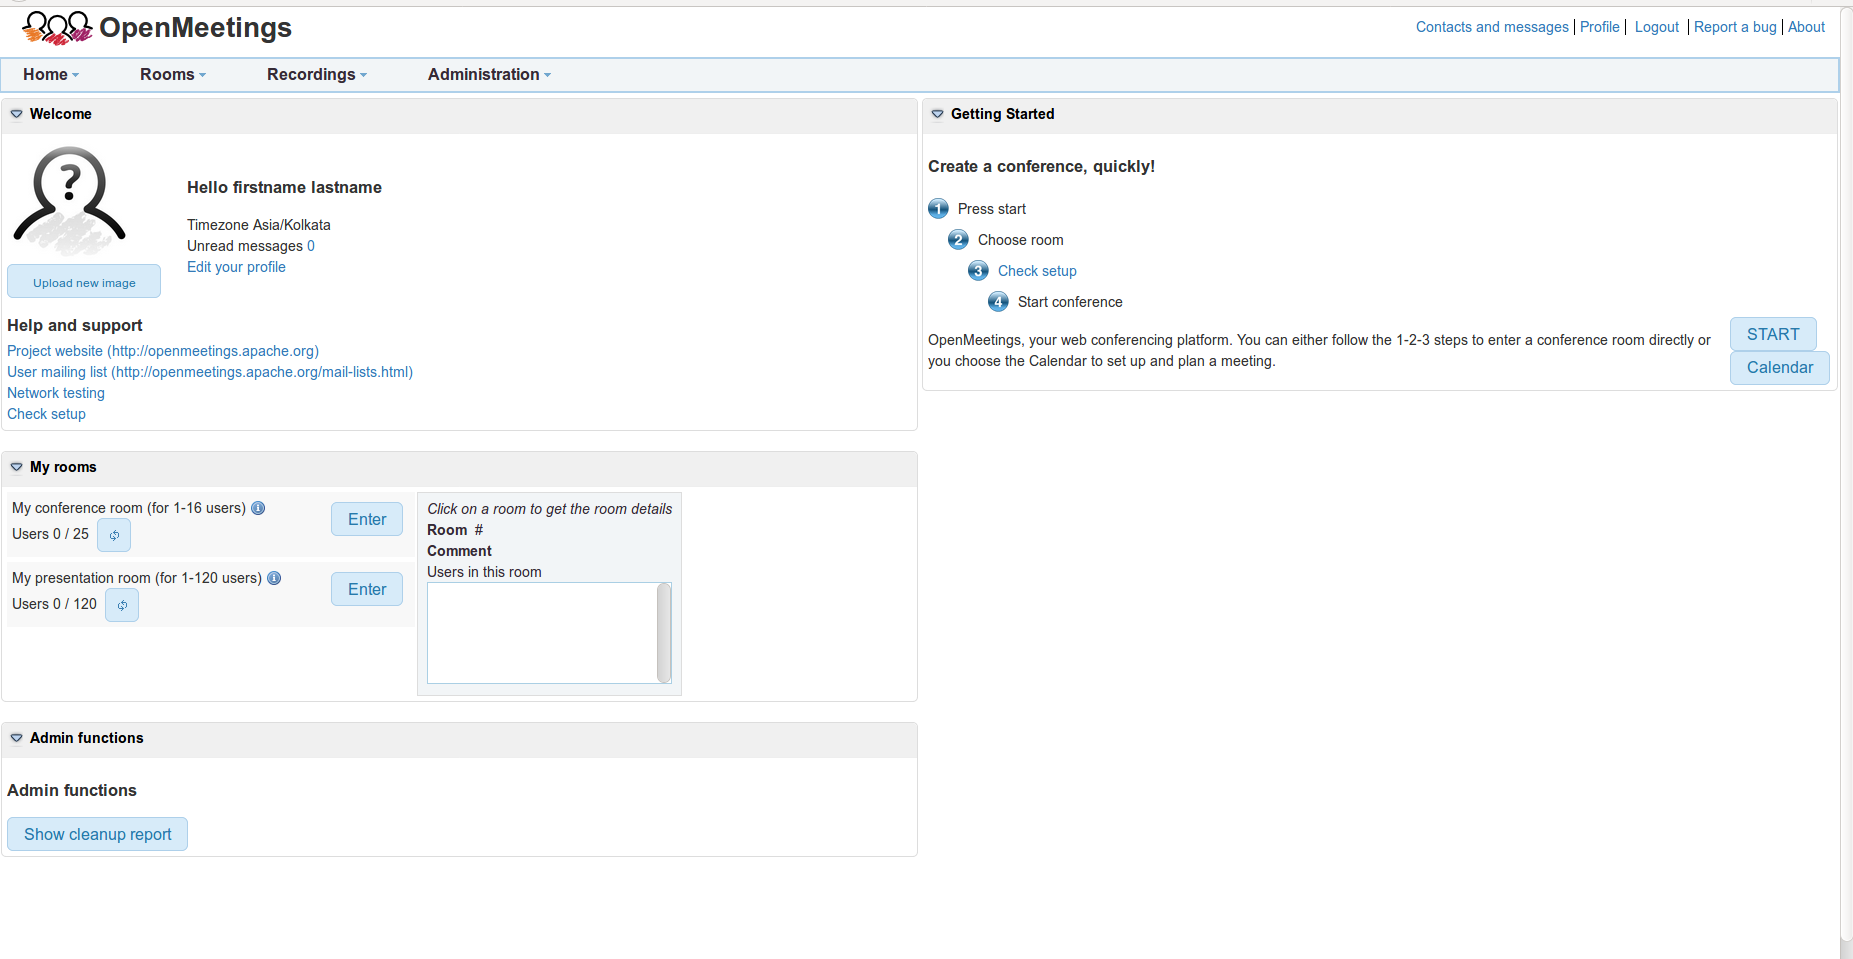
Now, click on the Enter the Application button. You should see the following page:
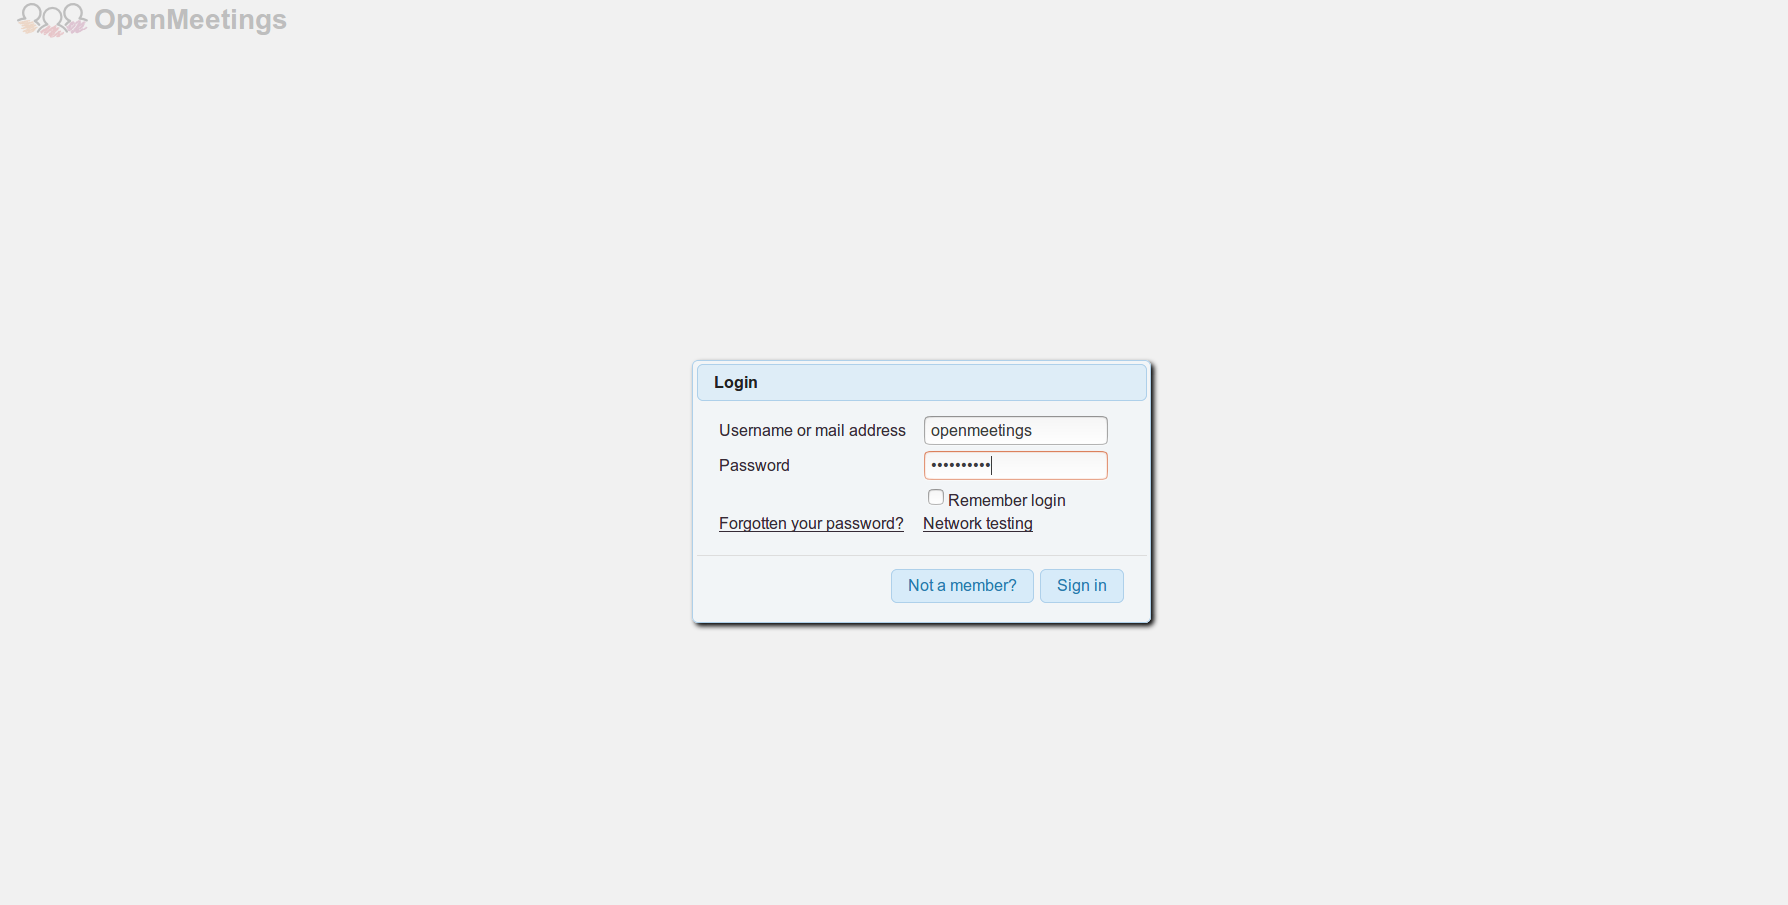
Now, provide your login credentials, then click on the Sign In button. You should see the following page: