How to Install Apache GUI on Ubuntu 18.04 LTS
Apache GUI is a free and open source Java-based tool that can be used to manage and configure Apache web server through the web browser. It is specially designed for those who are looking for a comfortable graphical interface (GUI) to configure Apache servers.
Apache GUI Features
- Edit, Search and Validate your Configurations.
- Start, Stop and Restart Apache service.
- View, install and remove apache modules.
- Edit your web documents through web browser using inline editor.
- Test the server configuration for errors.
Requirements
- A server running Ubuntu 18.04.
- A non-root user with sudo privileges.
Install Jave
ApacheGUI is written in Java, so you will need to install it first. You can install Java with the following command:
sudo apt-get install default-jre -y
Once the Java is installed. You can verify the Java version with the following command:
java -version
Output:
openjdk version "10.0.2" 2018-07-17
OpenJDK Runtime Environment (build 10.0.2+13-Ubuntu-1ubuntu0.18.04.2)
OpenJDK 64-Bit Server VM (build 10.0.2+13-Ubuntu-1ubuntu0.18.04.2, mixed mode)
Install LAMP Server
Next, install Apache web server and MariaDB with the following command:
sudo apt-get install apache2 mariadb-server -y
Install PHP with the following command:
sudo apt-get install php7.2 php7.2-mysql libapache2-mod-php7.2 -y
Next, start Apache and MariaDB service and enable them to start on boot time with the following command:
sudo systemctl start apache2
sudo systemctl enable apache2
sudo systemctl start mysql
sudo systemctl enable mariadb
Install ApacheGUI
First, you will need to download the latest version of ApacheGUI to your system. You can download it with the following command:
sudo mkdir /usr/local/apachegui
sudo cd /usr/local/apachegui
sudo wget https://excellmedia.dl.sourceforge.net/project/apachegui/1.12-Linux-Solaris-Mac/ApacheGUI-1.12.0.tar.gz
Next, extract the downloaded file using the following command:
sudo tar -xvzf ApacheGUI-1.12.0.tar.gz
Next, change the directory to the ApacheGUI and start installation script with the following command:
sudo cd ApacheGUI/bin
sudo ./run.sh
Your ApacheGUI is now starting and listening on port 9999.
Next, open your web browser and type the URL http://your-server-ip:9999/ApacheGUI. You will be redirected to the following page:
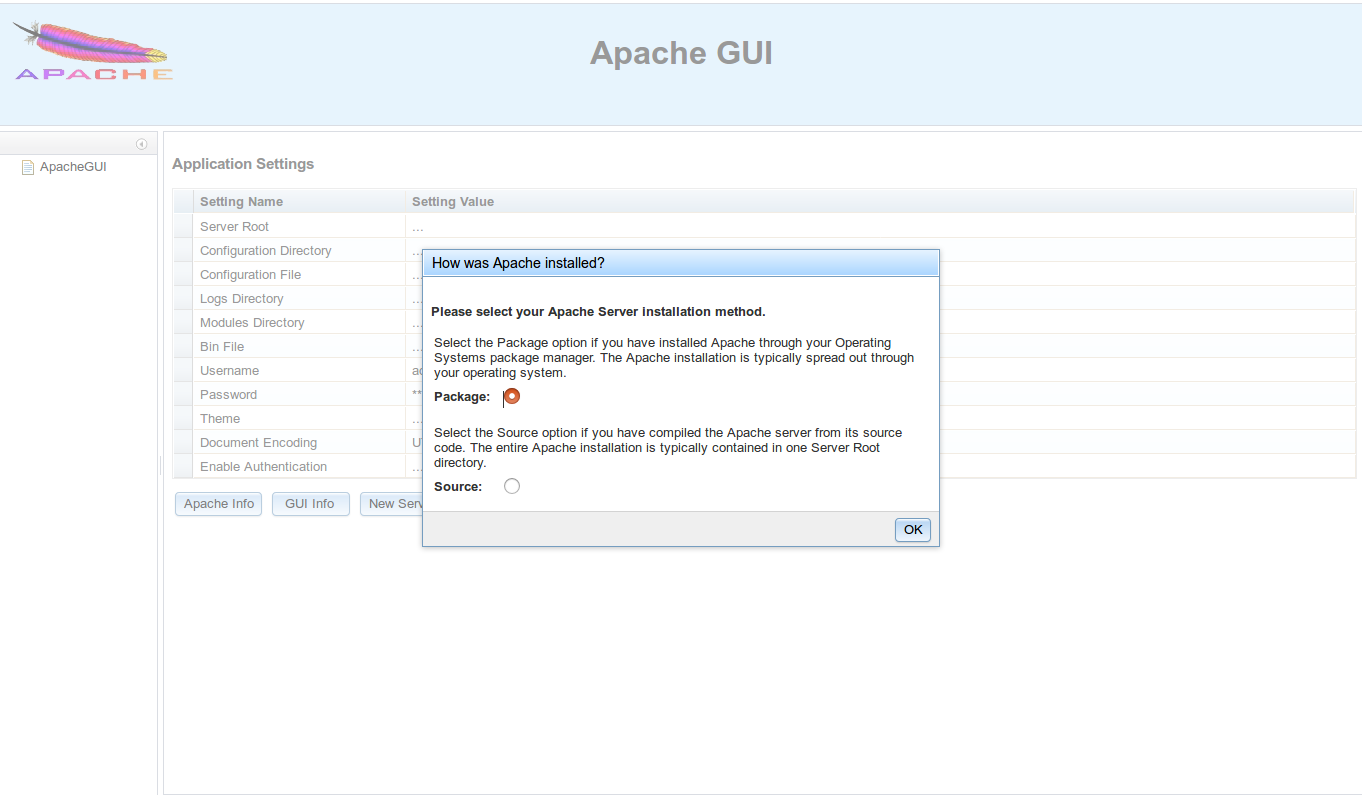
Here, select the Apache web server installation method, then click on the OK button. You should see the following page:
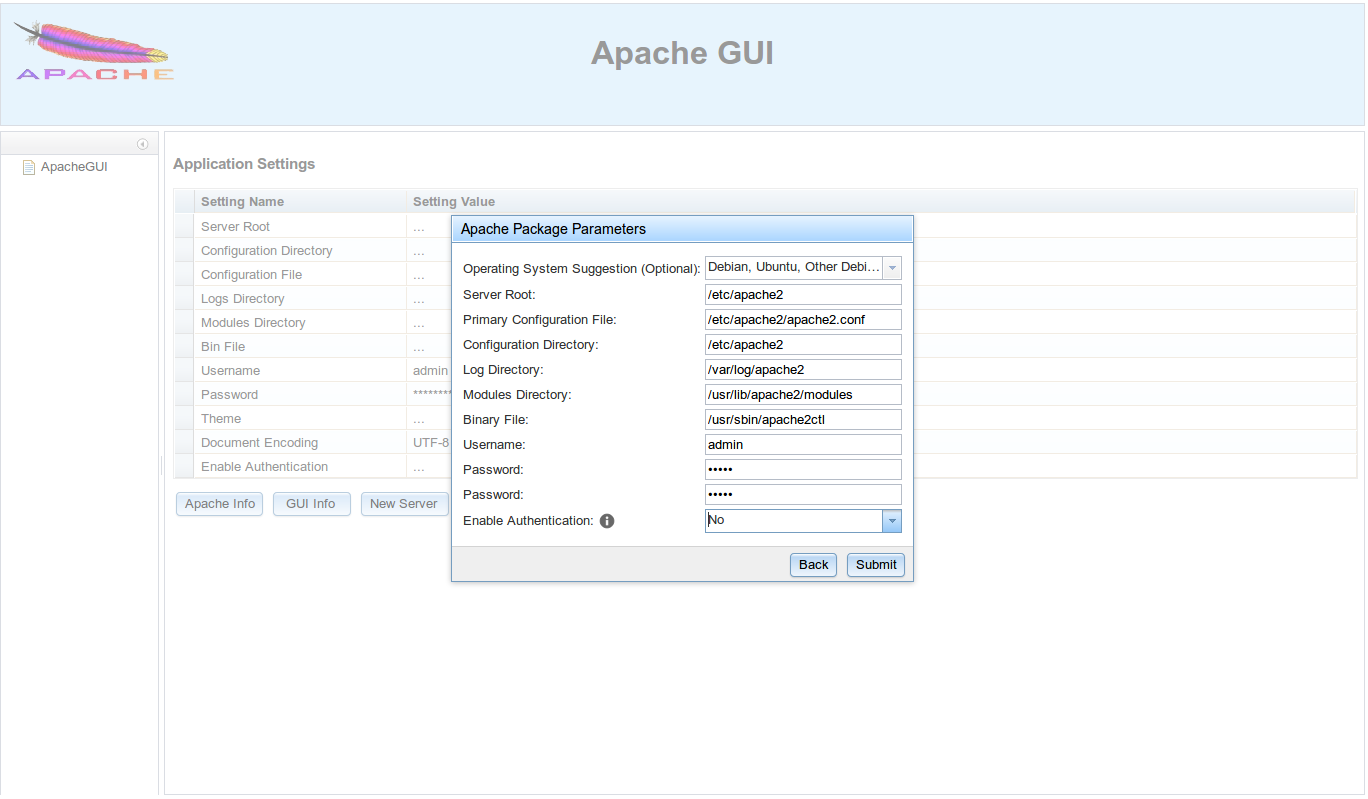
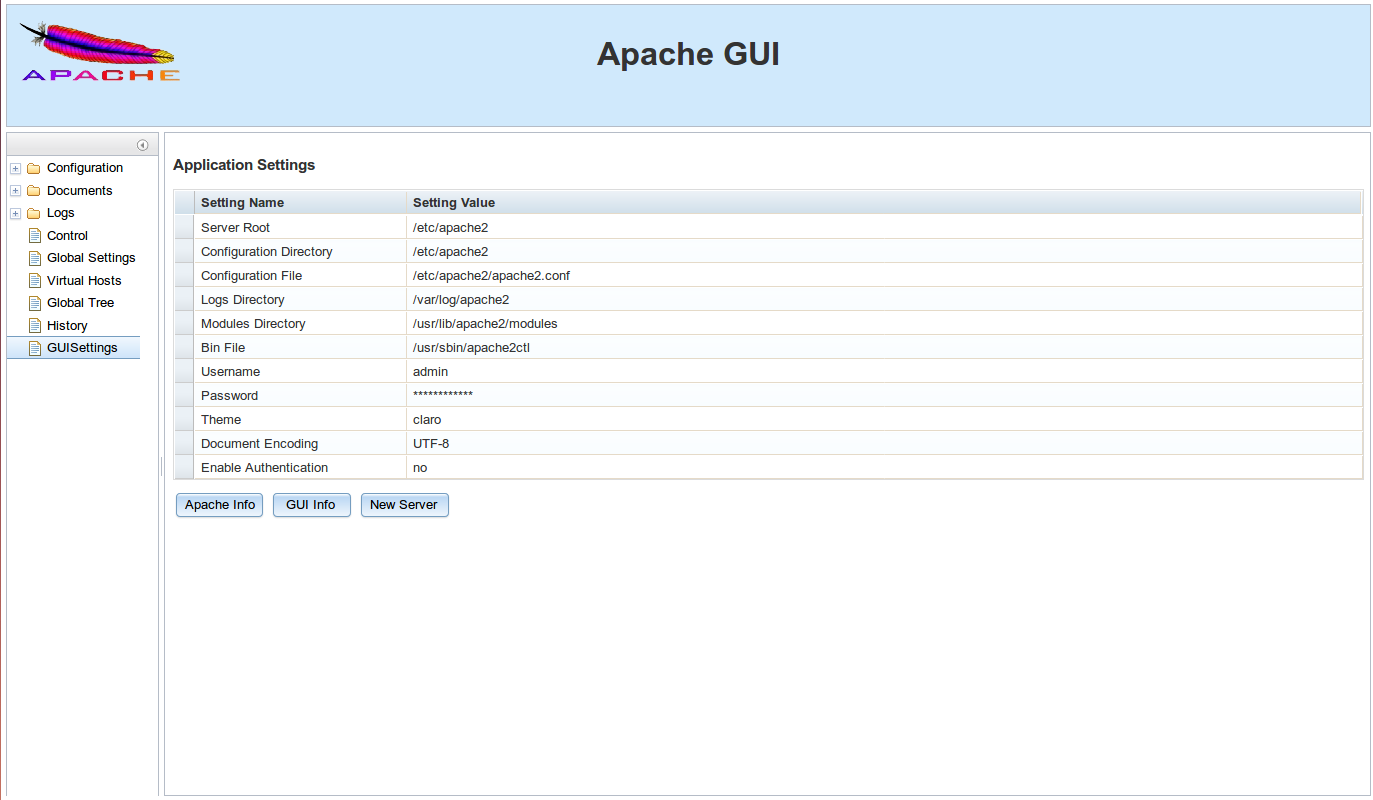
Here, provide your admin user credentials and click on the Submit button. You should see the ApacheGUI dashboard in the following page:
To stop the Apache GUI server, run:
sudo ./stop.sh

