
At some point in your career as a Linux administrator, you’re going to use Secure Shell (SSH) to remote into a Linux server or desktop. Chances are, you already have. In some instances, you’ll be SSH’ing into multiple Linux servers at once. In fact, Secure Shell might well be one of the most-used tools in your Linux toolbox. Because of this, you’ll want to make the experience as efficient as possible. For many admins, nothing is as efficient as the command line. However, there are users out there who do prefer a GUI tool, especially when working from a desktop machine to remote into and work on a server.
If you happen to prefer a good GUI tool, you’ll be happy to know there are a couple of outstanding graphical tools for SSH on Linux. Couple that with a unique terminal window that allows you to remote into multiple machines from the same window, and you have everything you need to work efficiently. Let’s take a look at these three tools and find out if one (or more) of them is perfectly apt to meet your needs.
I’ll be demonstrating these tools on Elementary OS, but they are all available for most major distributions.
PuTTY
Anyone that’s been around long enough knows about PuTTY. In fact, PuTTY is the de facto standard tool for connecting, via SSH, to Linux servers from the Windows environment. But PuTTY isn’t just for Windows. In fact, from withing the standard repositories, PuTTY can also be installed on Linux. PuTTY’s feature list includes:
-
Saved sessions.
-
Connect via IP address or hostname.
-
Define alternative SSH port.
-
Connection type definition.
-
Logging.
-
Options for keyboard, bell, appearance, connection, and more.
-
Local and remote tunnel configuration
-
Proxy support
-
X11 tunneling support
The PuTTY GUI is mostly a way to save SSH sessions, so it’s easier to manage all of those various Linux servers and desktops you need to constantly remote into and out of. Once you’ve connected, from PuTTY to the Linux server, you will have a terminal window in which to work. At this point, you may be asking yourself, why not just work from the terminal window? For some, the convenience of saving sessions does make PuTTY worth using.
Installing PuTTY on Linux is simple. For example, you could issue the command on a Debian-based distribution:
sudo apt-get install -y putty
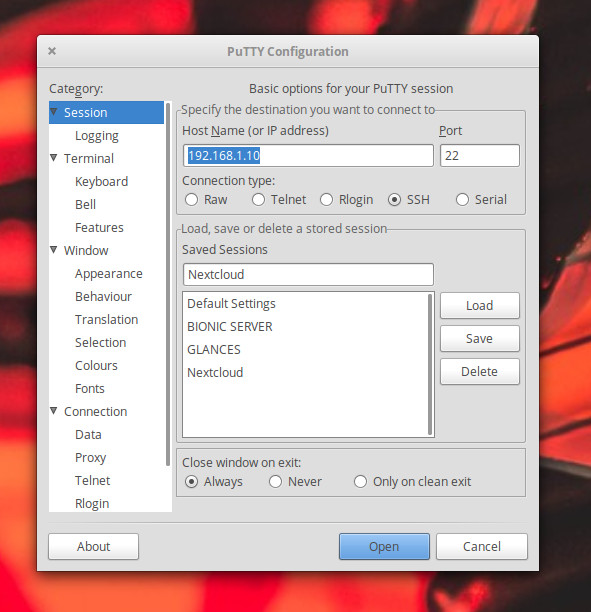
Once installed, you can either run the PuTTY GUI from your desktop menu or issue the command putty. In the PuTTY Configuration window (Figure 1), type the hostname or IP address in the HostName (or IP address) section, configure the port (if not the default 22), select SSH from the connection type, and click Open.
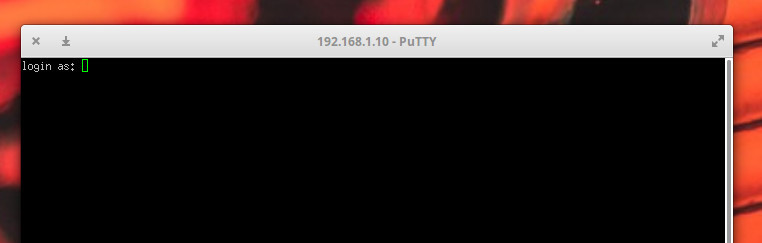
Once the connection is made, you’ll then be prompted for the user credentials on the remote server (Figure 2).
To save a session (so you don’t have to always type the remote server information), fill out the IP address (or hostname), configure the port and connection type, and then (before you click Open), type a name for the connection in the top text area of the Saved Sessions section, and click Save. This will then save the configuration for the session. To then connect to a saved session, select it from the saved sessions window, click Load, and then click Open. You should then be prompted for the remote credentials on the remote server.
EasySSH
Although EasySSH doesn’t offer the amount of configuration options found in PuTTY, it’s (as the name implies) incredibly easy to use. One of the best features of EasySSH is that it offers a tabbed interface, so you can have multiple SSH connections open and quickly switch between them. Other EasySSH features include:
-
Groups (so you can group tabs for an even more efficient experience).
-
Username/password save.
-
Appearance options.
-
Local and remote tunnel support.
Install EasySSH on a Linux desktop is simple, as the app can be installed via flatpak (which does mean you must have Flatpak installed on your system). Once flatpak is installed, add EasySSH with the commands:
sudo flatpak remote-add --if-not-exists flathub https://flathub.org/repo/flathub.flatpakrepo

sudo flatpak install flathub com.github.muriloventuroso.easyssh
Run EasySSH with the command:
flatpak run com.github.muriloventuroso.easyssh
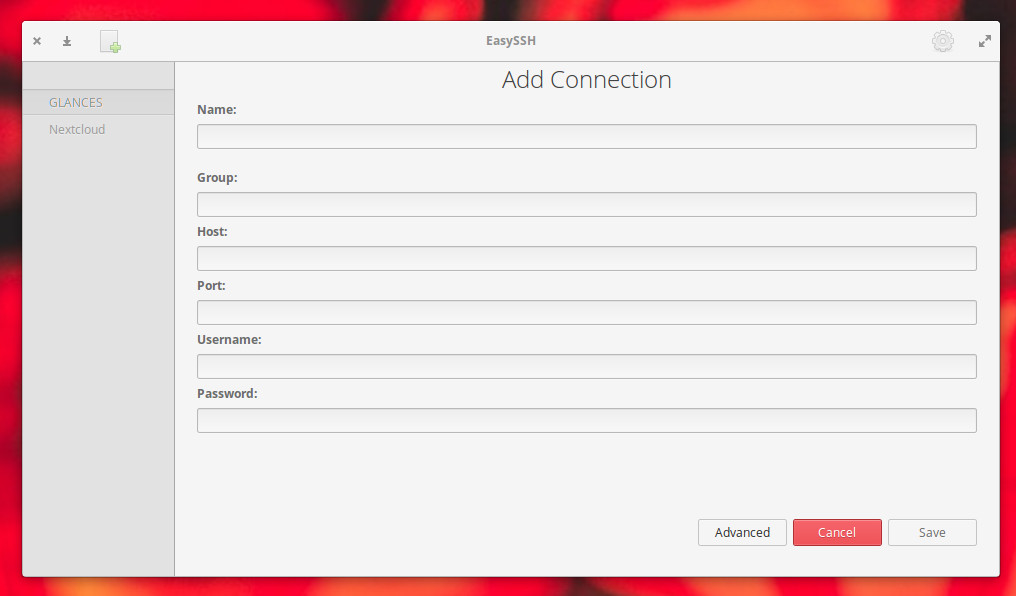
The EasySSH app will open, where you can click the + button in the upper left corner. In the resulting window (Figure 3), configure your SSH connection as required.
Once you’ve added the connection, it will appear in the left navigation of the main window (Figure 4).
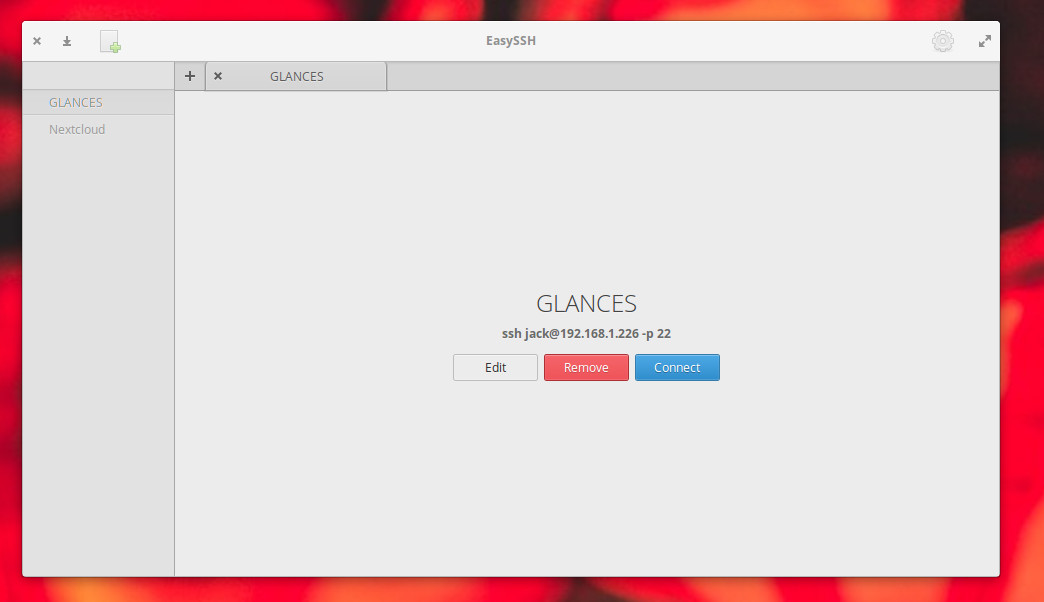
To connect to a remote server in EasySSH, select it from the left navigation and then click the Connect button (Figure 5).
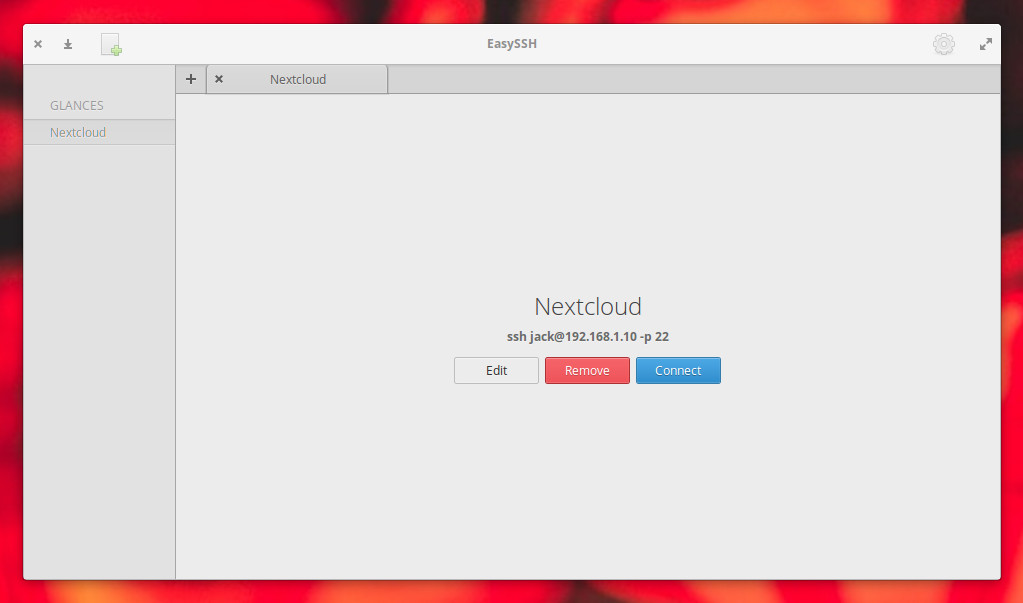
The one caveat with EasySSH is that you must save the username and password in the connection configuration (otherwise the connection will fail). This means anyone with access to the desktop running EasySSH can remote into your servers without knowing the passwords. Because of this, you must always remember to lock your desktop screen any time you are away (and make sure to use a strong password). The last thing you want is to have a server vulnerable to unwanted logins.
Terminator
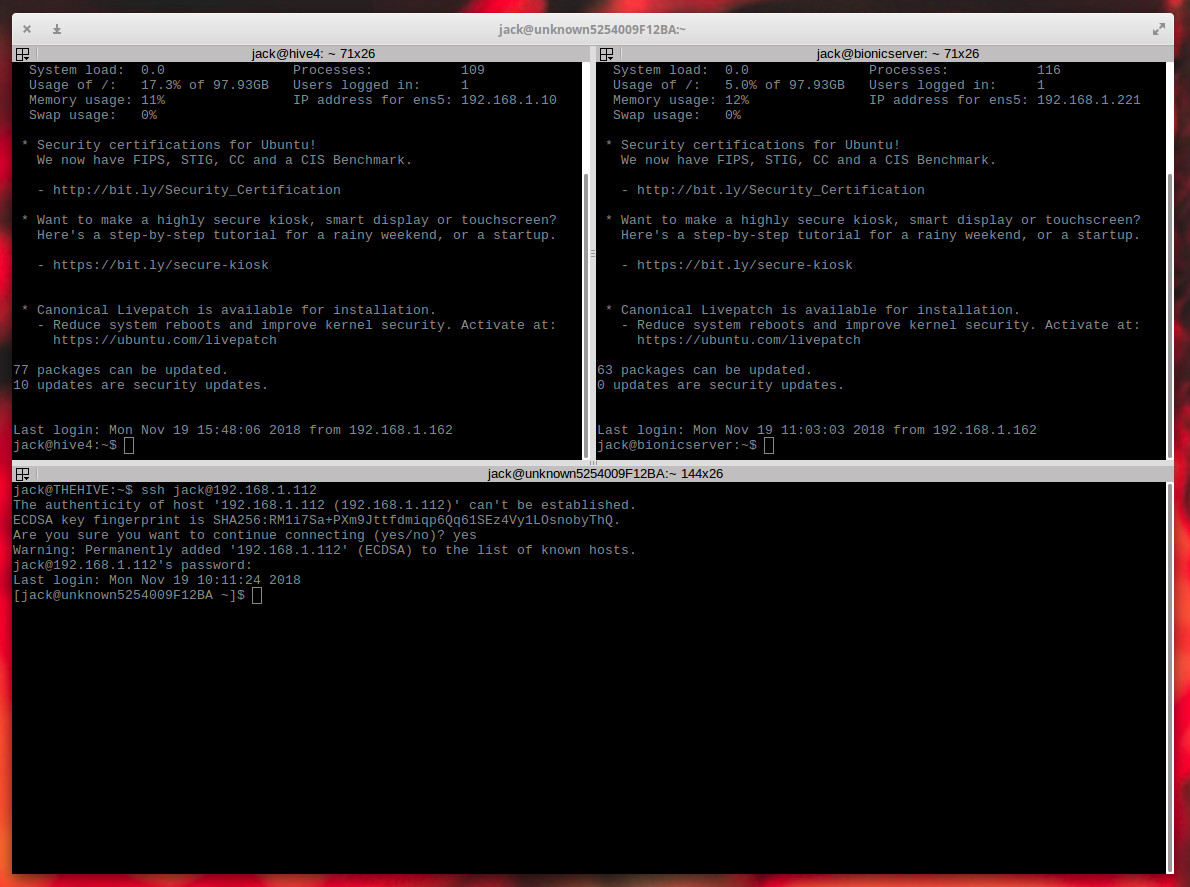
Terminator is not actually an SSH GUI. Instead, Terminator functions as a single window that allows you to run multiple terminals (and even groups of terminals) at once. Effectively you can open Terminator, split the window vertical and horizontally (until you have all the terminals you want), and then connect to all of your remote Linux servers by way of the standard SSH command (Figure 6).
To install Terminator, issue a command like:
sudo apt-get install -y terminator
Once installed, open the tool either from your desktop menu or from the command terminator. With the window opened, you can right-click inside Terminator and select either Split Horizontally or Split Vertically. Continue splitting the terminal until you have exactly the number of terminals you need, and then start remoting into those servers.
The caveat to using Terminator is that it is not a standard SSH GUI tool, in that it won’t save your sessions or give you quick access to those servers. In other words, you will always have to manually log into your remote Linux servers. However, being able to see your remote Secure Shell sessions side by side does make administering multiple remote machines quite a bit easier.
Few (But Worthwhile) Options
There aren’t a lot of SSH GUI tools available for Linux. Why? Because most administrators prefer to simply open a terminal window and use the standard command-line tools to remotely access their servers. However, if you have a need for a GUI tool, you have two solid options and one terminal that makes logging into multiple machines slightly easier. Although there are only a few options for those looking for an SSH GUI tool, those that are available are certainly worth your time. Give one of these a try and see for yourself.


