How to install Rainloop Webmail on Ubuntu 18.04 LTS
This tutorial exists for these OS versions
- Ubuntu 22.04 (Jammy Jellyfish)
- Ubuntu 18.04 (Bionic Beaver)
On this page
Rainloop is a free, open source, simple and fast web-based email client that can be used to access emails from any mail servers like Postfix, Gmail, Yahoo and many more. It comes with a built-in caching system that allows to improve overall performance and reducing the load on mail servers. You can easily integrate Rainloop with Facebook, Twitter, Dropbox and Google. Rainloop provides a modern web-based user interface to handle a large number of email accounts. It is very simple and easy to install, so you can easily install and upgrade it without any technical skills.
In this tutorial, we will learn how to install Rainloop webmail client on Ubuntu 18.04 server.
Requirements
- A server running Ubuntu 18.04.
- A static IP address 192.168.0.102 is set up in your server.
- A non-root user with sudo privileges.
Getting Started
Before starting, you will need to update your system with the latest version. You can do this by running the following command:
sudo apt-get update -y
sudo apt-get upgrade -y
Once your system is updated, restart the system to apply the changes.
Install Apache, MariaDB, and PHP
Rainloop is running on a web server, uses MariaDB to store their data and written in the PHP language. So you will need to install Apache web server, MariaDB Server, PHP and other PHP modules to your system. You can install all of them by running the following command:
sudo apt-get install apache2 mariadb-server curl php7.2 php7.2-mysql php7.2-curl php7.2-json php7.2-cgi libapache2-mod-php7.2 php7.2-xmlrpc php7.2-gd php7.2-mbstring php7.2 php7.2-common php7.2-xmlrpc php7.2-soap php7.2-xml php7.2-intl php7.2-cli php7.2-ldap php7.2-zip php7.2-readline php7.2-imap php7.2-tidy php7.2-recode php7.2-intl php7.2-sqlite3 -y
Once all the packages are installed start Apache web server and enable it to start on boot time with the following command:
sudo systemctl start apache2
sudo systemctl enable apache2
sudo systemctl start mariadb
sudo systemctl enable mariadb
You can check the status of MariaDB service with the following command:
sudo systemctl status mariadb
You should see the following output:
? mariadb.service - MariaDB 10.1.34 database server
   Loaded: loaded (/lib/systemd/system/mariadb.service; enabled; vendor preset: enabled)
   Active: active (running) since Tue 2018-12-11 15:06:51 UTC; 23h ago
     Docs: man:mysqld(8)
           https://mariadb.com/kb/en/library/systemd/
 Main PID: 1097 (mysqld)
   Status: "Taking your SQL requests now..."
    Tasks: 27 (limit: 1114)
   CGroup: /system.slice/mariadb.service
           ??1097 /usr/sbin/mysqld

Dec 11 15:06:30 ubuntu1804 systemd[1]: Starting MariaDB 10.1.34 database server...
Dec 11 15:06:39 ubuntu1804 mysqld[1097]: 2018-12-11 15:06:39 139929447279744 [Note] /usr/sbin/mysqld (mysqld 10.1.34-MariaDB-0ubuntu0.18.04.1)
Dec 11 15:06:51 ubuntu1804 /etc/mysql/debian-start[1320]: Upgrading MySQL tables if necessary.
Dec 11 15:06:51 ubuntu1804 systemd[1]: Started MariaDB 10.1.34 database server.
Dec 11 15:06:52 ubuntu1804 /etc/mysql/debian-start[1324]: /usr/bin/mysql_upgrade: the '--basedir' option is always ignored
Dec 11 15:06:52 ubuntu1804 /etc/mysql/debian-start[1324]: Looking for 'mysql' as: /usr/bin/mysql
Dec 11 15:06:52 ubuntu1804 /etc/mysql/debian-start[1324]: Looking for 'mysqlcheck' as: /usr/bin/mysqlcheck
Dec 11 15:06:52 ubuntu1804 /etc/mysql/debian-start[1324]: This installation of MySQL is already upgraded to 10.1.34-MariaDB, use --force if you
Dec 11 15:06:52 ubuntu1804 /etc/mysql/debian-start[1356]: Checking for insecure root accounts.
Dec 11 15:06:52 ubuntu1804 /etc/mysql/debian-start[1360]: Triggering myisam-recover for all MyISAM tables and aria-recover for all Aria tables
Install Rainloop
First, create a directory for Rainloop in the Apache web root and install the latest version of Rainloop with the following command:
sudo mkdir /var/www/html/rainloop
cd /var/www/html/rainloop
sudo curl -s http://repository.rainloop.net/installer.php | sudo php
You should see the following output:
#!/usr/bin/env php


       [RainLoop Webmail Installer]


 * Connecting to repository ...
 * Downloading package ...
 * Complete downloading!
 * Installing package ...
 * Complete installing!

 * [Success] Installation is finished!
Once the installation has been completed successfully, give proper permissions to the Rainloop directory with the following command:
sudo chown -R www-data:www-data /var/www/html/rainloop/
sudo chmod -R 755 /var/www/html/rainloop
Configure Apache for Rainloop
Next, you will need to create an Apache virtual host file for Rainloop. You can do this with the following command:
sudo nano /etc/apache2/sites-available/rainloop.conf
Add the following lines:
<VirtualHost *:80>
     ServerAdmin [email protected]
     DocumentRoot /var/www/html/rainloop/
     ServerName example.com
     ServerAlias www.example.com

     <Directory /var/www/html/rainloop/>
    Options +Indexes +FollowSymLinks +ExecCGI
    AllowOverride All
    Order deny,allow
    Allow from all
    Require all granted

     </Directory>

     ErrorLog ${APACHE_LOG_DIR}/error.log
     CustomLog ${APACHE_LOG_DIR}/access.log combined

</VirtualHost>
Replace example.com in the above vhost file with your own domain name. Save and close the file, when you are finished. Then, disable default virtual host file and enable Rainloop virtual host file with the following command;
sudo a2dissite 000-default.conf
You should see the following output:
Site 000-default disabled.
To activate the new configuration, you need to run
systemctl reload apache2
Next, enable Rainloop virtual host file with the following command:
sudo a2ensite rainloop.conf
You should see the following output:
Enabling site rainloop.
To activate the new configuration, you need to run:
systemctl reload apache2
Next, enable the Apache rewrite module with the following command:
sudo a2enmod rewrite
You should see the following output:
Enabling module rewrite.
To activate the new configuration, you need to run:
  systemctl restart apache2
Finally, restart Apache service with the following command:
sudo systemctl restart apache2
Access Rainloop
Rainloop is now installed, it's time to access Rainloop web interface.
Open your web browser and type in the URL http://192.168.0.102/?admin (Replace the IP address in the URL with the IP of your server). You will be redirected to the following page:
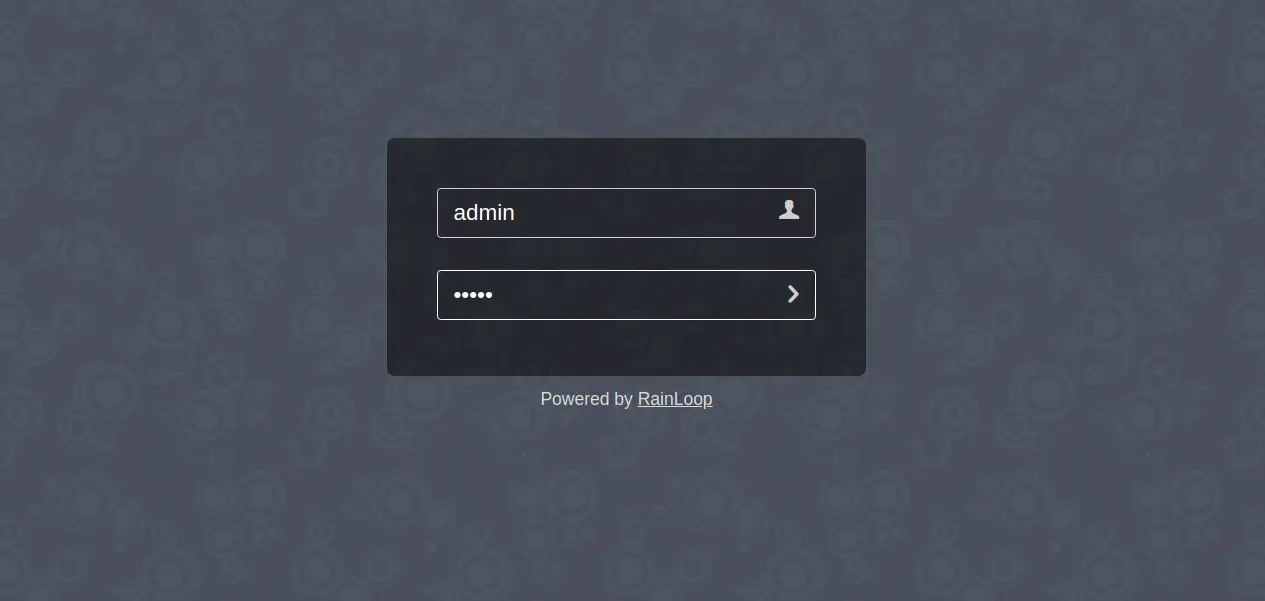
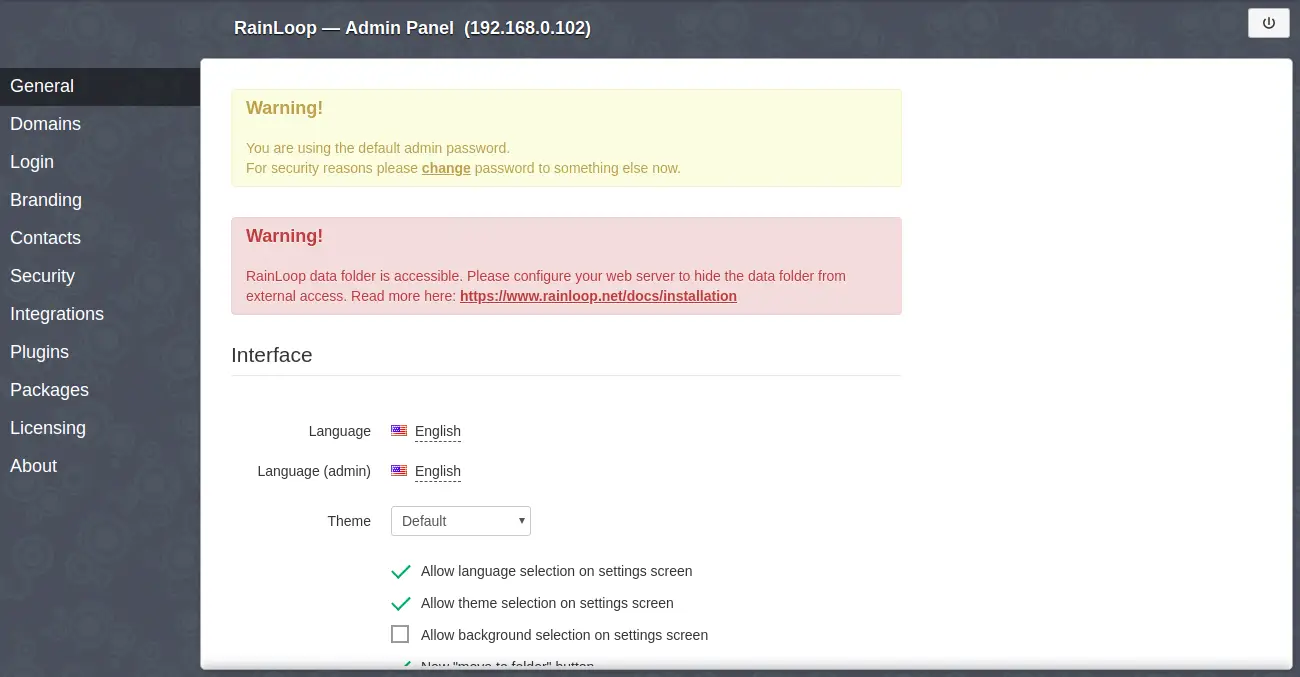
Now, provide default username as admin and password as 12345. Then, click on the > button. You should see the Rainloop dashboard in the following image:
Conclusion
Congratulations! you have successfully installed Rainloop webmail client on Ubuntu 18.04 server. I hope you can now host your own webmail client and connect to your mail server easily using Rainloop. Feel free to comment me if you have any questions.

